


Sanding stairs can be tricky for many homeowners. It takes time, makes a mess, and needs careful work. But with the right steps, you can get great results.
This guide will teach you to sand and prepare your stairs for paint or stain. You’ll learn what tools you need, how to do each step, and tips for a smooth finish.
We’ll discuss removing old carpet, getting the stairs ready, picking the right sandpaper, and cleaning up. When you’re done, you’ll know how to make your old stairs look new again.
Ready to give your stairs a fresh look? Let’s begin!
Essential Tools and Materials to Sand Stairs
Before we start sanding, let’s gather the right tools. Having the correct equipment will make your job easier and safer. Here’s what you’ll need for sanding stairs:
- Sander
- Sandpaper
- Pliers
- Wonder bar
- Utility knife
- Putty knife
- Scraper
- Wood filler
- Broom or vacuum cleaner
- Cloth and bucket for cleaning
- Dust mask
- Safety goggles
- Work gloves
Detailed Step-by-Step Process

Now, let’s break down the stair sanding process into clear steps. We’ll cover removing carpet, cleaning, sanding techniques, and dealing with spindles.
Follow these steps for the best results:
1. Removing the Carpet
Let’s start by getting rid of the old carpet. This step sets the foundation for your project. Here’s how to remove carpet safely and efficiently, preparing your stairs for sanding.
- Begin at the top of the staircase for easier work
- Slide the wonder bar under the carpet edge to loosen it
- If it’s tough to get under, use pliers to pull up a small section
- Slowly peel back the carpet, working your way down each step
- Keep an eye out for tack strips – they can be sharp!
- Use pliers to remove all staples and nails you find
- Take out carpet grippers with the wonder bar, being careful not to scratch the wood
2. Cleaning and Preparing the Stairs
With the carpet gone, it’s time to clean up. This step ensures you’re working on a clean surface. We’ll remove debris and prep the stairs for sanding:
- Give the stairs a good sweep or vacuum to remove loose debris
- Look for any old paint drips, glue, or stuck-on dirt
- Use a scraper to gently remove these gently – don’t gouge the wood
- Mix some warm water with a mild cleaner
- Wipe down each step with a damp cloth to remove dust and grime
- Let the stairs dry completely before moving on to sanding
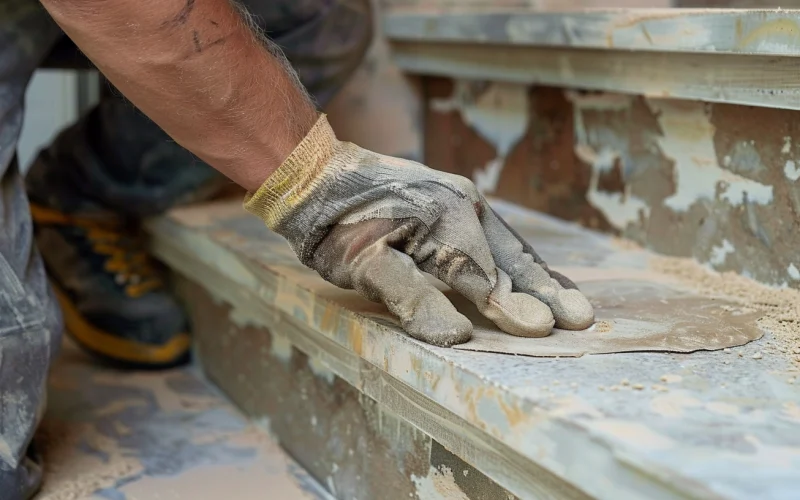
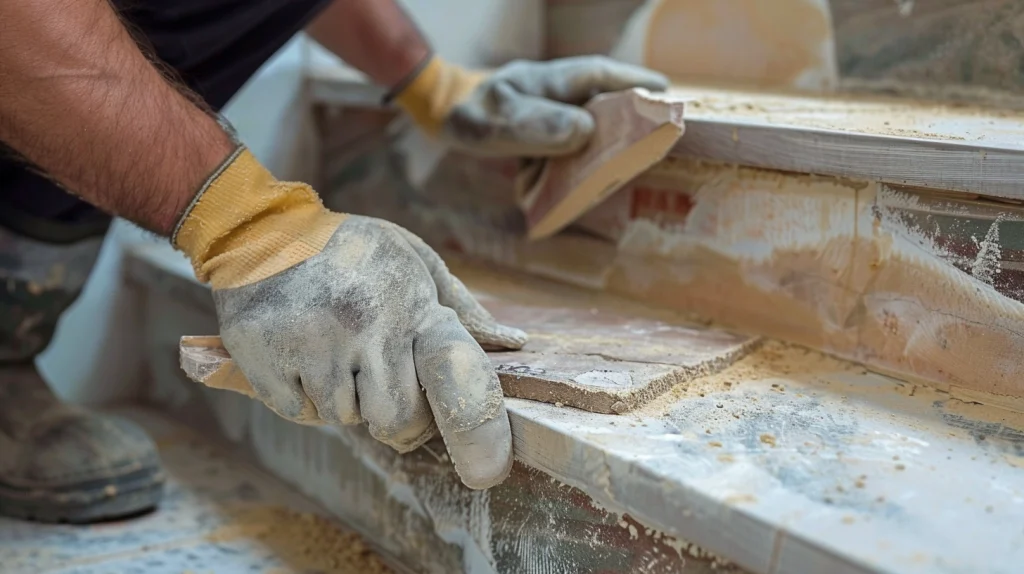
3. Sanding Techniques
Now for the main event – sanding. We’ll cover how to sand different parts of your stairs, using the right techniques and sandpaper grits for a smooth finish:
- Start with coarse 80-grit sandpaper on the treads (the part you step on)
- Sand in the direction of the wood grain to avoid scratches
- Use 120-grit paper for the risers (vertical parts) and stringers (side supports)
- Pay extra attention to the edges and corners of each step
- After the first pass, switch to finer grits (180-220) for a smoother finish
- A detail sander can be handy for tight spots and edges
- Between sandings, wipe away dust with a tack cloth
4. Special Focus on Spindles
Spindles need special attention when sanding. We’ll look at hand-sanding methods for these tricky parts and discuss the option of replacing them for a new look:
- Cut your sandpaper into long, thin strips
- Wrap a strip around each spindle, holding both ends
- Rub up and down, rotating around the spindle to sand evenly
- Start with medium-grit paper, then move to fine-grit for smoothness
- Don’t forget to sand the handrail
- If spindles are in bad shape, you might want to replace them
- New spindles can give your staircase a whole new look
5. Ensuring a Smooth Finish
After the main sanding, we’ll focus on perfecting your stairs. Learn how to spot and fix imperfections, and do a final sanding for a professional-quality smooth finish:
- Run your hands over each step to feel for rough spots
- Look closely for small holes or gaps between treads and risers
- Mark problem areas with a pencil so you don’t miss them
- Get your wood filler ready for repairs
- Use a putty knife to apply filler to holes and gaps
- Let the filler dry completely – this might take a few hours
- Sand down the filled areas to make them level with the rest of the wood
6. Final Sanding
The last sanding step is crucial for a flawless finish. We’ll cover how to use fine-grit sandpaper and test for smoothness to achieve the best results:
- Once repairs are dry, it’s time for the final touch
- Use fine-grit sandpaper (180-220 grit) for this last pass
- Sand in the direction of the wood grain
- Pay extra attention to areas you repaired with wood filler
- Don’t forget the edges and corners of each step
- To test smoothness, run your fingers over the wood
- If you feel any rough spots, give them another light sand
- Wipe away all dust with a tack cloth when you’re done
Clean-Up and Final Steps
Let’s wrap up the project with proper cleaning and preparation. These final steps ensure your stairs are ready for their new finish.
1. Cleaning the Area
With sanding done, it’s time to clean up. We’ll go over how to remove all dust and debris, preparing your stairs for the next step in your project:
- Start by giving the stairs a good vacuum
- Use the brush attachment to get into corners and crevices
- Wipe down each step with a tack cloth to catch any leftover dust
- Mix some warm water with a mild cleaning solution
- Use a clean cloth to wash each step, removing any remaining dust
- Don’t soak the wood – a damp cloth is enough
- Pay extra attention to the corners and edges
2. Preparing for Painting or Staining
Your stairs are almost ready for their new look. Let’s cover the final steps to prepare your newly sanded stairs for painting or staining, ensuring the best possible outcome:
- Let the stairs dry completely after washing
- This might take a few hours – patience is key
- While waiting, you can start tidying up your work area
- Carefully remove the dust sheets
- Fold them inwards to trap any dust inside
- Put your furniture back in place
- Open windows to help air out any lingering dust
- Once everything is clean and dry, your stairs are ready for their new finish!
- Whether you’re planning to paint or stain, you have a perfectly prepped surface to work with.
Conclusion
Sanding stairs might seem like a big job, but you can do it like a pro with the right tools and techniques. We’ve covered everything from removing old carpet to achieving that smooth, final finish.
The key steps are thorough preparation, careful sanding, and proper clean-up. Take your time, work safely, and don’t rush the process.
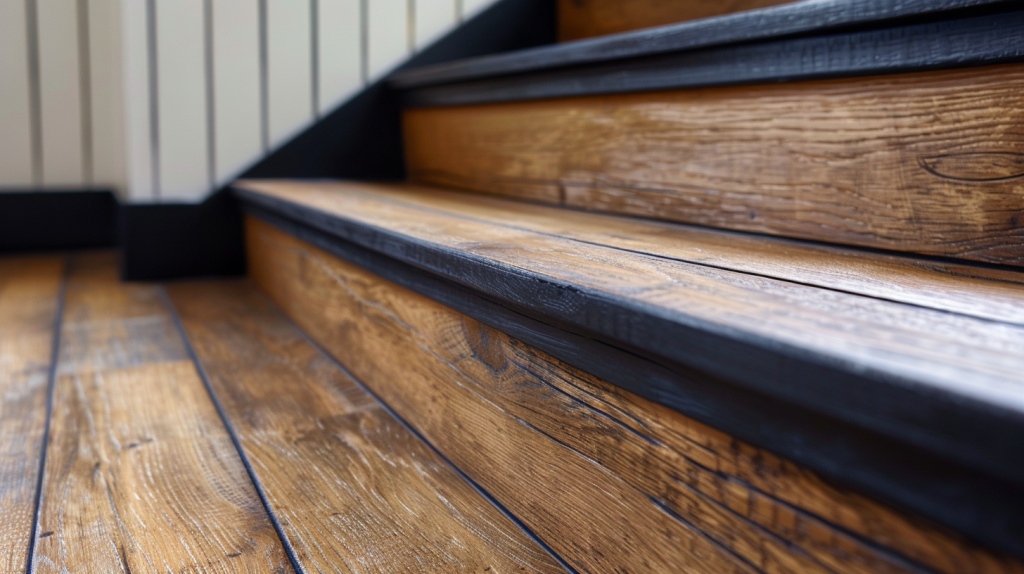
Your newly sanded stairs will be ready for paint or stain, giving your home a fresh, updated look. Plus, you’ll have the satisfaction of knowing you did it yourself! Now it’s your turn to tackle those tired old stairs!
And if you found this guide helpful, why not share it with a friend thinking about updating their staircase?
Happy Sanding!
Frequently Asked Questions
What Type of Sander Should Be Used on Stairs?
For stairs, use a random orbital sander on treads and risers. It’s versatile and easy to handle. A detail sander works well for tight spots and corners. Always sand in the direction of the wood grain.
What is the Best Tool for Sanding Stair Spindles?
Hand sanding is best for stair spindles. Use sandpaper strips wrapped around the spindle. Start with medium-grit paper, then move to fine-grit for a smooth finish. This method allows for better control on curved surfaces.
What is the Best Sander for Bannisters?
For banisters, a detail sander or mouse sander works best. These small, handheld tools can easily maneuver around curves and edges. You can also carefully use a random orbital sander for flat sections.
What is the Best Tool to Clean Wood Stairs?
The best tools for cleaning wood stairs are a vacuum with a brush attachment for loose debris and a slightly damp microfiber cloth for wiping. Avoid excess water, which can damage wood. For tough stains, use a wood-safe cleaner.
How Do You Sand and Polish Wooden Stairs?
Start with coarse-grit sandpaper (80-grit) to sand and polish wooden stairs. Progress to medium (120-grit), then fine-grit (220-grit). Clean thoroughly, and apply wood polish or finish according to product instructions. Buff for a smooth, shiny surface