

Arranging flowers in pumpkins is a charming way to celebrate fall.
Many people struggle to create eye-catching seasonal decor that’s both unique and simple.
Luckily, making a fresh flower pumpkin arrangement is easier than you might think.
This guide will show you how to craft a beautiful floral centerpiece using a pumpkin as your vase.
You’ll learn how to prepare the pumpkin, choose the right flowers, and combine them all for a stunning result.
These five steps create a unique decoration perfect for autumn gatherings or everyday enjoyment.
Get ready to transform an ordinary pumpkin into an extraordinary floral display that will impress your guests and brighten your home.
Material Required for Pumpkin Decor
- A medium-sized pumpkin
- An assortment of fresh flowers
- Wet floral foam
- A sharp knife
- A large spoon
- Wooden skewers
Steps to a Perfect Pumpkin Arrangement
Creating a pumpkin flower arrangement is easier than you might think.
You can craft a stunning centerpiece that celebrates the best of autumn with creativity and basic supplies.
The following steps will guide you through the process, from selecting your pumpkin to adding the final touches.
Whether a floral design novice or an experienced crafter, these instructions will help you create a unique and beautiful decoration.
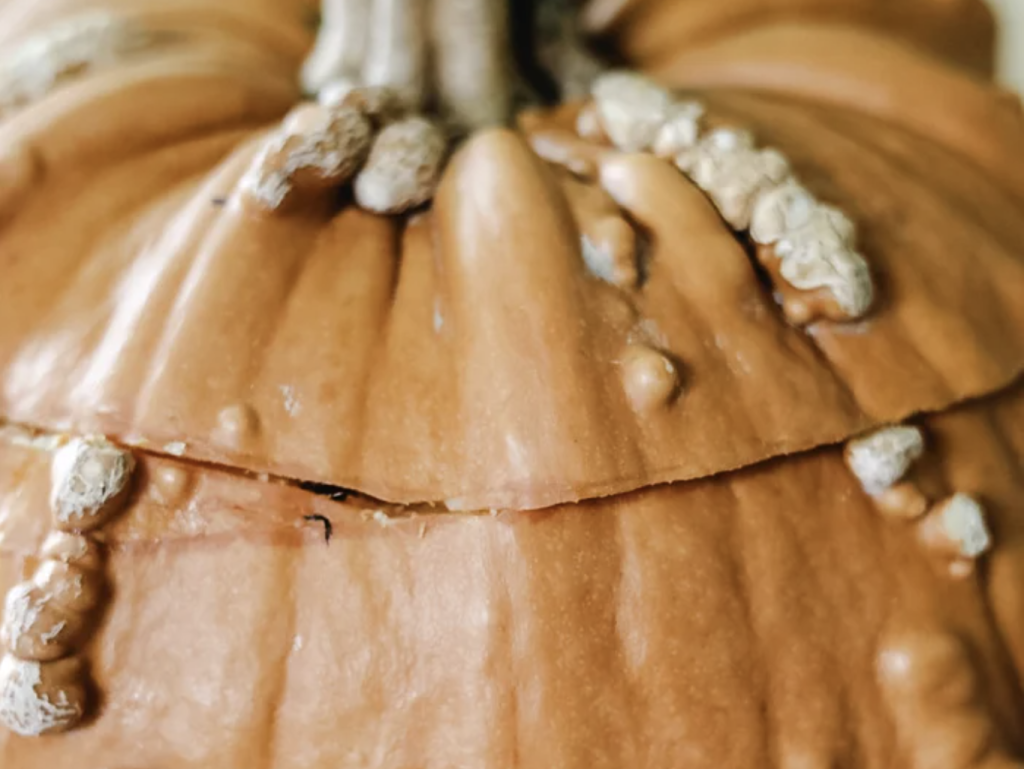
Step 1: Select and Prepare Your Pumpkin
Choosing the right pumpkin is crucial for creating a stunning floral arrangement.
Look for a fresh and firm pumpkin with no soft spots or blemishes.
The shape matters, too – a flatter top will make your arrangement more stable.
Don’t limit yourself to traditional orange pumpkins; white, green, or even striped varieties can add a layer of visual interest.
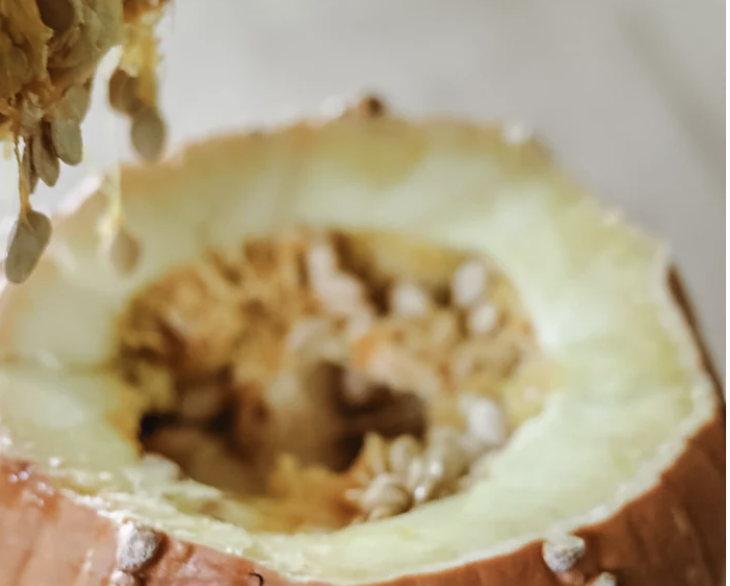
When preparing your pumpkin, find a sturdy work surface and grab a sharp knife.
Carefully cut around the stem at a slight angle, creating a lid about 5-6 inches in diameter.
This will give you enough room to work with later.
As you cut, keep the knife angled towards the center of the pumpkin to create a ledge that will help the lid sit securely.
Now comes the messy part – removing the seeds and pulp. Use a large spoon to scrape the inside clean.
Don’t rush this step; a clean interior will help your arrangement last longer.
If you’re feeling resourceful, save the seeds for roasting later!
To extend the life of your pumpkin, consider treating the inside with a mixture of water and bleach (1 teaspoon of bleach per quart of water).
This helps prevent mold growth.
After applying the solution, let the pumpkin dry completely before moving on to the next step.
Remember, the pumpkin is more than just a container – it’s part of your decoration.
As you prepare it for its new role as a unique flower vase, preserve its natural beauty.
Step 2: Set Up the Pumpkin
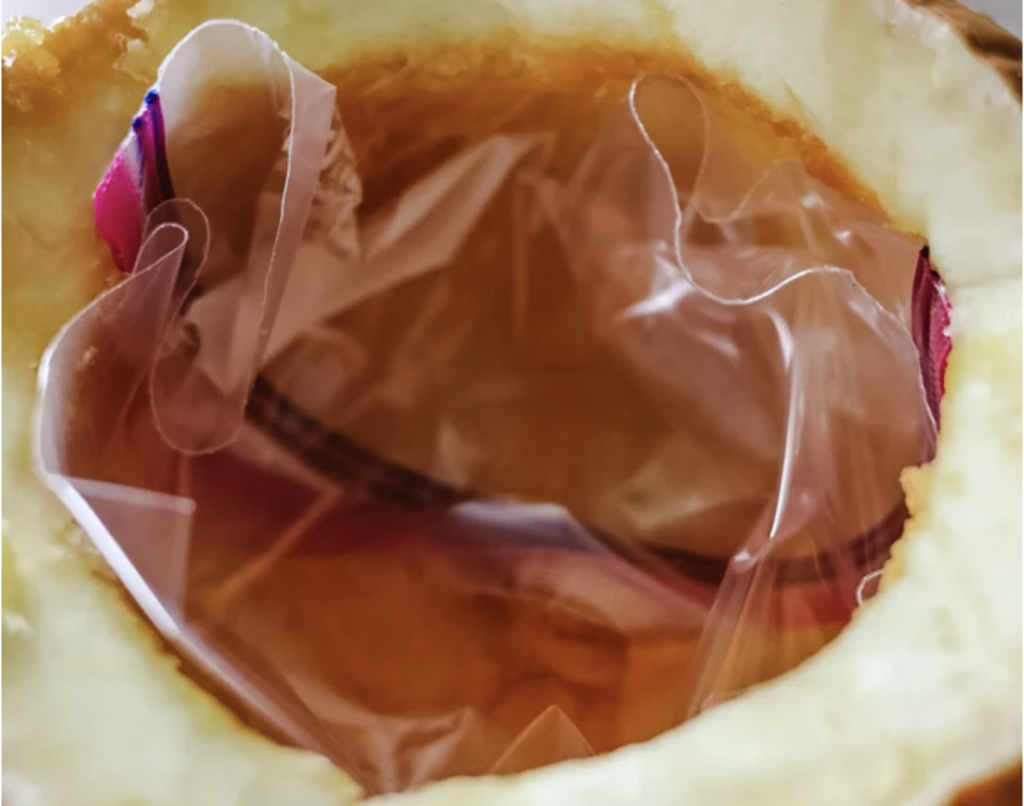
Now that your pumpkin is clean and ready, it’s time to prepare it for flowers.
Start by lining the inside with plastic wrap or a plastic bag.
This step is crucial as it helps retain moisture and prevents the pumpkin from rotting too quickly.
Make sure the plastic covers the entire interior, leaving no exposed areas.
Next, focus on the floral foam.
This green, spongy material is a florist’s best friend.
It provides support for the stems and a water source for the flowers.
Soak your floral foam in water before use – this usually takes about 5-10 minutes.
You’ll know it’s ready when it sinks to the bottom of your water container.
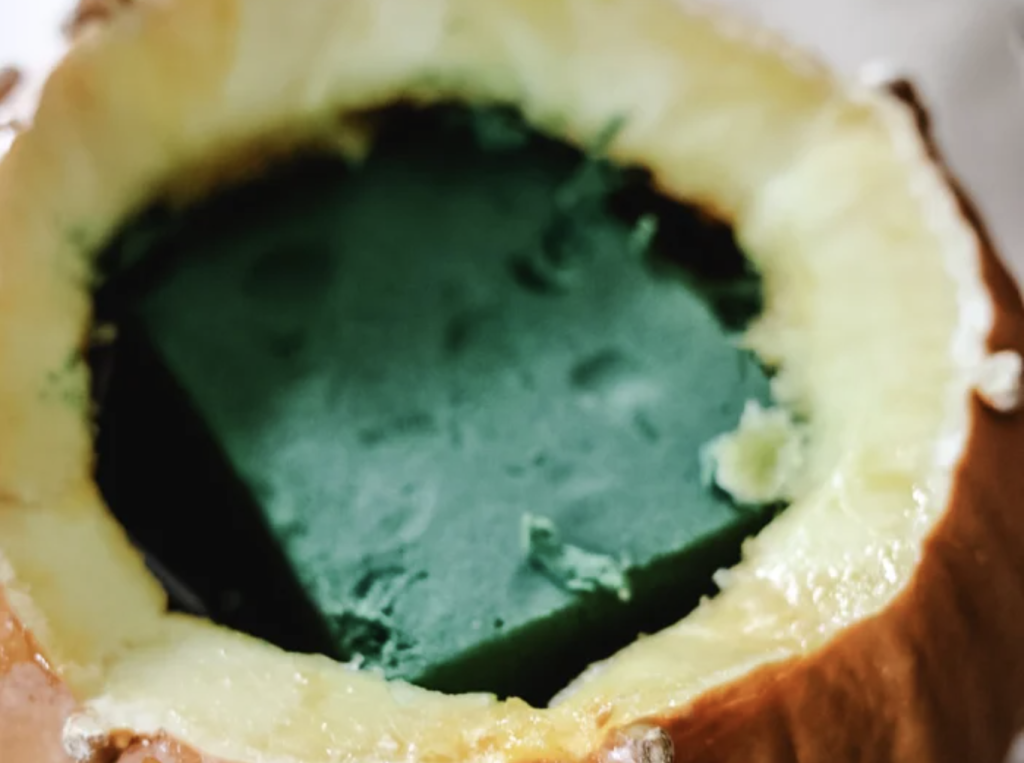
Cut the soaked foam to fit snugly inside your pumpkin.
To effectively fill the space, you might need to trim it into a circular shape or cut it into smaller pieces.
The goal is for the foam to reach almost the top of the pumpkin, providing ample depth for your flower stems.
As you place the foam, ensure it’s secure and won’t shift around.
You can anchor it with floral tape or toothpicks if needed.
The more stable your base, the easier to arrange your flowers later.
Remember, floral foam is your flowers’ lifeline in this arrangement.
It’s worth taking the time to get this step right.
A well-prepared base will keep your flowers fresh and upright, ensuring your pumpkin centerpiece looks beautiful for days to come.
Step 3: Create a Whimsical Touch
Adding a whimsical element to your pumpkin arrangement sets it apart from traditional floral displays.
The key here is to use the pumpkin’s lid creatively.
Instead of discarding or setting it aside, we will turn it into a charming “hat” for your flower-filled pumpkin.
Start by selecting your skewers or stakes.
Wooden skewers work well, but if you have thin bamboo stakes or strong, straight twigs from your garden, these can add a nice natural touch.
You’ll need two or three, depending on the size and weight of your pumpkin lid.
Measure the height at which you want your “hat” to sit.
A good rule of thumb is to position it about 2-3 inches above where the tallest flowers will reach.
This allows the flowers to peek out under the lid without being overshadowed.
Once you’ve determined the right height, carefully insert the skewers into the floral foam.
Angle them slightly outward for better stability.
If you’re using the pumpkin in a windy outdoor setting, you might want to secure the skewers to the lid with floral wire or hot glue.
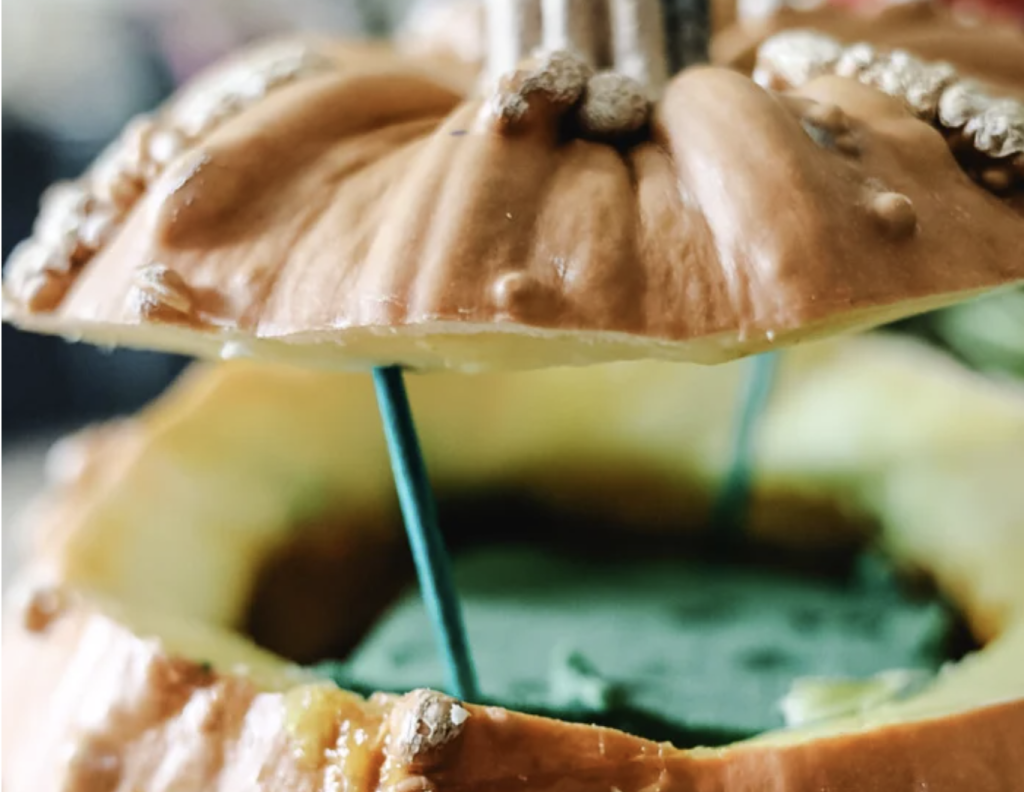
Now, gently place the pumpkin lid on top of the skewers.
Adjust as needed to achieve a jaunty, slightly off-kilter angle.
This crooked “hat” effect gives your arrangement its whimsical charm.
Don’t be afraid to play around with the positioning.
You might find that tilting the lid forward or to one side creates a more appealing look.
The goal is to make it appear like the flowers are bursting out from under the pumpkin’s top, creating a sense of vitality and abundance.
This quirky touch transforms your pumpkin from a simple vase into a character, adding personality and charm to your fall decor.
These unexpected details often draw the most admiration from guests, making your centerpiece truly memorable.
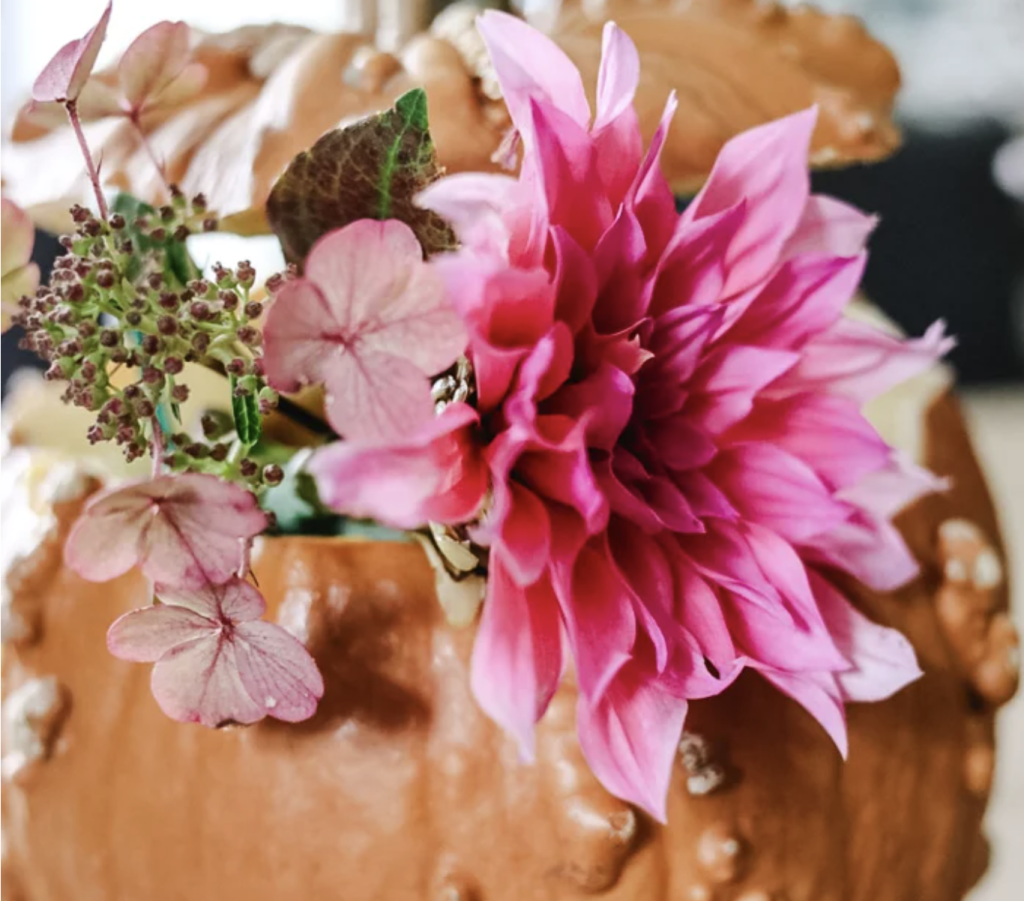
Step 4: Add Your Flowers
Now comes the process’s most creative and enjoyable part – adding your flowers!
This step is where your pumpkin arrangement truly comes to life.
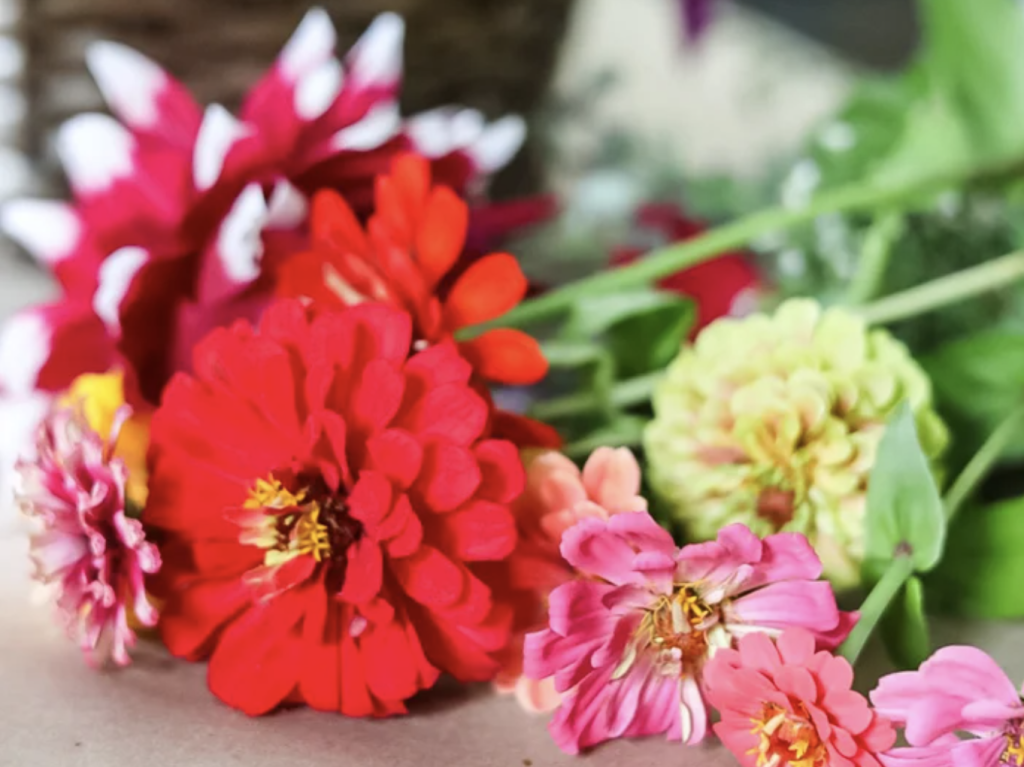
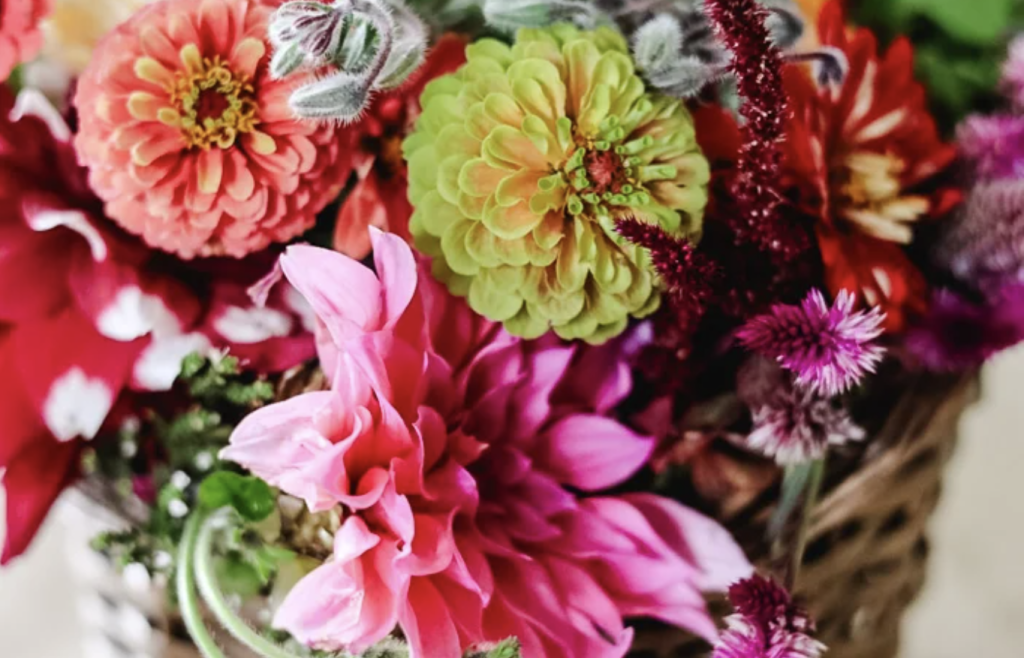
Start by gathering various flowers in different sizes, shapes, and colors.
Mixing large focal flowers, medium-sized blooms, and small filler flowers will create depth and interest in your arrangement.
Begin with your largest, most striking flowers.
These will form the backbone of your arrangement.
Cut the stems at a 45-degree angle, making them long enough to insert deeply into the floral foam for stability.
Place these focal flowers first, spacing them evenly around the pumpkin.
Good choices for focal flowers include dahlias, sunflowers, or large chrysanthemums.
Next, add your medium-sized flowers.
These will fill in the spaces between your focal flowers and add layers to your arrangement.
Roses, carnations, or gerbera daisies work well in this role.
As you add these, start to build height in your arrangement, with some flowers standing taller than others.
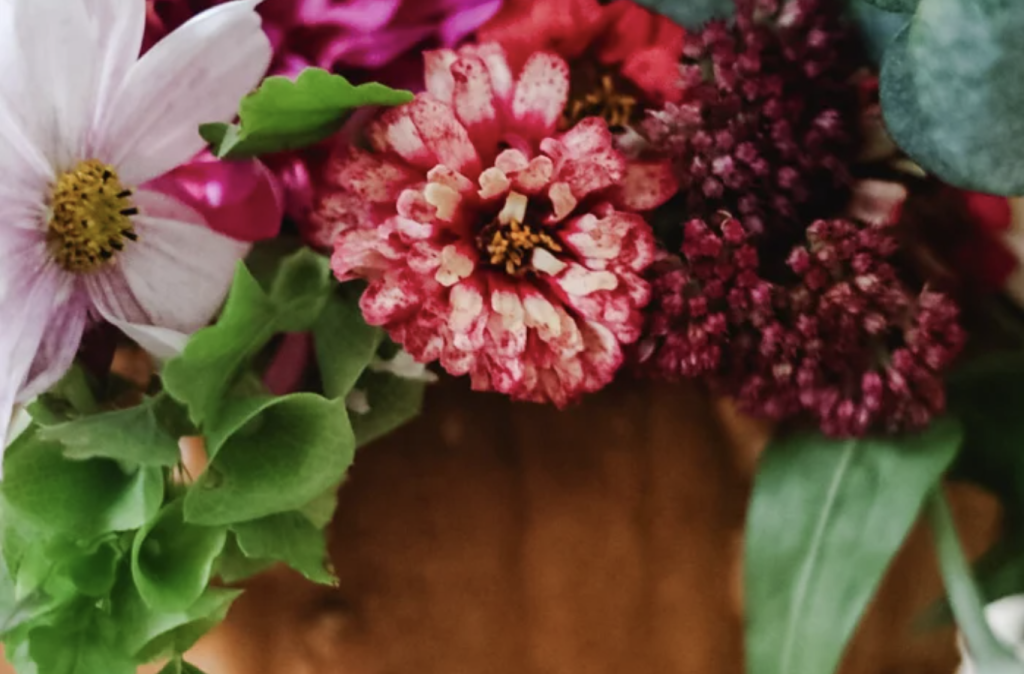
Now it’s time for the smaller filler flowers.
These add texture and fullness to your arrangement.
Think about using flowers like asters, baby’s breath, or small daisies.
Tuck these in between your larger blooms, allowing some to drape over the edge of the pumpkin for a lush, overflowing effect.
Remember greenery! Leafy elements can add structure and a natural feel to your arrangement.
Eucalyptus, ferns, or even herbs like rosemary can work beautifully.
Weave these throughout your arrangement, using them to fill any gaps and create a cohesive look.
As you work, step back frequently to assess your arrangement from all angles.
Aim for a balanced look, but don’t strive for perfect symmetry – a slightly wild, natural appearance often looks more appealing.
Remember, there’s no strict rule to follow here. Let your creativity guide you.
The beauty of this project is that each arrangement will be unique, reflecting your style and the flowers available to you.
Step 5: Finishing Touches
The final step is refining your creation and adding special details to make your pumpkin flower arrangement stand out.
Take a step back and look at your arrangement critically.
Are there any gaps that need filling? Is the overall shape pleasing to the eye?
This is your chance to make any necessary adjustments.
If you notice any bare spots, don’t hesitate to add more filler flowers or greenery.
Small, delicate blooms like spray roses or waxflowers are perfect for tucking into little spaces.
You might also consider adding some trailing elements, like ivy or jasmine, to soften the edges of your pumpkin and create a more organic look.
Creative Tips for Extra Fun
Now’s the time to get creative with unexpected elements.
1. Incorporate Non-Floral Items
Autumn leaves, acorns, or small ornamental gourds can add a distinct fall feel.
As suggested in the original blog, you might add feathers for a touch of whimsy.
These can add height and an interesting texture contrast to your softer flower petals.
If your arrangement is for a special occasion, you could add elements to the event theme.
Small plastic spiders or miniature pumpkins could be fun additions to a Halloween party.
For Thanksgiving, you might incorporate dried wheat stalks or cinnamon sticks for their warm, autumnal associations.
2. Don’t Forget the Pumpkin
You could enhance its appearance by adding a light dusting of glitter around the edges or painting patterns on its surface with metallic paint.
Just be sure any embellishments you add complement rather than compete with your beautiful floral display.
3. Consider the Arrangement’s Setting
If it is a table centerpiece, you might want to place it on a decorative charger or surround it with scattered autumn leaves and tea lights for a cozy, inviting atmosphere.
Remember, these finishing touches are what will make your arrangement uniquely yours.
They’re an opportunity to let your personality shine through and create a beautiful, meaningful, and personal piece.
Conclusion
Creating a fresh flower pumpkin arrangement is a delightful way to celebrate autumn’s beauty.
This simple yet impressive project allows you to blend nature’s bounty with your creativity.
Following these five steps, you’ve transformed an ordinary pumpkin into a stunning centerpiece that captures the season’s essence.
Remember, the beauty of this craft lies in its versatility – you can adapt it to suit any style or occasion.
Whether you’ve made it for a festive gathering or to brighten your everyday living space, your unique creation will surely spark joy and admiration.
As the days grow shorter and the air turns crisp, let your pumpkin flower arrangement serve as a cheerful reminder of fall’s vibrant colors and natural abundance.
Enjoy your handiwork, and don’t be surprised if it inspires you to create more seasonal decorations!