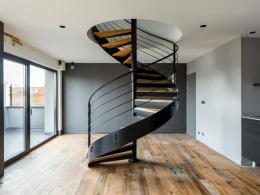


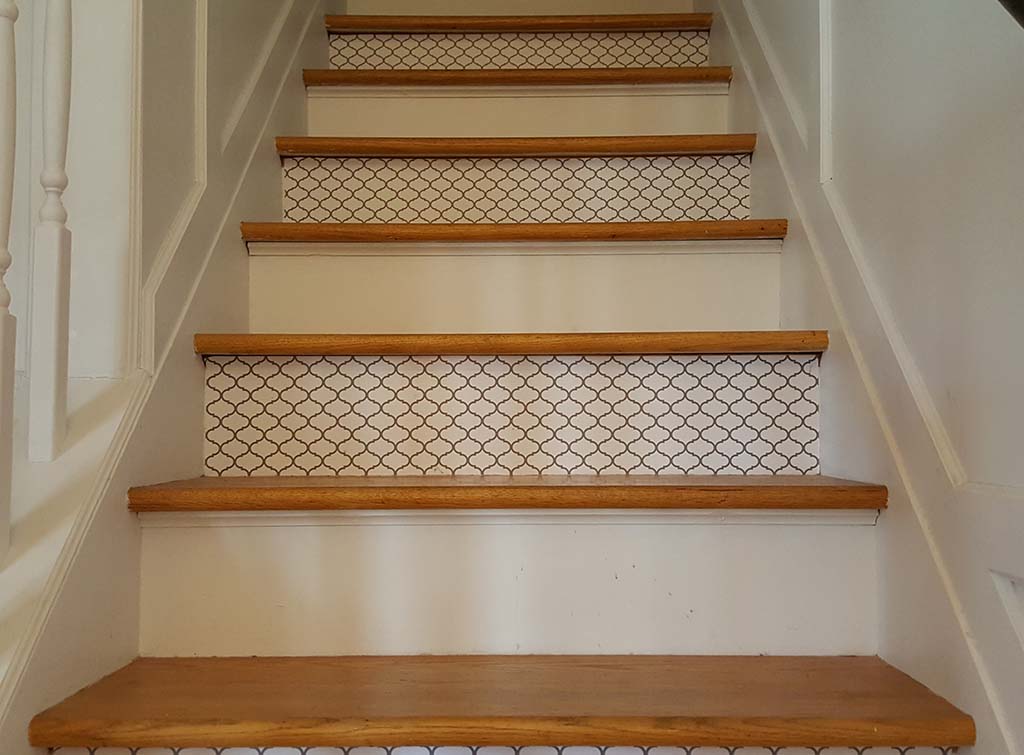
Creaky stairs are a common annoyance in many homes.
That sudden squeak when trying to move quietly can be startling and frustrating.
Whether dealing with old wooden steps or newer construction, stair noises often stem from loose joints, worn materials, or improper installation.
In this post, I’ll show you some of the most effective methods to silence those squeaky stairs.
You can restore peace to your staircase with simple tools and techniques.
We’ll explore several proven solutions, from lubricating joints and tightening loose components to adding reinforcements and some DIY fixes you can try today.
By the end, you’ll have a toolkit of options to tackle creaky stairs in your home.
Understanding Stair Anatomy
To effectively tackle those pesky stair creaks, we need to understand the structure we’re working with.
Let’s break down the components of a staircase and explore why they might start making noise.
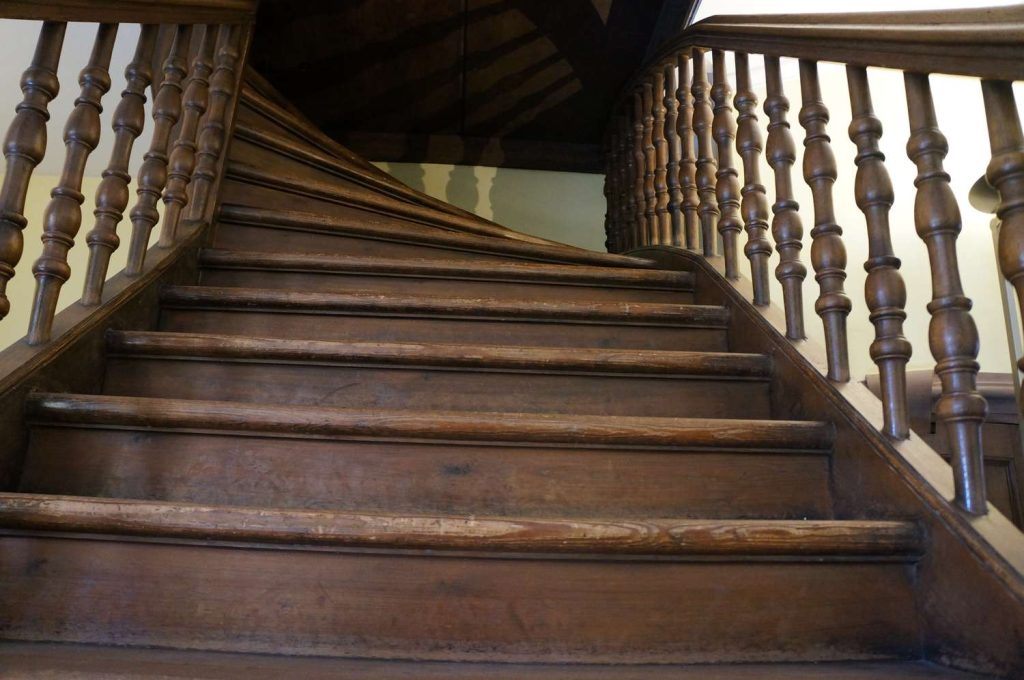
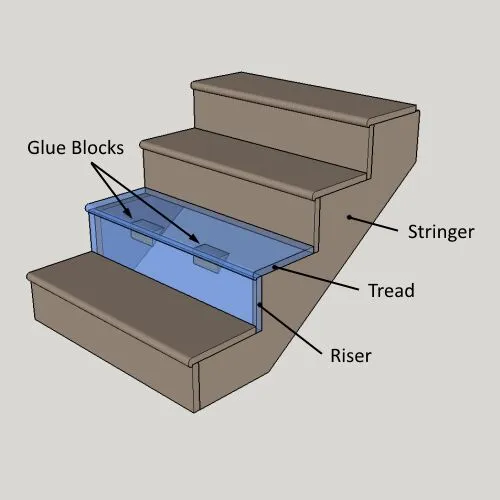
Components of Stairs
Understanding the parts that make up a staircase is crucial for tackling squeaks effectively.
Each component contributes to the staircase’s structure and stability; problems with anyone can lead to annoying creaks.
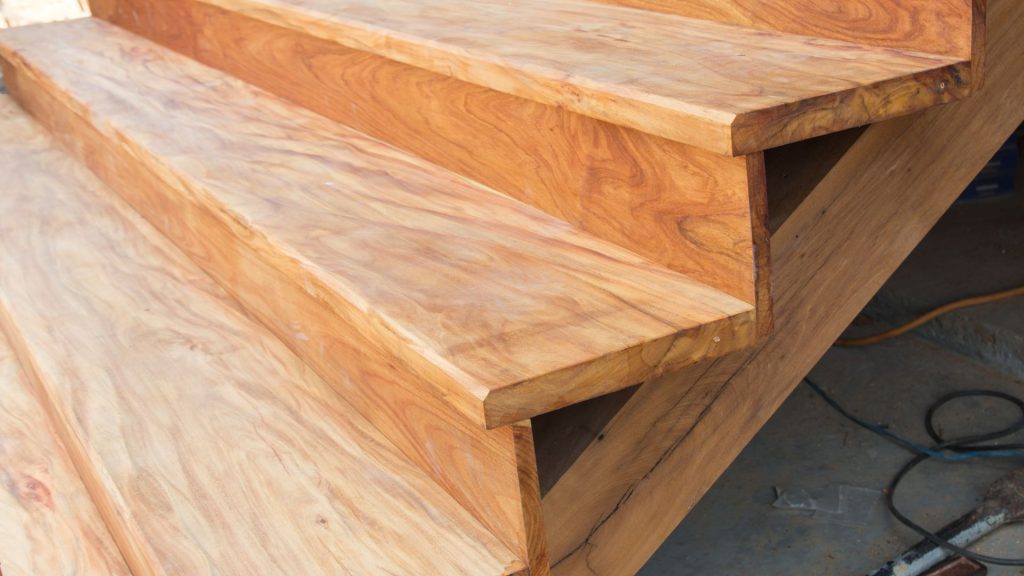
1. Treads
- Horizontal steps Treads are the flat surfaces you step on as you climb the stairs.
- Typically made of wood or a composite material, treads bear the brunt of foot traffic.
- Over time, they can become loose or worn, especially at the front edge where they meet the riser or at the back where they connect to the stringer.
- A loose tread is often the culprit behind a squeaky stair.
2. Risers
- Vertical boards between steps Risers are the vertical boards that connect one tread to the next.
- While not always present in open-tread designs, risers are crucial in closed staircase structures.
- They provide support and stability to the treads.
- When risers become loose or separate slightly from the treads, it can result in movement and noise as you walk up or down the stairs.
3. Stringers
- Support structures on sides or under steps.
- Stringers are the backbone of your staircase.
- These diagonal boards run along the stairs’ sides, supporting the treads and risers.
- In some designs, there’s also a center stringer for added support.
- If stringers warp or become loose from the wall or treads, it can lead to instability and squeaking.
4. Fasteners
- Nails, screws, and adhesives These are what hold everything together.
- Nails and screws secure the treads to the risers and stringers, while adhesives are often used in conjunction with mechanical fasteners for a stronger bond.
- Over time, nails can work loose, screws can back out, and adhesives can deteriorate, all of which can contribute to stair noises.
Common Causes of Squeaks
Stairs can develop squeaks for various reasons, often related to age, use, and environmental factors.
Identifying the root cause of the noise is the first step in effectively silencing your staircase.
1. Wear and Tear Over Time
Years of foot traffic can cause components to loosen and rub against each other, creating noise.
The front edge of treads and the joints between treads and risers are particularly susceptible to this type of wear.
2. Loosened Joints
Joints between treads, risers, and stringers can separate slightly due to repeated stress or poor initial construction.
This separation allows for movement when weight is applied, resulting in the classic stair squeak.
3. Seasonal Wood Expansion/contraction
Wood is a natural material that responds to changes in temperature and humidity.
In dry conditions, wood can shrink, potentially creating gaps between components.
In humid conditions, wood can expand, putting pressure on joints.
These seasonal changes can lead to squeaks as the staircase components move against each other.
4. Construction Quality Issues
Poor initial construction or use of subpar materials can lead to premature squeaking.
This might include inadequate use of fasteners, improperly sized components, or failure to account for wood movement during construction.
Occasionally, stairs built without proper bracing or support can develop squeaks as the structure settles over time.
Understanding these components and common causes of squeaks will help us diagnose the problem and choose the most effective solution for silencing those noisy stairs.
Identifying the Source of the Squeak
Pinpointing the exact location and type of squeak is crucial for applying the right fix.
This detective work will save you time and effort in the long run, ensuring you target the problem area effectively.
Step-by-Step Identification
- Slowly walk up/down stairs.
- Take your time as you traverse the staircase, paying close attention to any sounds.
- Each step should be deliberate and slow to isolate individual noises.
- Apply pressure to different areas.
- Once you’ve identified a noisy step, experiment by applying pressure to various parts of the tread, try the front edge, back, and sides.
- This can help narrow down where the movement causing the squeak is occurring.
- Note the exact location of the squeak.
- Use masking tape or a sticky note to mark the precise spot where you hear the squeak.
- This visual marker will be invaluable when you start repairs.
Types of Squeaks
1. Front: Loose tread from riser If the squeak occurs when you press on the front of the tread, it likely indicates that the tread has come loose from the riser.
This is a common issue, especially in older staircases.
2. Back: Separated tread from stringers.
Squeaks from the back of the tread often suggest that it has separated from the stringers.
This can happen due to wood shrinkage or loosening of fasteners over time.
3. Sides: Issues with side stringers or loose balusters
Noises from the sides of the stairs might point to problems with side stringers or loose balusters.
These issues can be more complex but are manageable with the right approach.
By carefully identifying the source and type of squeak, you’ll be well-prepared to choose the most effective repair method.
Methods to Fix Squeaky Stairs
Once you’ve identified the source of the squeak, it’s time to silence it.
These methods target different areas of the stairs, allowing you to address the specific issue causing the noise.
1. Fixing Squeaks from the Front
Squeaks originating from the front of the step often indicate a loose connection between the tread and the riser.
These methods focus on reinforcing this joint, providing a more stable and quieter step.
Reattaching Tread to Riser
- Drill pilot holes at angles.
- Create two pilot holes at opposing 45-degree angles where the tread meets the riser. This angled approach creates a stronger hold.
- Insert finish nails and countersink.
- Drive 8D or 10D finish nails through the pilot holes into the riser. Use a nail set to countersink the nails slightly below the surface of the tread.
- Fill holes with wood putty. Apply wood putty to the nail holes, let them dry, and sand them smooth.
- This conceals the repair and provides a finished look.
Using Adhesives
- Apply construction adhesive.
- Run a bead of construction adhesive along the joint between the tread and riser.
- This adds extra bonding strength to the connection.
- Secure with nails or screws.
- While the adhesive is still wet, reinforce the joint with nails or screws as described above.
- The combination of glue and mechanical fasteners creates a robust, long-lasting fix.
- Wipe excess adhesive.
- Clean up any squeezed-out adhesive immediately with a damp cloth to ensure a neat finish.
2. Addressing Squeaks from the Back
When squeaks come from the back of the step, it usually means the tread has separated from the stringers.
These techniques aim to reconnect and reinforce these crucial supporting structures, eliminating movement and noise.
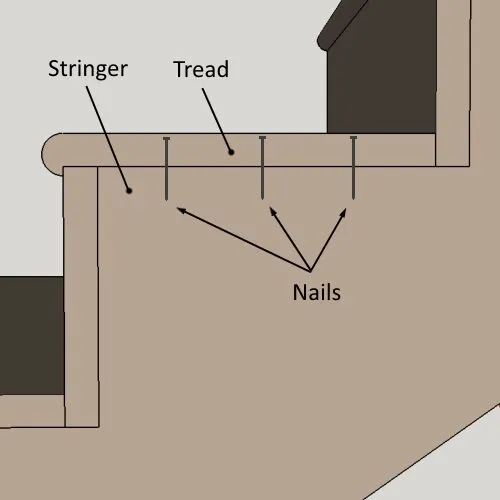
Tightening Stringers
- Locate stringers through fasteners or underside examination.
- If accessible, look for existing fasteners on the tread surface or examine the underside of the stairs to locate the stringers.
- Drill pilot holes and insert finish nails.
- Create pilot holes at 45-degree angles into the tread above the stringer.
- Drive finish nails through these holes into the stringer to tighten the connection.
- Countersink and fill with putty.
- Countersink the nails with a nail set, then fill the holes with wood putty for a seamless finish.
Advanced Methods
- Install wood blocks with glue and screws.
- Cut small wooden blocks to fit between the tread and riser.
- Apply wood glue, wedge them into place, and secure them with screws from underneath for added stability.
- Use L-shaped metal brackets.
- For a more robust solution, install L-shaped metal brackets where the tread meets the riser or stringer.
- This method reinforces multiple weak points simultaneously.
These methods provide a range of options for addressing squeaky stairs, from simple DIY fixes to more advanced techniques.
Choose the approach that best suits your skill level and your specific issue.
Fixing Squeaks from Above
When access from below isn’t possible, these methods allow you to silence squeaks from the top of the stairs.
These techniques are particularly useful for carpeted stairs or when you can’t reach the underside.
1. Loose Treads
- Drill clearance and pilot holes.
- Create clearance holes for the screw shanks through the tread, then drill pilot holes up into the riser. This prevents wood splitting and ensures proper screw placement.
- Insert screws, countersink, and fill holes.
- Use countersink screws to secure the tread to the riser.
- Drive them below the surface, then fill the holes with wood filler or putty that matches the tread color.
2. Reinforcing with Molding
Use triangular molding at a 45-degree angle. Apply triangular molding (about 12mm x 12mm) at a 45-degree angle where the tread meets the riser.
This adds extra support and stability to the joint.
Ensure that the tread width is within the regulations.
Be mindful that adding molding doesn’t reduce the tread width below the regulation size of 220mm.
Safety should always be a priority in stair repairs.
3. Using Brackets
- Screw metal brackets at the tread-riser joint Install metal brackets at the angle between the tread and riser.
- This method effectively brings the two components together, reducing movement and noise.
- Ensure flush surface by cutting out space for brackets Use a chisel or hammer to create a recess for the brackets.
- This ensures a flush surface, maintaining comfort and safety when using the stairs.
These top-down methods offer effective solutions for squeaky stairs, especially when underside access is limited.
They combine ease of implementation with long-lasting results.
Fixing Squeaks from Below
Working from underneath the stairs often provides the most direct access to problem areas.
These methods allow for comprehensive repairs that address the root causes of squeaks without altering the visible surface of the stairs.
1. Reattaching Wedges and Blocks
- Remove, clean, glue, and reattach wedges.
- Carefully remove any loose wedges supporting the tread-riser joint.
- Clean off old glue, apply fresh wood glue, and reposition the wedges firmly.
- Create and install wooden blocks.
- If no wedges are present, cut small wooden blocks (about 75mm long) from scrap wood.
- Glue these blocks into the angle between the tread and riser for added support.
2. Reinforcing with Glue and Screws
- Apply glue between the tread and the riser.
- Use a small brush to apply wood glue into any gaps between the back of the tread and the bottom of the riser.
- This helps bond the components together.
- Insert screws for additional support.
- After applying glue, drive three evenly spaced screws up through the tread and into the riser.
- This combination of glue and screws provides robust reinforcement to the stair structure.
These methods offer a comprehensive approach to fixing squeaky stairs.
They address issues at their source without altering the visible parts of the staircase.
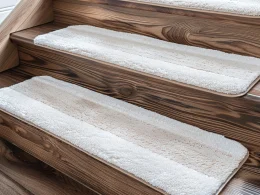
Fixing Carpeted Stairs
Carpeted stairs present a unique challenge when it comes to fixing squeaks.
These methods allow you to address the underlying issues without permanently damaging your carpet.
Removing and Reattaching Carpet
- Carefully lift and remove the carpet
- Starting at the bottom of the stairs, gently lift the carpet using pliers or a pry bar.
- Be cautious not to damage the carpet fibers or padding.
- Use the above methods to fix squeaks.
- Once the carpet is lifted, you can employ any previously mentioned techniques to address the squeaks in the wooden structure beneath.
- Reattach or replace the carpet.
- After repairs, carefully reattach the carpet using a staple gun or carpet adhesive.
- If the carpet is worn, consider this an opportunity for replacement.
Specialized Tools
Use kits like Squeak No More for concealed repairs.
These kits include special screws and a depth-control fixture.
They allow you to secure loose treads through the carpet without leaving visible marks or damaging the surface.
These methods provide options for fixing squeaky stairs without sacrificing the appearance of your carpeted staircase.
Choose the approach that best suits your comfort level and the condition of your carpet.
Conclusion
Fixing squeaky stairs doesn’t have to be a daunting task.
With the right knowledge and tools, you can restore peace to your home.
We’ve explored various methods, from simple lubrication to more involved carpentry work, suitable for different stairs and skill levels.
Remember, the key to success lies in accurately identifying the source of the squeak and choosing the appropriate fix.
Whether you’re working from above or below or dealing with carpeted stairs, there’s a solution that fits your needs.
Don’t let those annoying creaks disrupt your daily life any longer.
Applying these techniques allows you to silence your stairs and improve their stability and safety.
So grab your tools, roll up your sleeves, and get ready to enjoy the satisfying silence of squeak-free stairs.
Your midnight snack runs will never be the same!