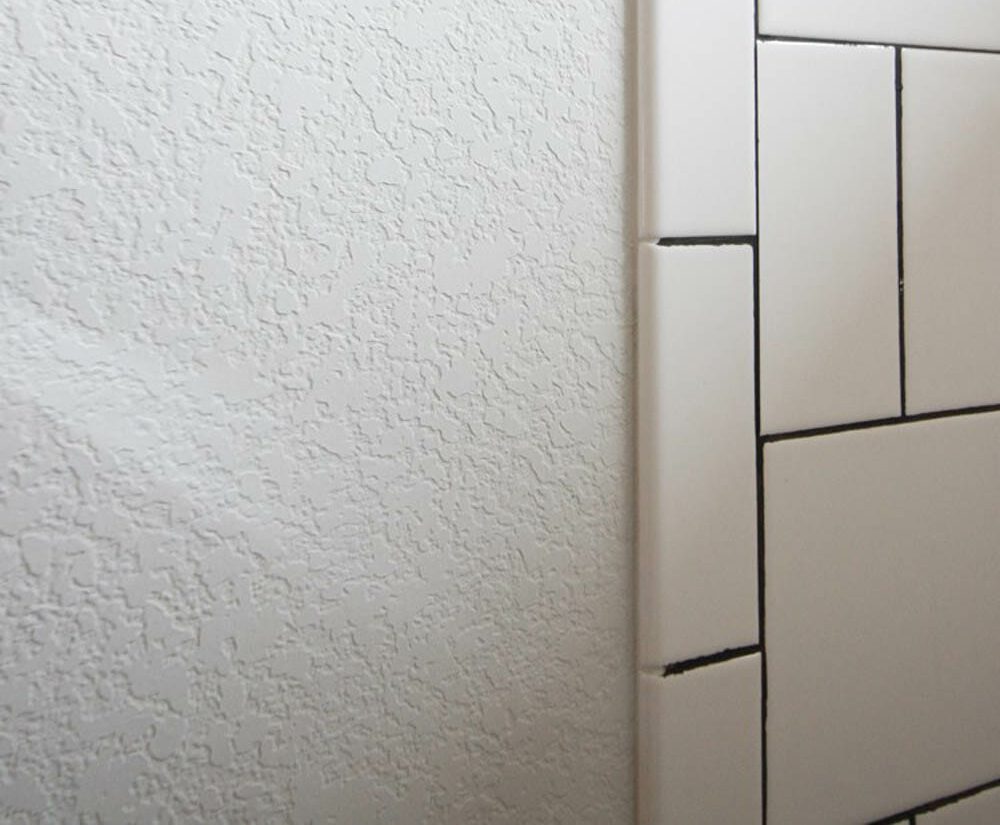
Textured walls may have been popular, but most homeowners nowadays prefer a sleek, smooth finish.
Removing that unsightly texture might seem challenging, but even a DIY beginner can achieve a smooth, flawless wall.
In this post, I’ll guide you through a simple skim-coating process to transform your textured walls into a beautiful, even surface ready for paint or wallpaper.
You’ll be ready to tackle this project and save money confidently.
Let’s get started on creating the smooth walls you’ve always wanted!
Achieving Smooth Finish on Textured Walls
Step 1: Prepare Your Workspace
The first crucial step in skim-coating textured walls is properly preparing your workspace. This involves gathering the necessary materials and tools and thoroughly protecting your work area.
Gather Materials and Tools
To skim coat effectively, you’ll need a few key items.
- Essentials: The essential materials include an all-purpose joint compound, the main ingredient for smoothing the walls. You’ll also need a 10-12 inch taping knife for spreading and smoothing the compound and a mud pan to hold it while you work. A thick nap paint roller can be extremely helpful for quickly applying the compound over large areas. Finally, you’ll want to have sanding tools on hand, such as a sanding block, sponge, or power sander, to smooth the surfaces once the compound has dried.
- Additional Tools and Protection: In addition to the main supplies, you’ll want to gather some protective gear and tools. These include drop cloths or plastic sheeting to cover floors, furniture, and fixtures, safety glasses, and a dust mask to protect yourself from the inevitable mess.
Protect Your Area
Once you have all your materials ready, it’s time to prep the work area.
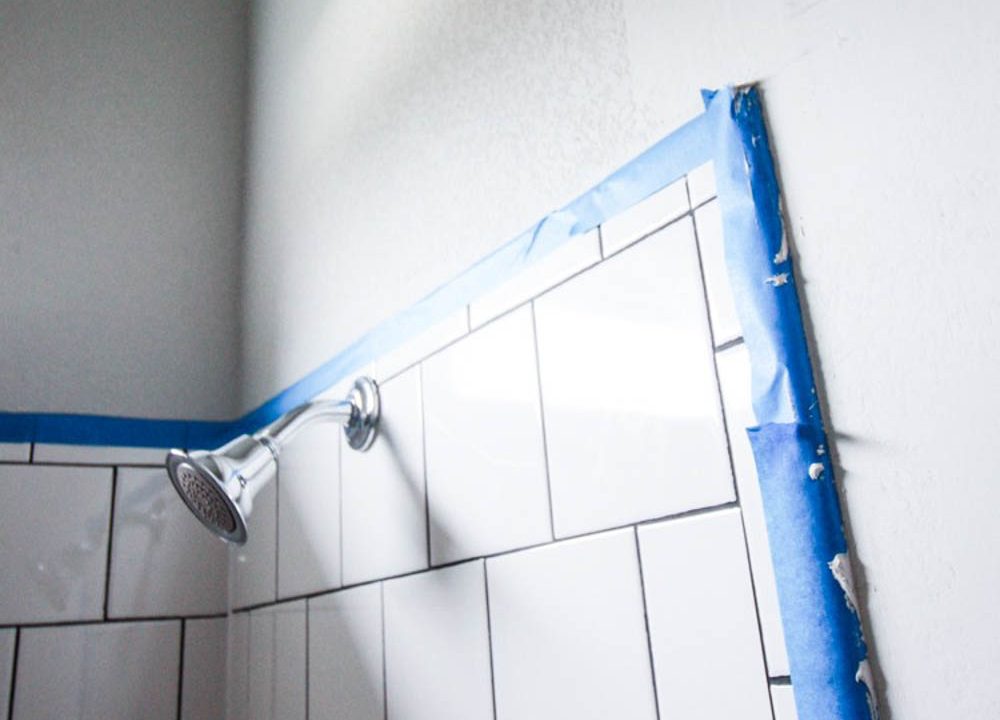
- Cover and Clear: Cover the floors, furniture, and fixtures with drop cloths or plastic sheeting. This will help contain the dust and compound splatters. You’ll also want to remove baseboards, outlet covers, and switch plates, making the skim coating process easier and preventing damage.
- Detailed Preparation: If possible, seal off the room entirely using plastic sheeting over doorways and windows. This will help minimize the spread of dust and debris, making cleanup much simpler. Finally, thoroughly wipe down the walls to remove any existing dirt, dust, or grease – this will ensure the joint compound adheres properly.
Step 2: Prepare the Wall
Properly preparing the wall surface before the skim coating is crucial. This involves cleaning the wall and addressing any existing cracks or imperfections.
Clean the Wall Surface
First, thoroughly clean the wall to remove dirt, dust, or loose paint.
- Wipe down the entire surface using a damp cloth or sponge. For areas with stubborn dirt or grease, use a mild detergent solution.
- Next, gently remove peeling or flaking paint with a putty knife or scraper.
- Once you’ve removed the loose paint, lightly sand the edges to create a smooth transition.
- Finally, use your joint compound to fill in any cracks, holes, or other imperfections in the wall.
- Apply the compound with a putty knife, smoothing the surface and feathering the edges.
- Allow the compound to dry completely before moving on to the next step.
Mix the Joint Compound
- You can use a premixed compound, which is convenient but may require some thinning. Alternatively, you can choose a powder compound that you mix with water.
- Regardless of which type you choose, the goal is to achieve a consistency similar to pancake batter.
- This will allow for easy application and smooth spreading on the wall.
- If using a premixed compound, open the container and stir it.
- Add a small amount of water if the mixture is too thick.
- For a powder compound, measure the appropriate amount into a mixing bucket and gradually add water, blending thoroughly with a drill and paddle attachment.
- Mix until the compound is free of lumps and has a uniform, smooth texture.
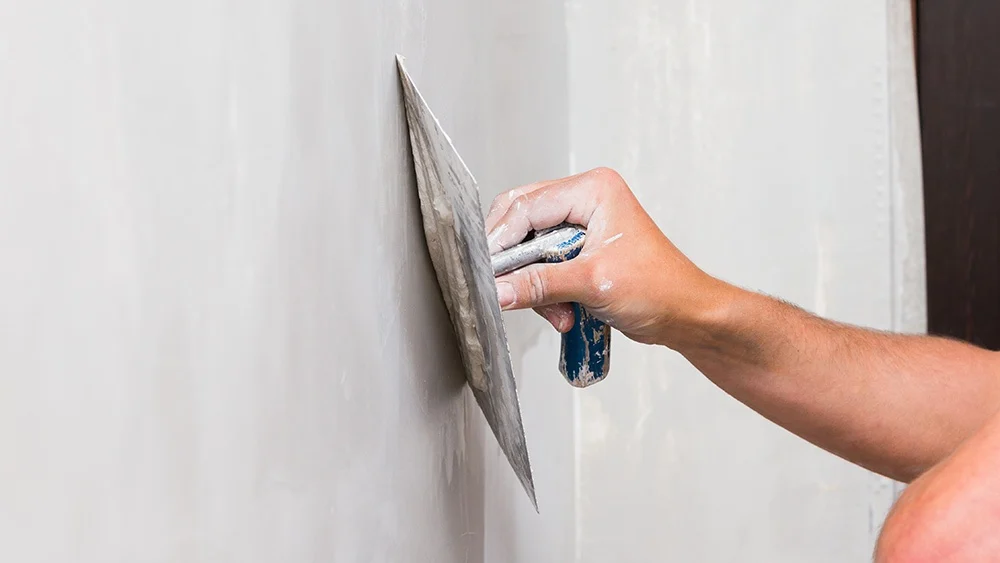
Step 3: Apply the Joint Compound
With your wall surface prepped and the joint compound properly mixed, it’s time to apply the skim coat. This process involves carefully layering the compound onto the wall and smoothing it for a seamless finish.
First Coat Application
- Begin by loading a thick nap paint roller with the joint compound. This roller type will help you quickly apply a generous, even compound layer across the wall.
- Work in small sections, covering an area of about 2-4 feet at a time. This will ensure the compound doesn’t have a chance to dry before you can smooth it out.
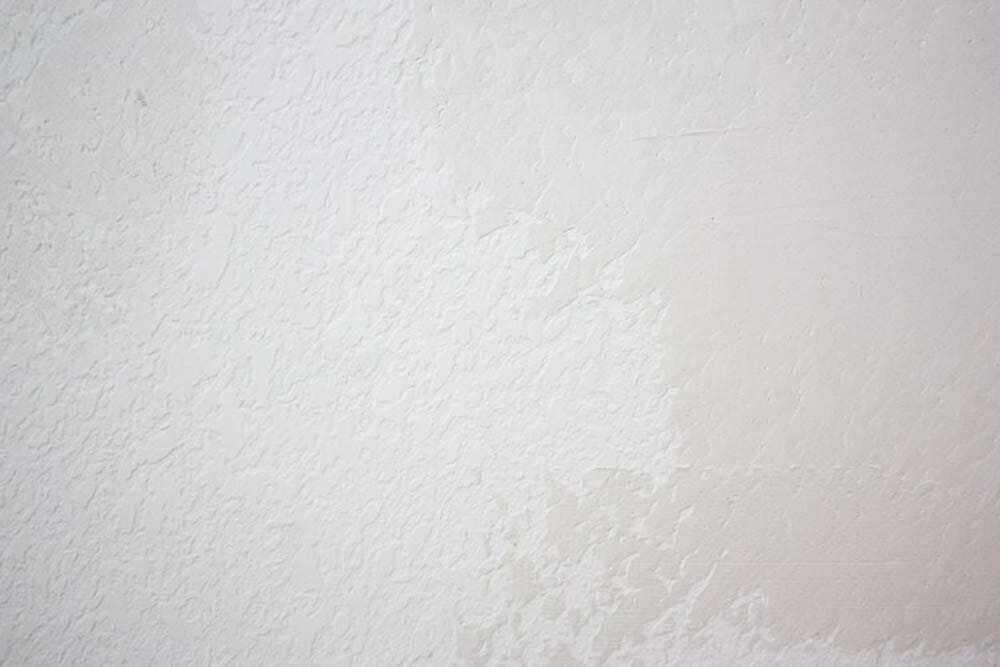
- Spread the compound evenly across the wall using a taping knife held at a 45-degree angle.
- Focus on filling the textured areas and creating a smooth, uniform layer.
- Apply enough compound to fully cover the surface without leaving gaps or thin spots.
Smoothing the First Coat
- Once you’ve applied the compound, it’s time to start smoothing it out.
- Again, work in small, manageable sections to control the drying time.
- Use the taping knife held at a shallow angle to spread the compound evenly, blending each section seamlessly into the next.
- To help keep the compound’s edges workable, mist the perimeter of each section with a damp rag or a water spray bottle.
- As you move from one section to the next, slightly overlap. This will help create a continuous, even coat without visible seams or lines.
- By carefully applying and smoothing the first coat of joint compound, you’ll lay the groundwork for a flawless, textured-free finish on your walls.
Step 4: Repeat Application for a Smooth Finish
Achieving that flawless, smooth look on your walls may require a bit of repetition, but the result will be well worth the extra effort. Let’s review the steps for applying additional coats of joint compound to ensure a smooth finish.
Additional Coats
- Before moving on to the next layer, ensure the first coat has dried completely.
- Check the manufacturer’s instructions for the recommended drying time and ensure no wet spots are remaining.
- When you’re ready to apply the next coat, load up your roller with the joint compound and use it in the opposite direction of the previous layer. For example, if you used the first coat vertically, use the second one horizontally.
- Continuing to alternate the direction of each coat helps ensure even coverage and minimize missed spots.
- As with the initial application, work in small, manageable sections, using your taping knife held at a 45-degree angle to spread the compound evenly.
- Focus on filling in any remaining texture or imperfections, aiming for a smooth, uniform layer.
Final Coats
- After the second coat has dried, closely examine the wall.
- If you still notice any rough spots or areas that need more attention, apply a third coat.
- Again, alternate the application direction and allow the compound to dry completely before moving on.
- If desired, you can lightly sand between coats to help remove any bumps or ridges that may have formed.
- Just be sure to clean off any dust before applying the next layer.
- By carefully applying multiple coats of joint compound, alternating the direction with each layer, you’ll have a beautifully smooth, textured-free surface ready for painting or wallpapering.
Step 5: Sanding for Perfection
Sanding is a crucial step in the skim coating process, as it helps create a truly smooth and flawless finish on your walls. Review the proper sanding techniques between coats and the final sanding step.
Sanding Between Coats
- After each layer of joint compound has fully dried, it’s time to sand the surface lightly.
- Use a fine-grit sandpaper, around 120-150 grit, and focus on any raised areas or problem spots.
- Be gentle with your sanding; you don’t want to remove too much of the compound or create new issues.
There are a few different tools you can use for this step:
- A simple sanding block or sponge works great for small touch-ups.
- Consider using a drywall sander connected to a shop vac for larger areas.
Final Sanding
- Once you’ve applied your final coat of joint compound and allowed it to dry completely, it’s time for the finishing touches.
- Grab your finest sandpaper, around 220 grit, and thoroughly sand the entire wall surface.
- Take your time and apply even, gentle pressure as you go.
- Please pay close attention to the edges and corners, ensuring they are as smooth as the rest of the wall.
- Inspect the surface under good lighting, marking any areas that may need a bit more attention.
- If you find imperfections, lightly sand or apply a small amount of joint compound to those spots, then re-sand to blend them in seamlessly.
- Once satisfied with the overall smoothness, wipe down the walls with a damp cloth or sponge to remove any remaining dust.
- With the sanding complete, your walls are ready for priming and painting, showcasing a beautifully smooth, textured-free finish.
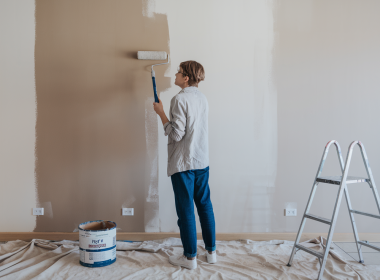
Step 6: Priming and Painting
Now that you’ve achieved that perfect, smooth finish on your walls, it’s time to move on to the final step – priming and applying your desired finish, whether paint or wallpaper.
Prime the Wall
- Applying a high-quality PVA (polyvinyl acetate) primer is important before painting or hanging wallpaper.
- When applying the primer, stir it thoroughly to ensure it’s well-mixed.
- Use a roller for large areas and a brush for edges and corners, working in small sections and overlapping each application to provide complete and even coverage.
- Follow the manufacturer’s instructions for the recommended drying time, usually a few hours.
- Once the primer is fully dry, do a quick inspection and touch up any areas you may have missed.
Finish with Paint or Wallpaper
- For painting, select a high-quality paint that’s suitable for the room’s purpose.
- Apply in thin, even coats, using a roller for broad areas and brushes for edges and corners. Two coats typically provide the best, most vibrant finish.
- If you’re going the wallpaper route, carefully follow the manufacturer’s instructions for mixing and applying the adhesive.
- Start in a corner and work across the wall, removing any bubbles or misalignments.
- Once your paint or wallpaper is complete, take a step back and admire your handiwork!
- Remove any painter’s tape, reattach outlet covers and switch plates, and do a final inspection to address missed spots.
Conclusion
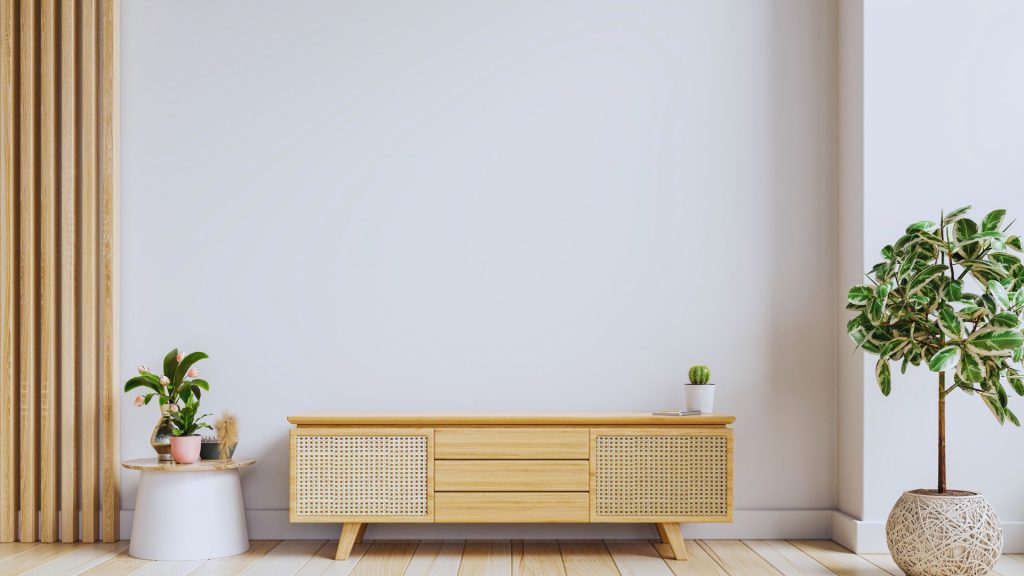
As you’ve seen, transforming your textured walls into a flawless, smooth surface is entirely achievable, even for beginner DIYers.
By carefully preparing your workspace, applying the joint compound in thin, even layers, and meticulously sanding between coats, you can create a professional-looking finish ready for paint or wallpaper.
The key is to take your time and not skip any essential steps. Remember, smooth walls elevate the overall look of your space and can also increase the value of your home.
So why not try this project? With the right tools and a little elbow grease, you’ll enjoy your beautiful, texture-free walls in no time.
Happy skim coating!