
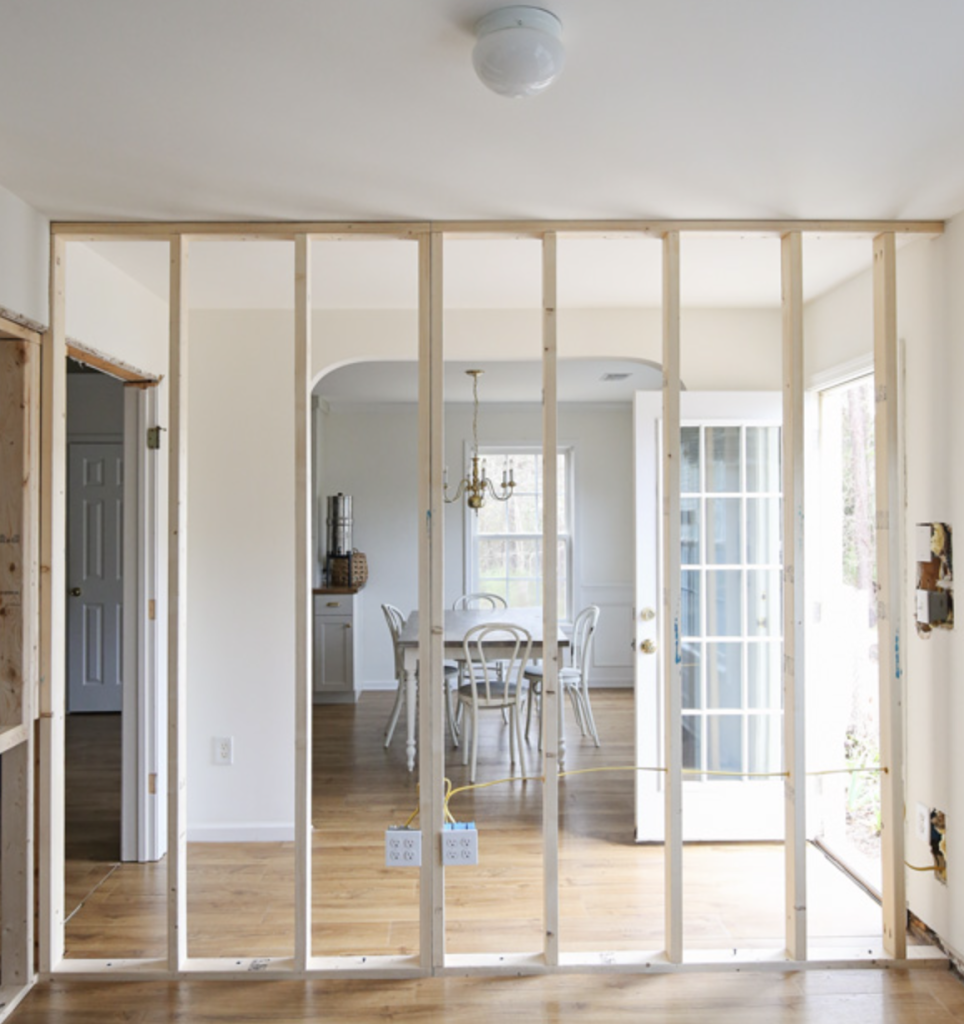
Do you want to add charm to your walls but feel overwhelmed by the thought of installing a beadboard? You’re not alone.
Many homeowners shy away from this project, thinking it’s too complex or time-consuming. But the good news is that installing a beadboard is simpler than you think.
In this guide, I’ll show you how to put up a beadboard like a pro, even if you’re a beginner. You’ll learn about the different types of beadboard, the tools you’ll need, and a step-by-step process to achieve great results.
By the end of this post, you’ll have the know-how to confidently tackle your beadboard project, transforming your space into something truly special.
Materials and Tools Needed for Installing Beadboard
Let’s go over what you’ll need for your beadboard project:
1. Materials
- Beadboard panels or planks
- Crown molding, trim, or chair molding (depending on your design)
- 1 1/4″ brad nails
- Construction adhesive (like Liquid Nails)
- Paintable caulk
- Lightweight spackle or wood filler
- Paint
- Primer (if your beadboard isn’t pre-primed)
2. Tools
- Miter saw
- Circular saw or table saw
- Brad nailer
- Level
- Measuring tape
- Stud finder
- Utility knife
- Pry bar and hammer (for removing old molding)
- Paintbrush and roller
Wall Preparation for Installing Beadboard
Getting your wall ready is a key step. Here’s what to do:
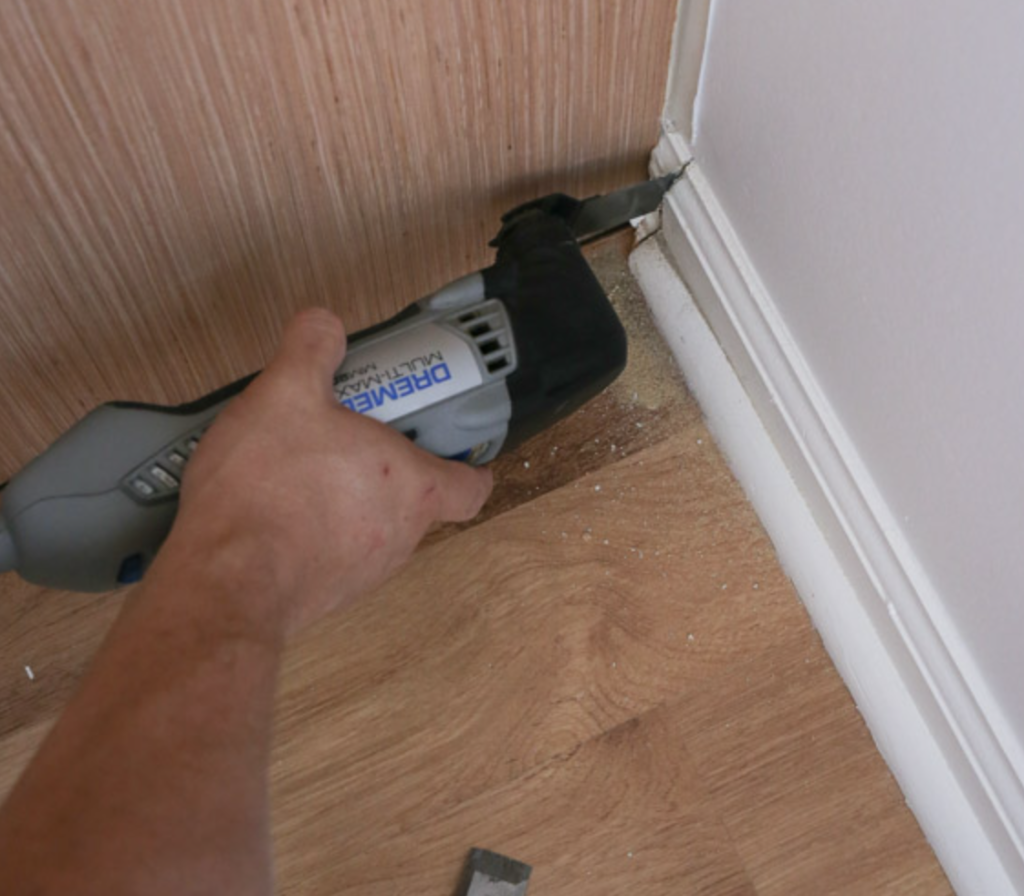
1. Remove Old Molding
- Use a utility knife to score the caulk line.
- Carefully pry off the molding with a pry bar and hammer.
2. Mark the Wall Studs
- Use a stud finder to locate studs.
- Mark their positions clearly – they’re usually 16 inches apart.
3. Clean the Wall
- Remove any dust, dirt, or loose paint.
- Repair any damages to ensure a smooth surface.
4. Plan Your Layout
- Decide where you want seams between panels.
- Consider how to work around outlets or switches.
5. For Partial Wall Coverage
- Draw a level line where the top of the beadboard will be.
Cutting Beadboard
1. Measure Twice, Mark Once
- Use your measuring tape carefully to determine the height and width needed for each panel.
- For height, measure from the floor to the ceiling (or desired height for wainscoting).
- For width, measure the wall length, considering any corners or obstacles.
- Use a carpenter’s pencil to mark your measurements clearly on the beadboard.
- Place a straight edge along your marks and draw a straight line to guide your cut.
2. Using a Circular Saw
- Choose a fine-toothed blade designed for cutting sheet goods or paneling.
- Secure your beadboard panel on a sturdy work surface, allowing the area to be cut to hang over the edge.
- Use clamps to hold the panel, preventing movement during cutting firmly.
- Set the blade depth on your circular saw to just slightly deeper than the thickness of your beadboard.
- Line up the saw blade with your marked cutting line.
- Start the saw before touching the blade to the beadboard, then slowly guide it along the line.
- Keep a steady hand and consistent pressure for a clean, straight cut.
3. Using a Table Saw
- Adjust the fence on your table saw to match the width of your desired cut.
- Double-check the measurement between the fence and the blade.
- Raise the blade to about 1/4 inch higher than the thickness of your beadboard.
- Stand to the side of the blade, not directly behind it, to avoid potential kickback.
- Use push sticks to guide the beadboard through the saw, keeping your hands away from the blade.
- Feed the panel slowly and steadily through the saw, maintaining firm pressure against the fence.
- Support the cut piece as it exits the saw to prevent it from falling or binding.
4. Check the Fit
- Take your cut panel to the installation area and hold it in place on the wall.
- Check that it fits correctly in terms of height and width.
- Look for gaps between the panel and the wall, floor, or ceiling.
- If the fit isn’t perfect, mark any areas that need adjustment.
- For minor adjustments, you can use sandpaper to fine-tune the edges.
- You may need to trim the panel further with your saw for larger adjustments.
DIY Tutorial: Installing Beadboard Panels
1. First Panel Installation
The first panel sets the foundation for your entire project. Here’s a detailed guide to getting it right:
Prepare the Wall
- Use a high-quality stud finder to locate and mark all wall studs.
- Mark stud locations with a pencil or painter’s tape for easy reference.
- Clean the wall thoroughly with a damp cloth to remove dust and debris.
- Allow the wall to dry completely before starting installation.
Position the First Panel
- Start at one corner of the room, preferably the most visible corner.
- Use 1/4-inch spacers along the bottom to create an expansion gap.
- This gap allows for the natural expansion and contraction of the materials.
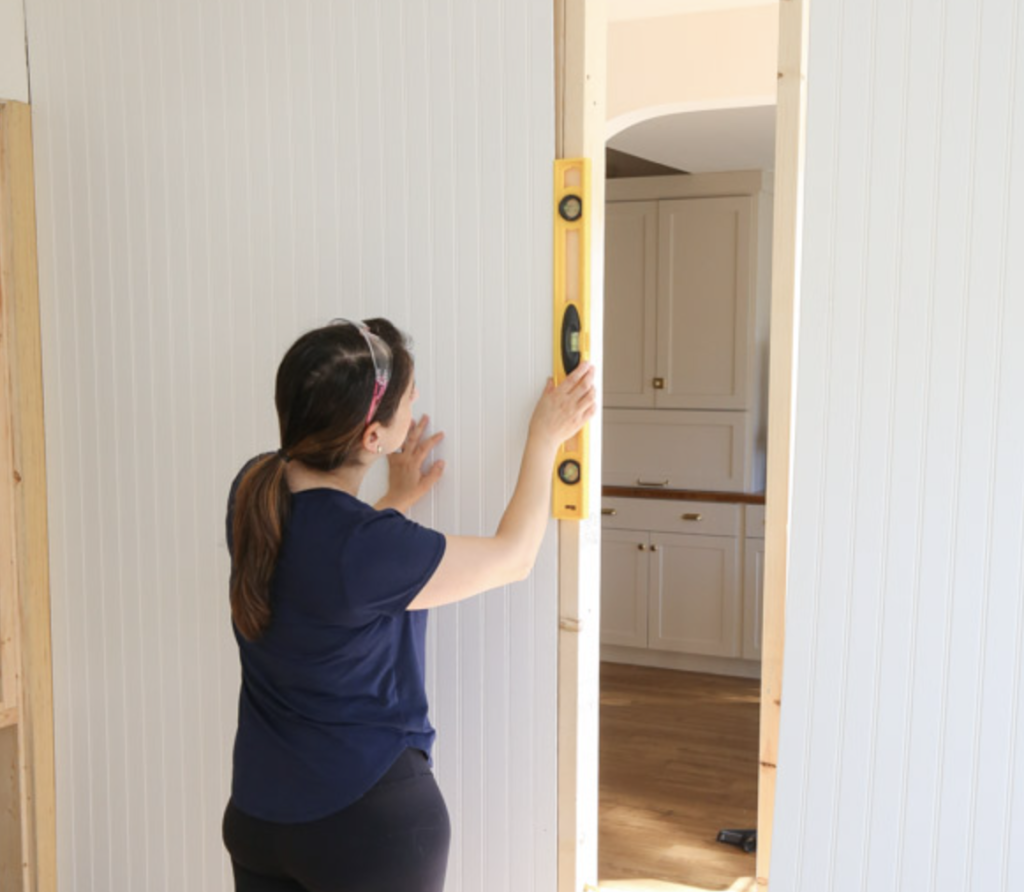
Level the Panel
- Place a long level vertically against the panel.
- Adjust the panel until the bubble in the level is centered.
- If the floor or ceiling is uneven, prioritize the panel’s verticality.
- You may need to scribe the top or bottom of the panel to follow any unevenness.
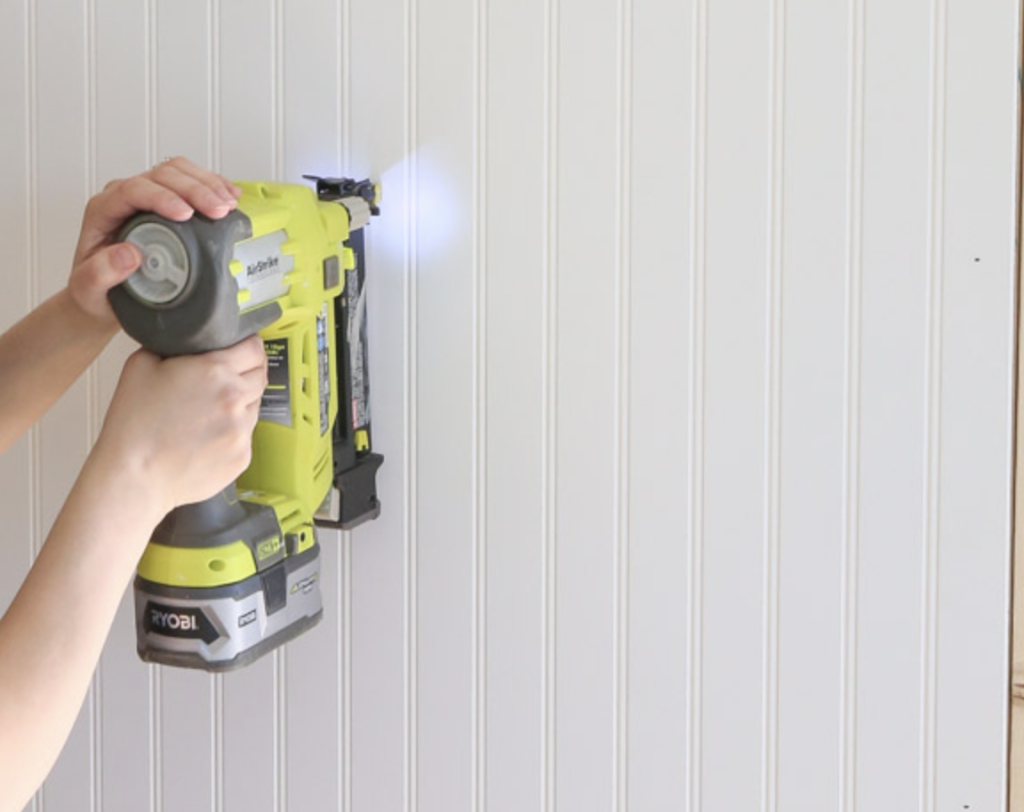
Secure the Panel
- Load your brad nailer with 1 1/4 inch brad nails.
- Start nailing at the top of the panel, about 1/2 inch from the edge.
- Place nails every 12-16 inches down the length of each stud.
If Using Construction Adhesive
- Apply a zigzag pattern of adhesive to the back of the panel.
- Press the panel firmly against the wall after applying the adhesive.
- Use a J-roller to ensure full contact between the panel and the wall.
2. Securing the Panels
A secure installation ensures longevity. Here’s how to achieve it:
Nailing Technique
- Hold the brad nailer perpendicular to the panel surface.
- Aim for the tongue of the beadboard groove when possible.
- Sink nails slightly below the surface to allow for filling later.
- Be careful not to nail too close to panel edges to prevent splitting.
Using Construction Adhesive
- Choose a high-quality adhesive suitable for your wall type and beadboard material.
- Apply adhesive in a continuous S-pattern on the back of each panel.
- Ensure coverage near panel edges for a secure bond.
- Don’t apply too much – excess can squeeze out and create a mess.
Installation on Different Surfaces
For Drywall
- Use both nails and adhesive for maximum hold.
- Ensure nails hit studs for proper support.
For Bare Studs
- Nailing directly into studs may be sufficient.
- Still consider using adhesive for added security and to prevent future warping.
Reinforcing the Installation
- After securing each panel, check for any hollow spots by tapping gently.
- If you find hollow areas, add more nails or adhesive as needed.
- Allow the adhesive to dry for at least 24 hours before applying significant pressure.
3. Edge Alignment
Proper edge alignment is crucial for a professional finish:
Aligning Panel Edges
- The first panel’s straight edge should align with the next panel’s grooved edge.
- Dry fit each panel before securing it to ensure proper alignment.
- Use a scrap piece of beadboard to tap the groove and tongue together.
Ensuring Tight Fits
- Use a rubber mallet to tap panels into place if needed.
- Never force a panel; recheck your measurements and cuts if it doesn’t fit easily.
- You may need to bevel the edge slightly with a plane or sander for a tight corner fit.
Dealing with Seams
- Once all panels are installed, inspect all seams carefully.
- Use a high-quality, paintable caulk that matches your beadboard color.
- Apply a thin bead of caulk along each seam using a caulk gun.
- Smooth the caulk immediately with a damp finger or caulk tool.
- Wipe away any excess caulk with a wet cloth before it dries.
Making Precise Cuts
- For end-of-wall cuts, measure twice and cut once.
- Use a fine-toothed saw blade to prevent splintering.
- Use a jigsaw or oscillating multi-tool for precise cuts for outlets or switches.
- Test fit all cut pieces before securing them permanently.
Final Adjustments
- Step back and examine your work from different angles.
- Look for any misalignments, gaps, or imperfections.
- Make any necessary adjustments before adding trim or molding.
- Fill any visible nail holes with wood filler, let dry, and sand smooth.
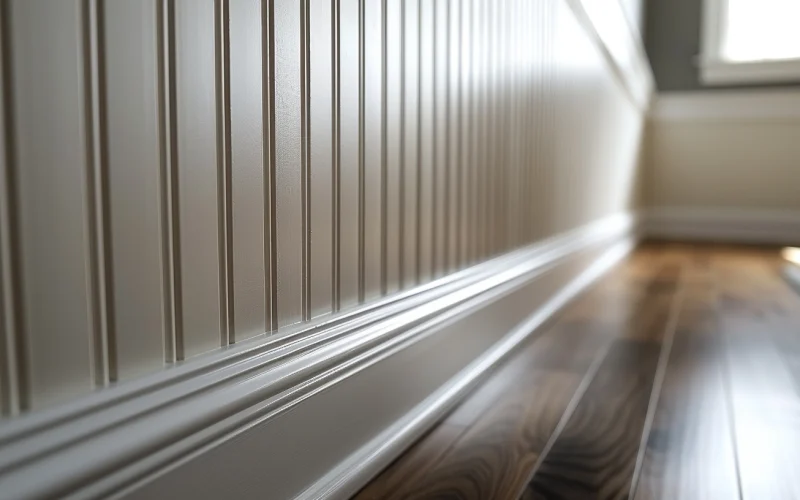
Installing Trim or Crown Molding
Adding trim or crown molding elevates your beadboard installation. It covers any gaps and gives your project a polished, professional look.
Here’s how to do it:
1. Measuring and Cutting Trim
- Measure each wall section carefully, noting any corners.
- Cut your trim at a 45-degree angle for inside corners using the miter saw.
- Use a coped joint for a tighter fit for outside corners- Cut one piece straight across.
- Cut the joining piece at a 45-degree angle, then use a coping saw to follow the profile.
2. Installing Bottom Trim
- Start with the bottom trim, working from one corner to the other.
- Place the trim against the wall, ensuring it’s level.
- Use your Brad nailer to secure the trim to wall studs every 16 inches.
- Check for level frequently as you go.
3. Installing Top Trim or Crown Molding
- For simple top trim, follow the same process as the bottom trim.
- Mark the bottom edge of where the molding will sit.
- Use a helper or crown molding clips to hold it in place.
- Nail through the thickest parts of the molding into wall studs.
- For added security, especially with heavier moldings, apply a bead of construction adhesive before nailing.
4. Finishing the Edges
- Once all trim is installed, check for any gaps.
- Apply a thin bead of paintable caulk along all edges where the trim meets the wall or beadboard.
- Smooth the caulk with a damp finger or caulk tool.
- Allow the caulk to dry completely before painting.
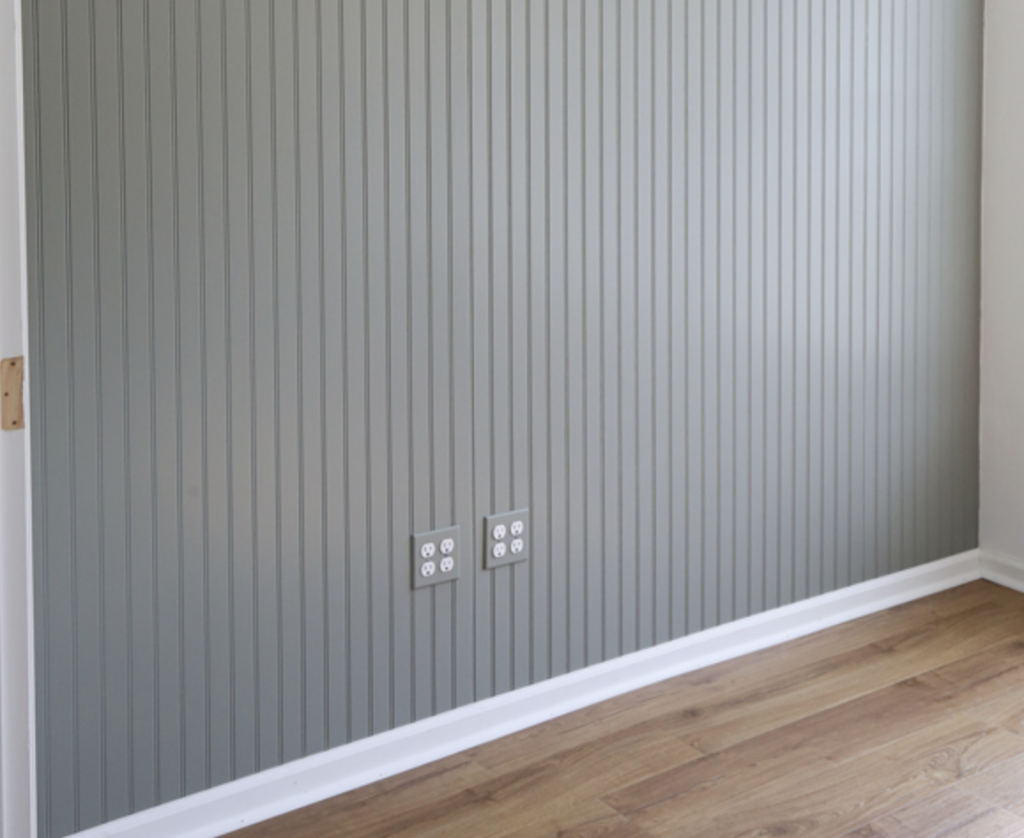
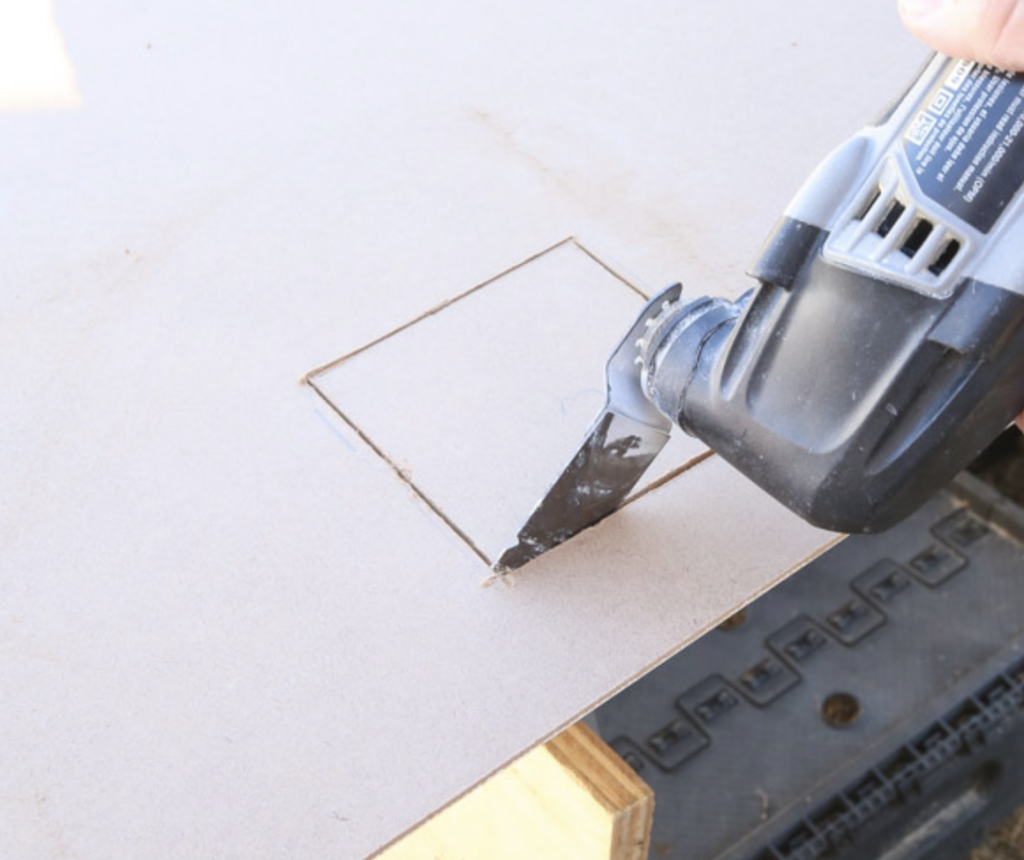
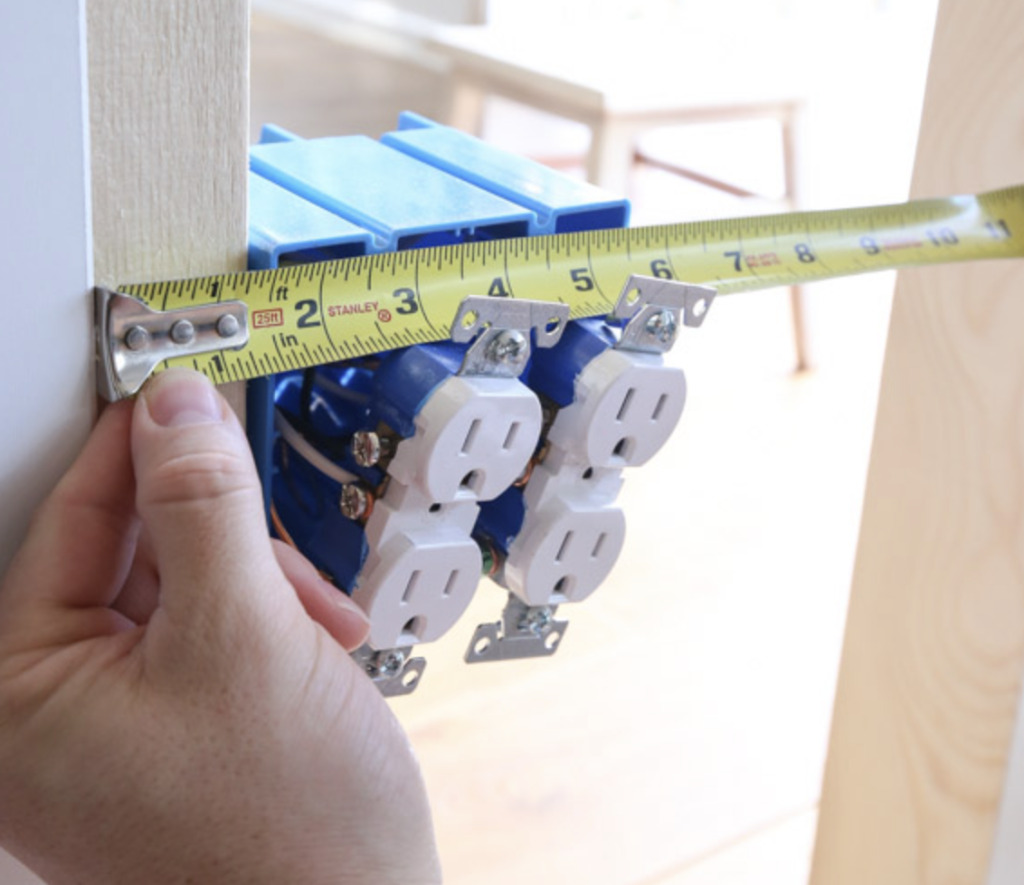
Making Special Cuts in Your Beadboard
1. Measure Carefully
- Turn off the power to all electrical outlets and switches in the work area.
- Remove the cover plates from outlets and switches.
- Use a measuring tape to find the distance from the floor (or the bottom of your beadboard) to the bottom of each outlet or switch box.
- Measure from the nearest edge of your beadboard panel to where the outlet or switch will be.
- Note the height and width of each outlet or switch box.
- For a precise template, place the cover plate on the back of your beadboard panel in the correct position and trace around it with a pencil.
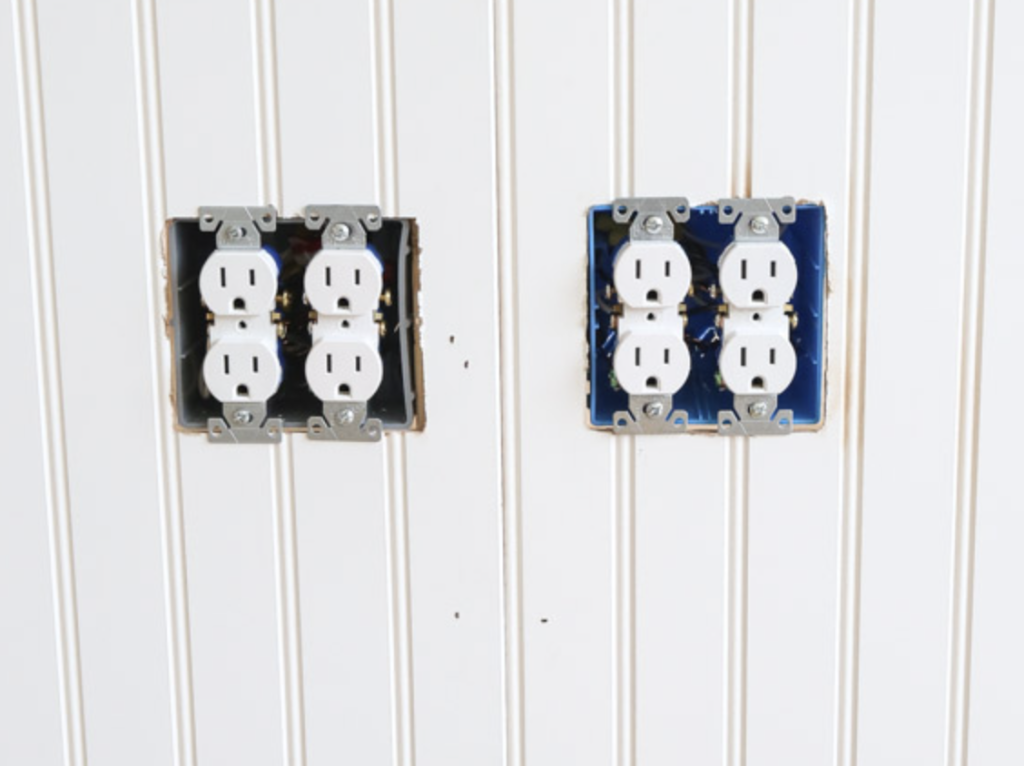
2. Cut for Outlets and Switches
- Flip your beadboard panel so the back is facing up.
- Transfer your measurements to the back of the panel, marking the position of each outlet or switch.
- Double-check all measurements before cutting.
- For rectangular cuts, use a jigsaw- Drill a starter hole in one corner of your marked area.
- Insert the jigsaw blade into this hole and carefully cut along your marked lines.
- Use a hole saw attachment on your drill for circular cuts (like for round electrical boxes).
- If using a Dremel tool, choose a cutting bit appropriate for your beadboard material.
- Carefully guide the tool along your marked lines, not applying too much pressure.
3. Ensure a Snug Fit
- Hold the cut panel to the wall, lining it with the outlets and switches.
- Check if the cutouts align properly and if the panel sits flush against the wall.
- If the fit is too tight- Use a utility knife or sandpaper to enlarge the opening slightly. Work slowly, removing small amounts of material at a time.
- If the opening is too large- You may need to cut a new panel or consider using larger cover plates to hide the gap.
4. Finish the Edges
- Apply a thin bead of paintable caulk around the edges of your cutouts.
- Use your finger or a caulk tool to smooth the caulk for a clean finish.
- Let the caulk dry completely before painting or reinstalling cover plates.
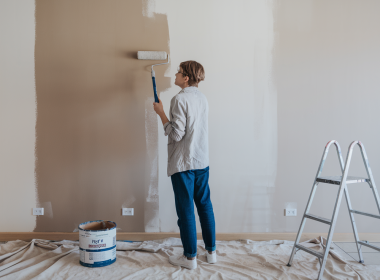
Painting Preparation
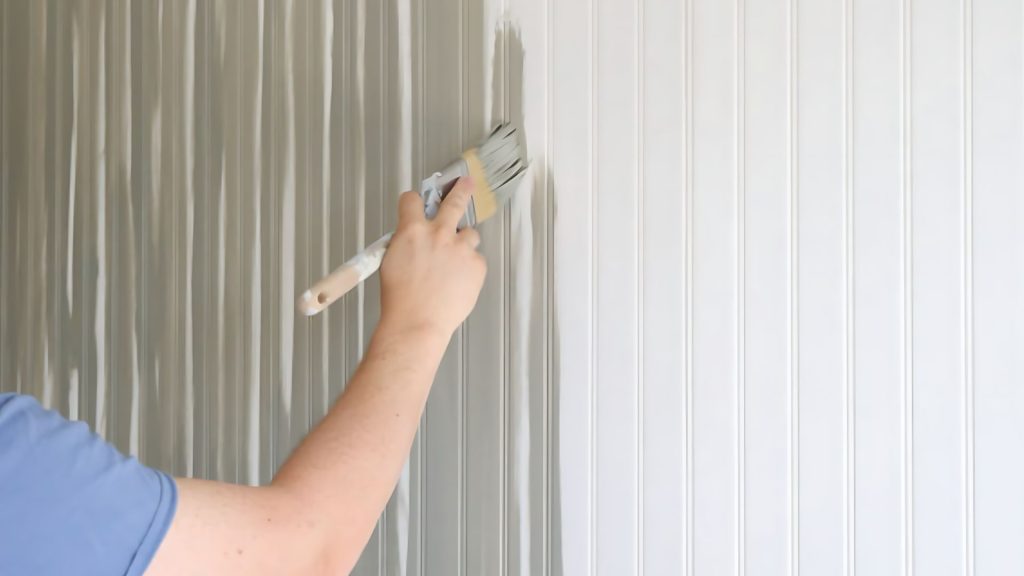
1. Sanding
- Lightly sand the entire beadboard surface with 220-grit sandpaper.
- Focus on any rough spots or areas where wood filler was used.
- Don’t sand too aggressively – you want to smooth the surface.
- Wipe away all dust with a tack cloth or slightly damp microfiber cloth.
2. Priming
- If your beadboard isn’t pre-primed, apply a coat of high-quality primer.
- Use a primer suitable for your beadboard material (wood or MDF).
- Apply primer with a foam roller for smooth surfaces.
- For grooves, use a small foam brush to ensure coverage.
- Let the primer dry completely as per the manufacturer’s instructions.
3. Final Prep
- Once the primer is dry, lightly sand again with 220-grit sandpaper.
- Remove all dust with a tack cloth.
- Use painter’s tape to protect any areas you don’t want painted.
For a more detailed tutorial on installing beadboards, click on the video below:
Wrapping It Up
Now that you’ve learned how to install beadboard like a pro, it’s time to use your new skills.
Remember, the key to a successful installation lies in careful planning, precise measurements, and attention to detail.
Don’t rush the process – take your time with each step, from preparing your space to the final coat of paint. If you encounter challenges along the way, don’t get discouraged.
Every DIY project is a learning experience. With practice, you’ll become more confident in your abilities.
So, why not start transforming your space today? Whether you’re adding charm to your bathroom, kitchen, or living room, beadboard can make a big impact.
Share your beadboard projects in the comments below – we’d love to see what you create!