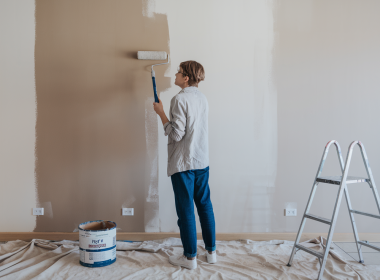
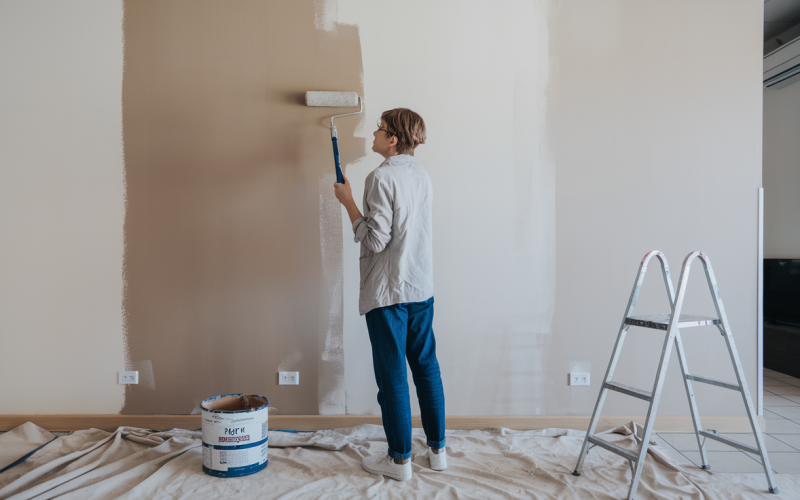
“The wall’s already painted—how hard can it be?” Many homeowners ask this question when considering a color change.
The good news: You can do this yourself with the right approach.
The success of your painting project often depends on three key factors:
- The current condition of your wall
- The type of paint already there
- How different your new color will be
In this guide, we’ll walk you through the essentials of painting over existing paint.
You’ll learn simple methods to check what type of paint is currently on your walls.
There is information on when you should use primer (and when you can skip it), practical tips for a smooth finish, and more.
Can You Paint Over Already Painted Walls?
Yes, you can paint over walls that have already been painted. The success of your project depends on the current wall condition, paint type, and color change.
1. Check Wall Condition First
Before starting, check your walls for damage, such as peeling paint, cracks, holes, dirt, or mold.
Repair any issues and clean the walls with mild soap and water. This preparation is essential for good results.
2. Paint Type Matters
The type of paint currently on your walls matters, too. Water-based paint over water-based usually works fine without a primer.
However, if you’re applying water-based over oil-based paint, you’ll need to sand and prime first.
For oil-based paint over water-based, a primer is necessary for proper adhesion.
3. Consider Color Changes
Color changes affect your approach as well. Going from dark to light typically requires a primer or multiple coats.
Light to dark is usually easier. Similar colors need fewer coats overall.
4. Basic Painting Process
The basic process involves cleaning, repairing, sanding glossy surfaces, applying painter’s tape, priming if needed, and painting with the proper technique.
A second coat is often necessary for the best coverage.
Step-by-Step Guide to Repainting Painted Walls
Painting over a wall that already has paint might seem simple, but skipping the basics can lead to problems.
1. Check the Wall’s Condition

Before you start painting, look at the wall closely. Walls without issues make your work simpler and create better outcomes.
When a wall is already clean, smooth, and has no damage, you can begin with very little prep work.
If you see holes, dents, or stains on your walls, you’ll need some extra steps. First, apply a spackling compound to any holes.
Once dry, use a sanding block to smooth those areas. Then, wash the whole wall to remove any dirt, dust, or grease.
This creates a clean surface for your new paint to stick properly.
2. Identify the Existing Paint Type

Finding out what paint type is on your walls is a key step.
Try this quick test: Put some rubbing alcohol on a cotton ball and rub a small, hidden spot on your wall.
When the paint gets soft and rubs off, it is latex paint. If it stays hard and doesn’t come off, it is oil-based paint.
Knowing your current paint type helps you pick the right new paint and tells you if you need a special primer.
3. Know When You Need Primer

With Primer
A coat of primer helps paint stick better to walls. For better coverage, apply primer to walls with repairs and patches.
A primer is also needed when switching between oil-based and latex paints to help them bond properly.
For big color changes, like going from dark to light shades, primer creates a clean slate for your new color to shine.
Without Primer
You can often skip primer on walls that are clean and smooth with no fixes.
If you’re using the same kind of paint that’s already on your walls (like latex over latex), you might not need primer.
When your new paint color is close to what’s already there, you can usually paint directly over the old coat and save time.
4. Choose the Right Paint

Latex paint works well for most interior walls. It’s water-based, dries fast, and cleans up easily.
Oil-based paints aren’t used as often for walls today, but they offer good durability in high-traffic areas.
Products that combine paint and primer can save time on minor touch-ups or simple color changes.
5. Gather Tools & Materials

Having everything ready before you start saves time and stress.
You’ll need:
- Paint in your chosen finish (flat, eggshell, satin, etc).
- Primer (if your project requires it)
- Rollers of appropriate nap for your wall texture
- Quality brushes for trim and corners
- Paint tray
- Painter’s tape for clean edges
- Drop cloths to protect floors
- Spackling compound and sanding block (for repairs)
- Wall cleaner or degreaser
- Stir sticks
- Gloves to keep your hands clean
6. Paint Like a Pro
Apply primer first when needed, following what the product instructions say.
For the actual painting, work on small sections about 3-4 feet square at a time.
Put on two thin coats of paint instead of trying to cover everything with one thick layer.
Wait for each coat to dry fully before adding the next one—the paint will tell you how long this takes.
Try using a “W” pattern with your roller for better paint coverage. As you work, keep a “wet edge” where the new paint meets the old to avoid creating visible lines.
After you finish, let the final coat dry completely before you put furniture back or hang items on the walls.
This simple approach helps create walls that look clean and professional without paying someone else to do the work.
Special Scenarios You Might Face
When repainting walls, you might run into situations that need special handling.
These common issues can make your project more complex, but with the right approach, you can still get great results.
Here are some specific cases you might encounter and how to handle them properly for a smooth, professional finish.
Painting Over Dark Colors
A good primer is key when painting over bold or dark colors. It helps hide the existing color and creates a blank slate for your new paint.
This approach actually saves you money on paint in the long run and reduces the number of coats you’ll need to apply.
Switching Paint Types
Going from oil-based to latex paint requires a bonding primer – this step is not optional. The primer helps the latex grip to the slick oil surface.
Going the other way (latex to oil) isn’t the best idea, but it can work with proper prep.
For most home projects, sticking with latex paint is the simpler choice.
Repainting Damaged Walls
After fixing holes or replacing sections of drywall, use primer on those spots before painting.
The primer helps create an even surface so your paint sticks well and looks smooth.
It also helps hide the patches and repairs, so they blend in with the rest of the wall.
Common Mistakes to Avoid
Painting over painted walls can be simple, but skipping the small stuff often leads to bigger problems.
Here are the most common errors people make:
- Many people try to save time by painting over dirty or glossy surfaces. This almost always leads to paint that peels or doesn’t stick properly. Always clean walls thoroughly and sand glossy surfaces first.
- Putting latex paint directly on top of oil-based paint without a bonding primer is a recipe for failure. The paint will likely chip off quickly. Test your existing paint type and use the right primer if needed.
- Rushing between coats causes big problems. When you don’t allow enough drying time, the paint can bubble, streak, or peel. Follow the drying times listed on your paint can—they’re there for a reason.
- When changing from a dark color to a light one, skipping primer means you’ll need many more coats of paint. This wastes both time and money. A good primer can save you from applying 3-4 extra coats.
- The tools you use matter a lot. Cheap brushes and rollers often shed fibers and create streaks in your finish. Spending a bit more on quality tools will give you much better results and less frustration.
Final Tips for a Smooth Finish
Take your time with each step of the painting process. Going too fast often leads to mistakes that need fixing later.
Read all labels on paint and primer cans before starting. These instructions are specific to the products you bought and will help you get the best results.
Make sure you have good lighting while you work. This will help you spot missed spots, drips, or uneven areas as you go.
Always start painting from the top of the wall and move downward. This way, any drips or spatters will fall onto unpainted areas that you’ll cover later.
Final Thoughts
Painting over painted walls is not as tough as it might seem, especially when you take the right steps to get ready. A bit of planning goes a long way.
Remember the basics: check your wall condition, test the paint type, use primer when it matters, and choose the right materials for your needs.
Take your time with each step. Rushing often leads to results that don’t last. With some care and attention to detail, your walls will look fresh and new again.
Want to make your next painting project go smoothly? Use the tips above and share this guide with friends who need it.
Frequently Asked Questions
What if I Want to Use Leftover Paint?
Check if it’s the same type (latex or oil) as what’s currently on your walls.
Also, make sure the paint hasn’t gone bad – it should mix well and smell normal.
Can I Just Use Paint + Primer in One?
This works well for walls that are already in good shape with no damage.
It’s also fine when you’re making small color changes rather than dramatic ones.
Do I Need To Sand Before Repainting?
Sand only when the current paint is glossy, peeling, or has an uneven texture.
Light sanding helps the new paint stick better to these problem surfaces.

