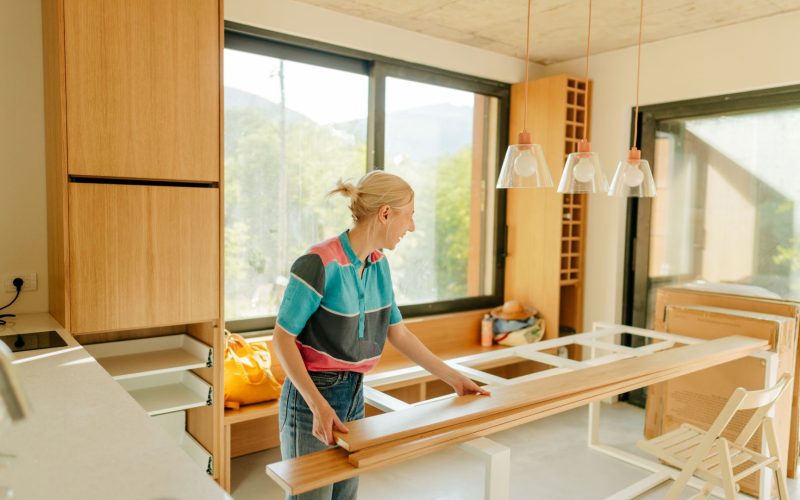


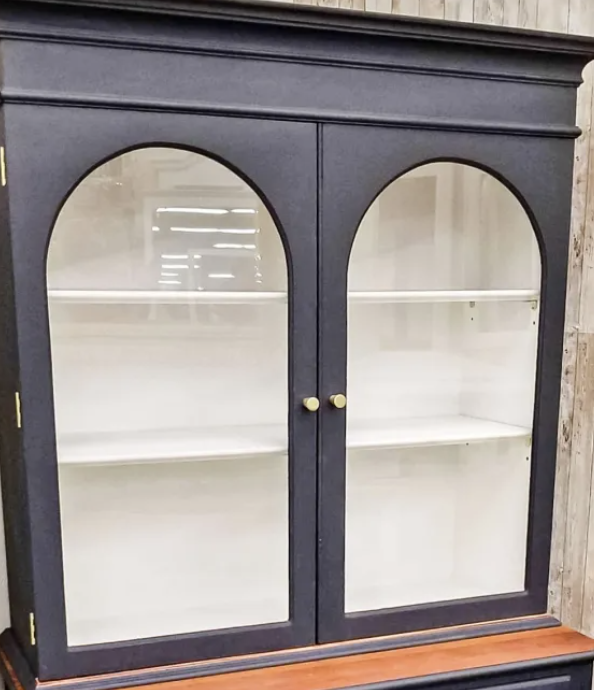
Cabinet refinishing can breathe new life into your kitchen, but the thought of tackling it yourself might seem daunting.
Many homeowners worry about the time, skill, and effort required to achieve professional-looking results.
Don’t fret! With the right approach, you can transform your cabinets without breaking the bank or hiring a pro. This DIY tutorial will guide you through the process step by step.
In this article, I’ll show you how to refinish cabinets like a pro. You’ll learn the essential supplies needed, proper preparation techniques, and expert tips for a flawless finish.
By the end, you’ll have the knowledge and confidence to give your kitchen a fresh, updated look that you’ll love for years.
Materials and Tools Required to Refinish Cabinets
Before we start, let’s gather everything we need for refinishing cabinets:
- 80/120/220 Grit Sandpaper: You’ll gradually use these different grits to smooth the surface. Start with 80 grit for rough sanding, move to 120 for medium smoothing, and finish with 220 for a fine, smooth surface.
- Orbital Sander: This power tool will make the sanding process much faster and easier, especially on large, flat surfaces of your cabinets.
- Dremel: A Dremel tool tackles tight corners and intricate details that an orbital sander can’t reach.
- Detail Sander Picks: These small tools will help you sand in your cabinets’ crevices and other hard-to-reach areas.
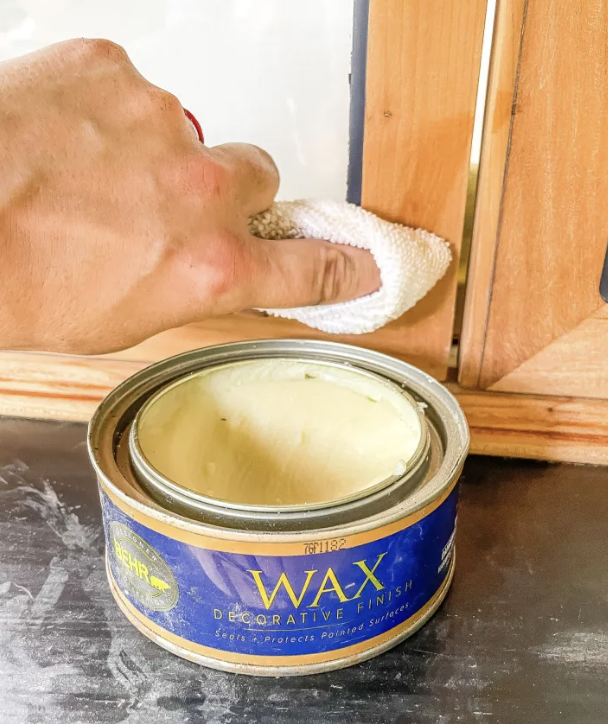
- Clear Wax: This will protect your newly refinished cabinets and give them a subtle sheen.
- Stain (optional): If you want to change the color of your wood, you’ll need a wood stain. Choose a color that fits your style and home decor.
With these tools and materials, you’ll be ready to start your cabinet refinishing project!
How to Refinish Cabinets: A Step-by-Step Guide
Step 1: Preparation
Proper preparation is crucial to ensure a smooth and successful cabinet refinishing project. Let’s break it down into two important aspects:
Safety Precautions
Your safety comes first. Here’s what you need to do:
- Always wear a mask. This will keep you from breathing in dust and fumes that could harm your lungs.
- Find a well-ventilated area to work in. Open windows or work outside if possible. This helps reduce your exposure to harmful chemicals.
- Don’t forget safety goggles and gloves. These protect your eyes and skin from dust, splinters, and chemicals.
Cleaning the Cabinet
Clean cabinets are key for a good finish. Here’s how to do it right:
- Use a damp cloth or sponge with a bit of mild soap. Wipe down all the cabinet surfaces.
- Pay extra attention to areas near the stove or oven. These spots often have built-up grease and grime.
- After cleaning, let the cabinets dry completely. This might take a few hours, but it’s worth the wait.
Step 2: Initial Sanding
Sanding is a key step in refinishing. It removes old paint and finishes, creating a smooth surface for your new finish.
Using 80 Grit Sandpaper
Start with coarse sandpaper to strip off old layers:
- Begin with 80-grit sandpaper. This rough paper will quickly remove old paint, varnish, or lacquer.
- Sand in the direction of the wood grain. This helps avoid scratches that might show through your new finish.
- Work on one section at a time. This ensures you don’t miss any spots.
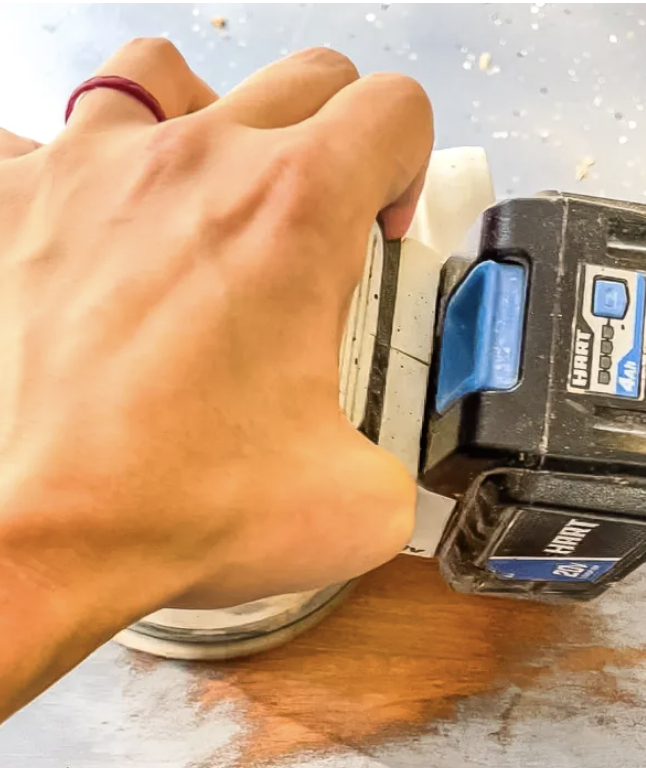
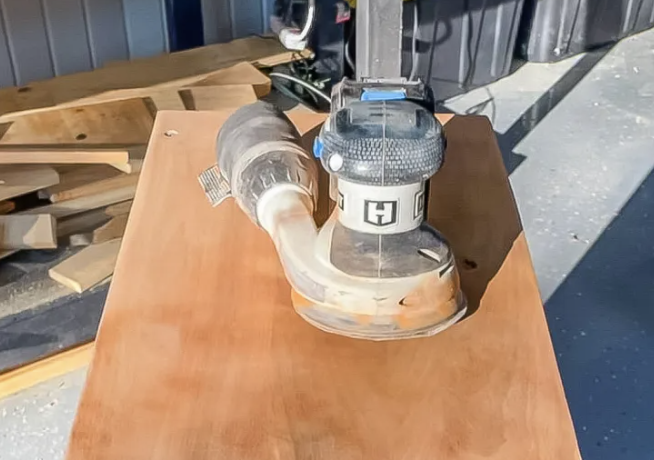
Sanding Large Sections with an Orbital Sander
For big, flat areas, an orbital sander is your friend:
- Put 80 grit sandpaper on your orbital sander.
- Use it on the large, flat surfaces of your cabinet doors, sides, and frames.
- Keep the sander moving steadily. If you stay in one spot too long, you might create dips or uneven areas.
- Check your work often. Keep sanding until the wood is smooth and free of old finish.
Step 3: Detailed Sanding
After the initial sanding, it’s time to focus on the finer details. This step ensures your cabinet is perfectly smooth and ready for the next phase.
Switching to 120 Grit Sandpaper
Now, let’s refine the surface:
- Swap out your 80-grit for 120-grit sandpaper.
- Sand the whole cabinet again. This smooths out any rough spots left by the coarser paper.
- Keep sanding with the wood grain. This helps avoid visible scratches.
- Your goal is an even, smooth surface. Take your time to remove any lasting flaws.
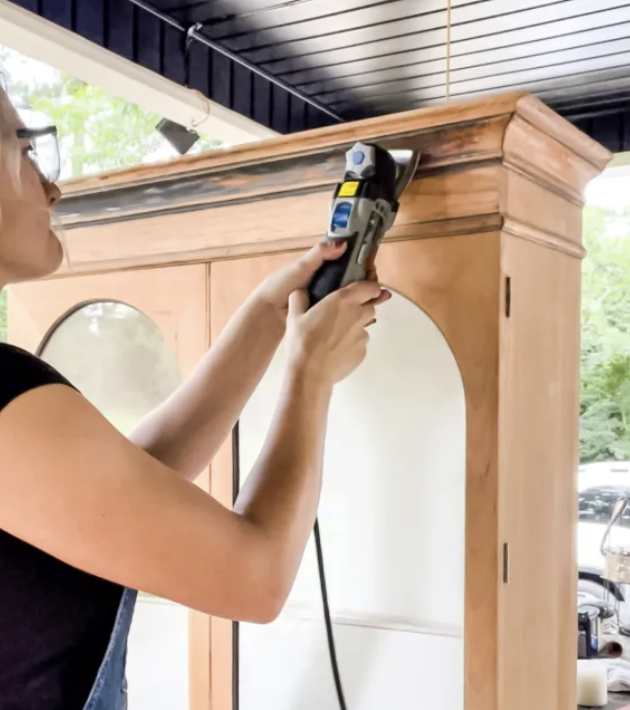
Using a Dremel for Detailed Areas
For those tricky spots, a Dremel tool is super helpful:
- Use your Dremel with a sanding attachment for detailed areas.
- Go slow and steady in grooves, corners, and edges.
- Be extra careful to avoid damaging the wood.
- For super tight spots, use those handy detail sander picks.
Removing Stubborn Varnish with the Oven Cleaner Method
If you’re dealing with tough varnish, try this:
- Spray oven cleaner all over the cabinet. It helps break down stubborn varnish.
- Wrap the cabinet in saran wrap and let it sit overnight.
- The next day, unwrap it and use a scraper to remove the soft varnish.
- Rinse with a hose and scrub with a stiff brush to clean off any leftovers.
- Let it dry fully before moving on.
Step 4: Final Sanding
This last sanding step gets your cabinet ready for staining or sealing.
Using 220 Grit Sandpaper
Time to make it silky smooth:
- Use 220 grit sandpaper for this final pass.
- Sand the whole cabinet again. You’re aiming for a super smooth, even surface.
- Make sure to get rid of any marks from earlier sanding.
- Be extra careful around edges and corners.
- Wipe down the surface often to check how smooth it is. Fix any spots that need more work.
Experimenting with Stains
Now comes the fun part—finding the perfect color for your refinished cabinets! Let’s explore how you can experiment with different stains.
How to Try Different Stains
Don’t be afraid to try out various stains:
- Always test your stain on a hidden spot first. You can see how it looks without risking the whole cabinet.
- Keep in mind that different types of wood react differently to stains. What looks great on oak might not work the same on pine.
- As you try different stains, jot down notes. This helps you remember what you liked and what you didn’t.
- Remember, experimenting is how you’ll find your space’s perfect, unique look. It’s worth the effort!
Examples of Successful Stain Combinations
Here are some popular stains to get you started:
- Natural by Minwax: This one’s great if you want to show off the wood’s natural beauty.
- Flagstone by Varathane: Try this for a modern, grayish tone.
- Simply White by Minwax: Perfect for a clean, bright look. It works well on its own or mixed with other stains.
- Sun Bleached by Varathane: This gives a nice, weathered look – like beach wood.
- Antique White by Varathane: Great for a vintage feel. It’s often used with other stains for a layered look.
You can even mix stains to create your unique shade. For example, try blending Natural and Simply White for a soft, neutral finish.
Remember to play around with how you apply the stain, too. Using a rag instead of a brush can give you different effects.
Maintaining Your Refinished Cabinets
Now that you’ve put in all that hard work let’s discuss how to keep your refinished cabinets looking great for years.
Regular Cleaning Tips
Keeping your cabinets clean is key:
- For daily care, use a soft, dry cloth to dust. This stops dirt from building up.
- When you need a deeper cleaning, use a damp cloth with mild soap and water.
- After cleaning with water, dry the cabinets immediately with a soft cloth. This helps avoid water spots.
- If something spills, clean it up fast. This stops stains and keeps your finish looking good.
- Every so often, check for scratches or worn spots. Fixing these quickly keeps your cabinets looking their best.
Avoiding Harsh Chemicals
To protect your hard work, be careful what you use to clean:
- Don’t use rough cleaners or scrubbers. These can scratch your cabinets.
- Stay away from strong chemicals like bleach, ammonia, or strong solvents. They can damage your finish.
- Look for cleaning products made for wood furniture. These are usually safer.
- Before you use a new cleaner, try it on a small hidden spot first.
- You might want to use furniture polish or wax to protect the finish. But avoid ones with silicone or alcohol in them.
Following these tips will keep your newly refinished cabinets looking great for a long time!
The Final Word
I hope you feel ready to tackle your project as we wrap up this DIY cabinet refinishing journey.
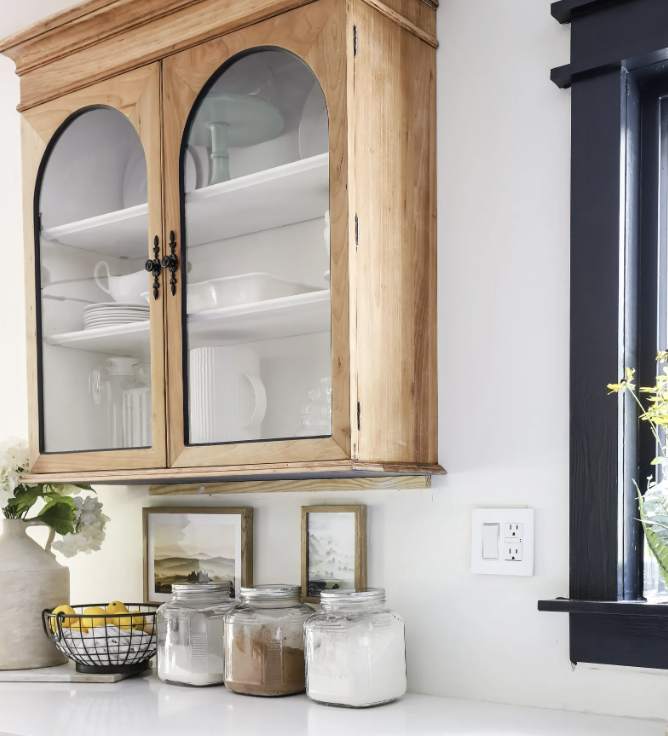
Remember, the key to success lies in patience and attention to detail. From prepping and sanding to choosing the perfect stain, each step plays a crucial role in achieving that beautiful, natural wood look you’re after.
Don’t be afraid to experiment with different stains or techniques—that’s how you’ll find your unique style. Once you’ve completed your project, regular maintenance will keep your cabinets looking great for years.
Why not start planning your cabinet makeover today?
Your kitchen could be transformed sooner than you think. If you have any questions or want to share your refinishing experience, please comment below.
Happy refinishing!