
Creating beautiful decorations for your home can be both exciting and daunting.
Many of us want to add a touch of elegance to our spaces, but finding unique ornaments that don’t break the bank can be challenging.
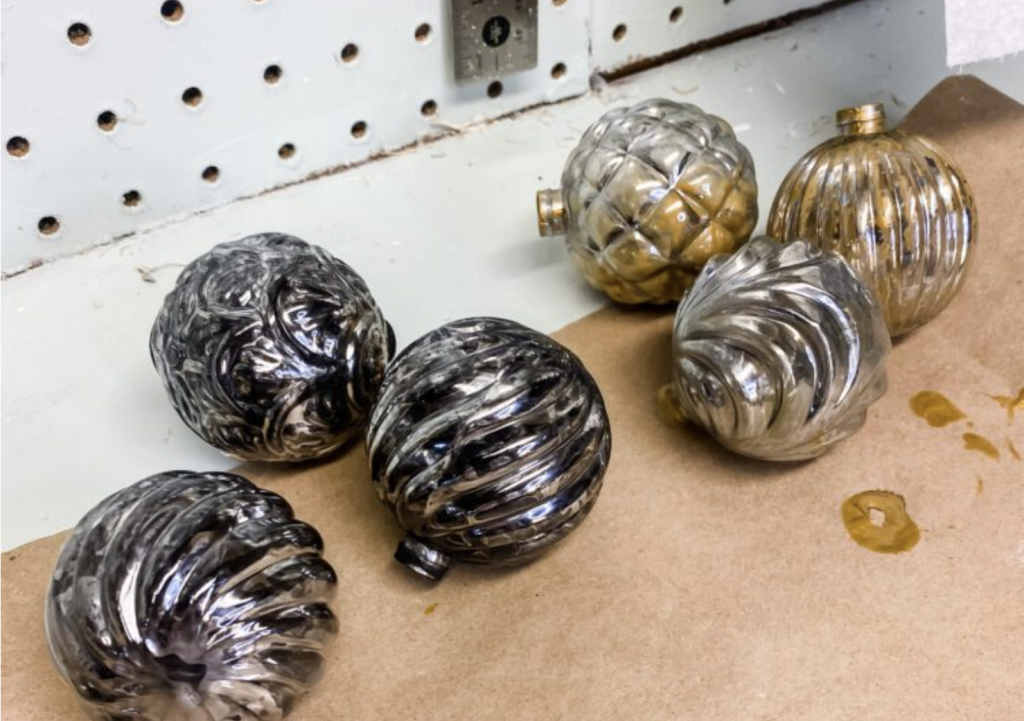
That’s where DIY mercury ornaments come in.
These stunning pieces can transform any room with their shimmering, vintage-inspired look.
I’ll show you how to make your mercury ornaments easily and affordably.
You’ll learn a simple technique that turns ordinary glass balls into eye-catching decorations.
These ornaments are perfect for sprucing up your Christmas tree or adding year-round glamour to your home.
In this guide, I’ll walk you through each step of how to make mercury ornaments.
You’ll discover the materials you need, learn the painting technique, and get tips for achieving a flawless finish.
Let’s get started on your new favorite craft project!
How to Make Mercury Ornaments
Making your mercury ornaments is easier than you might think.
These shimmering beauties can transform your Christmas tree or home into a winter wonderland.
You’ll be amazed at how these DIY decorations rival expensive store-bought versions.
Step 1: Gather Supplies
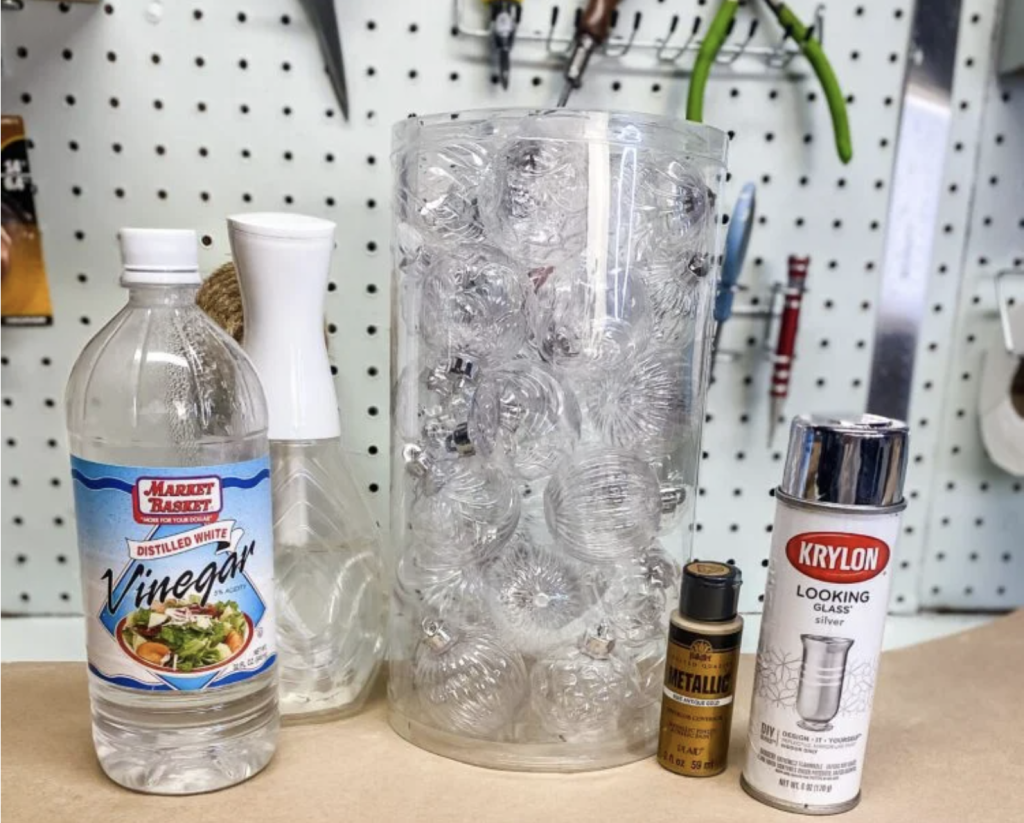
You’ll need a few key items to start your DIY mercury glass ornament project:
- Get clear plastic ornaments as your base.
- Pick up looking glass spray paint for the main effect.
- Prepare a spray bottle with equal parts water and vinegar.
- Also, grab some gold metallic paint for added depth.
- Don’t forget a hairdryer—it’s essential for the process.
Having everything ready before you begin will make the project go smoothly.
Step 2: Prepare Ornaments
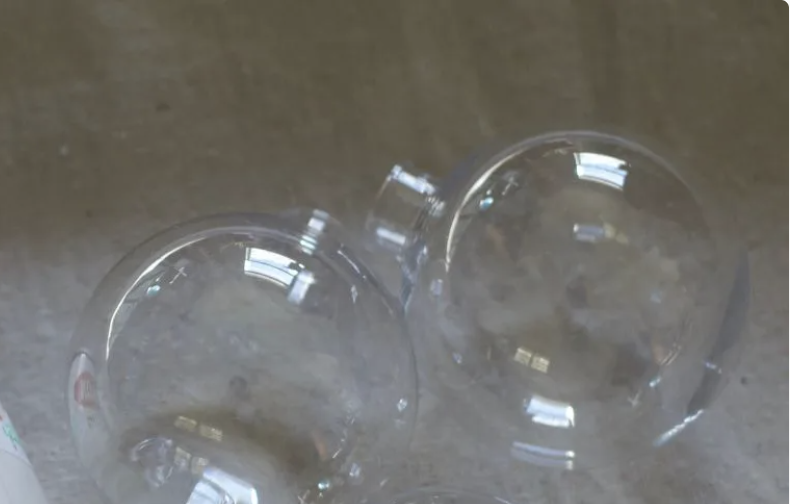
Begin by carefully removing the caps from your plastic ornaments.
These caps are usually metal and detach easily.
Set them aside in a safe place – you’ll need them later.
This step is important because it allows you to work on the inside of the ornament.
Make sure your work area is open and well-ventilated, as spray paint will be used.
A clean, clear ornament is your blank canvas for creating a beautiful mercury glass effect.
Step 3: Apply Paint
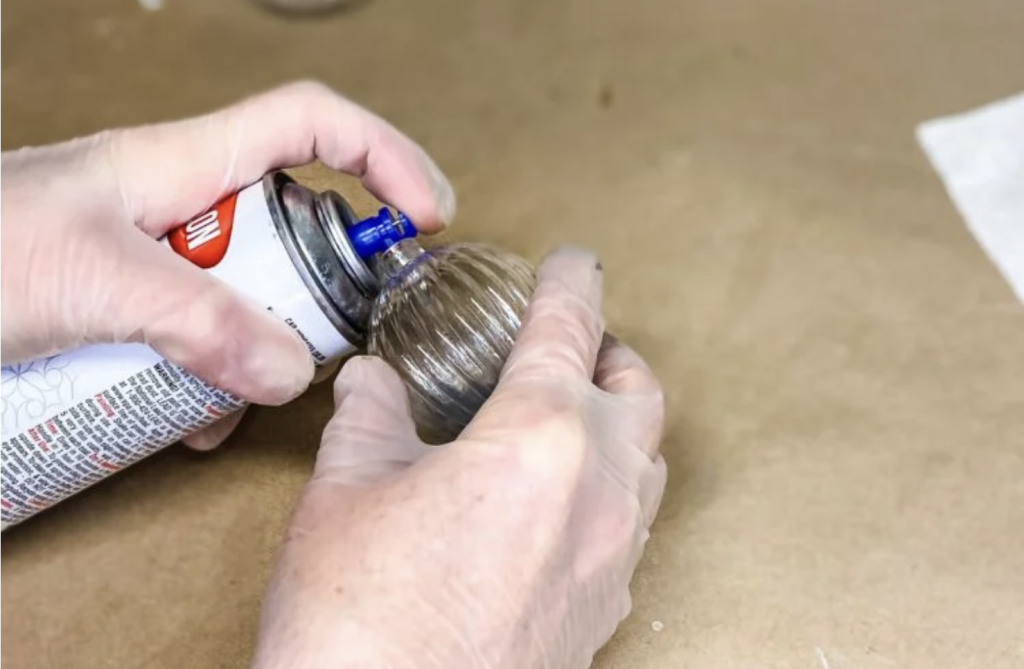
Now comes the fun part.
Hold your ornament with the opening facing up.
Give five quick bursts of looking glass spray paint directly into the opening.
Don’t worry about being too precise.
Once you’ve sprayed, start rolling the ornament in your hands.
Keep this up for about 20 seconds.
This motion helps spread the paint evenly across the inside surface, creating a uniform base for your mercury glass effect.
Step 4: Initial Drying
After applying the paint, it’s time for the first drying step.
Turn on your hairdryer to a warm setting – not too hot.
Aim the warm air over its surface as you continue rolling the ornament in your hands.
Do this for about 20-30 seconds.
This step helps set the base layer of paint, but it hasn’t dried completely yet.
Step 5: Create texture
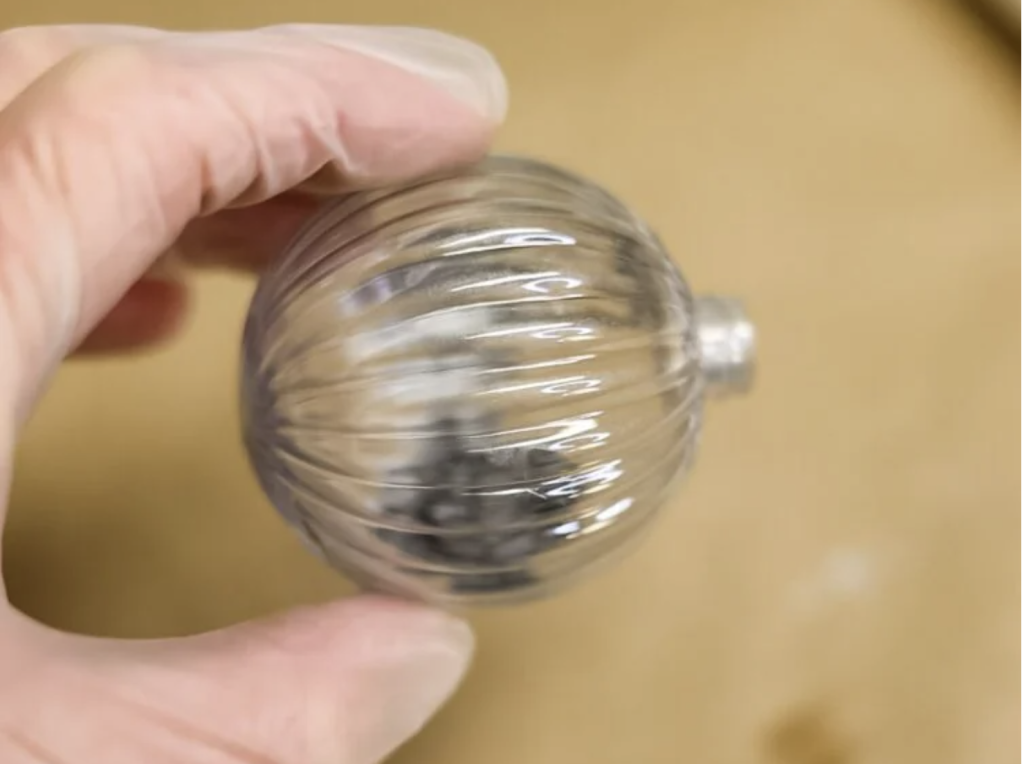
This step gives your ornament that classic mercury glass look.
Take your spray bottle with the water-vinegar mix.
Give a couple of sprays inside the ornament.
Quickly cover the opening with a paper towel or your hand.
Now, shake the ornament strongly.
The vinegar mixture reacts with the paint, creating small gaps and a mottled effect.
This is what gives mercury glass its unique, vintage appearance.
Step 6: Remove excess
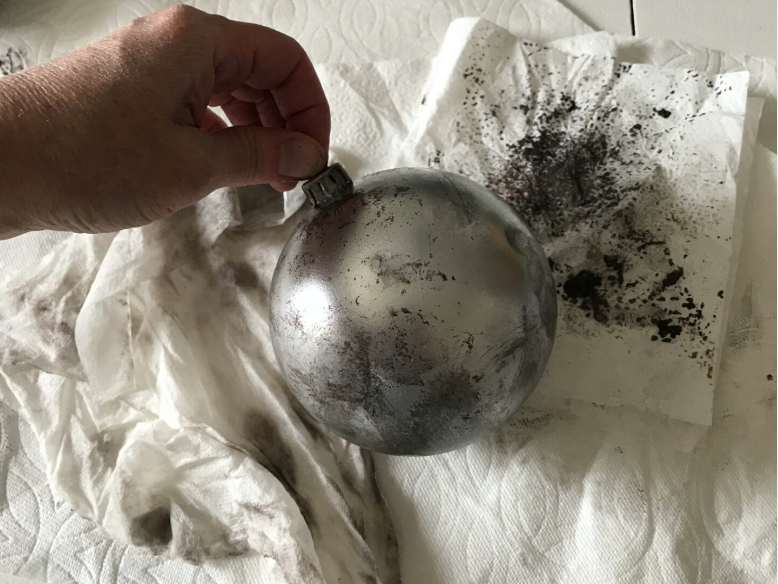
After shaking, you’ll have excess liquid inside the ornament.
Gently tap it out onto a paper towel.
Be careful not to remove too much, as some moisture helps create the desired effect. Once you’ve removed the excess, use your hairdryer again.
Aim it at the ornament’s opening until the inside looks dry.
This step helps set the texture you’ve created, preparing the surface for the next layer.
Step 7: Add color
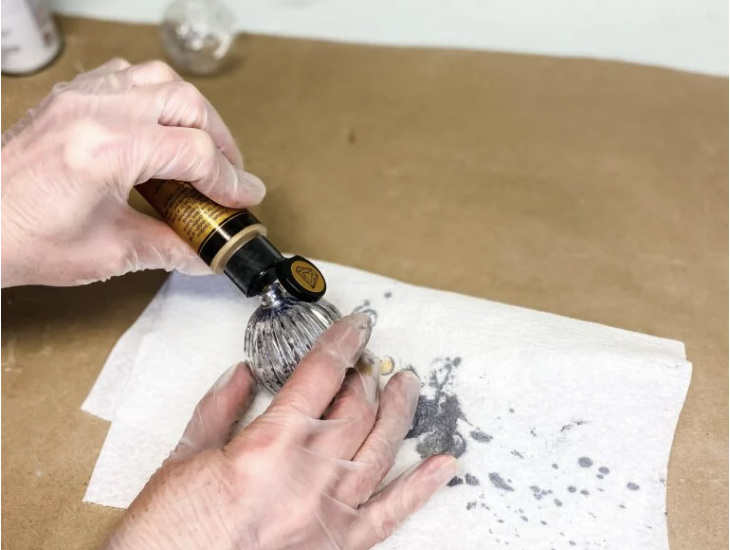
Add a small amount of gold acrylic paint to give your ornament depth and warmth.
Squirt just a little bit into the ornament.
Cover the opening securely with your hand or a paper towel.
Shake the ornament to spread the gold paint around the inside.
This gold layer adds a subtle, rich undertone to your mercury glass effect, making it look more authentic and luxurious.
Step 8: Final drying
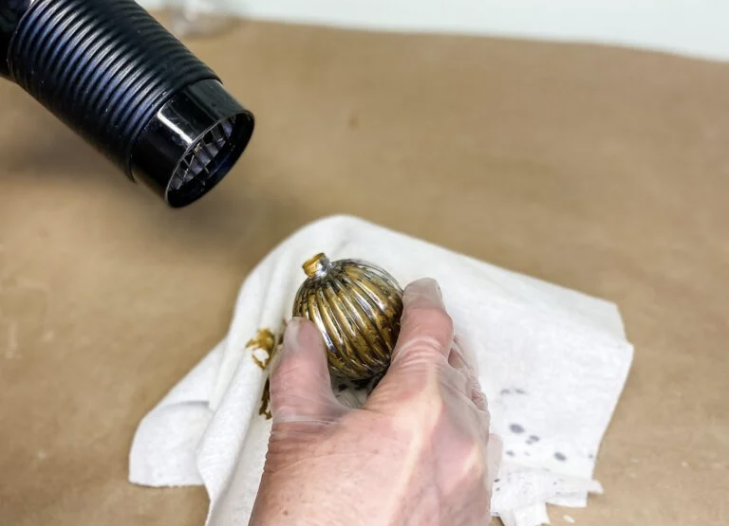
For this step, you’ll use your hairdryer again.
Could you turn it on to a warm setting?
As you roll the ornament in your hands, aim the warm air at the outside and into the opening.
This helps dry the gold paint you just added and further sets all the layers.
Keep rotating the ornament to make sure it is evenly drying.
This step usually takes about 30-60 seconds.
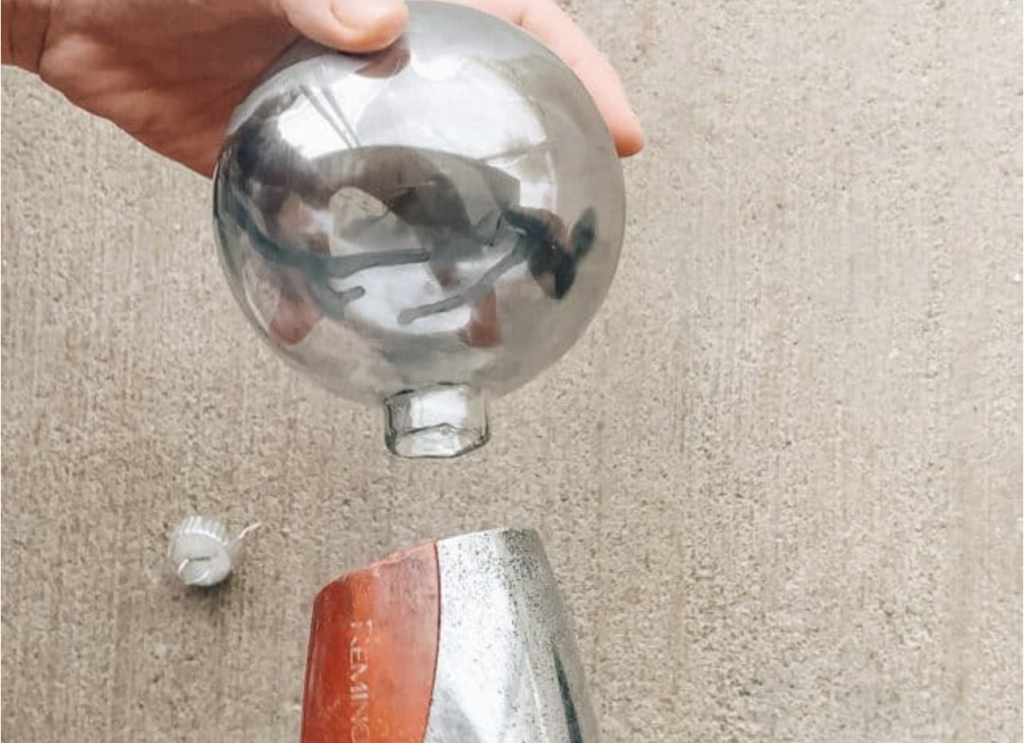
Step 9: Let Dry
After all that work, your ornaments need time to fully dry.
Set them aside in a safe place where they won’t be disturbed.
As they dry, you’ll notice the paint continues to develop its appearance.
The mercury glass effect will become more pronounced and beautiful.
This drying process can take a few hours, so be patient.
It’s worth the wait to achieve that perfect vintage look.
Step 10: Finish Touches

While your ornaments are drying, you can prepare the caps you set aside earlier.
Use metallic spray paint to give them a complementary finish.
Once everything is dry, carefully reattach the caps to your ornaments.
Your DIY mercury glass ornaments are now complete!
They’re ready to adorn your Christmas tree or to be displayed as part of your holiday decor.
Tips for Perfect DIY Mercury Ornaments
Want to take your homemade mercury ornaments to the next level?
Here are some helpful tips to ensure your creations shine:
- Choose the right ornaments: While I used clear plastic ornaments, you can also try glass ones. Just be extra careful when handling them.
- Experiment with colors: Though silver is classic, don’t shy away from other metallic shades. Gold, rose gold, or even copper can create stunning effects.
- Layer it up: For a more complex look, try adding multiple layers of paint. Let each layer dry before adding the next.
- Play with patterns: Use stencils or tape to create designs on your ornaments before applying the mercury glass effect.
- Keep it clean: Work in a dust-free area to avoid particles sticking to your wet paint.
- Mix up your vinegar solution: Try different ratios of water to vinegar to achieve varied textures.
- Don’t overdo the gold: A little goes a long way, but too much can overpower the mercury glass effect.
- Protect your work: Once dry, seal your ornaments with a clear spray lacquer for extra durability.
- Store with care: When not used, wrap your ornaments in soft tissue paper to prevent scratches.
- Make it a group activity: This project is perfect for crafting with friends or family. Everyone can create their unique ornament.
- Think beyond Christmas: These ornaments can be used year-round as home decor. Try hanging them in windows or arranging them in a bowl as a centerpiece.
- Be patient: Don’t rush the drying process. Giving your ornaments ample time to dry between steps will result in a better finish.
- Practice makes perfect: Don’t give up if your first attempt isn’t quite what you hoped for.
Each ornament you make will be better than the last.
Remember, the joy of DIY projects is in the process as much as the result.
Have fun with it, and don’t worry if your ornaments aren’t perfect.
Their handmade charm is what makes them special.
Conclusion
Making your mercury ornaments is a delightful and cost-effective way to add vintage charm to your holiday decor.
With a few simple materials and some patience, you’ve created beautiful decorations that rival expensive store-bought versions.
Remember, each ornament is unique, so don’t worry if they’re identical.
The slight variations add to their handmade appeal.
Feel free to experiment with different colors or techniques to personalize your creations.
These DIY mercury ornaments aren’t just great for your tree – they make wonderful gifts, too.
Your friends and family will appreciate your time and effort in making something special for them.
Whether you’re decorating your home or sharing your creations with loved ones, these homemade mercury ornaments are sure to bring a touch of magic to the holiday season.