


Dealing with a power outlet that suddenly stops working can be frustrating, especially when the circuit breaker hasn’t tripped.
Many homeowners find themselves scratching their heads, unsure of how to proceed.
A common problem can disrupt your daily routine and leave you powerless.
I’m here to help you troubleshoot this issue and repair your outlet.
In this guide, I’ll discuss several potential causes and solutions for an outlet that’s not working even though the breaker isn’t tripped.
We’ll explore various scenarios, from simple fixes you can try yourself to more complex issues that may require professional help.
By the end of this article, you’ll clearly understand what might be causing your outlet problem and the steps you can take to resolve it.
Initial Checks
1. Ensure Safety First
Before we dive into troubleshooting, let’s prioritize safety.
Electricity can be dangerous, so we need to take precautions.
First, turn off the power at the circuit breaker.
Find your home’s main circuit panel and switch off the breaker that controls the problematic outlet.
If you’re unsure which one, it’s better to turn off the main breaker.
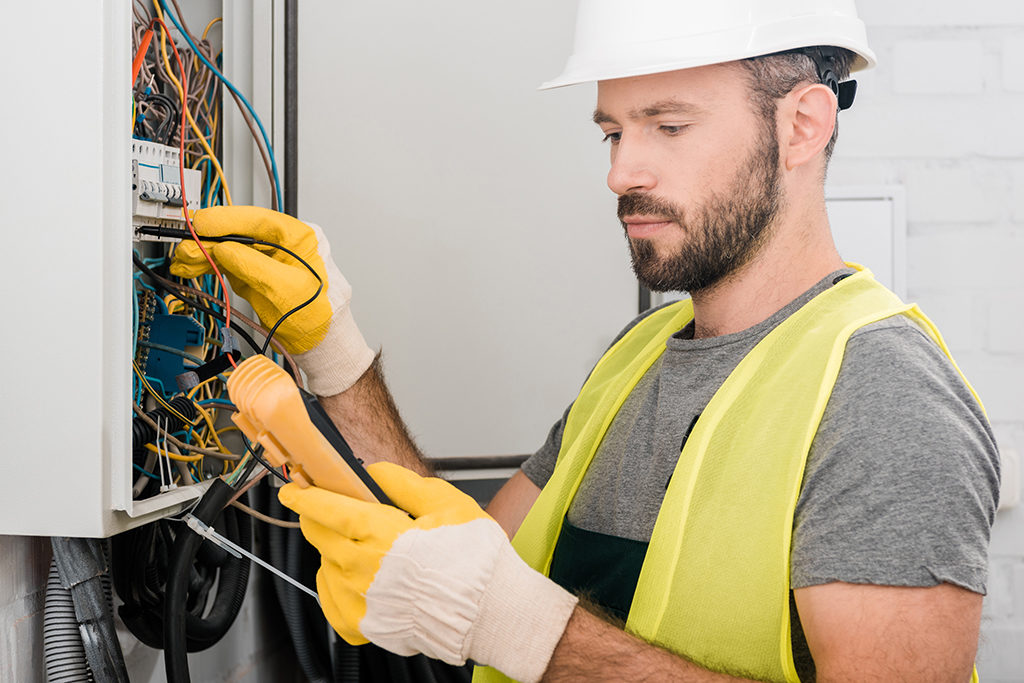
Next, use a voltage tester to confirm the outlet has no power.
These handy tools are inexpensive and easy to use. Insert the tester into the outlet slots.
The outlet is safe to inspect if it doesn’t light up or beep.
Stop and call a professional electrician if you’re unsure about any step or if the tester still indicates power.
2. Check for GFCI Outlets
Now, look for Ground Fault Circuit Interrupter (GFCI) outlets.
These special outlets are designed to prevent electric shocks and are common in kitchens and bathrooms.
You can spot a GFCI outlet by clicking the “Test” and “Reset” buttons.
If you find one, try resetting it by pressing the “Reset” button firmly. You should hear a click.
This simple step often solves the problem.
While checking, look for signs of damage.
Don’t attempt to reset or use the outlet if you notice burn marks, charring, or other visible damage.
This could indicate a serious problem that requires professional attention.
By following these initial checks, we’ve ensured our safety and ruled out some common issues.
If your outlet is still not working, we must dig deeper into the next steps.
Basic Troubleshooting Steps
Step 1: Check the Circuit Breaker
Even though the breaker isn’t tripped, it’s worth double-checking.
When tripped, a breaker can appear to be in the “On” position.
Here’s how to reset a circuit breaker:
- Find your main electrical panel.
- Locate the breaker for the affected outlet.
- Push it firmly to the “Off” position.
- Then flip it back to “On”.
Listen for a click – this means it’s reset properly.
While you’re there, look for signs of a damaged breaker:
- Is it hot to the touch?
- Do you smell burning?
- Can you see any visible damage?
Don’t try to reset the breaker if you notice any of these signs. Instead, call an electrician.
Step 2: Inspect the Outlet
Now, let’s take a closer look at the outlet itself.
First, visually inspect it for any damage:
- Are there any burn marks?
- Is it discolored?
- Does it look melted or warped?
If you see any of these signs, don’t use the outlet. It needs to be replaced by a professional.
If the outlet looks fine, let’s check if it’s getting power.
Use a voltage tester for this:
- Make sure the breaker is on.
- Insert the tester into the outlet slots.
- If it lights up or beeps, there’s power.
No response means no power, indicating loose wiring or a faulty outlet.
Remember, these are just basic steps.
If you’re uncomfortable with any of these checks, or if they don’t solve the problem, it’s best to call a professional electrician.
Safety should always be your top priority when dealing with electrical issues.
Common Issues and Solutions
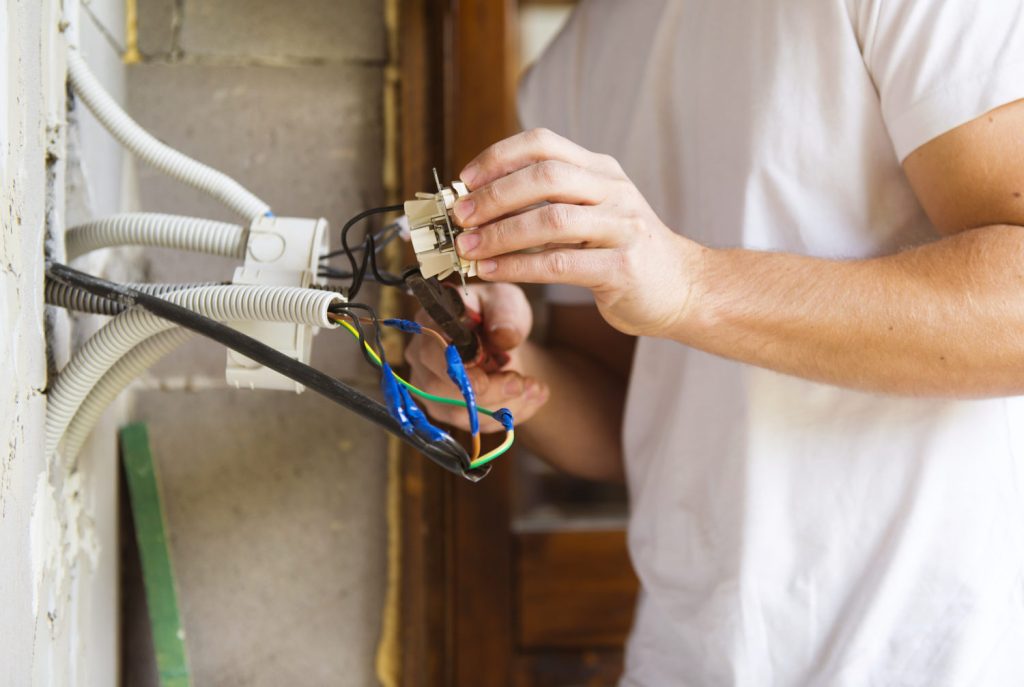
1. Loose Outlet or Wiring
One of the most common reasons for an outlet to stop working is loose connections.
This can happen over time due to frequent use.
Here’s what you need to know:
- Loose connections can cause intermittent power loss or complete outlet failure.
- They also increase the risk of electrical shock or fire.
If you’re comfortable doing so, here’s how to check for loose connections:
- Turn off the power at the breaker.
- Remove the outlet cover plate.
- Check the outlet screws and wiring connections.
- Tighten any loose screws.
- Replace the cover and turn the power back on.
Remember, it’s best to call a professional if unsure about any step.
2. Damaged or Defective Outlet
Sometimes, the outlet itself might be damaged or defective.
Look for these signs:
- The outlet feels hot to the touch.
- You see burn marks or discoloration.
- You hear buzzing or crackling sounds.
- The plugs don’t fit securely.
If you notice any of these signs, the outlet must be replaced.
While it’s possible to do this yourself, I recommend calling an electrician for safety reasons.
3. Check for Half-Hot Outlets
Some outlets, called half-hot outlets, have one plug that’s always on and another controlled by a wall switch.
If you’re dealing with one of these:
- Find the switch that controls the outlet.
- Make sure it’s turned on.
- Test the outlet by plugging something in.
If it still doesn’t work, there might be a problem with the switch or the wiring.
Remember, these are just common issues.
If none of these solutions work or you’re uncomfortable performing any of these checks, it’s time to call a professional electrician.
Your safety is the top priority when dealing with electrical problems.
Advanced Troubleshooting
When basic checks don’t solve the problem, it’s time to dive deeper.
Electrical systems can be complex and dangerous, so proceed with caution.
1. Check Other Outlets and Appliances
First, let’s look at other outlets on the same circuit:
- Identify which outlets are on the same circuit as the problematic ones.
- Use your voltage tester to check each of these outlets.
If multiple outlets aren’t working, you might have a bigger issue with the circuit.
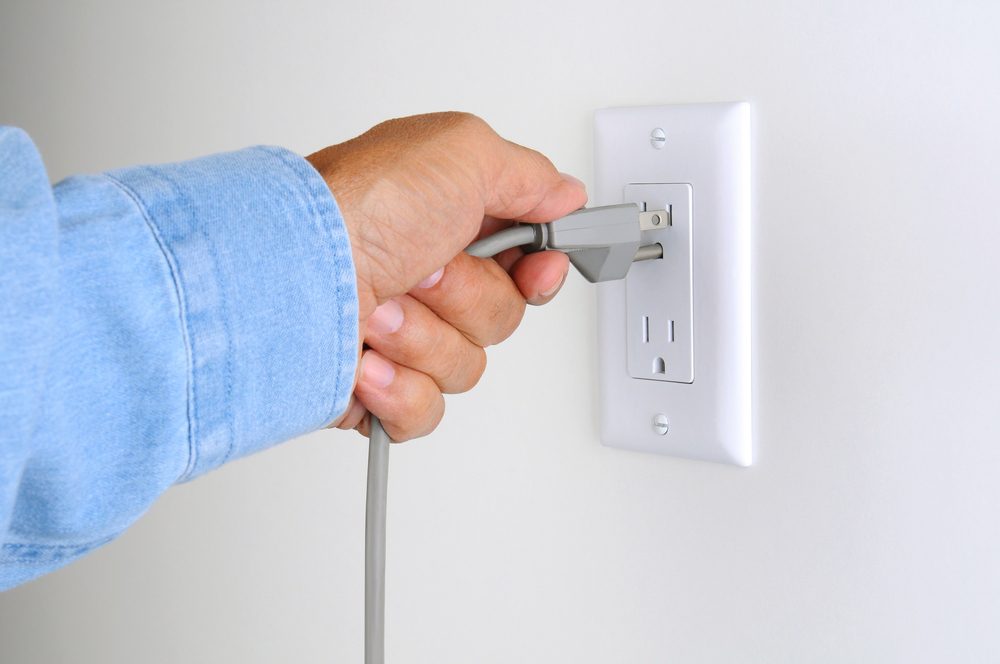
Next, check the devices you’re plugging in:
- Inspect the power cords and plugs for any damage.
- Try plugging a device you know works into the problematic outlet.
- If it works, your original device might be the issue.
Always unplug devices before inspecting them, and never use damaged appliances.
2. Inspect Wiring and Connections
Proper wiring is crucial for safety and efficiency.
Here’s how to check for issues:
- Turn off the power at the breaker.
- Remove the outlet cover.
- Look for loose connections, frayed wires, or burn marks.
- If you see loose connections, tighten them.
- For damaged wires, it’s best to call a professional.
Remember, only attempt this if you’re comfortable working with electrical components.
3. Overloaded Circuit
Sometimes, the issue is that you’re asking too much of your circuit.
Signs of overload include:
- Flickering lights
- Frequent breaker trips
- Warm outlets
To address this:
- Identify which devices are on the overloaded circuit.
- Redistribute high-power devices to different circuits.
- Unplug devices you’re not using.
If overloading is a frequent issue, you might need to add new circuits or upgrade your electrical panel.
These are jobs for a professional electrician.
Remember, it’s always safer to call a professional when in doubt.
Electrical work can be dangerous if you’re not properly trained.
Regular maintenance can help prevent many of these issues, so consider having your electrical system checked periodically by a licensed electrician.
When to Call a Professional
While it’s great to be handy around the house, there are times when calling a professional electrician is the safest and smartest choice.
Let’s consider when to put down the tools and pick up the phone.
1. Recognizing Complex Issues
Some electrical problems are clear signs that you need expert help:
- Multiple outlets not working often indicate a bigger issue with your circuit or wiring.
- Burn marks or charring: These are serious red flags. They indicate a fire hazard that needs immediate professional attention.
- Persistent GFCI tripping: If your GFCI outlets keep tripping, there might be a deeper electrical problem.
Remember, DIY electrical repairs can be dangerous.
If something goes wrong, you risk electrical shock, fire hazards, and even voiding your home insurance.
2. Professional Diagnosis and Repair
Here’s why hiring a licensed electrician is worth it:
- They have the expertise and specialized tools to safely diagnose and fix complex issues.
- They ensure all repairs meet local electrical codes and safety standards.
- They can spot potential future problems and offer preventive advice.
When an electrician arrives, they’ll typically:
- Assess the situation thoroughly, using diagnostic tools to check voltage and connections.
- Identify and fix any loose wiring or damaged components.
- Test the entire circuit to ensure it’s not overloaded.
- Perform safety checks after the repair to make sure everything’s working correctly.
Remember, electrical work isn’t just about fixing the immediate problem.
It’s about ensuring the long-term safety and efficiency of your home’s electrical system.
When in doubt, it’s always better to call a professional. Your safety and peace of mind are worth it.
Preventive Measures
Let’s look at ways to keep your outlets and electrical system in shape.
1. Regular Maintenance
Here are some tips to keep your outlets and circuit breakers in good condition:
- Do visual inspections regularly. Look for cracks, discoloration, or burn marks.
- Use a voltage tester now and then to check if the outlets are working properly.
- Keep outlets clean and free of dust.
- Unplug devices when you’re not using them.
- Don’t overload outlets with too many devices.
Having a professional electrical inspection once a year is also a good idea.
This can catch problems early, ensure your system meets current safety codes, and even extend the life of your electrical components.
2. Upgrading Outlets
Consider upgrading to GFCI and 3-prong outlets.
Here’s why:
- They’re safer. GFCI outlets protect against shocks, while 3-prong outlets provide grounding.
- They meet modern standards, which is important if you plan to sell your home.
- They can handle newer appliances that need more power or grounding.
If you have young children, childproofing your outlets is crucial:
- Install tamper-resistant outlets. They have built-in shutters that prevent kids from inserting objects.
- Use plastic outlet covers on unused outlets.
- Teach your kids about electrical safety.
- Always supervise young children around electrical outlets.
Remember, taking these preventive steps can save you from headaches (and potentially dangerous situations).
Maintenance goes a long way in keeping your home’s electrical system safe and efficient.
Conclusion
Dealing with a non-working outlet can be frustrating, especially when the circuit breaker isn’t tripped.
We’ve walked through a comprehensive troubleshooting guide, from basic checks to advanced diagnostics, to help you address this common household issue.
Remember, safety always comes first when dealing with electrical problems.
Start with simple steps like checking for GFCI outlets and visible damage before moving on to more complex issues like loose wiring or overloaded circuits.
Know your limits, and don’t hesitate to call a professional electrician when you encounter complex problems or safety concerns.
Regular maintenance and timely upgrades can prevent many electrical issues, keeping your home safe and your devices powered.
By following this guide, you’ll be better equipped to handle outlet issues, knowing when to roll up your sleeves and when to reach for the phone.
Here’s to a safer, more efficiently powered home!