
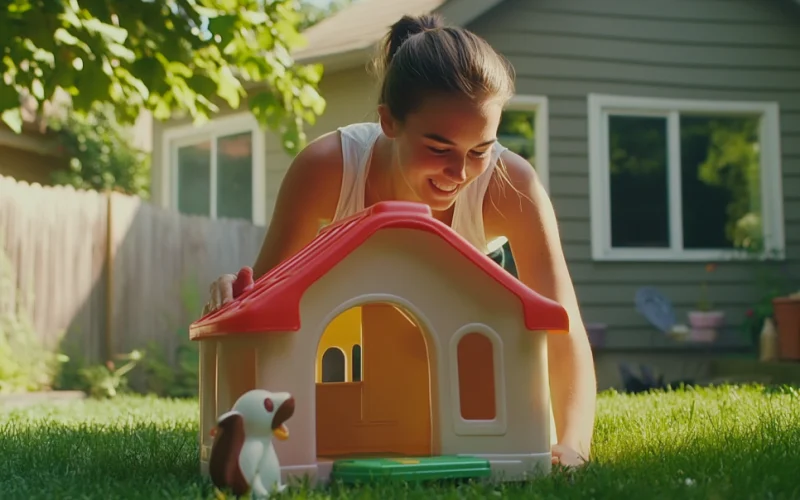
Parents often find their kids’ playhouses worn and dull after years of use. A once-exciting play area can lose its charm, leaving children less interested in outdoor play.
But there’s good news – a simple DIY makeover can breathe new life into any playhouse. With just a few coats of paint and creativity, you can transform that tired playhouse into a fresh, inviting space your kids will love again.
This guide will show you how to learn how to prep the surface, choose the right paint, and add fun decorative touches.
By the end, you’ll have the know-how to create a new playhouse that sparks your children’s imagination.
Understanding the DIY Playhouse Makeover Process
Giving a playhouse a makeover can make a big difference in your backyard. It’s not just about making things look nice – it’s about creating a space where kids want to play and use their imagination.
When a playhouse gets old and worn, kids might lose interest. But with some paint and care, you can turn it into their favorite spot again.
A makeover can transform a forgotten playhouse into a fun hideout. Imagine the joy of seeing kids excited about their play area.
Plus, fixing up the playhouse yourself saves money and lets you add personal touches. You’ll see the change from a faded, boring structure to a bright, happy place where kids love to spend time.
Materials Needed for The Makeover
Before we start, let’s gather everything we need for our playhouse makeover. Having these items ready will make the makeover go smoothly.
• Pressure Washer: To clean off dirt and grime
• Exterior Paint and Primer: We’ll use Premium Glidden in white and black
• Roller: For smooth, even coverage on large areas
• Paint Brush: To reach tricky spots and edges
• Paint Sprayer (optional): This can speed up the job if you have one
Don’t forget to check what you already have at home before buying new supplies. With these tools, you can turn that old playhouse into a fresh, fun space for the kids.
Preparing the Playhouse for Painting
Before we start painting, we need to prepare the playhouse. This step is key to ensuring that our paint job looks great and lasts a long time.
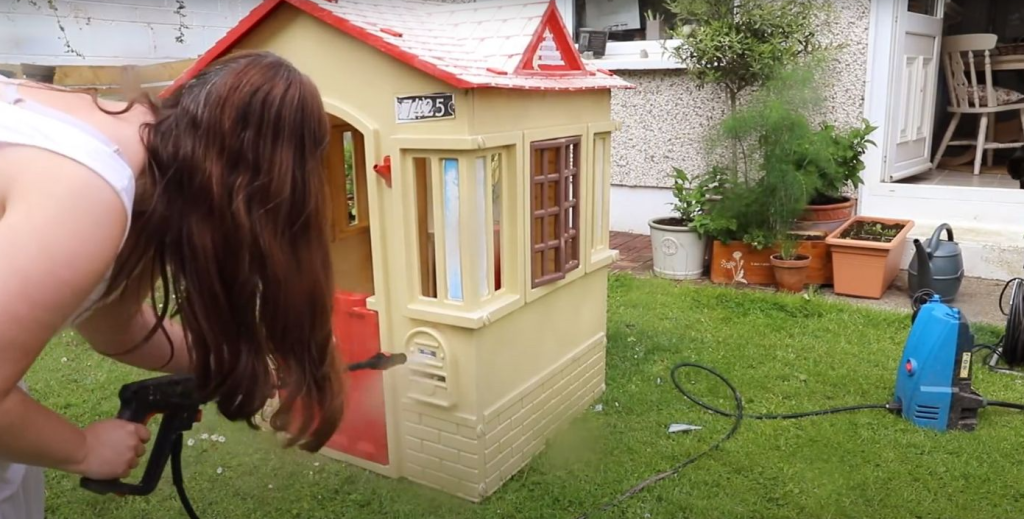
Step 1: Clean the Playhouse
First, we need to get rid of all the dirt. Grab your pressure washer and give the playhouse a good cleaning. Spray every nook and cranny to remove grime, cobwebs, and loose paint. This step helps the new paint stick better.
Step 2: Remove Hardware
Next, remove all the removable parts, including the windows, sink, and door handle. Removing these pieces makes painting easier and neater. Put all the small parts in a safe place so you don’t lose them.
Step 3: Drying Time
After cleaning, let the playhouse dry fully. It’s best to wait overnight to ensure all the water from cleaning has dried up. This step is key—painting on a wet surface can lead to peeling later on.
By following these steps, you’ll be setting up for a smooth painting process. A clean, dry playhouse is the perfect canvas for your makeover!
How to Paint the Playhouse
Now comes the fun part – adding color to your playhouse! With the right tools and techniques, you’ll see your vision come to life in no time.
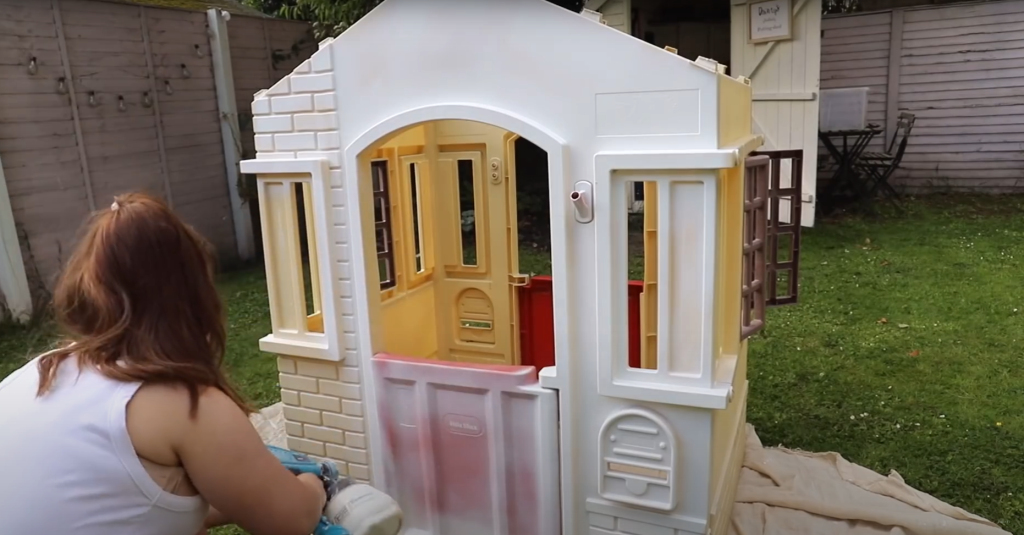
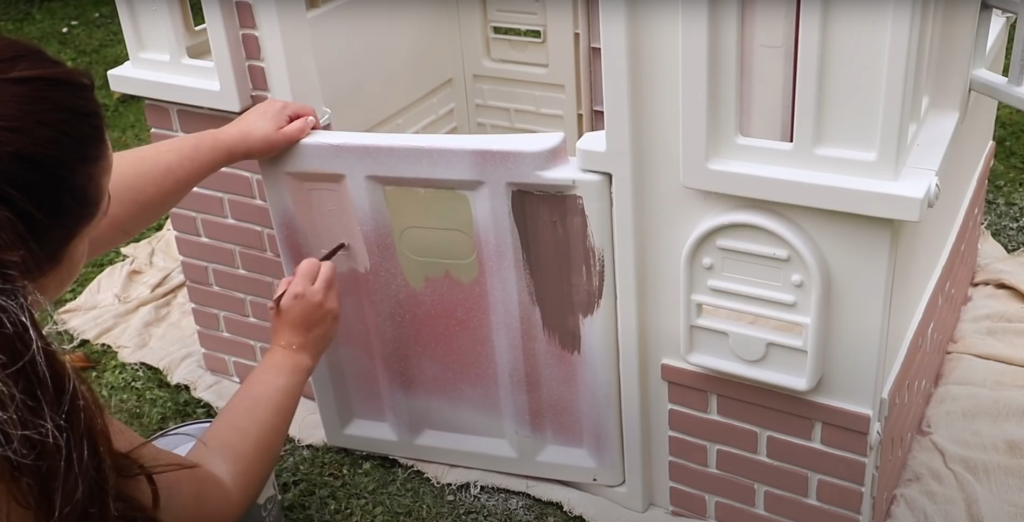
Step 1: Painting the Base
Start by painting the main parts of the playhouse white. Use your roller for big areas inside and outside. This light color will make the playhouse look fresh and clean. Don’t forget to use your brush for corners and hard-to-reach spots.
Step 2: Painting Details
Now, let’s add some contrast. Paint the roof, doors, and windows black. This will make these parts stand out and give the playhouse a nice look. Take your time with this step to keep the lines neat.
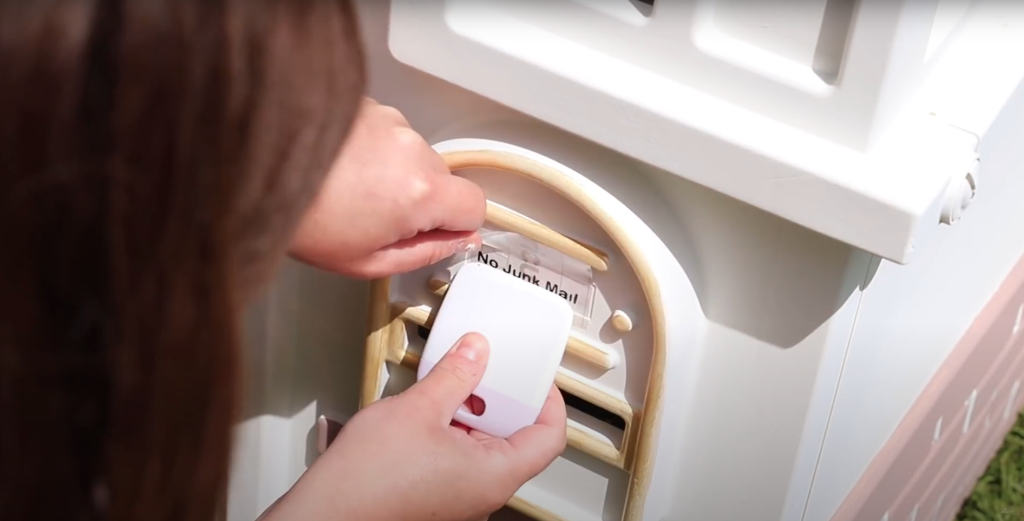
Step 3: Spray Painting Accessories
We’ll use primer spray on the sink and door handles. This works great on metal parts. Spray in a well-aired area, holding the can about 10 inches away. Use steady, even strokes for the best finish.
Remember, it’s okay to do more than one coat. Taking your time will help you get a great-looking playhouse that the kids will love!
How to Decorate the Playhouse
The final touches can really make your playhouse special. Here are some easy ways to add charm and personality to your newly painted playhouse.
Step 1: Adding Finishing Touches
Let’s make the playhouse feel like a real home. Look for cute items at stores like Target or Hobby Lobby. You can find fun stuff like house numbers to put on the front. A dinner bell is a nice touch, too – the kids will love ringing it! Pick things that match the colors you used and that your kids will enjoy.
Step 2: Lighting and Accessories
To make the playhouse magical at night, add some solar panel lights. These are easy to put up and don’t need wires. They’ll light up the yard and make the playhouse look cozy when it gets dark.
Step 3: Enhancing the Surroundings
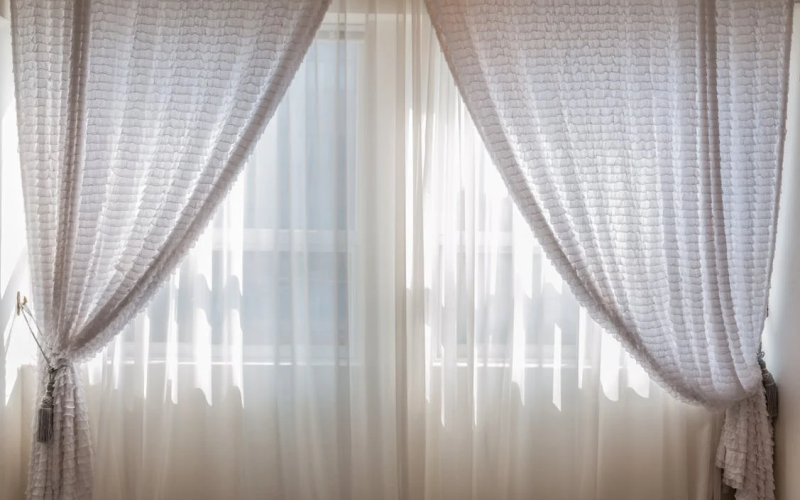
Think about adding more to the area around the playhouse. A small deck or picnic table can be great for tea parties or coloring. Hang some simple curtains made from drop cloths to make windows. Battery lights can add a warm glow, and a small flag can make it feel like a real house.
Remember, the goal is to make a space your kids will love. Let them help choose some decorations to make it feel like their special place!
Involving Kids in The Makeover
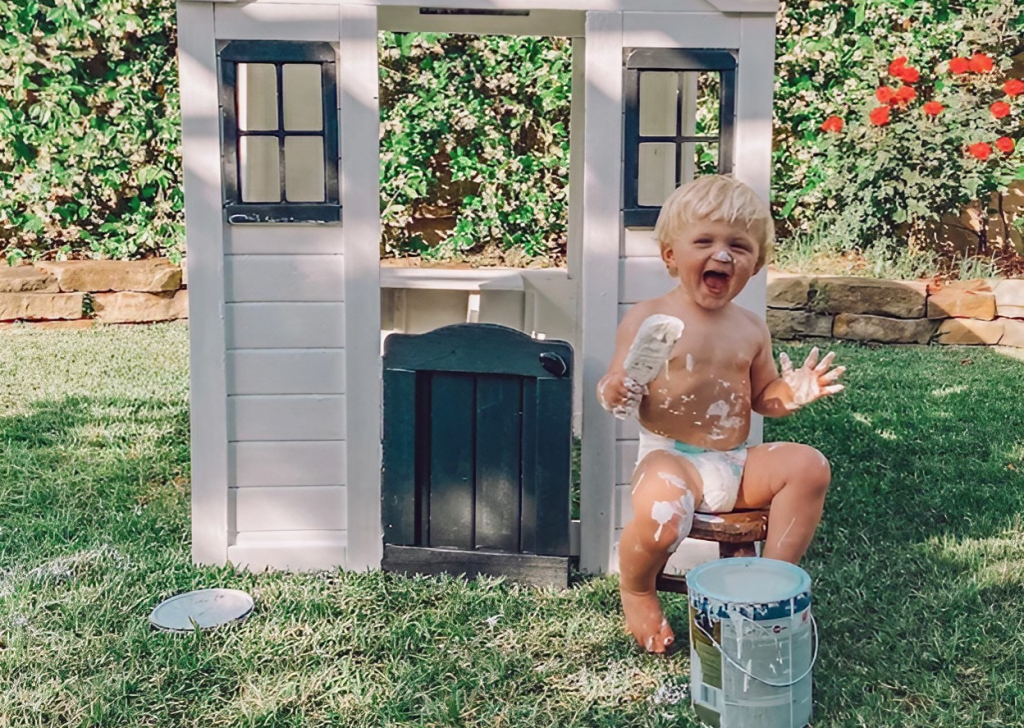
Turning the playhouse makeover into a family project can be lots of fun. Kids love to help, and it’s a great way to spend time together. Here are some tips to make it safe and enjoyable for everyone:
Let kids help with easy tasks. They can use rollers on big, flat areas. This is safer than letting them use brushes on tricky spots. Make sure to give them painted clothes that can get messy.
Keep an eye on little ones. Don’t leave them alone with paint or tools. Show them how to do things and praise their work. This makes them feel part of the project.
Take breaks often. Kids might get bored or tired. It’s okay to do the makeover over a few days. This keeps it fun and not like a chore.
Remember, the goal is to have fun together. Even if the paint job isn’t perfect, the memories you make will be worth it!
Conclusion
Giving your playhouse a fresh look is easier than you might think. With some paint, time, and a dash of creativity, you can transform a tired old structure into a magical space for your kids.
Remember, the key is to have fun with the process. Involve your children, let their imaginations run wild, and create something special together.
Now it’s your turn to get started! Grab those paintbrushes and let your creativity flow. Your kids will be thrilled with their “new” playhouse, and you’ll enjoy seeing them play in a space you’ve lovingly refreshed.
Happy Painting!