
If you’re looking to update the look of your room and add some visual interest, you might be considering changing the texture of your modern ceiling.
However, if your roof is already painted, you may wonder if achieving a textured finish is possible without starting from scratch.
The good news is that with the right approach and materials, you can successfully add texture to your painted ceiling and give your space a fresh look.
In this blog post, we’ll explain the process, providing step-by-step instructions and tips to help you achieve a professional-looking textured ceiling.
Whether you want to hide imperfections, create a unique aesthetic, or change the style of your room, keep reading to learn how you can transform your painted ceiling with a stunning, textured finish.
Key Considerations Before Texturing
Before texturing your painted ceiling, assessing key factors impacting its success is important.
Condition of the Existing Ceiling
Start by evaluating the current state of your painted ceiling. Note any cracks, chips, or unevenness that must be repaired before applying texture.
Pay special attention to kitchens with smooth, semigloss finishes, as these surfaces can pose additional challenges regarding adhesion and achieving a uniform texture.
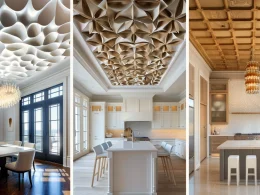
Desired Texture Outcome
Consider the type of texture you want to achieve on your ceiling. Popular options include knockdown, orange peel, and skip trowel textures, each offering a distinct look and feel.
When selecting a texture, consider the room’s function and your overall decor style to ensure it complements the space.
Step-by-Step Texturing Process
Now that you’ve assessed the condition of your ceiling, chosen your desired texture, and gathered all the necessary materials, it’s time to dive into the step-by-step process of texturing your painted ceiling.
1. Surface Preparation
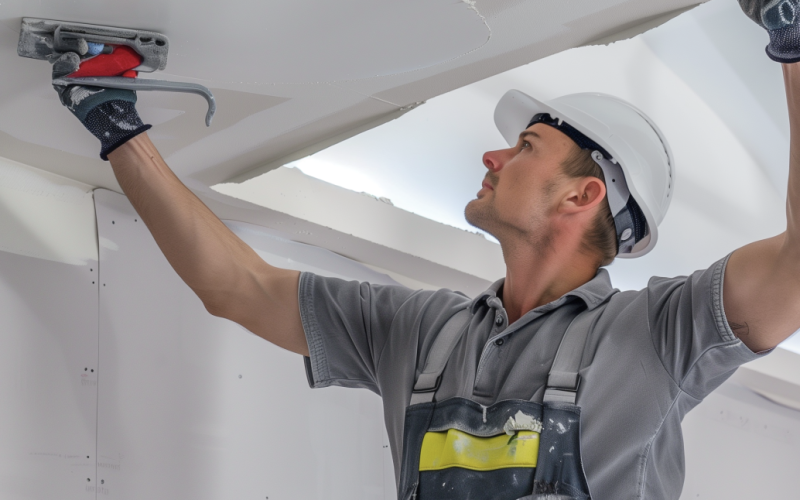
Begin by meticulously cleaning the painted surface to remove any traces of dirt, dust, or grease that may hinder the texture’s adhesion. Use a degreaser or all-purpose cleaner to ensure the surface is spotless.
Once clean and dry, apply a coat of drywall primer to create a uniform base and improve the texture material’s ability to stick to the painted surface.
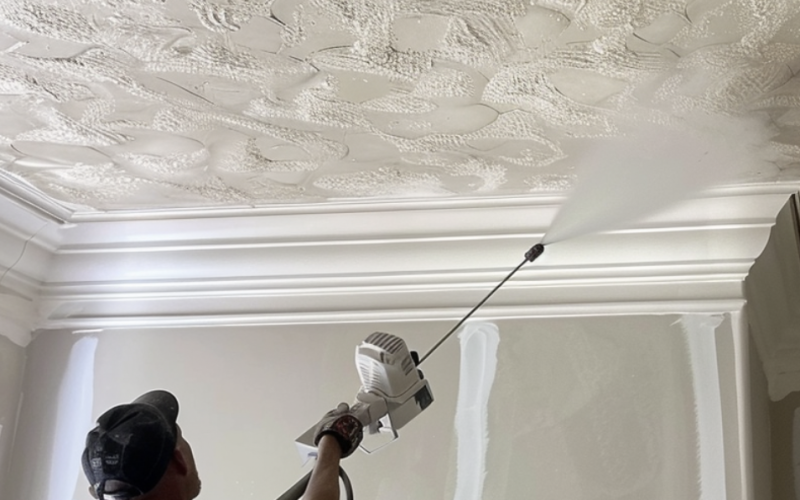
2. Texture Application
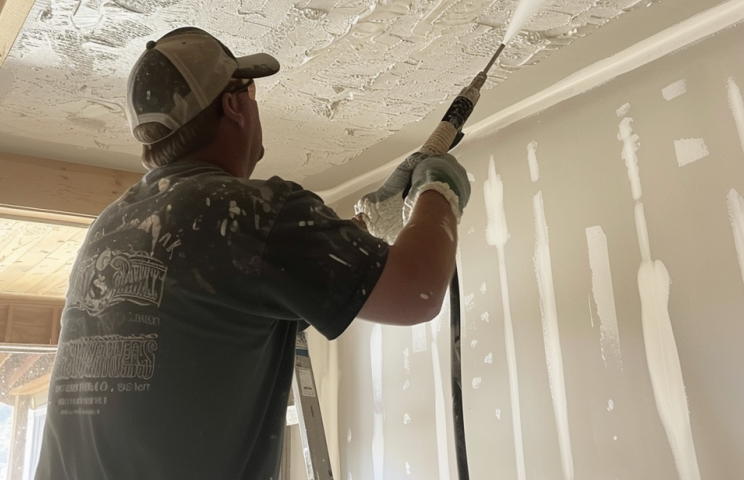
Prepare the texture material according to the manufacturer’s instructions, ensuring the right consistency for your chosen application method.
Use a sprayer or roller to apply the mixture evenly across the ceiling for an orange peel or splatter texture.
If you opt for a knockdown or skip trowel texture, use a drywall knife or trowel to create the desired pattern and depth. Work in small sections to maintain a consistent texture throughout the ceiling.
3. Drying and Finishing Touches
Allow the texture to dry completely, following the recommended drying times based on the product used and the room’s humidity levels.
Once dry, leave the texture as-is or paint over it to achieve your desired color.
If painting, use paint compatible with the texture material and apply it using a brush or roller designed for textured surfaces.
Finally, clean up debris or drips, and enjoy your newly textured ceiling!
Advanced Techniques and Tips
Elevate your textured ceiling project with these advanced techniques and tips to achieve professional-looking results and ensure long-lasting beauty.
Technique Enhancements
To create a uniform texture across your ceiling, work in a consistent pattern and maintain an even distance between your sprayer or roller and the surface.
When using a knockdown or skip trowel technique, practice your technique on a scrap piece of drywall to perfect your method before applying it to the ceiling.
Remember that you may need to adjust your approach based on the specific texture type and the unique conditions of your painted ceiling.
Maintenance and Longevity
Proper care and maintenance are essential for preserving the appearance and integrity of your newly textured ceiling.
Regularly dust the surface using a soft-bristled brush attachment on your vacuum cleaner or a microfiber duster to prevent the accumulation of dirt and cobwebs.
In kitchen areas, where grease build-up can be a concern, use a mild degreaser and a soft sponge to clean the textured surface gently, taking care not to apply too much pressure or saturate the texture with water.
These maintenance tips can keep your textured ceiling looking its best for years.
Conclusion
Texturing a painted ceiling is possible and a fantastic way to add visual interest and character to your space.
By carefully assessing your ceiling’s condition, choosing the right texture, and following the proper preparation and application techniques, you can achieve stunning results that will transform the look and feel of your room.
Take time, work consistently, and allow adequate drying times to ensure the best possible outcome.
With patience and attention to detail, you’ll enjoy a beautifully textured ceiling that enhances your home’s overall aesthetic appeal.
So, whether you’re looking to hide imperfections, create a unique ambiance, or refresh your space, texturing your painted ceiling is worth considering.