

Have you dreamed of building a beautiful trellis to support your climbing plants, but pre-made options can be expensive?
Luckily, I have the perfect solution – a simple step-by-step guide to create a stunning DIY obelisk trellis for a fraction of the cost.
This article will walk you through the entire process, from cutting the wood to assembling and finishing your custom garden trellis.
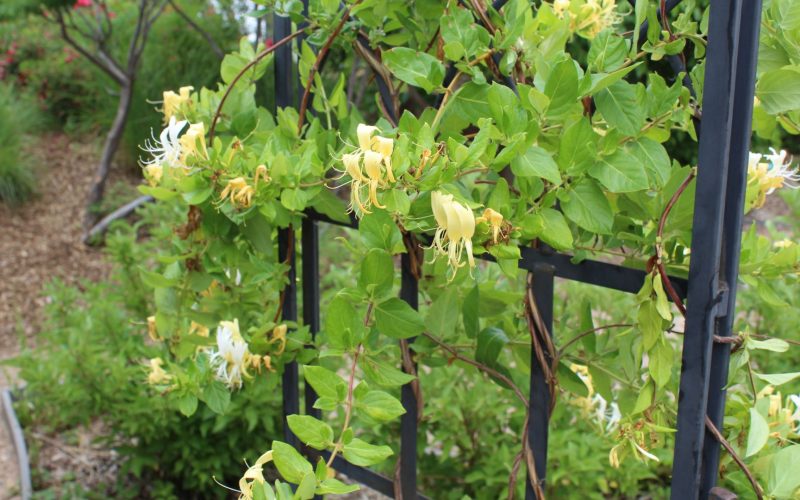
Whether growing wisteria, clematis, or any other vine, this DIY project will give your plants the support they need and add charm to your garden.
Supplies for DIY Obelisk Trellis
To build this DIY obelisk trellis, you’ll need the following materials:
List of Materials
- Lumber – Eight 2×2 pieces, each 8 feet long
- Wood glue
- Paint or stain
- 3-inch exterior screws
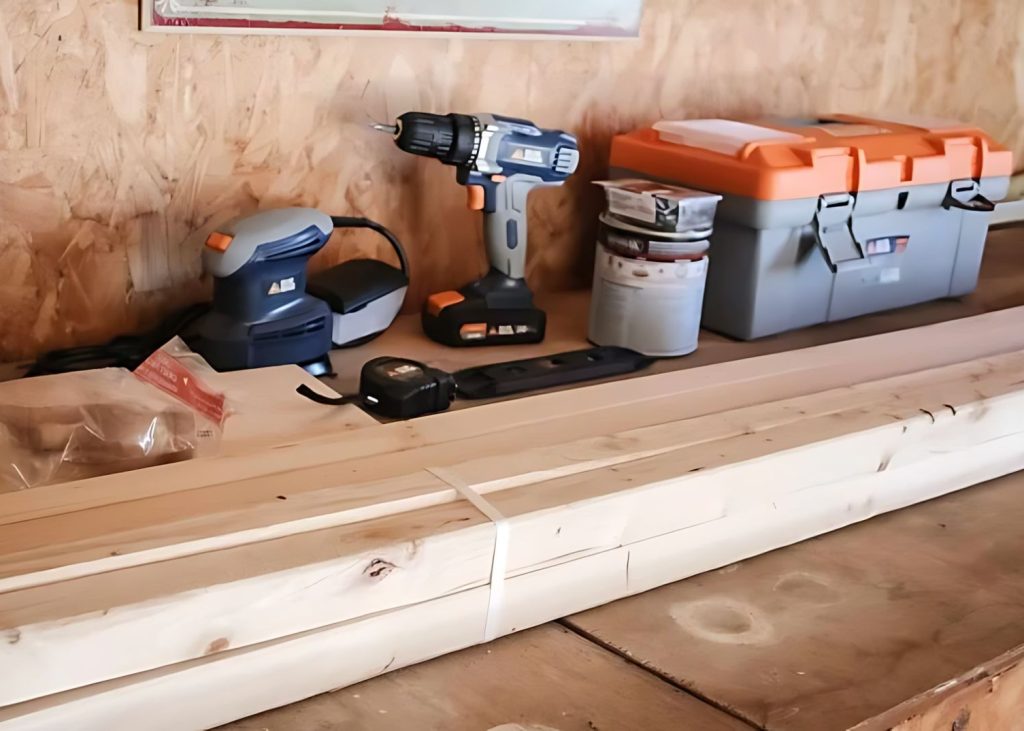
List of Tools
- Electric miter saw or circular saw
- Drill with drill bits and drivers
- Paintbrush
- Pencil and tape measure
With these basic materials and tools, you’ll have everything you need to start your DIY obelisk trellis project. Let’s move on to the next step!
Step-by-Step Instructions to Make an Obelisk Trellis
Follow the step-by-step instructions below carefully, and you’ll have a beautiful, sturdy DIY obelisk trellis to support your garden plants.
Step1: Preparing the Lumber
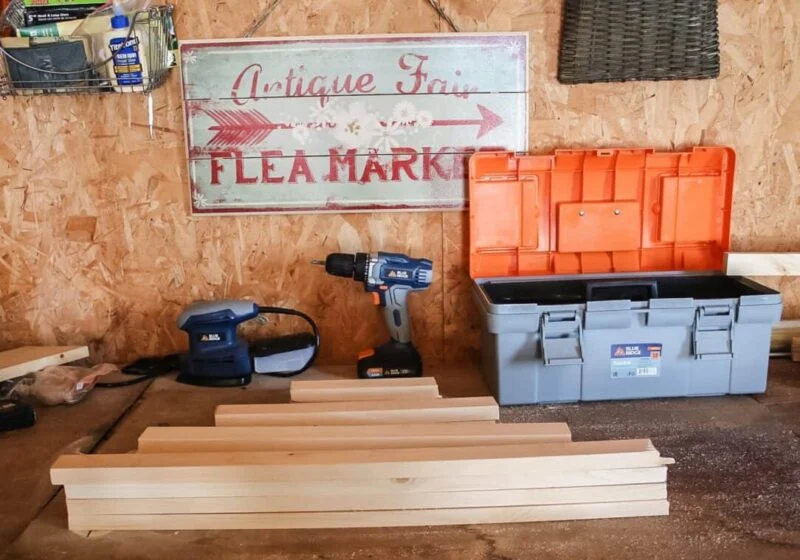
To get started, we’ll need to cut the 2×2 lumber to the following dimensions:
- 4 pieces at 72 inches
- 2 pieces at 27 inches
- 2 pieces at 24 inches
- 2 pieces at 22-3/4 inches
- 2 pieces at 19-3/4 inches
- 2 pieces at 18-5/9 inches
- 2 pieces at 15-5/8 inches
- 2 pieces at 14-5/8 inches
- 2 pieces at 11-5/8 inches
- 2 pieces at 11 inches
- 2 pieces at 8 inches
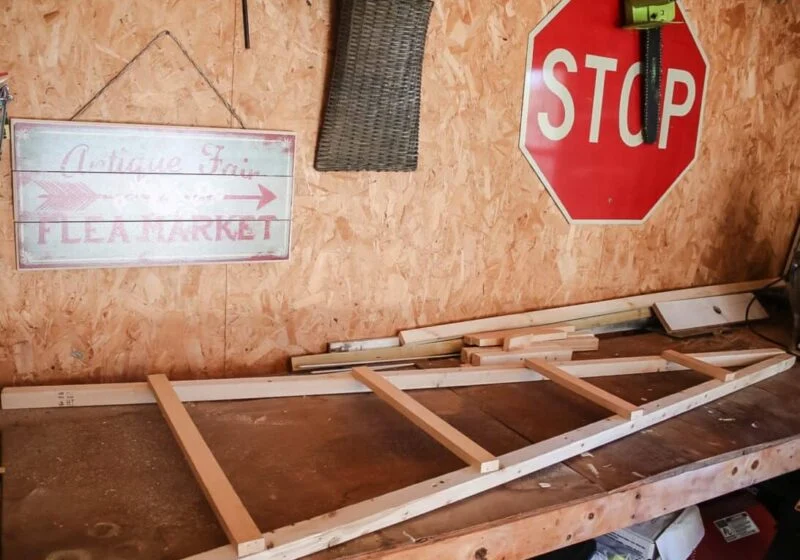
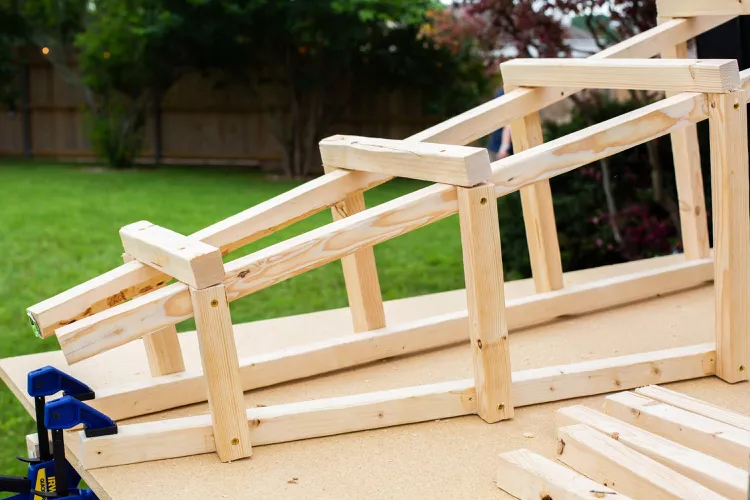
Step2: Building the Ladder Sides

- Lay two 72-inch pieces on a flat surface and measure up 6 inches from the bottom to mark the placement for the first 24-inch rung.
- Secure this rung in place, then angle the tops of the legs toward each other so the top corners line up with the outer edges of the legs.
- Fasten the 8-inch top rung, check that everything is square, and then dry-fit and secure the remaining middle rungs.
- Repeat the steps above to create an identical second ladder side, ensuring the angles and rung placements match perfectly.
Step3: Connecting the Two Ladders
- Position the two ladder sides parallel to each other.
- Starting at the top, attach the remaining rungs to connect the two ladders, working your way down. This will create the full obelisk shape.
Step4: Finishing the Trellis
- Painting or Staining: Once your trellis is fully assembled, you can finish the wood however you’d like. You can leave the wood to weather naturally for a rustic look, giving it a beautiful silvery-gray patina, especially if you use cedar. Whitewood should be painted, stained, and sealed, while pressure-treated wood can be left as-is or painted.
- Securing the Trellis to the Ground: Properly securing your trellis in the ground is important to ensure it remains stable and upright. Start by wrapping the legs in plastic bags to help protect the wood. Then, bury the legs about a foot deep in the soil.
Maintenance Tips for Obelisk Trellis
- Painting or Staining: Once the plants have become established, it can be difficult to repaint or re-stain the trellis, so it’s crucial to finish the wood thoroughly.
- Protecting the legs: Paint or bury the bottoms of the legs for stability.
- Ground-contact pressure-treated wood: If you bury the legs, using ground-contact pressure-treated wood can help the trellis last longer without additional coatings.
- Regular Checkups: Check the trellis regularly for signs of wear or damage and address any issues promptly. With proper care and maintenance, your DIY obelisk trellis can provide years of sturdy support for your climbing plants.
Safety Considerations While Building a Tall Obelisk Trellis
Building a tall obelisk trellis requires a few safety precautions to ensure it’s sturdy and secure.
- Anchoring the Trellis: It’s important to bury the legs of the trellis in the ground to provide stability, especially since the top can get quite heavy if you add a planting pot. This will keep your trellis in place and prevent it from toppling over.
- Protective Measures: Before burying the legs, wrap them in plastic bags to help protect the wood. This will extend the lifespan of your trellis. Additionally, if you plan to paint or stain the trellis, do a thorough job initially, as it can be difficult to re-coat once plants have become established around the structure.
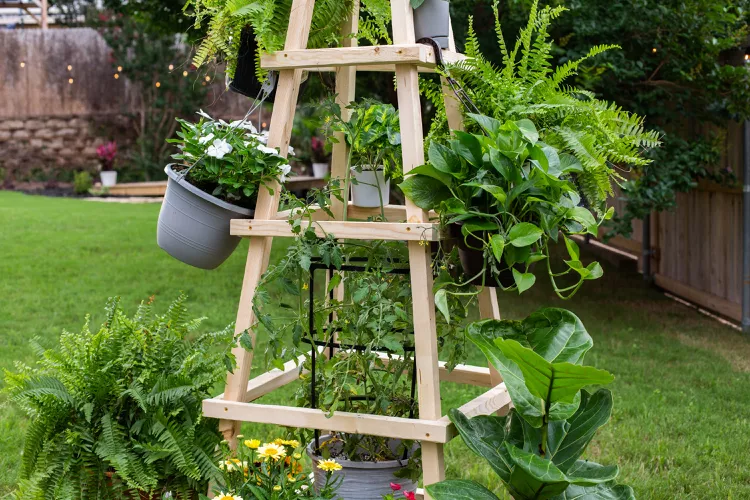
Conclusion
Now that you’ve seen how easy it is to build your custom obelisk trellis, I hope you’re inspired to try it.
This project is a great way to add vertical interest and support for your climbing plants, all while saving money compared to store-bought options.
Whether you paint, stain, or let the wood weather naturally, your finished trellis will become a charming focal point in your garden.
As you care for your climbing vines and flowers, monitor the trellis and make any necessary adjustments or repairs to ensure it remains sturdy for years.
Happy gardening!
Frequently Asked Questions
What is the Best Material for a Garden Obelisk?
The best materials for a garden obelisk are wood, like cedar or pressure-treated lumber, which are durable and weather-resistant.
What Can I Grow on An Obelisk Trellis?
On an obelisk trellis, you can grow climbing plants like wisteria, clematis, morning glories, and passion flowers.
How Do You Secure an Obelisk in The Ground?
To secure an obelisk trellis, bury the legs about a foot deep in the ground and use concrete for a permanent solution.
How Do You Anchor a Trellis in The Ground?
Anchor a trellis by burying the legs, wrapping them in plastic bags first, and filling the holes with concrete for added stability.
Do You Plant in The Middle of An Obelisk?
No, you don’t plant directly in the middle of an obelisk trellis. Instead, plant trailing or climbing plants around the base to grow up the structure.