
Creating your vases can be daunting, especially if you’re new to DIY crafts.
Many beginners feel overwhelmed by the process, unsure of where to start or what materials to use.
Don’t worry! This guide will provide simple, step-by-step instructions for making beautiful vases.
You’ll learn how to craft unique pieces that add a personal touch to your home decor, all without breaking the bank.
In this beginner’s guide, we’ll cover everything you need to know about DIY vase making.
We’ll explore the basic materials and tools required, outline the key steps in the process, and share tips for customizing your creations.
By the end, you’ll be confident to start making stunning vases that reflect your style.
Material Required
- Used glass containers
- Special primer for smooth surfaces
- Paintbrush
- Drywall compound
- Wooden sticks
- H2O
- Light-colored paint
- Medium brown paint
- Dark brown paint
- Sandpaper
- Clear sealer
Step 1: Clean Your Containers
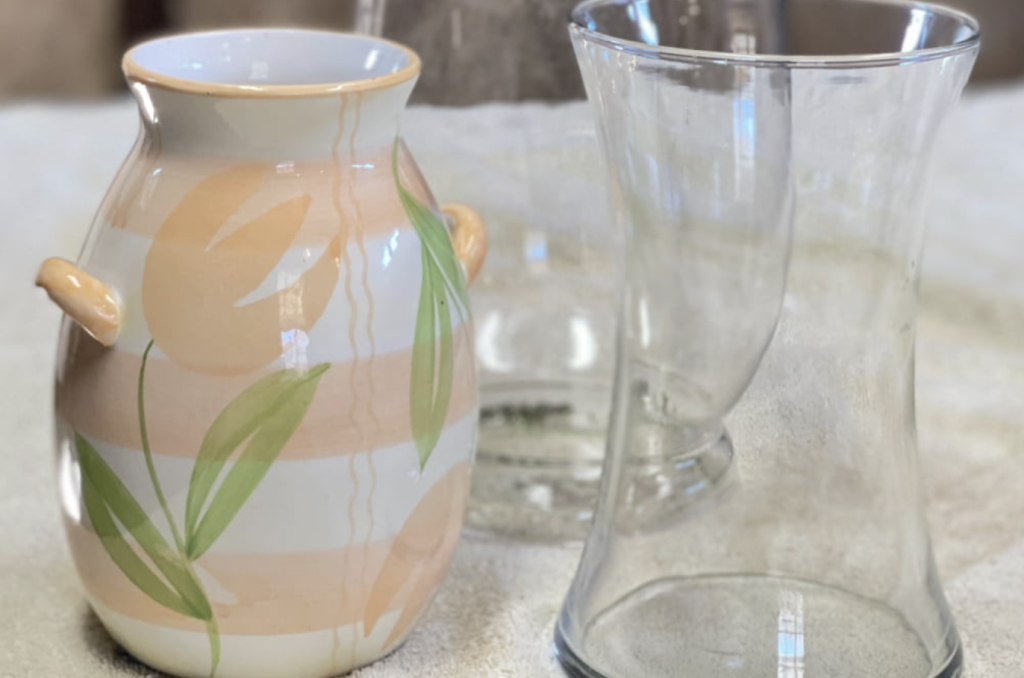
Start by thoroughly washing your glass containers with warm, soapy water.
Use a soft cloth or sponge to scrub away any stickers, residue, or grime gently.
Rinse them well under running water and dry them with a lint-free cloth.
For stubborn residue, you might need to soak the containers in warm, soapy water for a while.
Ensure they’re completely dry before moving on—any moisture left can affect the primer’s adhesion.
Step 2: Apply the Primer
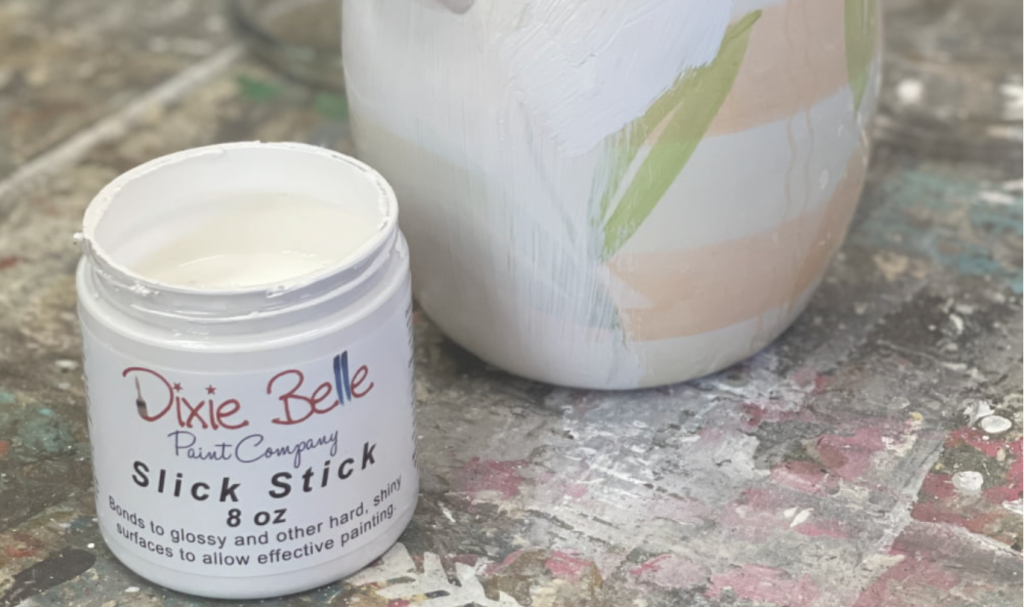
Now that your containers are squeaky clean, it’s time to apply the special primer.
This crucial step helps the texture and paint stick to the smooth glass surface.
Shake the primer well before use.
Apply a thin, even coat using long, smooth strokes. Let this first coat dry for about 2-3 hours.
Then, apply a second coat, covering any spots you missed. Allow this second coat to dry overnight.
This patience will pay off with a much better final result!
Step 3: Create Texture
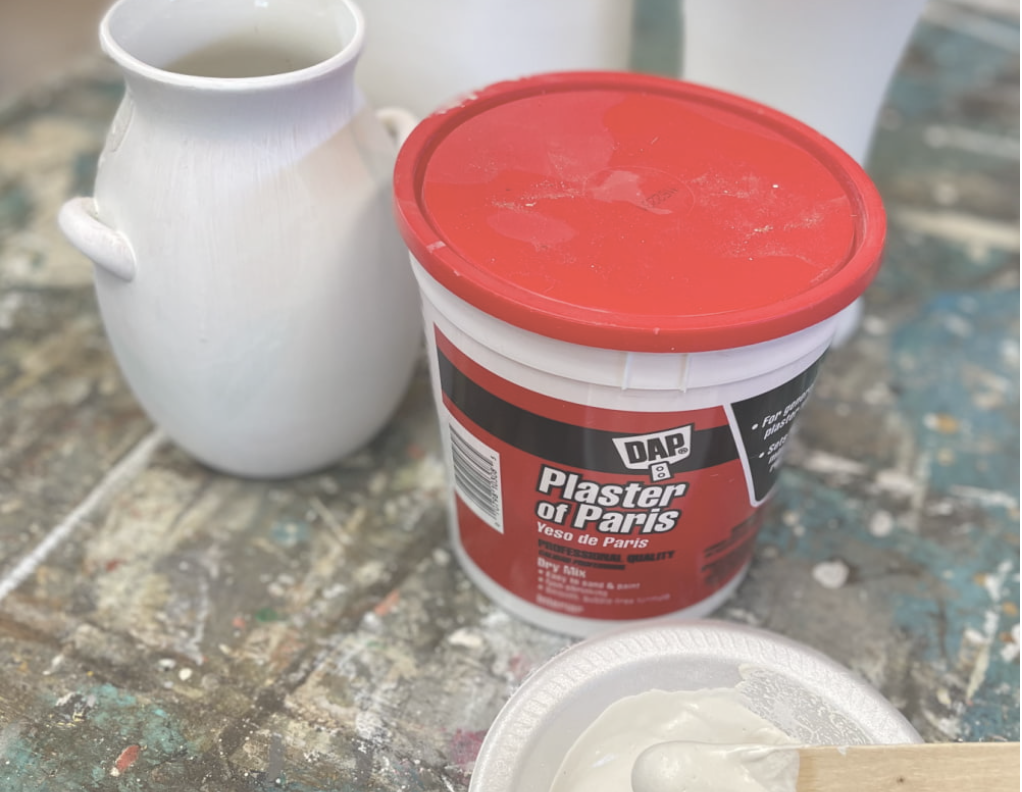
Here’s where the magic happens!
Mix your drywall compound with water in a disposable container.
Aim for a consistency similar to thick pancake batter – it should be spreadable but not runny.
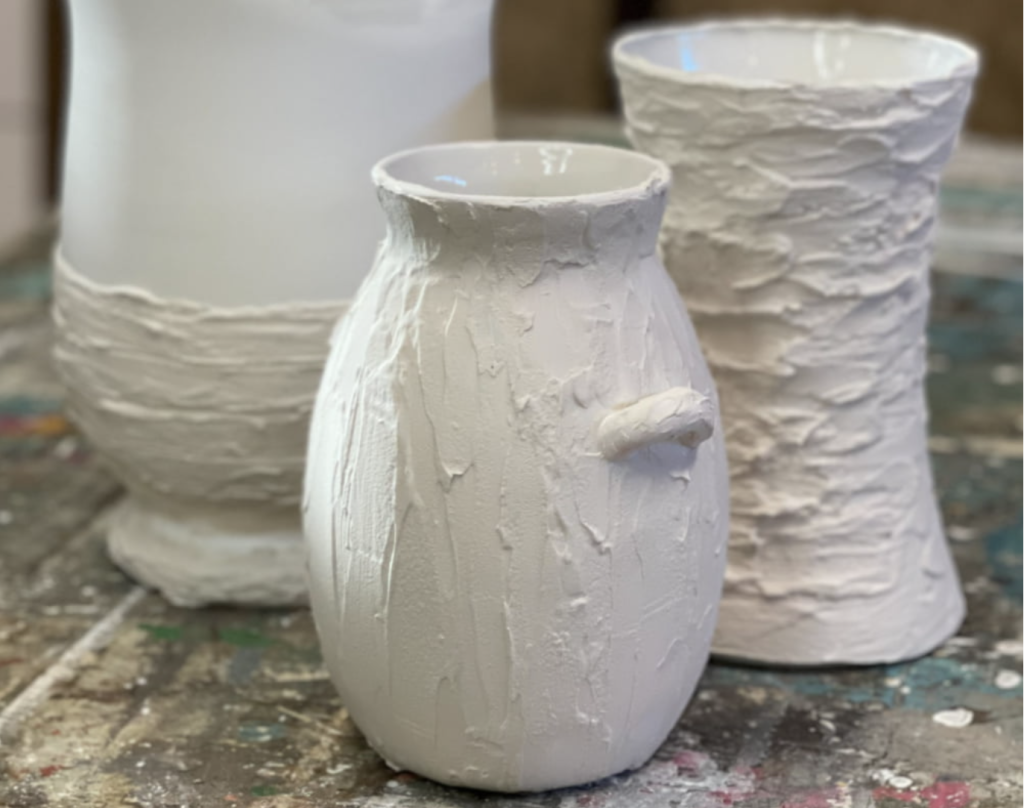
Use wooden sticks or a putty knife to apply this mixture to your containers.
Get creative with your patterns – swirls, dots, lines, or abstract shapes work well.
For interesting effects, you can also try pressing textured items like lace or leaves into the wet compound.
Work in small sections as the mixture dries quickly. Don’t worry about perfection – the handmade look is part of the charm!
Step 4: Sand and Smooth
After your textured mixture has dried completely (this can take up to 24 hours), it’s time to refine the surface.
Use fine-grit sandpaper to smooth any rough spots or sharp edges gently.
Be careful not to sand too much—you want to keep the texture you’ve created.
This step makes your vases safer and gives them a more polished, professional look.
After sanding, wipe away dust with a damp cloth and let the vases dry again.
Step 5: Apply Base Color
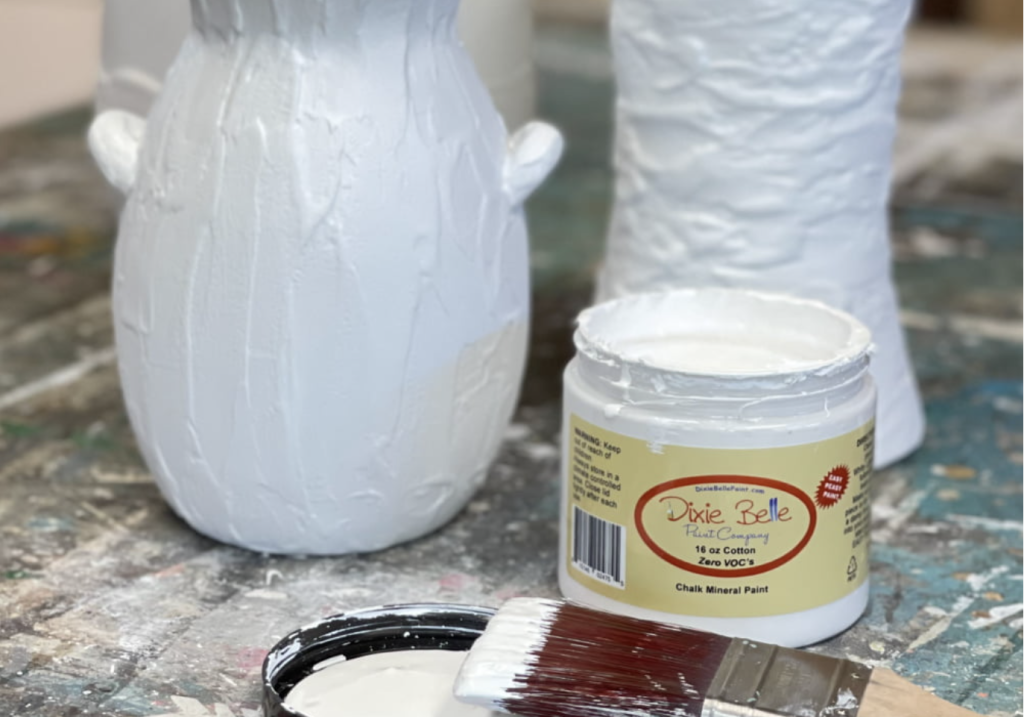
Now, the fun part begins – painting! Start with your light-colored paint as a base.
This will help the final colors pop.
Stir your paint well and apply it using a brush or sponge.
Make sure to get into all the nooks and crannies your texture creates.
You might need two coats for even coverage.
Let each coat dry completely before applying the next.
This base coat is a canvas for your next steps, so get good coverage.
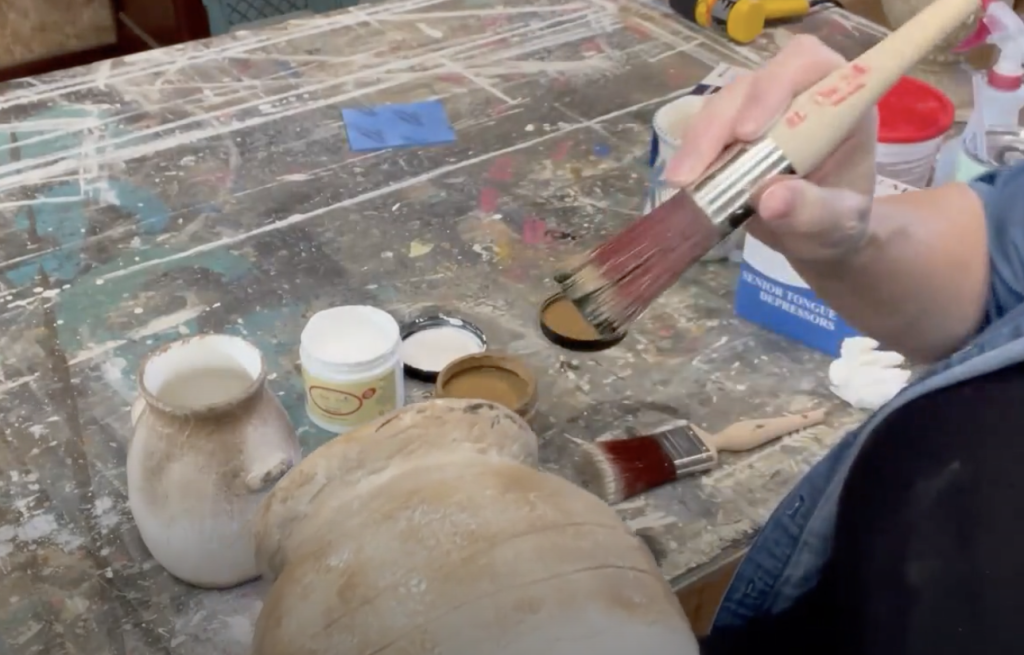
Step 6: Add Depth with Color
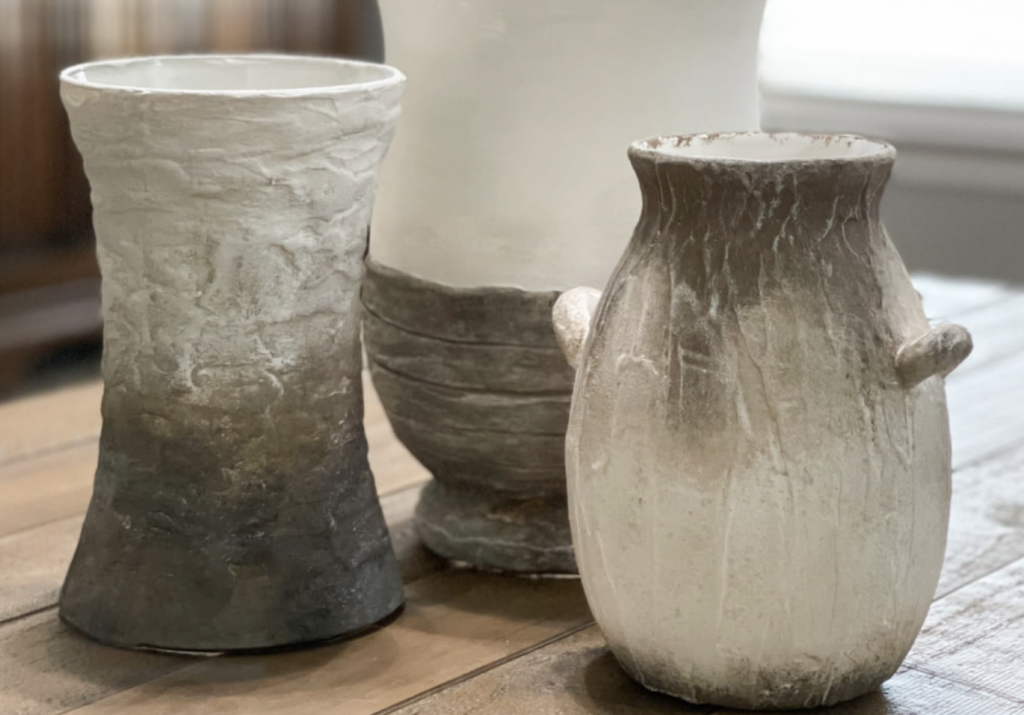
Here’s where your vases come to life.
Use your brown shades to add depth and character.
Please start with medium brown, applying it lightly over raised areas of texture.
Then, use dark brown to add shadows and definition.
Try techniques like dry brushing (using very little paint on your brush) or sponging for a varied, authentic look.
Build up the color gradually—adding more than taking it away is easier.
Step back often to check your progress and ensure a balanced look.
Step 7: Seal Your Creation
Once you’re completely satisfied with the look of your vases, it’s time to protect your hard work.
Apply a clear sealer to safeguard against chips and wear and give your vases a professional, finished appearance.
Choose a matte or glossy sealer, depending on the look you prefer.
Apply in thin, even coats, allowing each to dry before adding another.
Two to three coats should provide good protection.
Designing and Painting Tips
Now that you’ve learned the basic steps of DIY vase making let’s explore some tips to enhance your designs and painting techniques.
These suggestions will help you create even more stunning and unique vases.
1. Plan Your Design
Before you start applying texture or paint, sketch out your ideas.
This helps you visualize the final product and experiment with patterns or color combinations.
You don’t need to be an artist – simple sketches work fine.
2. Experiment with Textures
While we’ve covered using drywall compound for texture, don’t be afraid to try other methods:
- Use a comb or fork to create lined patterns
- Press bubble wrap into a wet texture for a honeycomb effect
- Mix sand or coffee grounds into your compound for a gritty texture
- Try fabric or lace impressions for delicate patterns
3. Color Theory Basics
Understanding color can greatly improve your designs:
- Complementary colors (opposite on the color wheel) create bold contrasts
- Analogous colors (next to each other on the color wheel) offer a harmonious look
- Monochromatic schemes using different shades of one color can be elegant and sophisticated
4. Layering Colors
Build depth in your designs by layering colors:
- Start with a light base and gradually add darker shades
- Use dry brushing to highlight raised areas
- Apply a wash (watered-down paint) to add subtle tints
5. Ombré Effect
Create a trendy ombré look by blending colors:
- Choose 2-3 shades of the same color
- Apply the lightest shade at the top, the darkest at the bottom
- While the paint is still wet, blend where the colors meet using a clean, damp brush
6. Stencils and Masks
For intricate designs:
- Use adhesive stencils or create your own with contact paper
- Apply stencils after your base coat has dried
- Use a stippling motion with a nearly dry brush for clean lines
7. Metallic Accents
Add a touch of glamour:
- Use gold, silver, or copper paint to highlight raised areas
- Create a distressed look by lightly dry brushing metallic paint over textured areas
- Try metallic leaf for a luxurious finish on smooth sections
8. Marbling Technique
Create a marbled effect:
- Mix several colors of paint with a marbling medium
- Pour the colors onto your vase and tilt to blend
- Use a skewer to create swirls and patterns
9. Spot Cleaning
If you make a mistake:
- Quickly wipe away wet paint with a damp cloth
- For dried paint, carefully scrape with a craft knife, then touch up
10. Finishing Touches
Consider these final details:
- Add rhinestones or beads for sparkle
- Use ribbon or twine around the neck of the vase
- Paint the inside of clear glass vases for a pop of color
Remember, the key to great DIY vase-making is experimentation.
Don’t be afraid to try new techniques or color combinations.
Each vase you create is a chance to learn and improve your skills.
As you practice, you’ll develop your own unique style.
You might find you prefer certain textures or color schemes.
Embrace these preferences – they’re what make your creations truly one-of-a-kind.
Lastly, have fun with the process.
DIY crafts are about expressing your creativity and enjoying the journey of making something beautiful with your own hands.
Whether your vases turn out exactly as planned or take an unexpected artistic turn, each one is a reflection of your creativity and effort.
Conclusion
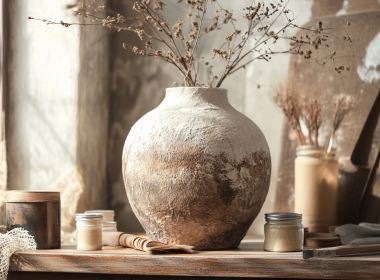
You’ve now created unique, artisanal-looking vases that rival expensive store-bought versions.
The best part? You’ve spent just a fraction of the cost.
It’s truly amazing how some texture and paint can completely transform ordinary objects into eye-catching decor pieces.
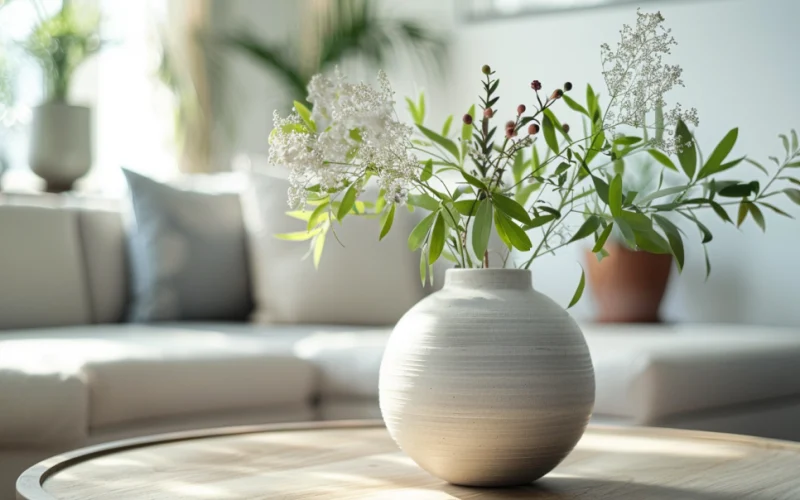
These vases make great gifts or stunning additions to your home decor.
Each is a unique work of art, reflecting your creativity and style.
Try this project and see how to create your own set of stunning vases!
Remember, practice makes perfect, so don’t be discouraged if your first attempt isn’t exactly what you envisioned.
With each vase you make, you’ll develop new techniques and ideas.
Happy crafting!