
Popcorn ceilings, those bumpy, textured surfaces popular in older homes, can make a space feel dated and unappealing.
You’re not alone if you’re tired of looking up at that outdated style.
Many homeowners want to update their ceilings but feel overwhelmed by the task.
Don’t worry – removing popcorn ceilings is a project you can tackle with the right approach.
I’ll guide you through the process step-by-step, from testing for hazards to achieving a smooth, modern finish.
In this article, I’ll break down the popcorn ceiling removal process into eight manageable steps.
You’ll learn how to prepare your space, safely scrape away the texture, and refinish your ceiling for a fresh, contemporary look.
With my tips and tricks, you’ll be on your way to transforming your room’s appearance quickly.
Steps to Removing Popcorn Ceiling
Step 1: Check for Harmful Materials
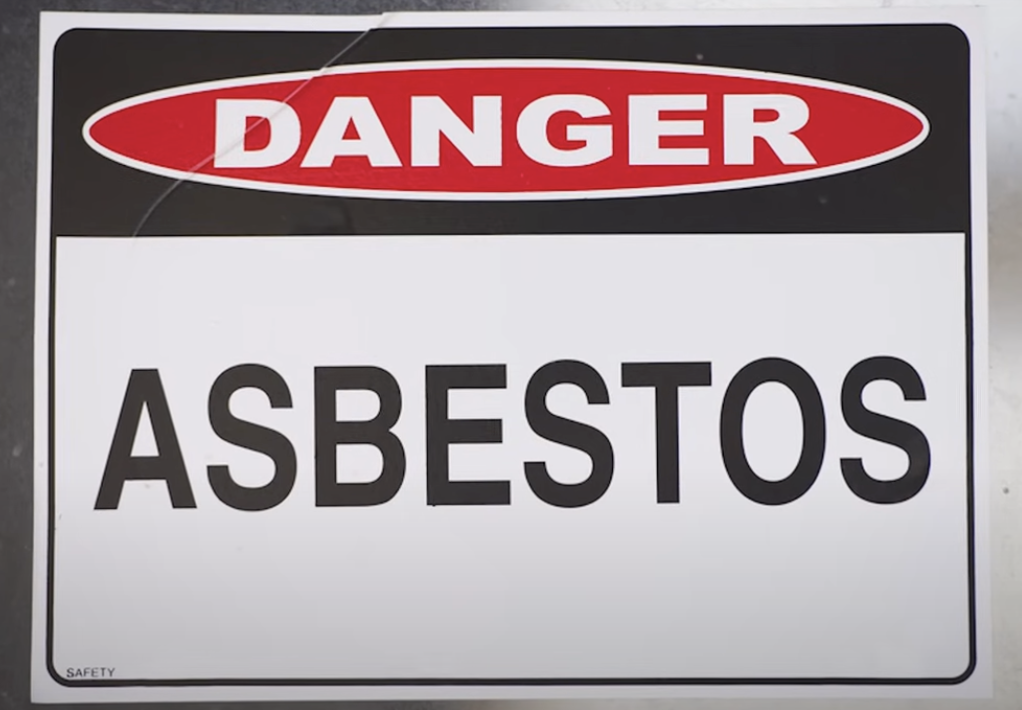
Safety should be your top priority when tackling a popcorn ceiling removal project.
Many older homes have ceilings that contain asbestos, a dangerous substance that can cause serious health issues if disturbed.
That’s why testing your ceiling before you start scraping is crucial.
If your home was built before the mid-1980s, there’s a chance asbestos might be present.

Don’t take any risks – contact a professional asbestos inspector or get a certified testing kit.
These kits are easy to use and can give you peace of mind.
Send a small sample of your ceiling material to a lab for analysis.
If the results return positive for asbestos, don’t panic, but don’t try to remove the ceiling yourself.
In this case, you must bring in certified asbestos removal experts.
They have the training and equipment to handle and dispose of asbestos-containing materials safely.
Undisturbed asbestos isn’t immediately dangerous, but those harmful fibers can become airborne once you start scraping.
So, take this step seriously—it’s better to be safe than sorry about your and your family’s health.
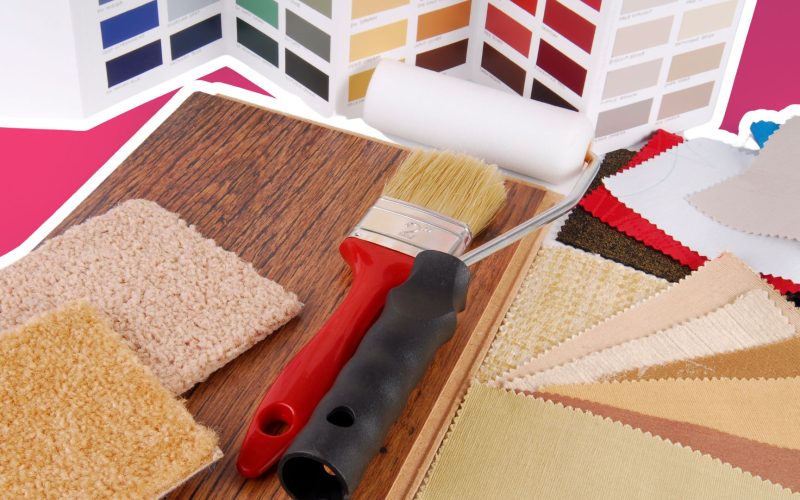
Step 2: Collect Your Supplies

Before diving into your popcorn ceiling removal project, gathering all the necessary tools and materials is essential.
This prep work will save you time and frustration once you get started.
Firstly, you’ll need the following:
- A sturdy ladder is needed to reach those high spots safely.
- Next, grab some plastic sheeting or tarps to protect your floors, walls, and furniture from the mess that will soon fall.
- Painter’s tape to secure those coverings.
- A fan will help with ventilation, which is crucial for this dusty job.
- Some long-handled scrapers
- A spray bottle or garden sprayer to dampen the ceiling for scraping.
Remember repair materials like drywall compound and sanding blocks—you’ll likely need to smooth things out after scraping.
A hammer might come in handy for dealing with any protruding nails.
Finally, stock up on painting supplies
- Rollers
- Trays
- Brushes
- Primers
- Your chosen paint color
Good quality personal protective equipment.
- A dust mask
- Safety glasses
- A full face shield that protects you from falling debris.
With all these supplies, you’ll be well-prepared to tackle your ceiling transformation.
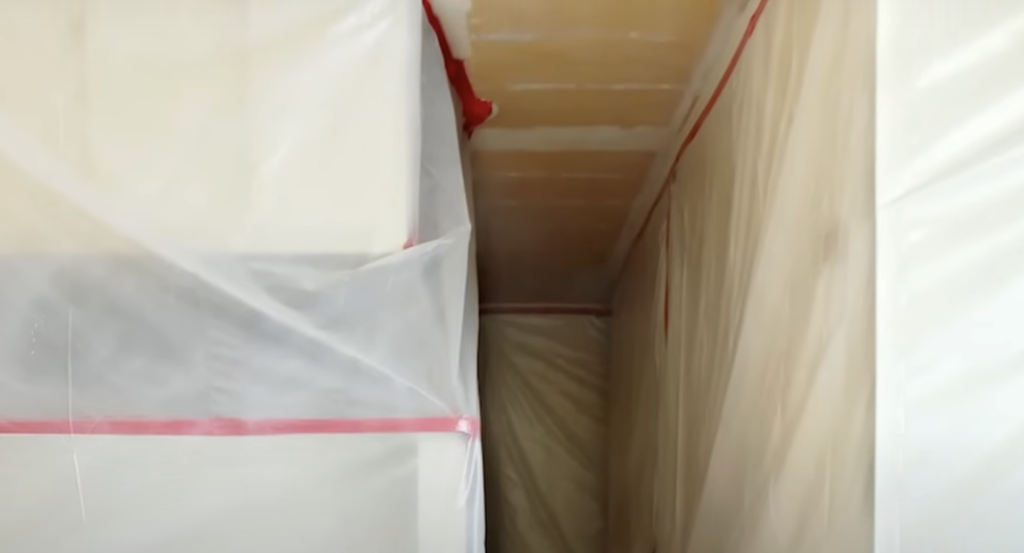
Step 3: Set Up Your Work Area
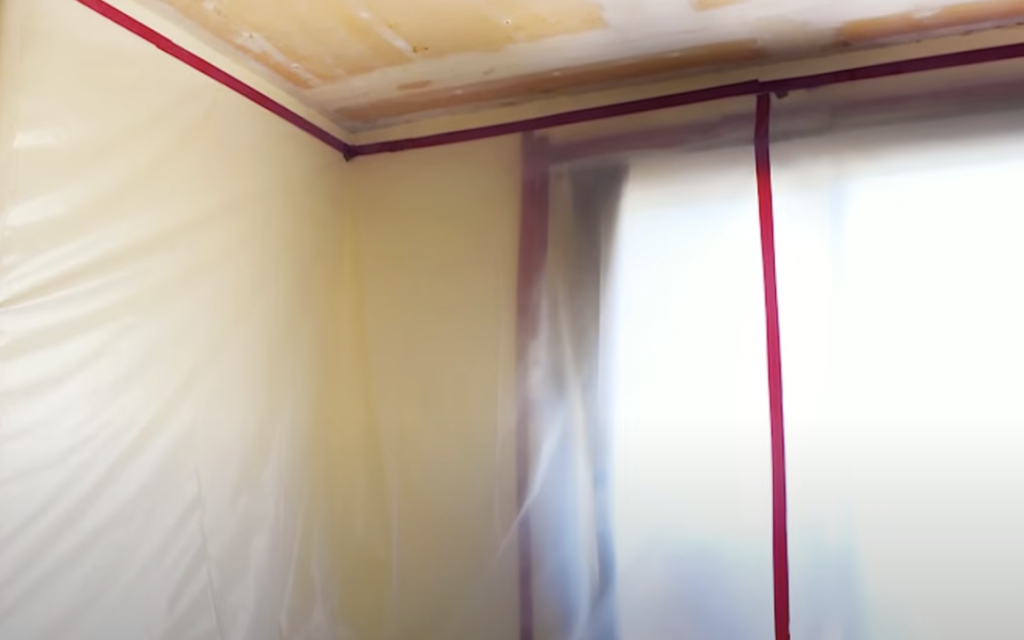
Preparing your workspace is a crucial step that many DIYers underestimate.
Trust me, taking the time to set up properly will make your job easier and cleaner in the long run.
- Start by clearing out as much furniture as you can from the room.
- Cover pieces too heavy to move thoroughly with waterproof tarps or heavy-duty plastic sheeting.
- This will protect them from dust and potential water damage. Next, focus on your floors.
- Use painter’s tape to secure rosin paper or drop cloths along the room’s edges.
- Ensure these coverings have a waterproof backing to prevent moisture from seeping through.
Remember your walls—they need protection, too. Cover them with plastic sheeting from floor to ceiling.
Pay special attention to any built-in fixtures or architectural details. Now, let’s talk about safety and comfort.
- Turn off your heating and cooling system to prevent dust from circulating throughout your home.
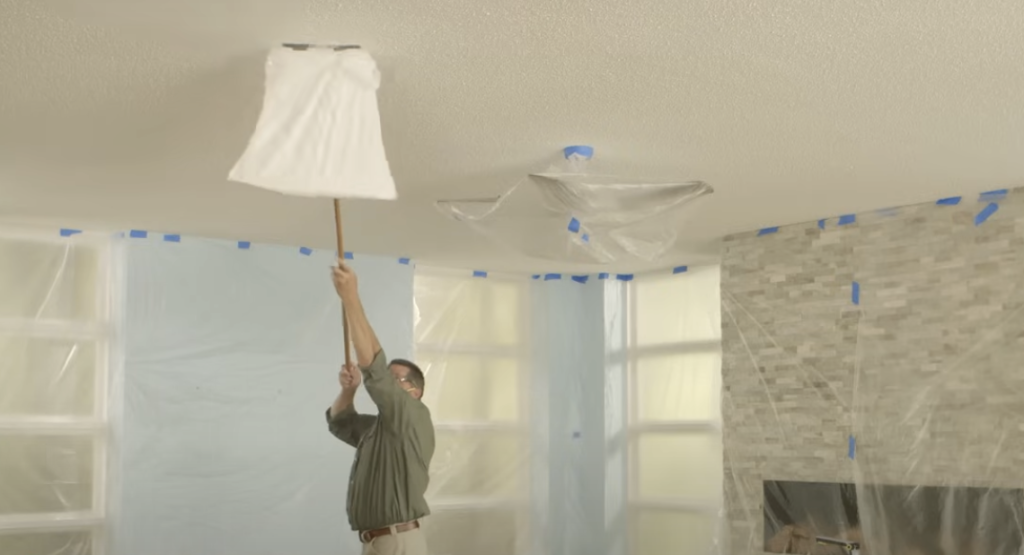
- Cut the power to all ceiling fans and lighting fixtures by switching off the corresponding breakers in your electrical panel.
- This step is crucial for your safety when working around electrical components.
- Lastly, set up a fan near an open window for good ventilation.
This will help keep the air circulating and make the space more comfortable to work in.
With your space properly prepped, you can start transforming your ceiling.
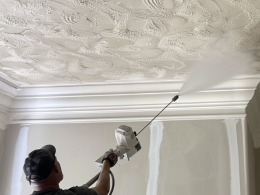
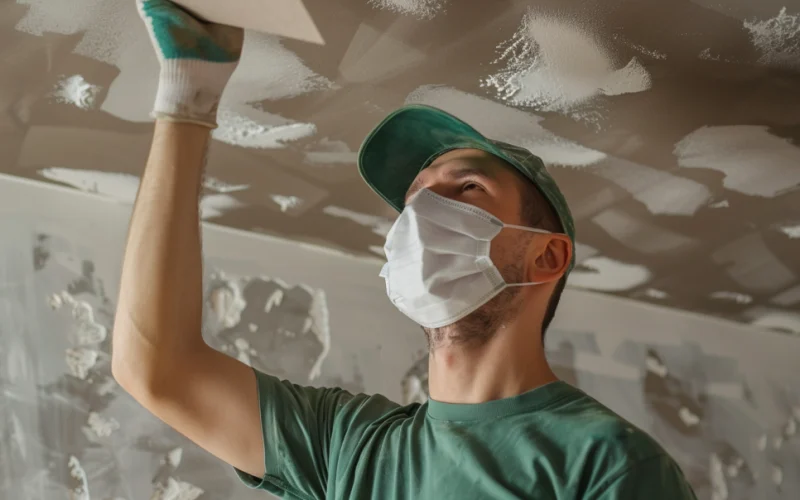
Step 4: Take Off the Textured Surface
Now comes the main event – removing that dated popcorn texture from your ceiling.
- Before you start, make sure you’re wearing all your safety gear.
- That dust mask and those safety glasses aren’t just for show!
- Test a small, inconspicuous area to see how easily the texture comes off.
- Some popcorn ceilings scrape off dry without much fuss, while others need a bit of encouragement.
- If dry scraping works, go for it! Work in small sections of about 4-6 square feet.
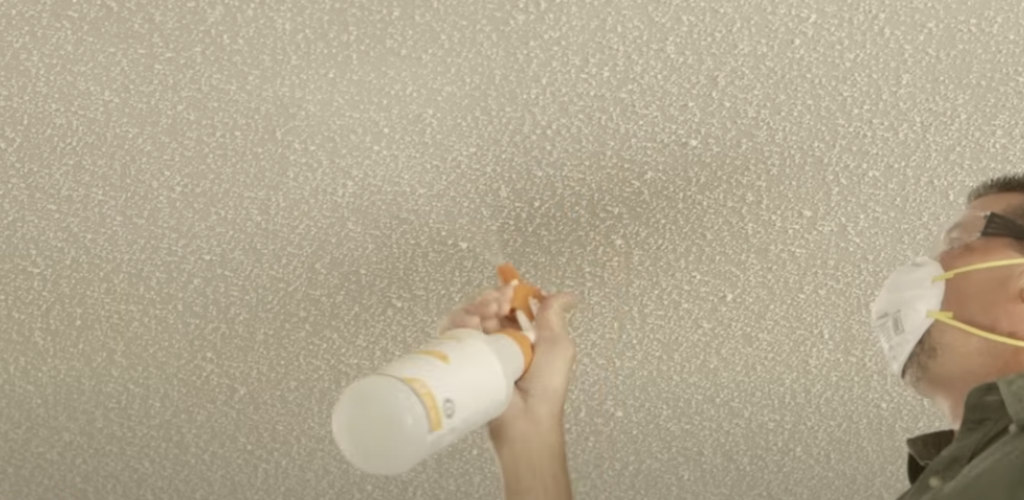
If the texture is stubborn, it’s time to break out the water.
- Fill your spray bottle or garden sprayer with warm water and a few drops of dish soap.
- This mixture will help loosen the texture. Spray a small section of the ceiling, careful not to oversaturate it.
- You don’t want to damage the drywall underneath. Wait 15-20 minutes for the water to soak in, then start scraping.
- Use your long-handled scraper for most of the work, and switch to a smaller putty knife for corners and around fixtures.
- Work slowly and steadily, applying even pressure to avoid gouging the ceiling.
- If you encounter any particularly tough spots, give them another spritz and wait a bit longer before trying again.
- Remember, patience is key here. Taking your time is better than rushing and damaging your ceiling.
- As you work, periodically stop to clean up the fallen debris.
This will prevent you from tracking it all over your work area.
Step 5: Smooth Out the Ceiling
After you’ve scraped off all that popcorn texture, you might think the hard part is over.
- But hold on – there’s still some important work to do to get your ceiling looking its best.
- Once the scraping is complete, step back and look at your ceiling.
- Chances are, you’ll notice some imperfections hidden by the texture.
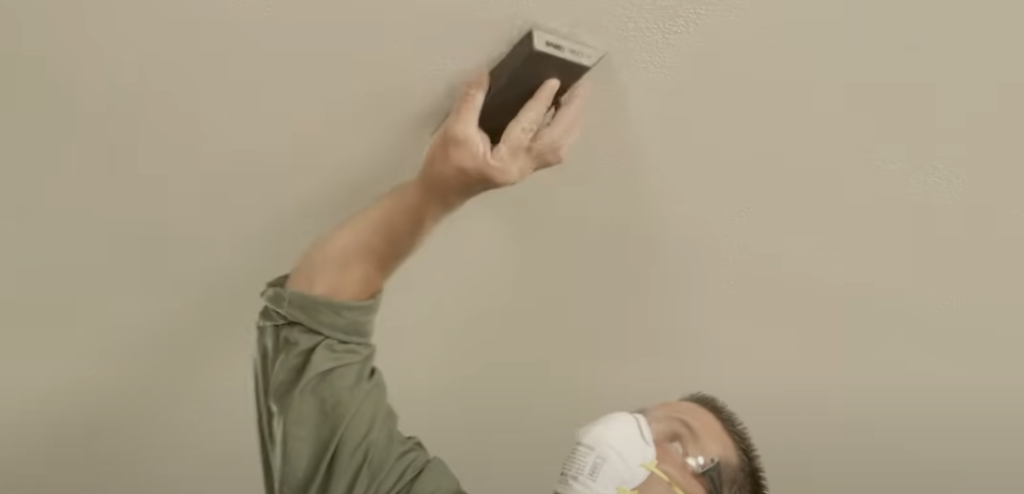
- Don’t worry, this is normal! Grab your sanding block and gently smooth out any rough spots.
- Be careful not to overdo it – you don’t want to damage the drywall underneath.
As you sand, you might encounter some “nail pops”—nails that have worked out of the drywall over time.
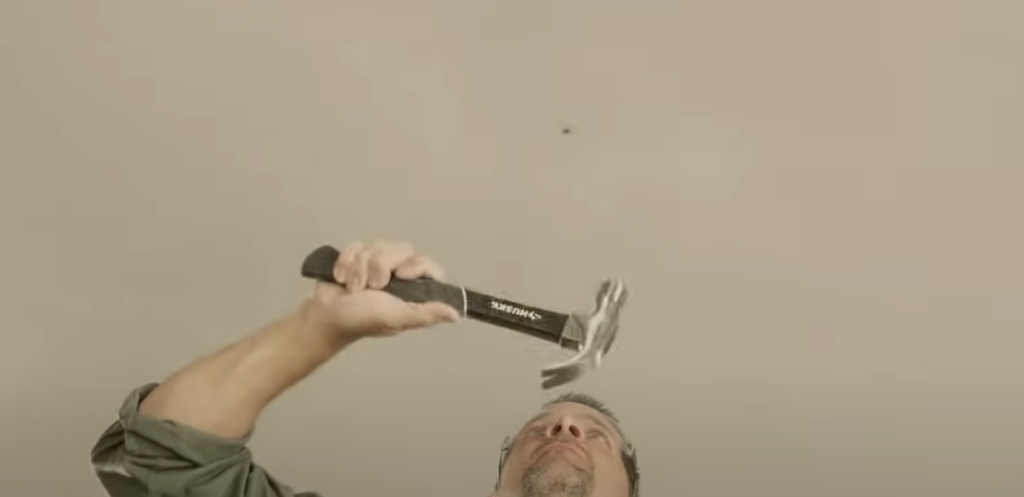
Use your hammer to gently tap these back in, or better yet, remove them and replace them with drywall screws for a more secure hold.
- Next, it’s time to patch up any dings, dents, or holes you’ve uncovered.
- Use your drywall compound to fill these in, applying it smoothly with your putty knife.
- Don’t stress if it’s not perfect on the first try – you can always sand it down once it’s dry.
- Speaking of drying, give your patches plenty of time to set before moving on to the next step.
- Rushing this part can lead to cracks or unevenness in your final paint job.
- Once everything is dry, give the entire ceiling one final light sanding to ensure a perfectly smooth surface.
Wipe away any dust with a damp cloth, and you’re ready for the next stage of your ceiling makeover.
Step 6: Apply a Base Coat
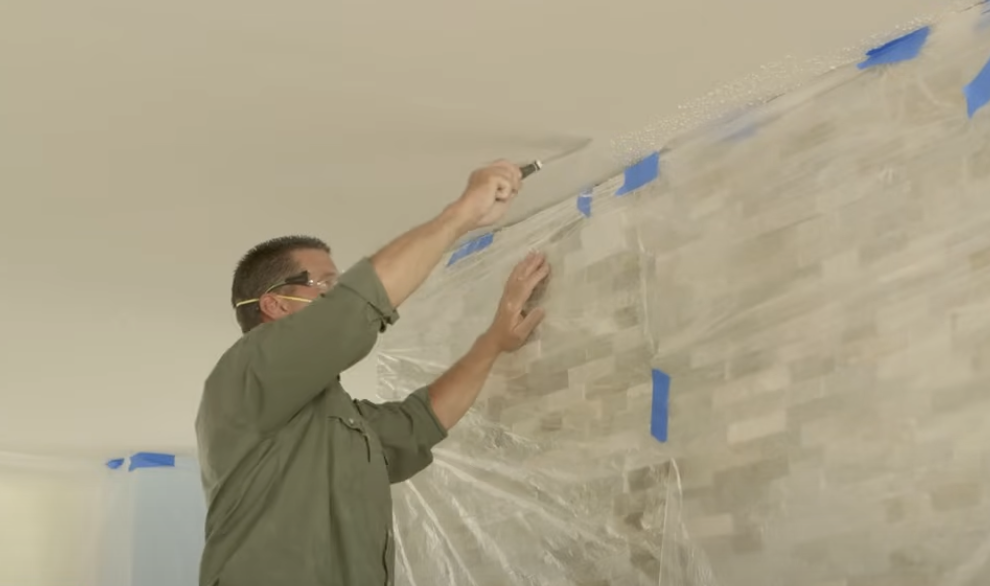
Now that your ceiling is smooth and patch-free, it’s time to consider the finishing touches.
But before you break out your chosen paint color, you shouldn’t skip an important step: applying a base coat or primer.
This step might seem unnecessary, but trust me, it’s crucial for achieving a professional-looking finish.
A good primer serves several purposes.
First, it helps to seal any remaining dust or debris that might be lingering on your ceiling.
It also provides a uniform surface for your paint to adhere to, which is especially important if you must do a lot of patching.
A white primer can help brighten up your ceiling and make your top coat color more vibrant.
- To apply the primer, start by cutting around the edges of the ceiling with a brush.
- Then, use a roller with an extension pole to cover the rest of the surface.
- Work in small sections, overlapping slightly to ensure even coverage.
- Don’t worry if it looks imperfect – the goal is coverage, not beauty.
- You might need two coats of primer, especially if your ceiling is stained or you plan to use light-colored paint.
- Let each coat dry completely before applying the next.
- This might take a few hours, so be patient.
- Once your primer is fully dry, give your ceiling a quick inspection.
- If you notice any areas that need touching up, now’s the time to do it.
With a good base coat, you’re all set for the final step: adding color to your newly smooth ceiling.
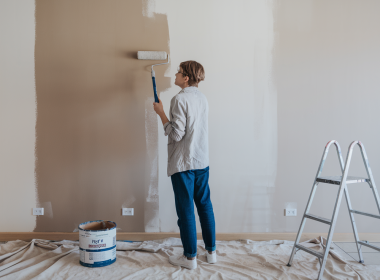
Step 7: Add Your Chosen Color
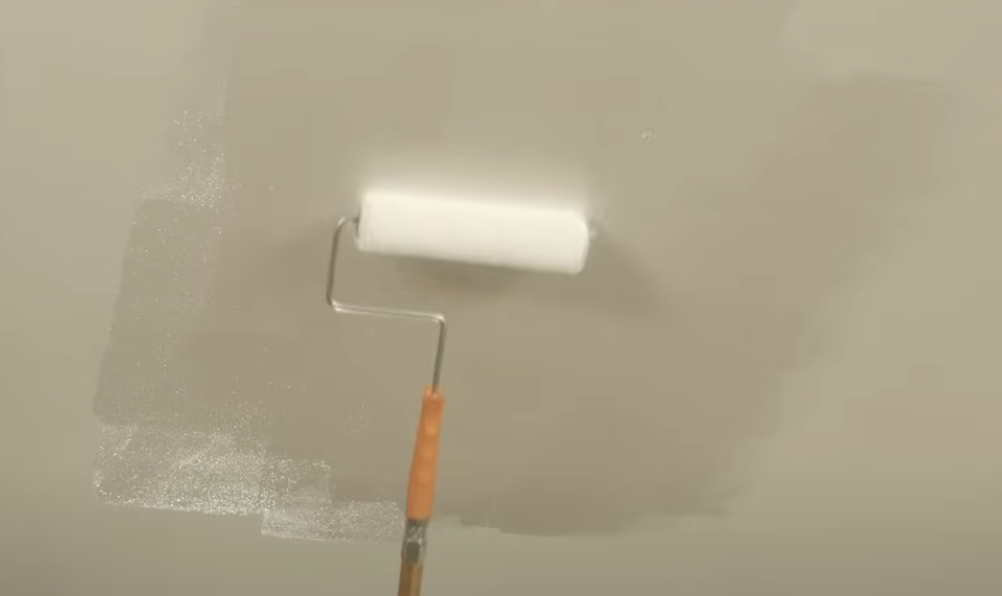
The moment you’ve been waiting for has finally arrived – it’s time to add color to your ceiling and truly transform your space.
This is where all your hard work pays off, so take your time and enjoy the process.
Start by deciding on the finish you want.
A flat finish is traditional for ceilings as it helps hide imperfections, but don’t be afraid to experiment with eggshell or semi-gloss for a unique look.
Before you start painting, give your ceiling one last look in good lighting to ensure you have not missed any spots during prep.
- Now, just like with the primer, begin by cutting in around the edges of the ceiling with a brush.
- This requires a steady hand, so take your time.
- Pour your paint into a roller tray and use a roller with an extension pole to paint the main area.
- Work in small sections, rolling in a “W” pattern to ensure even coverage.
- Be sure to overlap your sections to avoid leaving any unpainted strips slightly.
- You might need two coats depending on your chosen color and how it covers.
- Let the first coat dry completely before deciding if a second is necessary.
- If you need another coat, apply it in the opposite direction of the first for the most even finish.
- Between coats, wrap your brush and roller in plastic wrap to keep them from drying out.
- Once you’re done painting, carefully remove any painter’s tape while the paint is still slightly wet.
This will give you the cleanest edge possible.
Then step back and admire your handiwork – you’ve just given your room a new look!
Step 8: Wrap Up and Enjoy
Congratulations! You’ve made it to the final step of your popcorn ceiling removal project.
- Now it’s time to finish your hard work and enjoy your updated space.
- First things first, make sure your paint is completely dry.
- This usually takes about 24 hours but can vary depending on humidity and ventilation.
- Once you’re sure everything is dry, it’s time to restore your room to its normal state.
- Start by carefully removing all the protective coverings from your furniture and floors.
- Be gentle to avoid scattering any lingering dust.
- Next, head to your electrical panel and turn the power back on to your ceiling fixtures and fans.
- Now, you can reinstall any light fixtures or fan blades you removed at the start of the project.
- As you put things back in place, take a moment to clean each item.
Don’t forget to vacuum or sweep thoroughly to catch any debris you might have missed.
Finally, move your furniture back into position.
Conclusion
Removing a popcorn ceiling might seem daunting, but it’s a manageable DIY project with patience and the right approach.
We’ve walked through the process step-by-step, from testing for hazards to applying the final coat of paint.
Safety comes first – always test for asbestos and use proper protective gear.
Prep work is crucial for a smooth process and clean-up.
Take your time with the scraping, and don’t rush the repairs.
A good primer and quality paint will give you a professional-looking finish.
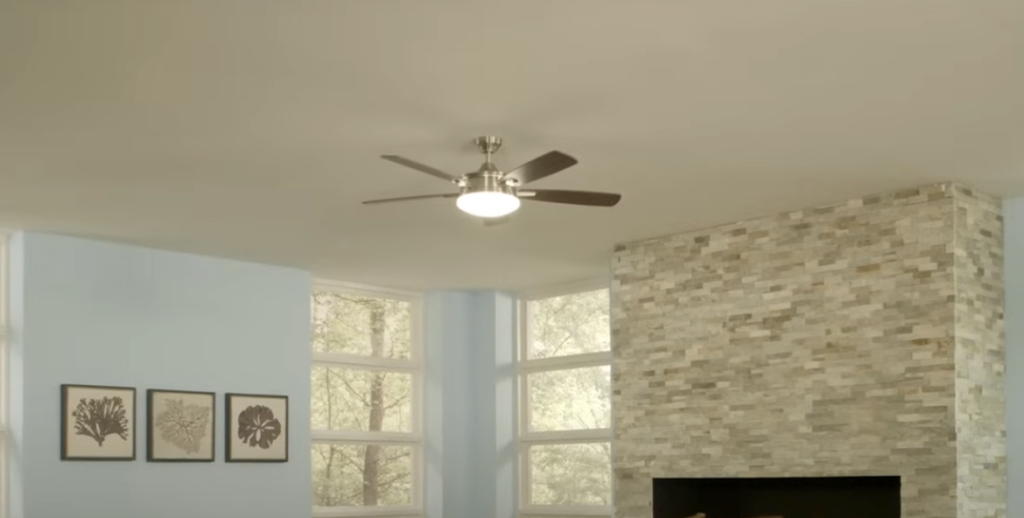
While it’s time-consuming, the results are well worth the effort.
Your newly smooth ceiling will make your room more spacious, modern, and brighter.
Plus, you’ll have the satisfaction of knowing you did it yourself.
So wave goodbye to that dated popcorn texture and hello to your fresh, updated space!