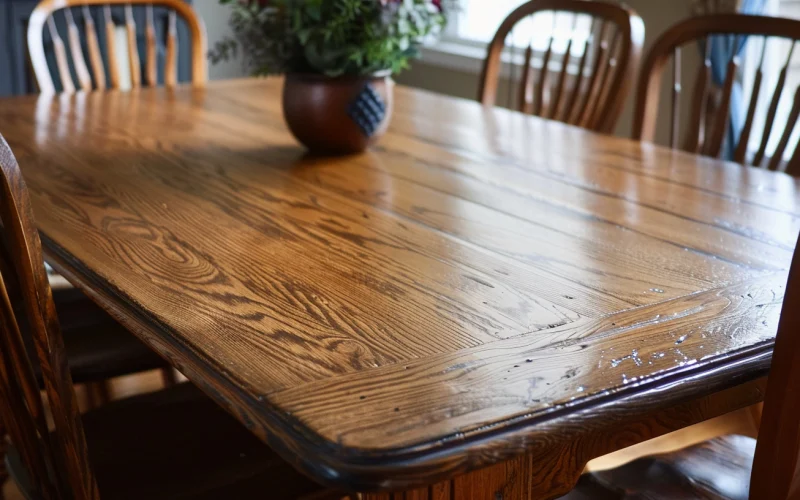


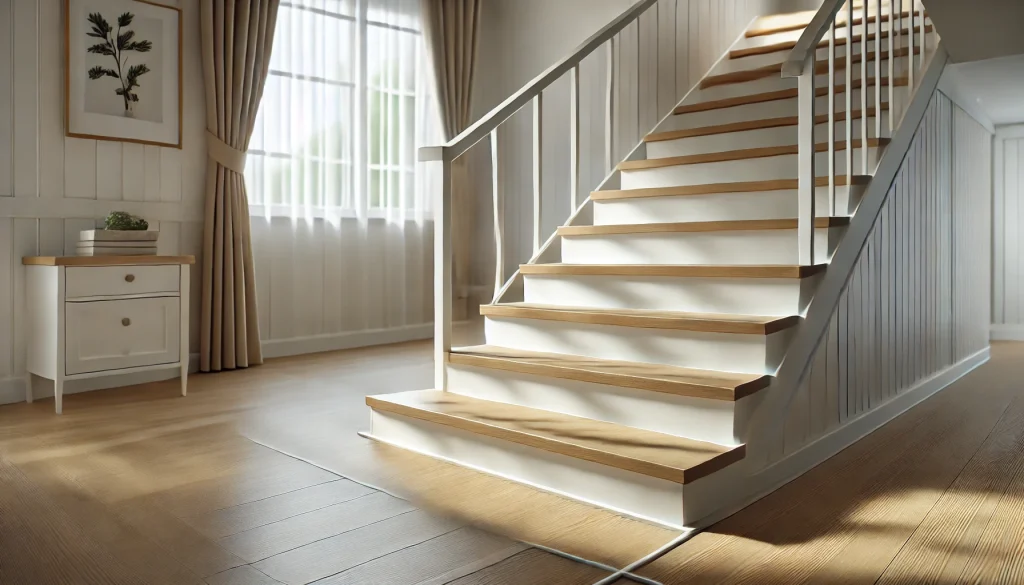
Let’s face it: installing laminate on stairs can seem daunting, especially when not using nosing. Many DIY enthusiasts worry about safety, durability, and the overall look.
But here’s the good news: putting laminate on stairs without nosing is not only doable but can also give your staircase a sleek, modern feel.
In this guide, I’ll walk you through the process step-by-step, showing you how to tackle this project confidently.
You’ll learn about the tools you need, how to prep your stairs, and the best ways to install laminate for a safe and stylish result.
By the end of this post, you’ll have all the know-how to transform your stairs into a beautiful, long-lasting home feature.
Common Steps for Laminate Installation on Stairs
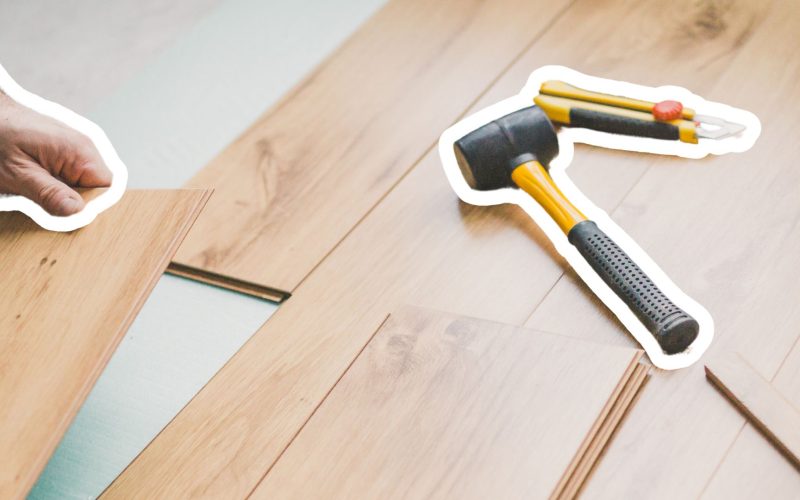
Preparation Before Installation
Getting ready is a big part of putting laminate on your stairs. Let’s go through each step slowly.
Step 1: Acclimate the Flooring
Your new laminate must be used in your home before being installed. Here’s what to do:
- Take the laminate out of its packaging.
- Put it in the room where you’ll be using it.
- Leave it there for 48 hours (that’s two full days).
This helps the laminate adjust to your home’s warmth and dampness. It might seem like a waste of time, but it’s important. If you skip this step, your new floor might not fit right or be damaged later.
Step 2: Remove Old Flooring
Now, we need to take off whatever’s on your stairs. You’ll need:
- A putty knife (it’s like a small, flat tool)
- A paint scraper (this helps lift stubborn bits)
- A vacuum
Here’s what to do:
- Start at the top of the stairs.
- Use your putty knife and paint scraper to lift off the old flooring.
- Look for any carpet tack strips (thin wood strips with nails).
- Pull out any nails or staples you find.
- Vacuum each step as you go.
Don’t rush this part. It’s okay if it takes a while. The cleaner you get your stairs now, the better your new laminate will look.
Step 3: Prepare the Stairs
Now, we make sure your stairs are ready for the new laminate. Here’s what to check:
- Look at the front edge of each step (we call this the toe kick).
- Check if this edge sticks out past the vertical part of the step (that’s the riser).
- If it sticks out, we must make the riser even with it.
To make the riser even:
- Measure how far the toe kick sticks out.
- Cut some plywood to this size.
- Glue and nail the plywood to the riser.
This might sound tricky, but it’s about making everything line up. When your stairs are all even, it’s much easier to put the laminate on.
Remember, good prep work makes the rest of the job much easier. Take your time with these steps. It’s okay if this part takes a day or two. You’re setting yourself up for success with your new laminate stairs.
Precise Laminate Installation
Now that we’ve done all the prep work, it’s time to put the laminate on your stairs. This is the fun part: You’ll see your stairs start to change. Let’s go through each step carefully.
Step 4: Measure and Cut Laminate
First, we need to cut the laminate to fit each step. Here’s how:
- Measure how deep each step is.
- Cut your laminate pieces to this size, but make them shorter.
- Leave a small gap (about 1/8 inch) at the back of each step.
This gap is important. It allows the laminate to move slightly as the weather changes. You want the pieces to fit snugly but not so tight that they can’t move.
Step 5: Install Laminate Tread
Now, we’ll put the laminate on the part of the step you walk on. This is called the tread. Here’s what to do:
- Spread wood glue all over the tread. Use plenty – this helps stop squeaks later.
- Press the laminate piece into place.
- You can put weights on top to hold it down or use small nails in the corners.
One tip: Cut off the tongue and groove parts of the laminate. These are the bits that usually click together. For stairs, it’s better to have a flat edge.
Step 6: Install Riser Laminate
Next, we’ll cover the vertical part of each step. This is called the riser. Here’s how:
- Measure the height of each riser. Remember to add a little extra for the thickness of the laminate on the tread.
- Cut your laminate to this size.
- Spread wood glue on the riser.
- Press the laminate into place and nail it.
Ensure the riser laminate comes up slightly higher than the step. This helps the next tread fit flush against it.
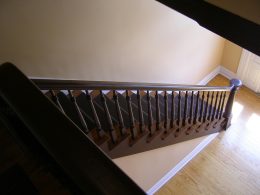
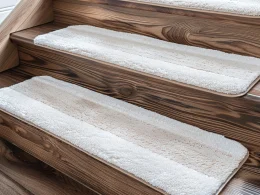
Step 7: Adjust and Fit Stair Nosing (Optional)
Even though we’re not using nosing in this guide, I’ll explain it briefly in case you change your mind:
- Nosing is a special piece that goes on the edge of each step. It usually comes with a metal track that you screw down first.
- To make the track the right height, you might need to use small pieces of wood (called shims) under it.
- The nosing then snaps into this track.
Using nosing can make your stairs safer and give them a finished look. But it’s not always needed, especially if you want a more modern style.
Remember, take your time with each step. It’s okay if this part takes a while. You’re doing great work that will make your stairs look amazing for years.
Finishing Touches
We’re almost done! These last steps will make your new laminate stairs look good and help them last longer.
Step 8: Fill Gaps and Seams
We need to seal up any small spaces between the laminate pieces. This makes your stairs look better and keeps water out. Here’s what to do:
- Get some clear, waterproof silicone. It’s like a special kind of glue.
- Put a thin silicone line along the edges where the tread meets the riser.
- Also, put some along the sides of each step.
- Use your finger to smooth it out. You want it to fill the gap but not be too messy.
This step is really important if your stairs might get wet. Maybe you live somewhere rainy, or these stairs are near a door. The silicone will help keep water from getting under the laminate.
Step 9: Touch Up and Clean
We’re in the home stretch now! This is where we make everything look perfect. Here’s what to do:
- Look for any little holes where you put nails.
- Get some wood filler that matches your laminate color.
- Put a tiny bit of wood filler in each hole. Use your finger to smooth it out.
- Let it dry. This usually takes about an hour.
- If the color doesn’t match exactly, you can use a little wood stain to make it blend in better.
Now for the final clean:
- Get a soft cloth and some laminate floor cleaner.
- Wipe down each step carefully.
- Look closely at your work. Make sure everything looks good.
And that’s it! You’ve done it. You’ve put laminate on your stairs without using nosing. Take a step back and look at your work. Your stairs look brand new, and you did it all yourself. Great job!
Remember, if you ever need to clean your new stairs, use a damp cloth or a cleaner made for laminate floors. This will help your stairs stay looking good for a long time.
Conclusion
Let’s wrap this up! Installing laminate on your stairs without nosing might have seemed tough, but you now have all the steps to make it happen.
We’ve covered everything from preparing your materials to adding those final touches. Remember, taking time with each step is key to achieving great results. Your new laminate stairs will look fantastic and be safe and long-lasting.
So what’s next? It’s time to get started on your own stair project! Gather your materials, set aside a weekend, and transform your stairs.
And if you run into any questions along the way, just come back to this guide.
You’ve got this!