

Painting stairs can be daunting, often leaving homeowners unsure about the best approach. I know how tricky it can be to correctly choose and apply the right paint.
But don’t worry – I’m here to help you transform your staircase into a stunning focal point of your home. In this guide, I’ll walk you through the process of painting stairs like a pro.
You’ll learn to select the ideal paint for your wooden stairs, prepare the surface properly, and apply the paint for a durable, professional-looking finish.
I’ll also share tips on adding stylish touches like runners and rods to complete the look. By the end of this post, you’ll have the knowledge you need to tackle your stair painting project confidently.
Choosing the Right Paint
1. Durability Considerations
- When it comes to painting stairs, durability is key. Semi-gloss, eggshell, or matt finishes are top choices for stair painting projects.
- These finishes can handle the wear and tear of daily foot traffic without losing their luster. Semi-gloss paint is particularly good for stairs because it’s easy to clean and resists scuffs well.
- For even better results, look for floor-specific paints. These are made to withstand heavy use and keep your stairs looking great for longer.
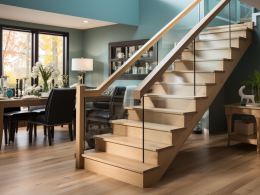
2. Color Selection
- Picking the right color is just as important as choosing durable paint. Before committing to a color, testing a few options is smart. Buy some small tester pots and paint patches for your stairs.
- This way, you can see the colors in different lights throughout the day. Many people like to go with classic combinations like white and blue or white and beige.
- These pairings can create a fresh, clean look that brightens your staircase. Remember, the color you choose can greatly impact the overall feel of your home, so take your time with this decision.
3. Avoiding Common Mistakes
- One of people’s biggest mistakes is trying to save money by buying cheap paint. This often backfires, as low-quality paint may not adhere well or could wear off quickly.
- Invest in high-quality, durable paint specifically designed for floors or high-traffic areas. Another common error is using interior wall paint on stairs.
- These paints aren’t tough enough to withstand constant foot traffic and will likely chip or peel quickly. Always opt for floor paint or paint labeled on stairs to ensure a long-lasting finish.
Preparing Your Stairs
1. Cleaning
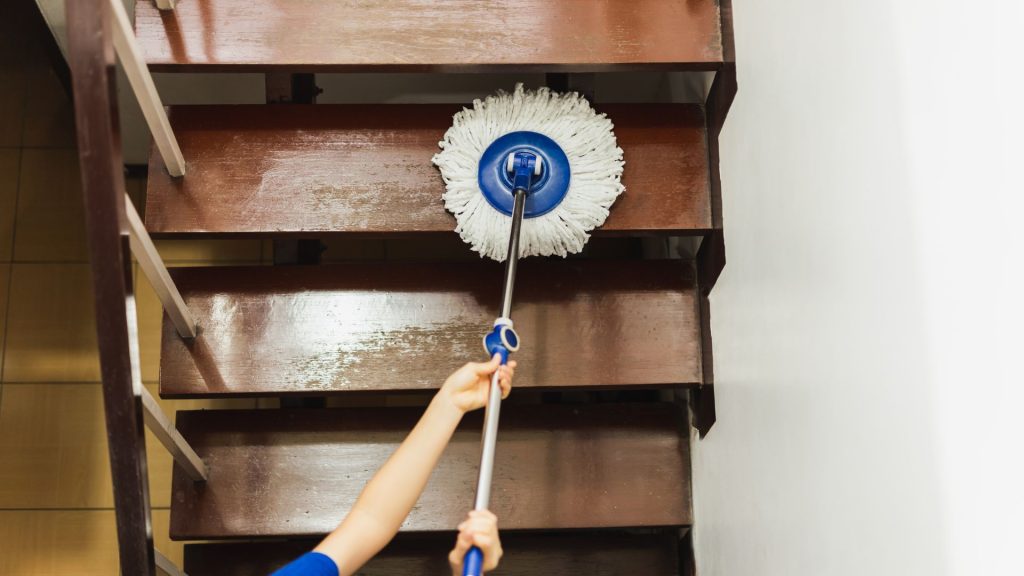
- The first step in prepping your stairs for paint is a thorough cleaning. Start by vacuuming the entire staircase to remove loose dirt and debris.
- Next, use sugar soap to give the stairs a deep clean. This special cleaner helps remove grease and grime, creating a better surface for the paint to stick to.
- After cleaning, let the stairs dry completely. This step is crucial – painting on damp stairs can lead to poor paint adhesion and an uneven finish.
2. Sanding
- Sanding is necessary for stairs with noticeable wear and tear or rough spots. Use sandpaper or a sanding block to smooth out these areas. Pay extra attention to any parts that feel rough to the touch.
- Once done, be sure to clean up all the dust created by sanding. A damp cloth works well for this. Removing all the sanding dust ensures a smooth painting surface.
3. Priming
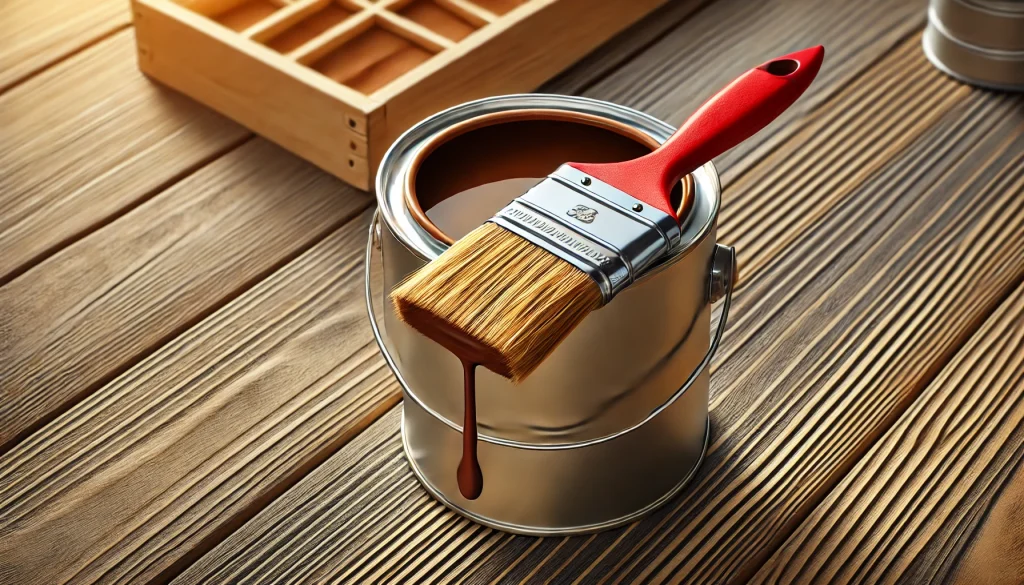
- Priming is a key step that shouldn’t be skipped. Use an oil-based primer designed for wood – it provides an excellent base for your paint to stick to.
- For particularly porous wood surfaces, consider using a mist coat. This is a watered-down version of your chosen paint (about 70% paint to 30% water). It helps the stain penetrate the wood, making it more even and long-lasting.
- Allow each primer or mist coat to dry fully before moving on to the next step.
Step-by-Step Painting Process
Let’s get into the painting process:
1. Painting
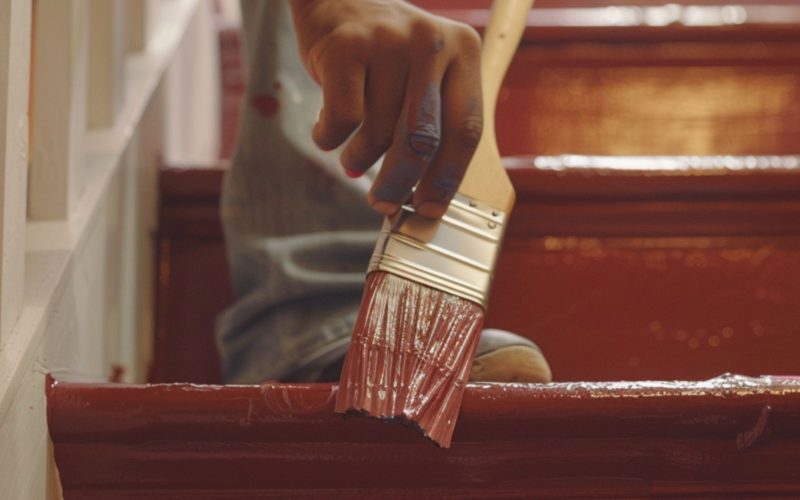
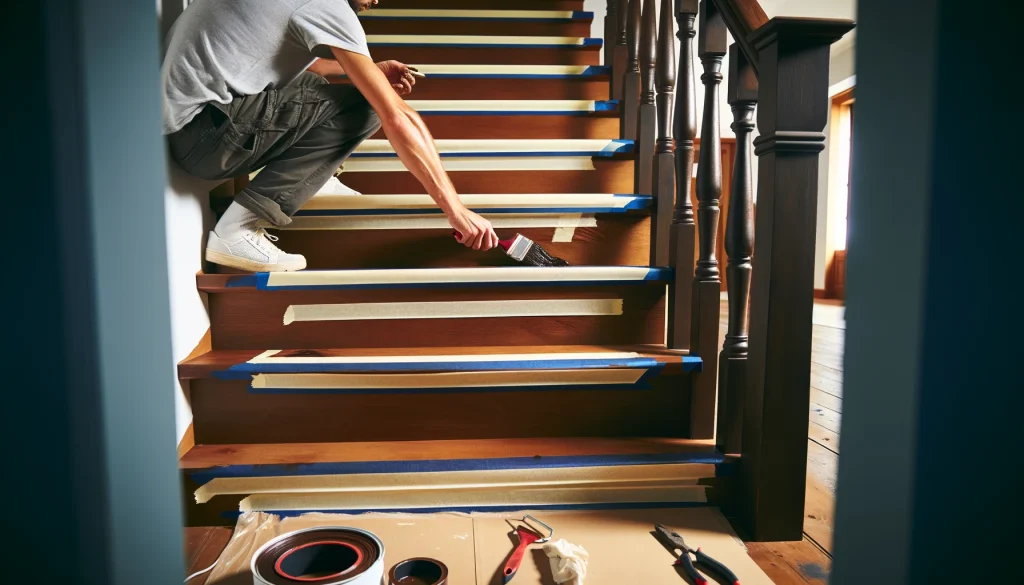
- When applying the first coat, start at the top of the staircase and work your way down. Use long, even strokes with your brush or roller to ensure smooth coverage. Pay extra attention to corners and edges, getting an even coat in these tricky spots.
- After the first coat, patience is key. Allow 4-6 hours of drying before considering a second coat. This waiting period ensures each layer adheres properly and creates a strong base for the next.
- Plan on applying at least three coats of paint for the best results. While this might seem like a lot, multiple thin coats create a more durable and attractive finish than one thick coat.
- Lightly sand any rough spots between each coat and wipe away dust before painting again.This extra effort results in a smoother, more professional-looking finish lasting for years.
2. Drying and Setting
- Proper drying is crucial for a lasting finish. Aim for a warm, dry day with good air circulation. If possible, open windows will help with airflow.
- Avoid using fans directly on the stairs, leading to dust settling on wet paint.
- During the drying period, try to minimize foot traffic on the stairs. If you must use them, wait at least 4-6 hours and then place pieces of cardboard on the treads to walk on.
3. Protective Layers
- After your paint has fully dried, you might want to consider adding a layer of varnish. This extra step can provide additional protection for your newly painted stairs.
- Varnish acts as a shield, helping to guard against scuffs, scratches, and general wear and tear. It can also give your stairs a beautiful, subtle sheen that enhances the overall look.
- Use a clean brush to apply varnish, working in long, even strokes. Make sure to cover the entire surface, including the edges of each step.
- Like with the paint, start at the top of the staircase and work your way down. This approach helps avoid any accidental smudges or footprints.
- After applying the varnish, patience is key. Give it at least 72 hours to fully set before walking on the stairs with shoes. This waiting period might seem long, but it’s essential for ensuring the varnish bonds properly with the paint underneath.
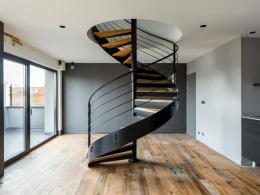
4. Adding Accessories
- Once your stairs are beautifully painted and fully dry, it’s time to think about the finishing touches. Stair runners, door bars, and rods can elevate the look of your staircase, turning it from a simple walkway into a standout feature of your home.
- Stair runners add both style and safety to your newly painted stairs. They provide a soft, non-slip surface that’s comfortable underfoot and can help reduce noise.
- Consider colors and patterns that complement your new paint job when choosing a runner. A bold runner can add color to neutral stairs, while a subtle design can enhance a more vibrant paint choice.
- Don’t forget about door bars and rods. These small details can make a big difference in the overall appearance of your staircase.
- They help hold your runner in place and add a touch of elegance. Look for finishes matching other home hardware, like doorknobs or light fixtures. This creates a cohesive look throughout your space.
- Remember, these accessories aren’t just decorative – they’re functional too. They protect your freshly painted stairs from wear and tear, helping to keep them looking great for longer.
Tips for Painting Your Stairs
- Plan Your Route: Before you start, figure out how you’ll access other parts of your house while the stairs are drying. You might need to set up a temporary ladder or plan to stay on one floor for a while.
- Work in Sections: If you can’t paint all the stairs simultaneously, consider painting every other step. This way, you can still use the stairs while working on the project.
- Mind the Weather: Humidity can affect drying time. For best results, try to paint on a day with low humidity.
- Keep It Clean: A damp cloth is handy to wipe up any drips or mistakes quickly.
- Take Your Time: Don’t rush the process. Proper preparation and patience between coats will produce a much better final result.
- Consider Slip Resistance: For added safety, you might want to mix a little fine sand into your final coat of paint to create a non-slip surface.
- Protect Your Work: Once you’re done, consider using stair treads or a runner to protect your newly painted stairs from wear and tear.
Conclusion
To wrap up, painting your stairs is a great way to refresh your home’s look. Remember to choose durable paints, prep your stairs well, and take time with the painting process.
Adding a varnish layer and accessories like runners and rods can make your staircase stand out.
However, a beautifully painted staircase can transform your entire home’s atmosphere. It’s often one of the first things people see when they enter, so it sets the tone for the rest of your space.
What’s next? Get started on your stair painting project! Gather your supplies, set aside a weekend, and follow our covered steps. Don’t rush – take your time to do it right.
Before you know it, you’ll have a stunning staircase you can be proud of for years.