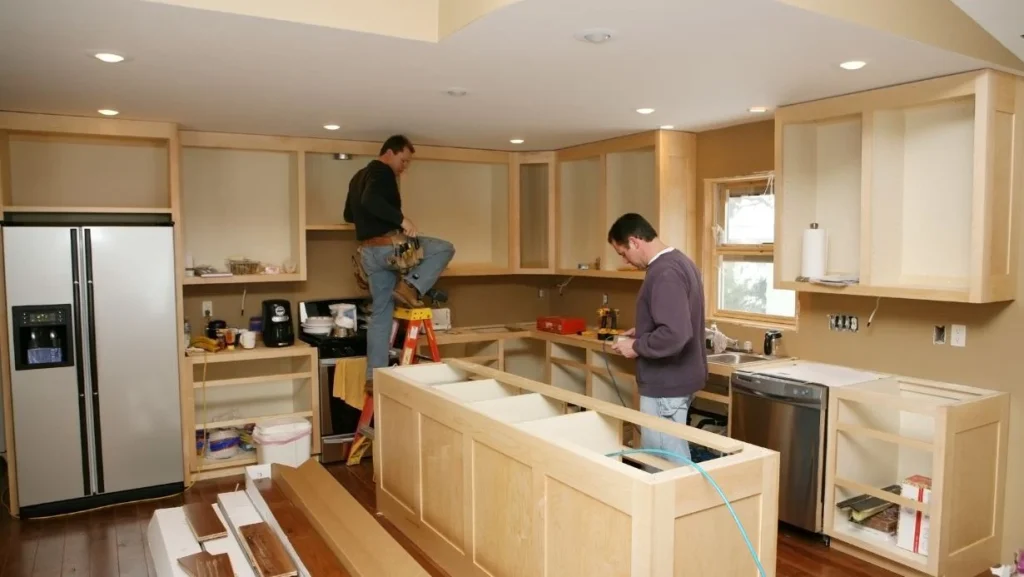
When renovating your house, it’s common to face chaos as rooms are cleared out and materials pile up. To maintain order, using a self-storage unit can be a real game changer for managing your belongings. Renovations often involve dust, debris, and constant movement of tools and materials, which can put your furniture, electronics, and other possessions at risk of damage.
A self-storage unit gives you a safe, off-site space to temporarily store your items, protecting them from the wear and tear of the renovation process.
Additionally, clearing out spaces makes it easier for contractors to work efficiently without having to navigate around your furniture and belongings. It also ensures that valuable or sentimental items are secured, reducing the risk of accidental damage, breakage, or even theft during the construction.
Organizing your belongings in a self-storage unit keeps your house from becoming overly cluttered, which can lower stress and prevent delays during the renovation. You’ll have a designated area for everything, and once the renovation is complete, moving your items back in will be much smoother and quicker.
Plus, you can access your items when needed, as many self-storage facilities offer flexible entry times. By using a self-storage unit strategically, you can make your home renovation process far more organized and stress-free.
1. Choose the Right Size Unit
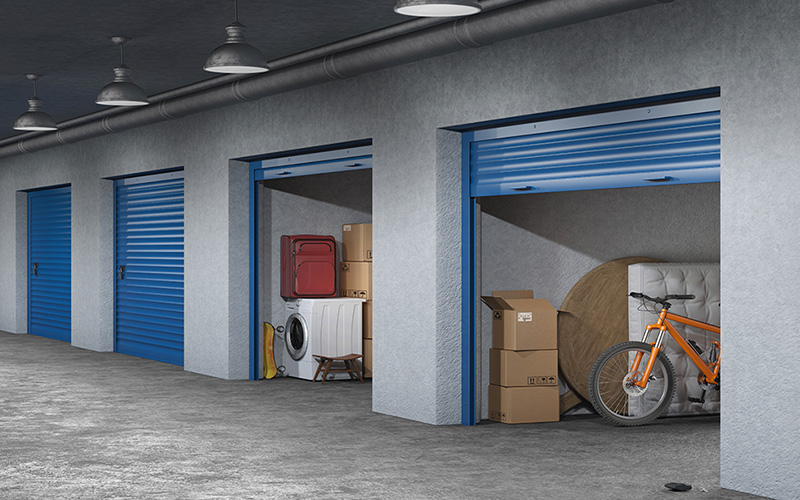
- Assess your storage needs by listing the items you plan to store. It’s better to slightly overestimate to avoid cramming everything.
- Ask the storage provider for guidance on the size based on the amount and type of items (furniture, appliances, boxes, etc.).
2. Pack and Label Properly
- Use durable boxes: Invest in sturdy, high-quality boxes that can be stacked.
- Label clearly: Mark each box with its contents and which room it belongs to for easy retrieval when you move back in.
- Use transparent bins: For frequently needed items, transparent bins can save time.
- Wrap furniture: Use plastic wrap, bubble wrap, or blankets to protect large furniture pieces.
3. Store Fragile Items Safely
- For delicate items like glass, mirrors, or electronics, wrap them carefully and avoid placing them at the bottom of a pile. Consider storing fragile items vertically and separating them with cardboard.
4. Create an Access Plan
- Keep frequently used items toward the front of the storage unit for easy access.
- Stack less-used items at the back and heavier boxes at the bottom to avoid damage.
5. Dismantle Large Items
- Take apart furniture like bed frames, tables, and shelves to save space.
- Keep screws, bolts, and small parts in labeled plastic bags and attach them to the corresponding piece of furniture or store them in a small box.
6. Protect Your Belongings from Moisture
- Use moisture absorbers or silica gel packets inside the storage unit to prevent dampness, especially in humid areas.
- Elevate boxes and furniture off the ground using wooden pallets or plastic shelving units to avoid any potential water damage.
7. Keep an Inventory
- Make a list or take photos of everything you store. This helps in keeping track of items, especially if you need to retrieve something during the renovation process.
8. Consider Climate-Controlled Storage
- If you are storing items like wood furniture, electronics, or artwork, opt for a climate-controlled unit to protect against temperature fluctuations and humidity.
9. Use Furniture Covers
- Cover your furniture with cloth or breathable covers (not plastic, which can trap moisture) to protect it from dust and dirt while in storage.
10. Organize Efficiently
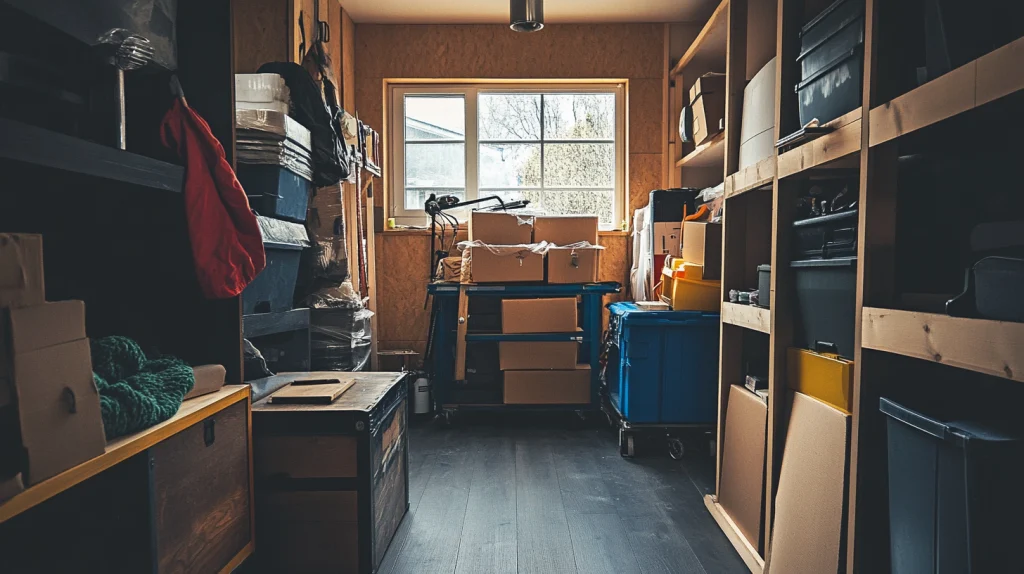
- Create walkways within the storage unit so you can easily reach the back without having to move everything.
- Store similar items together (e.g., kitchen appliances with kitchen utensils), and group items by room for easier unpacking later.
Following these tips can help ensure that your belongings are safe, organized, and easily accessible during your renovation project.

