


Is your sump pump acting up? You’re not alone. Many homeowners face the frustration of a clogged sump pump, which can lead to water damage and costly repairs if left unaddressed.
But don’t worry – I’ve got you covered. In this post, I’ll share my top 10 tips and tricks for unclogging a sump pump, helping you solve this common problem quickly and effectively.
You’ll learn how to identify the signs of a clogged pump, understand the main causes, and master the steps to fix it yourself.
I’ll guide you through each process, from removing debris to cleaning discharge lines. By the end of this article, you’ll have the knowledge and confidence to tackle sump pump clogs and keep your basement dry.
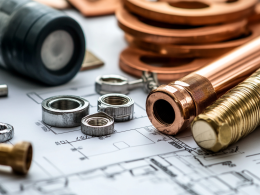
Tips for Unclogging a Sump Pump
A clogged sump pump can lead to basement flooding and costly damage. But don’t worry – with the right know-how, you can keep your pump running smoothly.
Here are some practical tips to help unclog your sump pump and prevent future issues.
1. Identify the Clog Early
Catching a clog in a sump pump early can save a lot of trouble. Here’s how to keep an eye on a sump pump:
- Check Water Expulsion Regularly: Make it a habit to check if the sump pump is pushing out water as it should. This is especially important when it rains. Take a quick look to make sure the pump kicks in and removes excess water.
- Watch for Flooding Signs: Even a small amount of water in the basement is a red flag. If any wetness or puddles are noticed, it’s time to check the sump pump. Remember, a sump pump is the first line of defense against water damage. Monitoring it can help avoid costly repairs down the road.
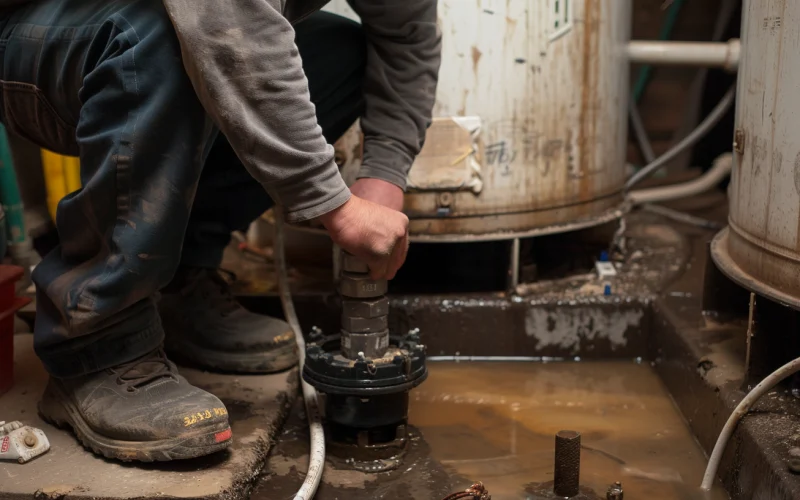
2. Remove the System Safely
Once a clog is spotted, the next step is to take out the sump pump. Here’s how to do it safely:
- Disconnect the Pump: First, turn off the sump pump’s power at the breaker box. Then, unplug the pump from its power source. Also, detach any pipes or hoses connected to the pump.
- Lift out The Pump: Carefully lift the pump out of the sump pit. It’s often wet and slippery, so get a good grip.
- Contain the Water: Always have a bucket ready nearby. As soon as the pump is lifted out, put it in the bucket. This catches any water that drips off, keeping the work area dry.
3. Clear Drainage Entry and Exit Points
Now that the pump is out, it’s time to check the pipes. Here’s what to do:
- Inspect the Discharge Lines: Look at both ends of the pipe – where water goes in and comes out. Be looking for anything that doesn’t belong there, like leaves, twigs, or dirt.
- Clean out Any Blockages: If something is stuck, carefully remove it. Sometimes, a long brush or a hose can push out stubborn clogs.
- Set Up a Regular Cleaning Schedule: It’s better to prevent clogs than to fix them. Every few months, check and clean the discharge line. This helps keep the water flowing smoothly all year round.
4. Extract Excess Sediment
Over time, sediment can build up in the sump pump’s pipes. Here’s how to deal with it:
- Check for Sediment: Look inside the drain pipe for any sandy or muddy buildup. Sometimes, it can be felt by running a hand along the inside of the pipe.
- Remove the Sediment: For light buildup, use a wet/dry vacuum to suck it out. If that doesn’t work, a plumber’s snake might be used to scrape it away. Always be gentle to avoid damaging the pipes.
- Know When to Call for Help: Don’t hesitate to contact a pro if the sediment is packed tightly or far down the pipe. They have special tools that can clear out even tough buildup.
5. Test the Water Pipes
After cleaning, it’s important to check if everything’s working right. Here’s how to test a sump pump:
- Set Up The Test: Grab a bucket and fill it with water. Then, slowly pour this water into the sump pit.
- Turn on The Pump: Once there’s enough water in the pit, turn on the sump pump. Watch closely to see what happens next.
- Check the Water Flow: If everything’s good, the pump should start quickly and move the water out fast. Look at where the water comes out to ensure it flows well.
- Listen for Problems: Pay attention to any odd sounds from the pump. Grinding or gurgling noises might indicate a problem.
- If It’s Not Working Right: Sometimes, the water doesn’t move or moves slowly. When this happens, it’s a sign to check for more clogs or other problems.
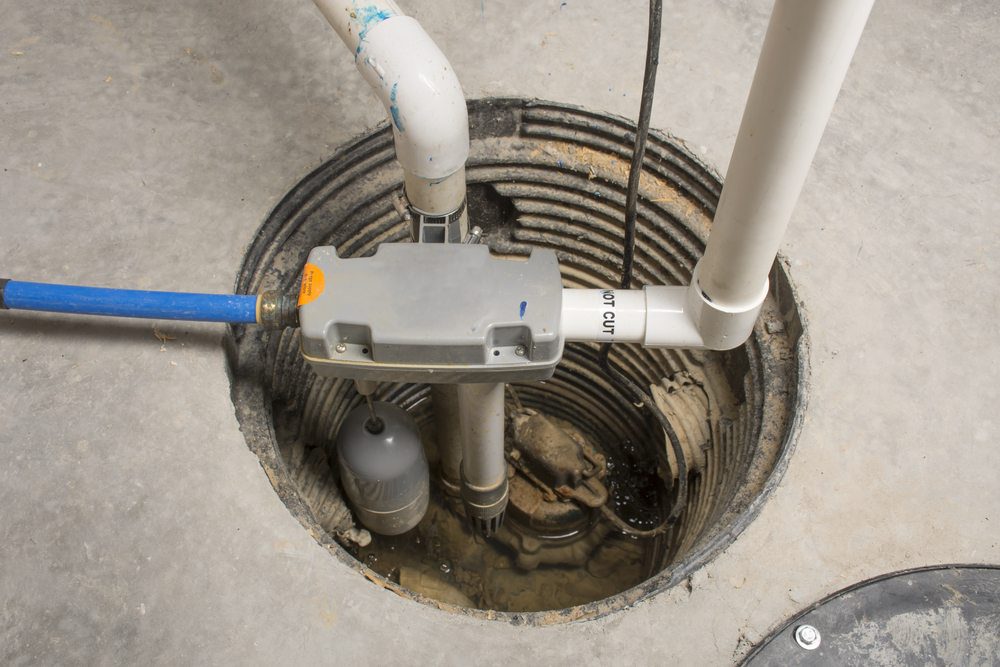
6. Maintain a Clean Sump Pit
Keeping the sump pit clean is key to avoiding clogs. Here’s how to keep it in good shape:
- Regular Cleaning: Set aside time every few months to clean the sump pit. Use a wet/dry vacuum to remove loose dirt and small debris. For sticky gunk, a long-handled brush and some water might be needed.
- Check for Silt: Silt is tiny dirt that can build up over time. Look for any sandy or muddy layers at the bottom of the pit. If silt is seen, make sure to scoop it out.
- Set a Schedule: Clean the sump pit about three times a year. If there’s been lots of rain or flooding, do it more often. Putting it on a calendar helps you remember.
- Safety First: Always turn off the pump before cleaning. Wear gloves and a mask to stay safe from yucky stuff in the pit.
7. Keep the Lid Closed
One simple trick to prevent clogs is always to keep the sump pump lid closed. Here’s why it’s so important:
- Block out Debris: A closed lid prevents leaves, twigs, and other debris from falling into the pit. It also prevents curious pets or small kids from dropping things into the pit.
- When to Open It: Only open the lid when checking or cleaning the pump. As soon as the work is done, close it tight.
- Check the Seal: Make sure the lid fits snugly and has no gaps. If the seal looks worn, replace it to keep the pit well-covered.
- Mark It Clearly: Put a sign or sticker on the lid saying “Do Not Open.” This will remind everyone in the house to leave it alone.
- Regular Inspections: Check to make sure the lid is still in place now and then. Strong storms or accidents can sometimes knock it loose.
8. Clean the Strainer
A sump pump with a filter is like a guard that keeps junk out. Here’s how to take care of it:
- Find the Filter: Not all pumps have one, so first check if it’s present. It’s usually near where water enters the pump.
- Regular Cleaning: Clean the filter every few months. If there’s been heavy rain, it might need cleaning more often.
- How to Clean: Turn off the pump and remove the filter carefully. Use a brush to scrub off any gunk or buildup. Sometimes, rinsing it with a hose can get it clean.
- Check for Damage: While cleaning, look for any cracks or holes. If it’s damaged, replace it to keep the pump working well.
- Put It Back Right: Return the filter exactly how it was. A loose filter won’t do its job properly.
9. Inspect for Corrosion
A sump pump with metal pipes can wear down over time. Here’s how to keep an eye on them:
- Regular Checks: Look at the pipes every few months. Pay extra attention after heavy rains or floods.
- What to Look For: Check the pipes for rusty spots or flaky areas. Sometimes, the pipes might feel rough or have small holes.
- Test the Pipes: Gently tap the pipes with a screwdriver. If they sound hollow or crumbly, that’s a bad sign.
- When to Act: If you see any signs of wear, don’t wait to fix it. Waiting can lead to leaks or breaks later.
- Getting Help: For small rust spots, sanding and painting the pipe might work. But for bigger issues, call a plumber. They can replace the pipes if needed.
10. Prevent Freezing in Cold Climates
Frozen pipes can be a real headache if you live where it gets cold. Here’s how to keep a sump pump working even when it’s freezing outside:
- Slope the Pipes: Make sure the discharge pipes point downhill. This helps water flow out and not sit in the pipes where it can freeze. Even a small slope can make a big difference.
- Check the Exit Point: Clear the area where water comes out of snow and ice. This prevents water from backing up and freezing in the pipe.
- Think About Going Underground: Burying pipes can help in really cold areas. Put them below where the ground usually freezes. This keeps the pipes and water warmer.
- Add Insulation: Wrap above-ground pipes in foam pipe insulation. It’s an easy way to give them extra protection from the cold.
- Keep an Eye on Things: During cold snaps, check the sump pump more often. If it’s running, there might be a freeze, but no water is coming out.
Conclusion
So, there you have it—my top tips for unclogging a sump pump. By following these steps, you can keep your pump running smoothly and your basement dry.
Remember, regular maintenance is key. Check your pump often, keep it clean, and don’t ignore small issues. They can turn into big problems if left unchecked.
Don’t hesitate to call a professional if you’re unsure about tackling a sump pump issue. It’s better to be safe than sorry when preventing water damage.
What’s next? Start by giving your sump pump a quick inspection. Is the lid closed? Are the pipes clear? Taking action now can save you from headaches later.
If you found this guide helpful, why not share it with a neighbor or friend? Everyone deserves a dry basement!
Let’s help each other keep our homes safe and dry!