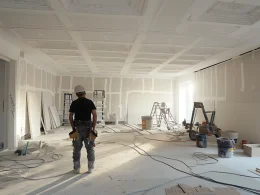
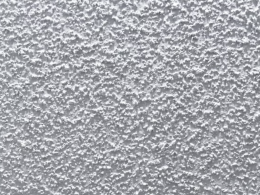
When considering a drywall ceiling for your home, the finish you choose can greatly affect the room’s overall look and feel.
You might wonder about the options available and which would best suit your needs.
In this article, we’ll explore the different finishes for drywall ceilings, from the most basic to the ultra-smooth, so that you can make an informed decision for your space.
Whether you’re aiming for a rustic, textured look or a sleek, modern ceiling texture, understanding the levels of drywall finishing will help you achieve the perfect result.
Let’s explore the world of drywall ceiling finishes so you can create a space that reflects your style and meets your expectations.
Understanding Drywall Finishes
Drywall finishing is the final step in the installation process, which involves applying joint compound and tape to the seams and corners of the drywall boards.
This crucial stage helps to create a smooth, seamless surface that conceals the joints and fasteners, preparing the ceiling for painting or other final treatments.
Drywall finishing aims to achieve a uniform, blemish-free surface that enhances the room’s overall appearance.
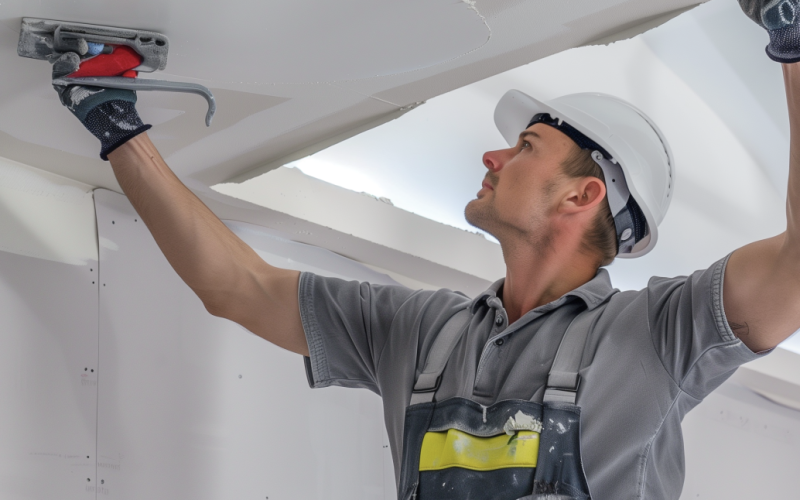
Craftsmanship plays a significant role in the quality of the finished drywall ceiling. Skilled drywall professionals have the experience and attention to detail to achieve a flawless finish.
The level of craftsmanship directly impacts the appearance and durability of the ceiling. A poorly finished surface may show visible seams, bumps, or inconsistencies that detract from the room’s aesthetic.
Levels of Drywall Ceiling Finishes
Drywall professionals and the Gypsum Association have established standards defining the various drywall finishing levels.
These levels range from 0 to 5, each representing a different finishing quality and complexity.
- Level 0: This is the most basic level, where the drywall boards are fastened to the ceiling, and no finishing has been done. This level is rarely used for finished spaces.
- Level 1: At this level, the drywall joint tape is embedded in the joint compound at the seams and corners. No additional finishing is performed beyond this point.
- Level 2: This level involves applying a thin coat of joint compound over the embedded tape and covering the drywall screw holes. It is suitable for areas that are not visible, such as storage spaces or garage ceilings.
- Level 3: This level is appropriate for ceilings that will receive a heavy texture, such as a knockdown texture. The joint compound is applied to the tape and screws, creating a surface ready for texturing.
- Level 4: This is the standard level of finishing for most painted or wallpapered ceilings. It involves applying another coat of joint compound to the tape and screws, followed by sanding to create a smooth surface.
- Level 5: The highest-quality finish, Level 5, involves applying a skim coat of joint compound over the entire drywall surface, creating an ultra-smooth, uniform finish. This level is perfect for high-visibility areas or ceilings with glossy paint finishes highlighting imperfections.
Considerations for Choosing Drywall Finishes
Several factors must be considered when selecting a drywall finish for your ceiling.
Cost
Cost is one of the primary considerations, as higher finish levels require more time, materials, and labor, resulting in increased expenses.
Balancing your budget with your desired outcome is essential to achieving the best possible result within your means.
Space and Its Use
Another crucial factor when choosing a drywall finish is the intended use of the space.
For example, a garage or storage room may not require the same level of finish as a living room or bedroom.
Similarly, if you plan to install cabinets or wainscoting covering a portion of the walls, you may opt for a lower finish level in those areas to save time and money.
Lighting
Lighting also plays a significant role in the choice of drywall finish.
Ceilings that receive ample natural light or are illuminated by bright, directional lighting may benefit from a higher finish level, as imperfections are more likely to be visible under these conditions.
In contrast, a room with soft, diffused lighting may be more forgiving of minor surface irregularities.
When working with contractors, it is essential to discuss your expectations and the desired effect you want to achieve with your drywall finish.
Clear communication can help ensure your vision is realized and you are satisfied with the final result.
Application Techniques for Skim Coats
Professionals use several techniques to achieve a smooth, uniform surface when applying a Level 5 finish or skim coat to drywall ceilings.
Three common methods include rolling, taping knife, and spray finishing.
1. Rolling
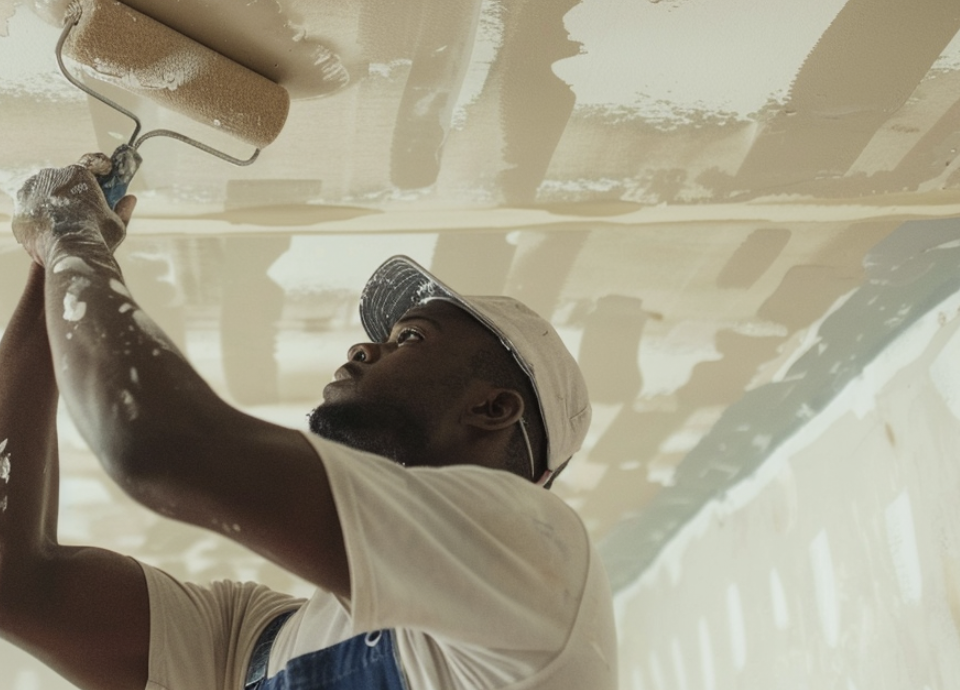
Rolling involves thinning the joint compound and applying it to the ceiling using a thick-nap roller.
After application, the excess compound is scraped off, leaving a thin, even layer on the surface.
2. Taping Knife
The taping knife method requires applying six to eight dabs of joint compound across the ceiling, each about 3 to 4 inches in diameter.
The compound is immediately smoothed across the surface and scraped off any excess.
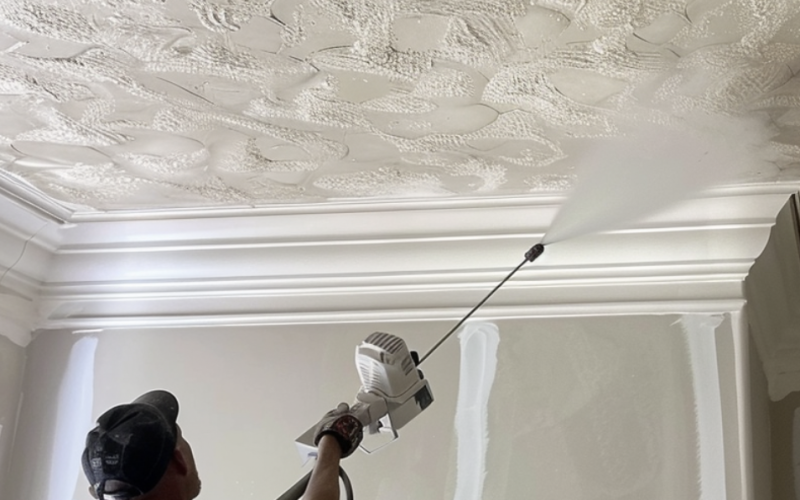
3. Spray Finishing
Professionals with access to specialized spray equipment typically use spray finishing.
The joint compound is sprayed onto the ceiling, creating a uniform layer.
This equipment can often be rented from home improvement stores or rental yards.
Working in small sections is essential to achieve a uniform skim coat, ensuring that each area is smooth and even before moving on to the next.
Conclusion
Understanding the different levels of drywall finishing for your ceiling is crucial in achieving your space’s desired look and feel.
Consider cost, intended use, and lighting to determine the appropriate finish level.
Whether you opt for a basic Level 1 finish or a pristine Level 5 skim coat, the key to success lies in clear communication with your contractor and attention to detail during application.
With the right techniques and a focus on craftsmanship, you can transform your drywall ceiling into a stunning feature that enhances your room’s overall aesthetic.
So, assess your needs and preferences and work with your contractor to create a ceiling that exceeds your expectations and will last.


