


Adding trim to windows can be a daunting task for many homeowners. It often seems like a job best left to professionals.
I get it—I felt the same way before I tackled my window trim project. But I’m here to tell you that you can create beautiful craftsman-style window trim with the right approach.
In this post, I’ll show you how to make simple yet stylish craftsman trim that will give your windows a polished look.
We’ll cover everything from choosing materials to installation techniques. By the end, you’ll have the knowledge and confidence to transform your windows into eye-catching focal points.
Let’s get started on this DIY journey together!
Understanding Craftsman Style Window Trim
Craftsman style is all about keeping things simple and clean. This design approach focuses on straight lines, especially horizontal ones, and shows off the quality of work.
Window trim means using basic shapes and letting the craftsmanship shine through. The beauty of the craftsman style lies in its straightforward, no-fuss look.
Benefits of Craftsman Style Trim
There are several good reasons to choose a craftsman style for window trim.
- It’s easy to install, even for those new to DIY projects. The simple design means fewer complex cuts and less room for error.
- It’s also budget-friendly, often using less expensive materials like MDF.
- This style fits well with many home designs, from traditional to modern.
- The clean lines of craftsman trim can update the look of any room without overpowering other design elements.
Materials Needed to Create Craftsman-Style Window Trim
Here’s a list of materials you’ll need for this project. Getting these items ready will set you up for a smooth installation process.
• MDF boards (3″ wide for casing, 4″ wide for baseboards)
• Semi-gloss white paint (or your color of choice)
• Caulking
• Brad’s nails
• Sandpaper (120-grit)
Tools Needed to Create Craftsman-Style Window Trim

Now that we’ve covered the materials let’s talk about tools. Having the right equipment makes all the difference in your trim project. Here’s what you’ll need to get the job done right
• Crosscut saw
• Nail gun or brad nailer
• Foam roller
• Caulking gun
• Sanding block
• Measuring tape
• Pencil
• Level
Having these items ready will make the trim installation process smooth and easy. Remember, you don’t need fancy tools for this project. You can handle these basic tools to create great-looking window trim even as a beginner.
Preparing for Installation

1. Measuring and Cutting
Getting the right measurements is key to a successful trim project. This step sets the foundation for your craftsman window trim. Let’s go through measuring accurately and calculating the trim pieces you’ll need.
- Measure the inside height of the window frame.
- Measure the inside width of the window frame.
Calculate the trim pieces using these formulas:
- Side casings = window inside height + 1/2 inch (two pieces needed)
- Top and bottom casings = window inside width + 8 inches (two pieces needed)
Why the extra inches?
Well, we want our trim to have a little overhang and reveal. It just looks nicer that way.
2. Cutting the Trim Pieces
With your measurements in hand, it’s time to cut the trim. This section covers tips for using a crosscut saw to ensure precise cuts, setting you up for a smooth installation process.
- Mark measurements clearly on the trim.
- Double-check measurements before cutting.
- Keep the saw straight and steady for clean cuts.
- Cut pieces together for multiple windows of the same size to save time.
3. Sanding and Painting
Your trim needs some prep work before installation. We’ll cover sanding techniques for a smooth finish and painting tips to give your trim a professional look.
Prepare the trim for a smooth finish:
- Use 120-grit sandpaper to sand all surfaces, including short ends.
- Wipe away dust with a clean cloth.
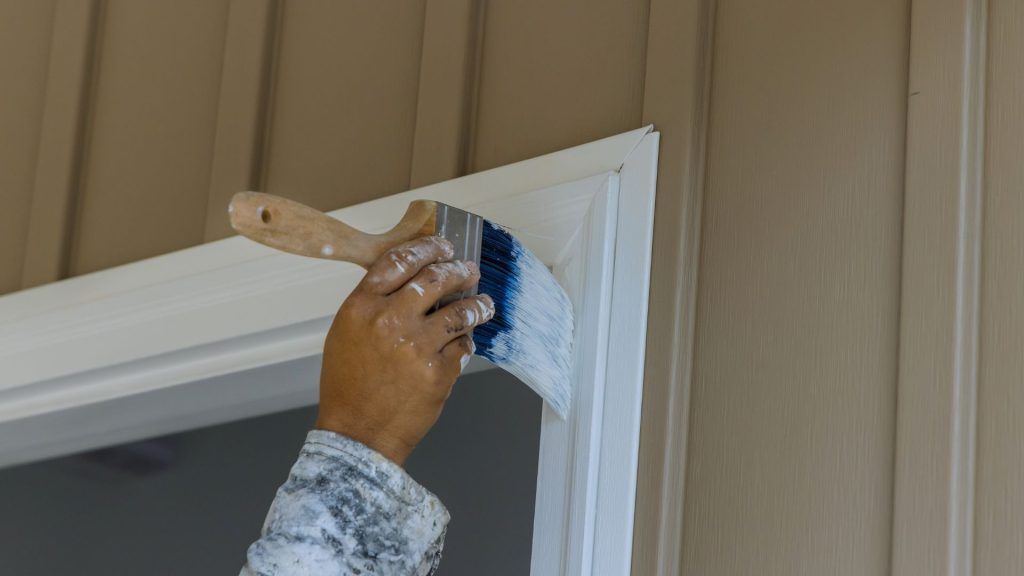
For painting:
- Apply paint with a foam roller for a smooth finish.
- Start with one coat and assess if a second is needed.
- Allow each coat to dry completely before adding another.
Step-by-Step Installing the Craftsman Window Trim

1. Placing the Side Casings
The first step in the installation is placing the side casings. This section explains how to use a jig for accurate placement and secure the casings properly.
- Create a jig from 1/4-inch scrap wood for consistent placement.
- Position the jig against the window edge and align the side casing.
- Secure with brad nails near the top, middle, and bottom.
- Repeat for the other side casing.
2. Installing the Bottom Piece
Next is the bottom piece of trim. We’ll review how to ensure an even overhang and secure it.
- Align the bottom casing with a 3/4-inch overhang on each side.
- Use a measuring tape for precise placement if needed.
- Secure with Brad Nails.
3. Securing the Top Piece
The top piece completes the frame of your window trim. Learn how to align it correctly and nail it securely.
- Place the top casing to match the bottom piece’s overhang.
- Ensure it’s level before nailing it in place.
4. Caulking
Caulking gives your trim a finished look and fills any gaps. This section provides detailed instructions on how to apply caulk neatly and fill nail holes.
- Use a caulk gun with a small opening for precision.
- Apply a thin bead where the trim meets the wall and at piece junctions.
- Fill nail holes with caulk.
- Keep a damp cloth handy to wipe away excess immediately.
- Fill small indents at the top and bottom of the trim for a finished look.
5. Sanding and Touch-Up Paint
After installation, a bit more work ensures a polished look. We’ll cover how to sand caulked areas and apply the final coat of paint.
- Once the caulk is dry, lightly sand caulked areas with fine-grit sandpaper.
- Be gentle to avoid removing caulk.
- Wipe away dust with a clean, dry cloth.
- Apply a final coat of paint with a foam roller.
- Use a small brush for tight spots if needed.
- Allow the paint to dry fully.
6. Inspecting the Work
The final step is a thorough inspection. Learn what to look for to ensure your craftsman window trim is perfect and how to address any minor issues.
- View the trim from different angles to check for evenness.
- Run a hand along the edges to feel for smoothness.
- Ensure all pieces are securely in place.
- Examine caulked areas for smooth blending.
- Check for even paint coverage with no bare spots.
Address any issues found during the inspection:
- Apply additional caulk if needed.
- Touch up paint where necessary.
Helpful Tips for Perfect Craftsman Trim
1. Measure Carefully: Take your time measuring windows and trim pieces. Double-check all numbers before cutting. This extra care saves wood and prevents frustration from incorrect cuts.
2. Keep a Clean Workspace: Sawdust can interfere with paint and caulk adhesion. Wipe down surfaces frequently. A clean area also helps you see your work more clearly.
3. Use Painter’s Tape: Apply tape along window edges for crisp paint lines. This is especially helpful when painting near glass, preventing accidental smears.
4. Allow Proper Drying Time: Let each coat of paint dry completely before adding another. Rushing can cause drips or uneven color. Follow the paint manufacturer’s instructions for drying times.
5. Ensure Good Lighting: Proper lighting helps spot imperfections you might otherwise miss. Use a work light or do the job during daylight hours if possible.
6. Maintain Clean Tools: Keep saw blades sharp and clean. Wash paint brushes thoroughly after use. Clean tools lead to smoother cuts and better paint application.
7. Practice First: Before working on your actual windows, practice cuts and techniques on scrap wood. This builds confidence and improves your skills.
8. Work Systematically: Complete one window before moving to the next. This keeps you organized and lets you perfect your technique as you go.
9. Take Regular Breaks: Tired eyes can miss small details. Step away periodically to rest your eyes and mind. You’ll return with a fresh perspective.
10. Don’t Hesitate to Ask for Help: Some tasks, like holding long trim pieces, are easier with an extra set of hands. Don’t be afraid to ask family or friends for assistance.
Conclusion
Now, you’ve got the know-how to create your craftsman-style window trim. Although this project might initially seem tough, you can do it with these steps.
By following these steps, you can transform your windows into beautiful focal points that reflect the simple elegance of craftsman style.
Remember, the key is to take your time and pay attention to detail. Don’t be afraid to adjust as you go – that’s part of the DIY process.
Now that you have the knowledge and tools, why not try? Start with one window and see how it goes. You might surprise yourself with the professional-looking results.
Happy trimming!
Frequently Asked Questions
How Many Overhangs for Craftsman Style Trim?
For craftsman-style window trim, the typical overhang is 3/4 inch on each side of the vertical casings. This applies to the top and bottom pieces, creating a balanced, symmetrical look.
Is Craftsman Style Still Popular?
Yes, the Craftsman style remains popular. Its clean lines and simple design appeal to many homeowners. It fits well with traditional and modern decor, making it a versatile choice for home renovations.
How Wide Should Interior Window Trim Be?
Interior window trim width can vary, but 3 to 4 inches is common for craftsman style. The sides are often 3 inches wide, while the top piece might be slightly wider at 4 inches. Adjust based on your window size and room proportions.