


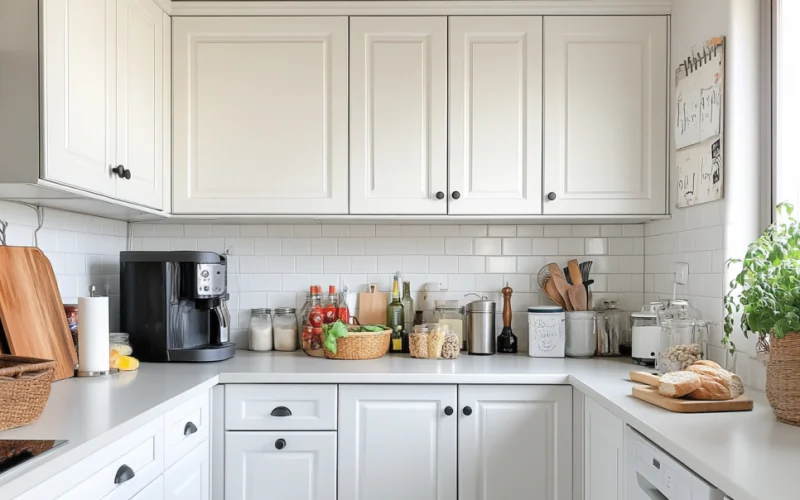
Have you ever looked at your kitchen and wished those cabinets reached all the way up?
You’re not alone.
Many homeowners dream of that polished, floor-to-ceiling look, but the price tag often makes it unattainable.
But what if you could achieve that same high-end appearance without the hefty cost?
Good news – you can!
This guide will show you how to extend your cabinets to the ceiling on a budget.
We’ll walk you through a simple, step-by-step process that even DIY beginners can tackle.
You’ll learn smart tricks for building and installing cabinet extensions, adding seamless trim, and finishing like a pro.
Ready to transform your kitchen into a space that looks custom-made without the custom price?
Let’s get started on your budget-friendly cabinet makeover!
Planning and Preparation of Cabinet Extenders
Before diving into your cabinet extension project, it’s essential to plan thoroughly. This step will help you avoid costly mistakes and ensure a smooth process.
1. Define Your Project Goals
First, clarify why you’re extending your cabinets. Is it for more storage space or to enhance your kitchen’s look? Maybe both? Knowing your objective will guide your decisions throughout the project.
Next, grab your measuring tape. Measure the gap between your current cabinets and the ceiling. This measurement will determine how tall your extensions need to be. Also, decide if you want doors on these new spaces, open shelves for display, or just decorative panels.
2. Budget Planning
Now, let’s talk money. Make a list of all the materials you’ll need:
- Cabinet-grade plywood
- 2x4s for support
- Molding and trim
- Screws, nails, caulk
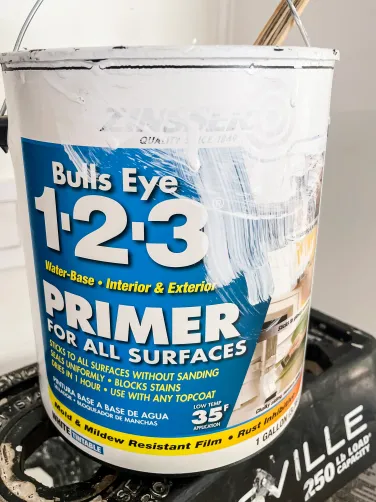
- Primer and paint
Don’t forget to factor in any extras you might want, like glass doors or interior lighting. Add up the costs of these items to get a rough estimate of your project budget.
3. Gather Your Materials and Tools
For tools, you’ll need:
- A drill
- Stud finder
- Saw (circular or table saw)
- Nail gun
- Measuring tape
- Level
- Caulk gun
- Paint supplies
Make sure you have all these on hand before you start.
4. Safety First
Your safety is paramount. Invest in good-quality gloves, safety glasses, and a dust mask. Always handle tools and materials carefully, especially when cutting wood or using power tools.
Set up your workspace in a clean, well-lit area with plenty of room to move around. Good ventilation is crucial, particularly when painting or using strong-smelling products.
5. Cost Overview
Let’s break down the potential costs for this project:
Materials:
- Cabinet-grade plywood: $50-$70 per sheet
- 2x4s: $3-$5 each
- Molding and trim: $1-$3 per linear foot
- Screws, nails, and other hardware: $20-$30
- Caulk, primer, and paint: $40-$60
The total material cost estimate is $150-$250, depending on the size of your kitchen and the chosen materials.
Tools (if you need to buy or rent):
- Drill: $30-$100 to buy, $20-$30 to rent
- Saw: $50-$150 to buy, $30-$50 to rent
- Nail gun: $50-$200 to buy, $20-$40 to rent
- Other small tools: $50-$100
Remember, borrowing tools from friends or family can significantly reduce your costs.
Depending on your choices, optional upgrades like glass doors or interior lighting can increase your budget by $50-$200 or more.
By planning carefully and shopping smart, you can keep your total project cost between $200 and $500, much less than hiring a professional for custom cabinetry.
With this budget in mind and your planning complete, you’re ready to move on to the building phase of your project. In the next section, we’ll guide you through constructing your cabinet extensions.
Building the Cabinet Extenders
Now that we’ve planned our project let’s roll up our sleeves and start building those cabinet extensions. This part is where your vision begins to take shape.
1. Material Selection and Preparation
- Choosing the Right Plywood: For this project, cabinet-grade plywood is your best friend. It’s strong, looks good, and won’t warp easily. Pick a thickness that matches your existing cabinets – usually, 3/4 inch works well.
- Framework Components: We’ll use 2x4s to give our extensions a solid backbone. Choose straight pieces without knots or warps. This will make your life easier when it’s time to assemble everything.
2. Measuring and Cutting Techniques
- Precise Measurements: Measure the space between your cabinet tops and the ceiling. Do this in several spots – ceilings aren’t always level! Write down these measurements; they’ll guide your cuts.
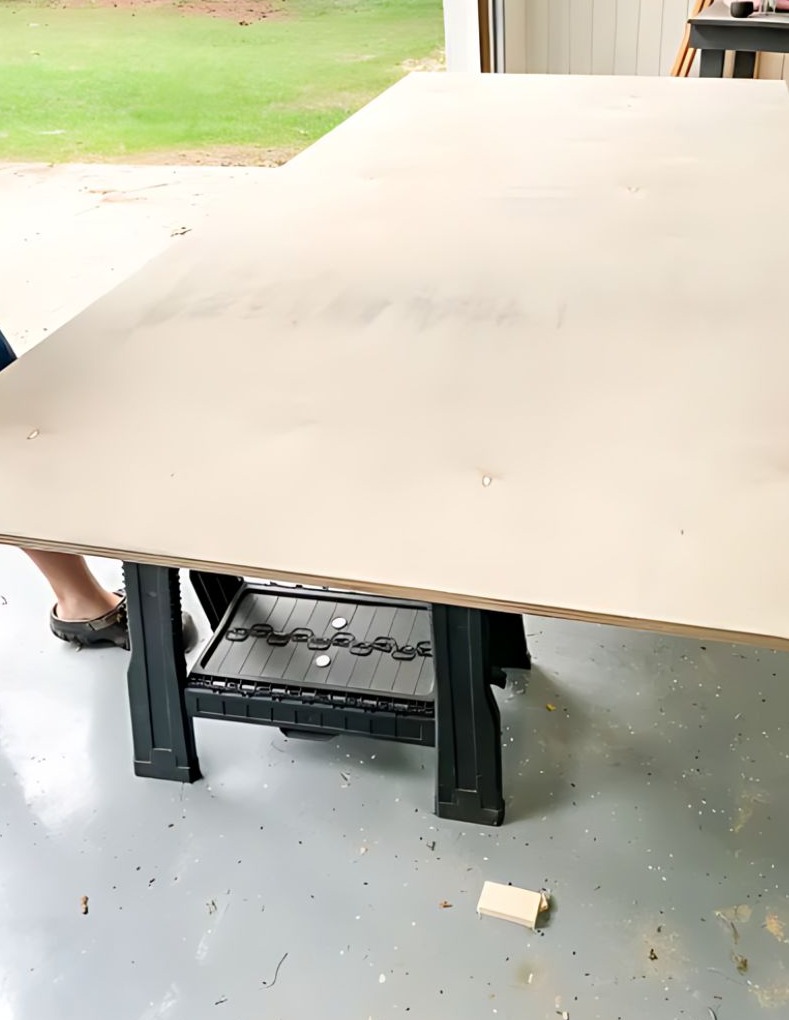
- Cutting the Plywood Panels: Safety comes first when you’re ready to cut. Use a sharp blade on your saw for clean cuts. If you’re using a circular saw, clamp a straight edge to your plywood to guide straight cuts.
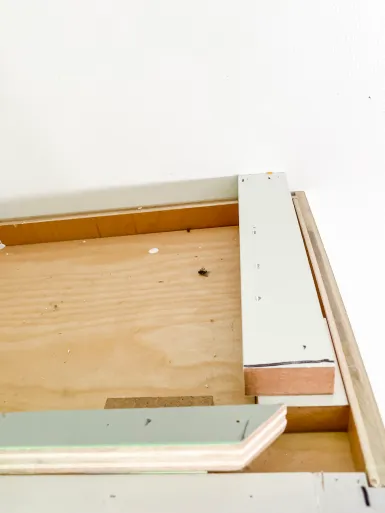
3. Assembling the Extension Units
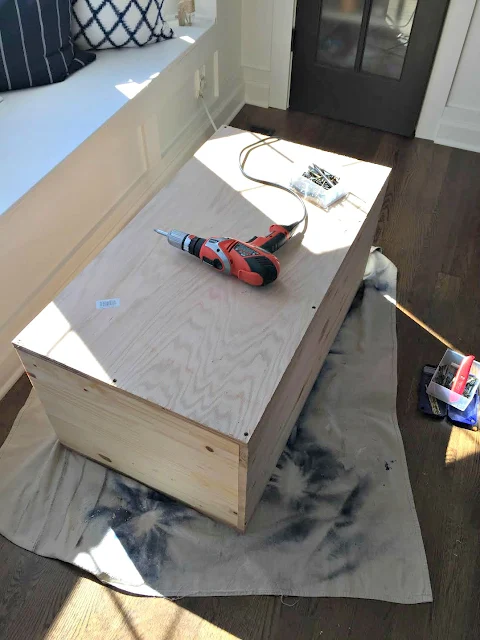
- Constructing the Box Structure: Start by building a frame with your 2x4s. This is like making a simple box. Ensure your corners are square – a speed square tool can help here.
- Securing the Plywood to the Frame: Attach your plywood to the frame using wood screws. Pre-drill your holes to avoid splitting the wood. This step takes patience but is worth it for a sturdy result.
4. Quality Assurance and Adjustments
- Checking Alignment and Fit: Before you finish up, do a test fit. Place your extension on top of your existing cabinets. Does it line up well? Make any needed adjustments now – it’s much easier at this stage.
- Edge Finishing Options: To give your extension a polished look, consider finishing the edges. You could use iron-on edge banding, sand the edges smooth, or add a thin strip of wood trim.
- A Pre-Drilling and Hardware Placement: Mark and pre-drill holes where you’ll attach the extension to your existing cabinets and the ceiling supports. This makes the final installation much smoother.
With your extensions built and prepped, you’re ready for the exciting part – installation! We’ll cover that in our next section. Remember, take your time and enjoy the process. You’re one step closer to your dream kitchen!
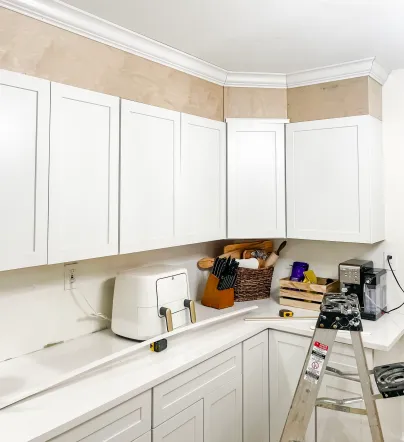
Installing the Extensions
Now that we’ve built our extension boxes, it’s time for the exciting part – installing them! This step will transform your kitchen, giving it that high-end, custom look we’ve been aiming for.
1. Aligning and Securing the Extension Boxes
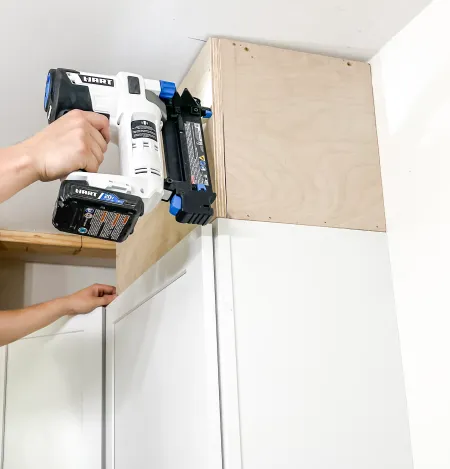
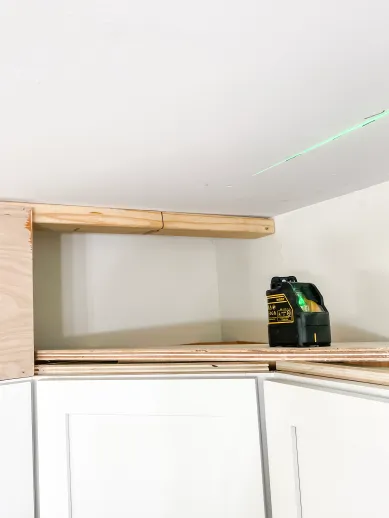
- Positioning the Extensions: Start by carefully lifting the extension boxes onto your existing cabinets. Take your time here – we want these to line up perfectly. The front edges should be flush with your current cabinets for a seamless look.
- Securing to Ceiling Supports: Remember those 2x4s we attached to the ceiling earlier? Now’s their time to shine. Use screws to fasten the top of your extension boxes to these supports. This step is crucial for a sturdy installation.
- Fastening to Existing Cabinets: Secure the bottom of the extensions to your current cabinets. Use screws for this, making sure everything sits snug with no gaps.
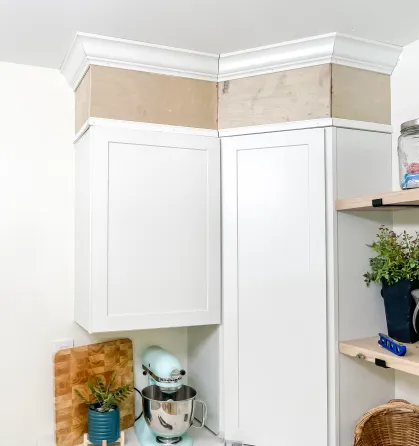
2. Reattaching and Installing Molding
- Reinstalling Removed Molding: If you removed any crown molding or trim earlier, now’s the time to put it back up. Use finishing nails or a strong adhesive to reattach these pieces.
- Adding New Trim for a Seamless Look: To make your extensions look built-in, add some trim where they meet your old cabinets. Pick a style that matches what you already have. Attach it carefully with nails or adhesive for a pro-looking finish.
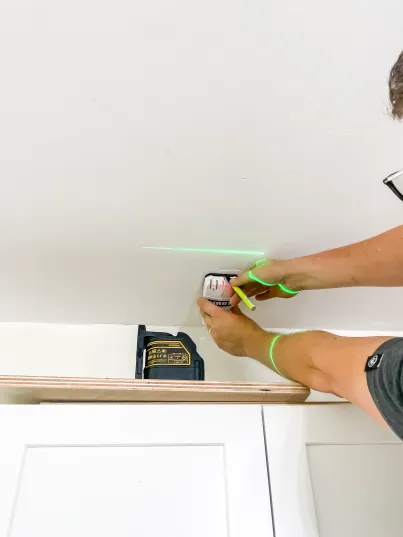
3. Ensuring Stability and Alignment
- Checking for Level and Plumb: Grab your level and make sure everything’s straight and true. This might seem fussy, but it’s important for looks and stability. Adjust if needed – a little time here pays off big later.
- Final Securing and Reinforcement: Double-check all your screws and fasteners. Tighten anything that needs it. If you spot any areas that could use extra support, now’s the time to add it.
4. Final Touches and Cleanup
- Filling Gaps and Holes: Use wood filler to smooth out any little gaps or screw holes. Once it’s dry, sand it down so it’s nice and even with the rest of the surface.
- Preparing for Finishing: Clean everything thoroughly, wiping away dust and any stray marks. This preps your extensions for the next exciting step: painting or staining!
With your extensions securely in place, you’re almost at the finish line. In our next section, we’ll cover how to give your new cabinet extensions that perfect, polished look. Get ready to step back and admire your handiwork!
Finishing Touches
We’re in the home stretch! These final steps transform your cabinet extensions from a DIY project to a professional-looking upgrade.
1. Caulking and Sealing
- Seal Those Gaps: Use caulk to fill any small gaps between your new extensions and the ceiling, walls, or existing cabinets. This not only looks great but also keeps dust out.
- Pick the Perfect Caulk: Choose a paintable caulk that matches your cabinet color. This will help create a seamless look.
- Master the Application: Apply the caulk carefully with a caulking gun. Smooth it with a damp finger or a caulking tool for a neat finish.
2. Painting and Finishing
- Color Matching Magic: Get paint that matches your existing cabinets. Satin finish works well for cabinets, while semi-gloss is good for moldings.
- Painting Like a Pro: Start with a primer for better paint adhesion. Then, apply at least two coats of paint. Use a brush for corners and edges and a roller for flat surfaces to avoid brush marks.
- Extra Protection: Consider a clear topcoat for extra durability, especially in busy kitchens.
- Shine and Polish: Give everything a good clean to remove any dust. A final polish will make your cabinets shine like new.
3. Customization Options
- Door Decisions: You can add doors to your new cabinet spaces if you want. Glass doors can look modern, while solid doors offer a classic look.
- Light It Up: Add LED strip lights to the new cabinets. They look great and make it easier to see what’s inside.
- Hardware Upgrade: Update your cabinet handles and knobs to match the new style. Pick hardware that goes well with your kitchen’s overall look.
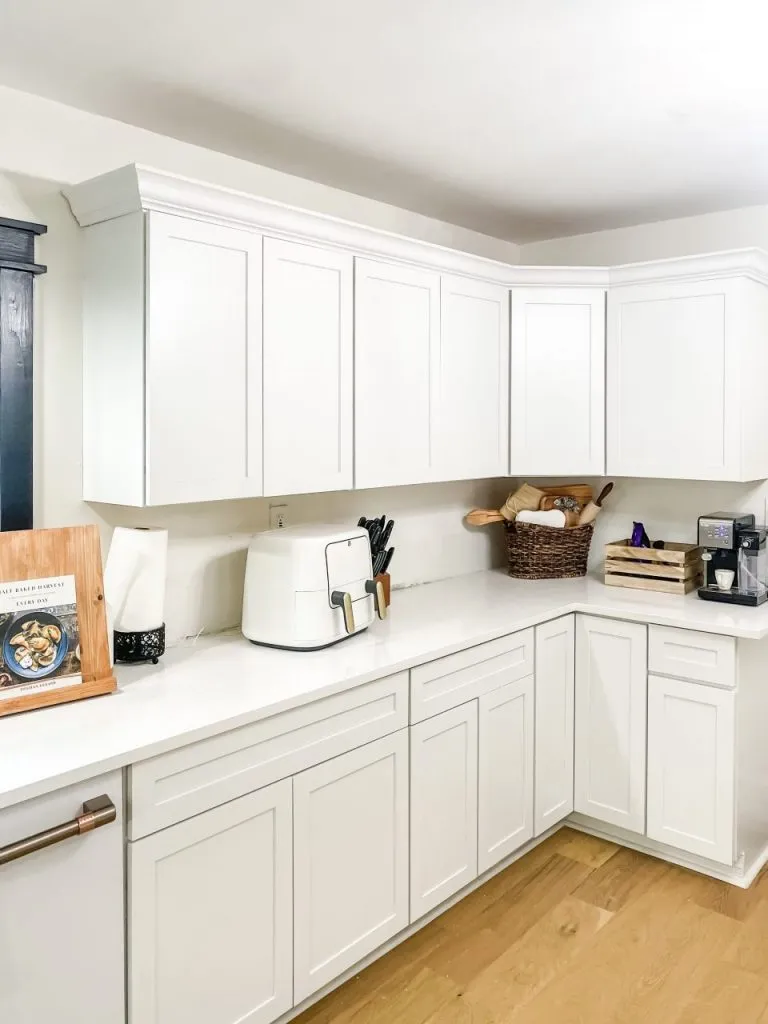
Final Thoughts
With these finishing touches, your DIY cabinet extension project is complete! Step back and admire your handiwork – you’ve just given your kitchen a high-end makeover on a budget.
Let’s Wrap This Up!
You’ve completed the guide on raising your cabinets to the ceiling without spending too much. Isn’t that great?
Soon, you’ll have a kitchen that looks expensive, but you did it yourself without breaking the bank. That’s something to feel good about!
Remember to take your time and follow each step carefully. It’s not a contest, and your patience will be worth it in the end.
Are you eager to start working on this project? We think you are! When you finish, why not show everyone what you’ve done? Take a picture and share it with us.
You might even motivate someone else to update their kitchen, too.
Now, make the kitchen you’ve always wanted – without the big price tag!