

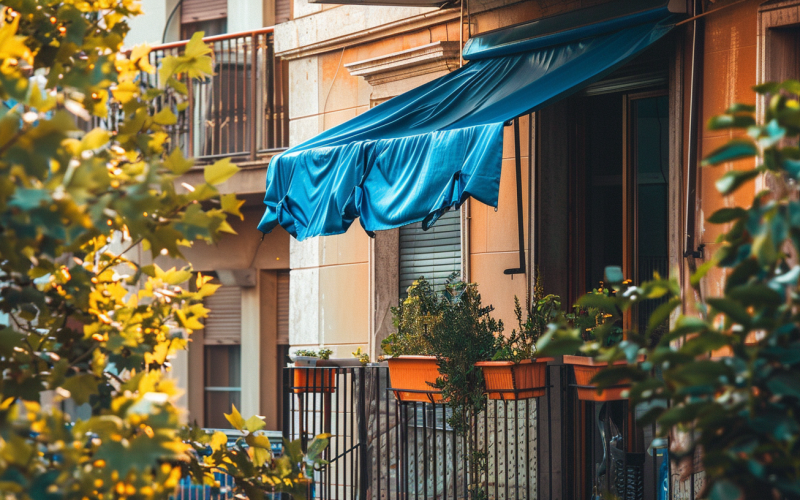
Creating a private and comfortable outdoor space is essential for those who enjoy spending time on their balcony.
One effective way to achieve this is by attaching a tarp to your balcony, which can provide shade, shelter from the elements, and enhanced privacy.
This step-by-step guide will show you how to secure a tarp to your balcony, ensuring a cozy and secluded area to relax and unwind.
Following these simple instructions, you can transform your balcony into a personal oasis, perfect for reading, dining, or enjoying the fresh air.
Whether you’re looking for balcony privacy ideas or want to create a more functional outdoor space, this guide will help you achieve your goals.
So, let’s get started and discover how easy it is to attach a tarp to your balcony!
Materials and Tools Required
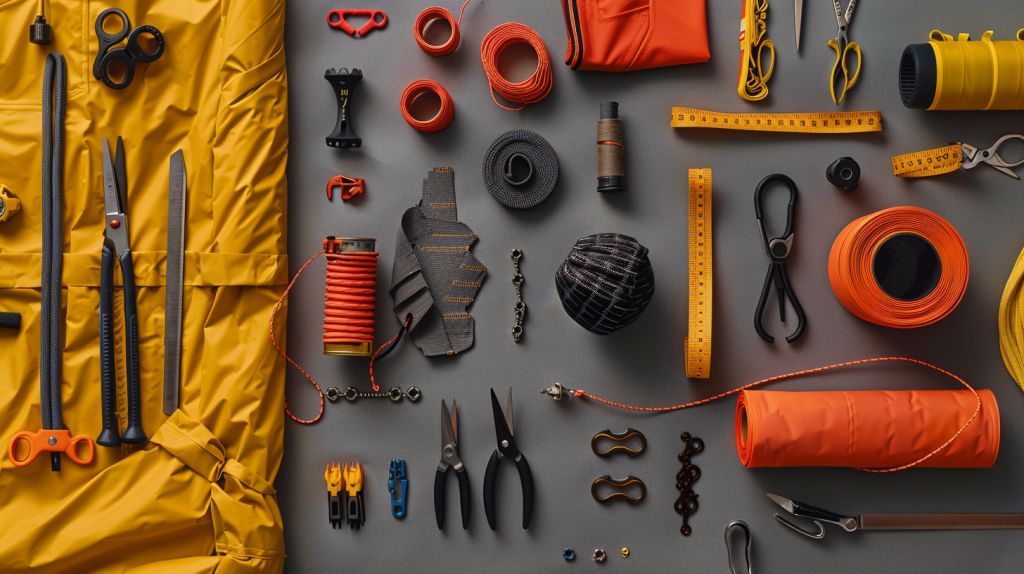
Before attaching a tarp to your balcony, gathering all the necessary materials and tools is crucial. This will ensure a smooth and efficient installation process. Here’s what you’ll need:
- Tarp: Choose a tarp that is slightly larger than your balcony dimensions. This will allow for adequate coverage and make the installation process easier. Consider the material of the tarp, such as polyethylene or canvas, based on your specific needs and preferences.
- Grommets or tarp clips: These accessories will secure the tarp to the balcony railing. Grommets are metal rings that can be attached to the tarp, while tarp clips are designed to grip the tarp without grommets.
- Rope, bungee cords, or zip ties: These items will be used to fasten the tarp to the balcony railing. Choose the option that best suits your needs and your desired aesthetic.
- Scissors: You’ll need scissors to cut the rope, bungee cords, or zip ties to the appropriate length and trim any excess tarp material.
- Measuring tape: A measuring tape will help you determine the dimensions of your balcony and ensure that you purchase a tarp of the appropriate size.
- Ladder: Depending on your balcony’s height and height, you may need a ladder to reach the top of the balcony railing for installation safely.
Having these materials and tools on hand before starting the installation process will make the task more manageable and help you achieve the best results.
Preparing the Tarp
Preparing your balcony properly before attaching the tarp is essential. This involves measuring your balcony, selecting the right size tarp, and installing grommets or tarp clips if necessary.
- Measure your balcony dimensions: Use measuring tape to determine the length and width of your balcony. This will help you select a large tarp to provide adequate coverage and privacy.
- Choose a tarp slightly larger than your balcony: When selecting a tarp, opt for one slightly larger than your balcony dimensions. This will allow for some overlap and make the installation process easier. Tarps come in various sizes, so choose one that best fits your needs.
- Install grommets or tarp clips (if not already present): If your tarp does not have pre-installed grommets or tarp clips, you’ll need to attach them yourself. Grommets can be installed using a grommet tool, while tarp clips can be easily attached to the edges of the tarp. Place the grommets or clips evenly along the tarp’s edges to ensure a secure and uniform installation.
Properly preparing your tarp will prepare you for a successful and hassle-free installation process.
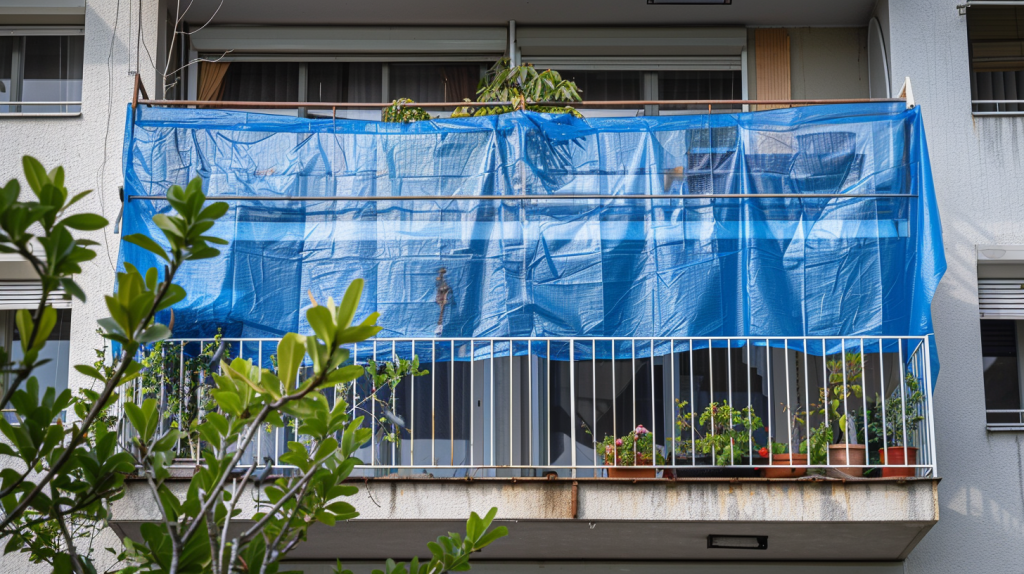
Attaching the Tarp to the Balcony
Now that you have gathered your materials and prepared your tarp, it’s time to attach it to your balcony. Follow these steps for a secure and neat installation:
Step 1: Secure the tarp to the balcony railing
- Begin by fastening the tarp to one corner of your balcony railing using rope, bungee cords, or zip ties. Pass the fastener through the grommet or tarp clip and around the railing, ensuring a tight and secure connection.
- Continue attaching the tarp along the length of the railing, securing it at each grommet or clip. Maintain an even tension throughout the process.
Step 2: Ensure proper tension and security
- Once you have attached the tarp along the entire length of the railing, adjust the tension as needed. The tarp should be taut but not overly stretched, as this could cause damage to the material.
- Double-check each connection point to ensure the knots or fasteners are secure and stable. This will prevent the tarp from coming loose or sagging over time.
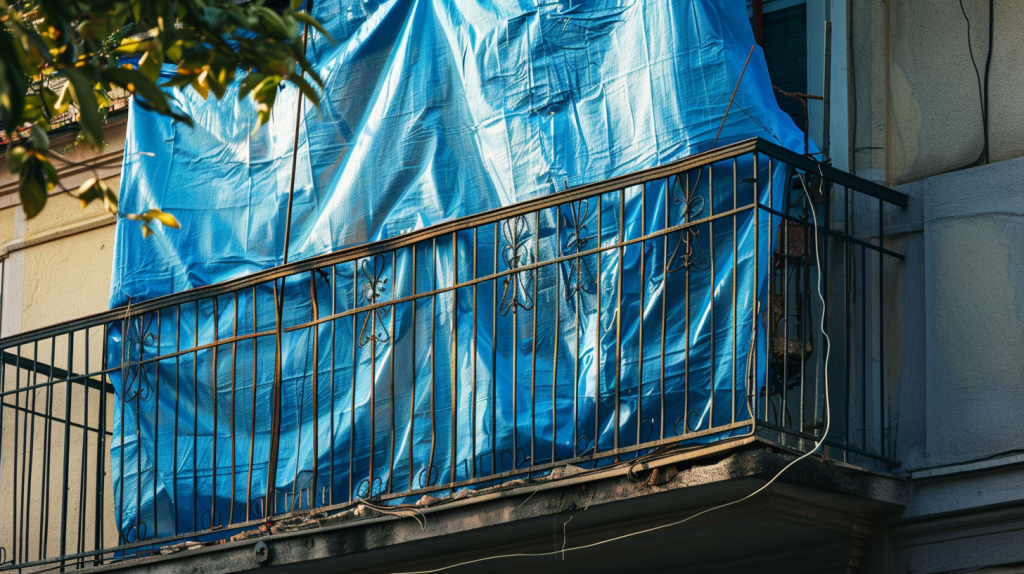
Step 3: Trim any excess material
- With the tarp securely in place, use scissors to trim any excess rope, bungee cords, or tarp material. This will give your installation a clean and polished look.
- Be careful not to cut too close to the grommets or tarp clips, weakening the connection and compromising the tarp’s stability.
By following these steps, you’ll have a securely attached tarp on your balcony that provides privacy and protection from the elements.
Maintenance and Care
To ensure that your balcony tarp remains in good condition and continues to provide privacy and protection, it’s important to perform regular maintenance and care. Here are some tips to keep in mind:
- Regularly inspect the tarp for wear and tear: Periodically check your tarp for any signs of damage, such as holes, tears, or fraying edges. If you notice any issues, address them promptly to prevent further deterioration.
- Remove the tarp during severe weather conditions: If your area is expecting strong winds, heavy rain, or snow, it’s best to remove the tarp from your balcony. Extreme weather can strain the tarp and its fasteners, potentially causing damage or posing a safety risk.
- Clean the tarp periodically to maintain appearance and durability: Over time, your tarp may accumulate dirt, dust, or debris. To keep it looking its best and to extend its lifespan, clean the tarp regularly using a mild detergent and water. Let the tarp dry completely before reattaching it to your balcony.
By following these maintenance and care guidelines, you can ensure that your balcony tarp remains in excellent condition and continues to provide the privacy and protection you desire.
Safety Considerations
When attaching a tarp to your balcony, it’s crucial to prioritize safety to prevent accidents or injuries. Keep these safety considerations in mind throughout the installation process:
- Use a sturdy ladder when attaching the tarp: If you need a ladder to reach the top of your balcony railing, ensure it is stable and positioned on a level surface. Have someone hold the ladder steady for added safety.
- Avoid overreaching or leaning too far over the balcony: When securing the tarp, be mindful of your body position and avoid overreaching or leaning too far over the balcony railing. This can help prevent falls or other accidents.
- Ensure the tarp is securely fastened to prevent accidents: Double-check all connection points to ensure that the tarp is securely attached to the balcony railing. A poorly secured tarp can come loose and pose a risk to yourself and others.
By considering these safety considerations, you can ensure a secure and accident-free installation process.
Conclusion
Attaching a tarp to your balcony is an excellent way to create a private and comfortable outdoor space.
Following this step-by-step guide, you can easily transform your balcony into a cozy retreat offering shade, protection from the elements, and enhanced privacy.
Whether you’re seeking balcony privacy ideas or want to make the most of your outdoor area, this guide provides the knowledge and tools to install a tarp on your balcony.
Gather the necessary materials, prepare your tarp, and follow the installation steps carefully to ensure a secure and attractive result.
Don’t forget to maintain and care regularly to keep your tarp in top condition.
By prioritizing safety and attaching your tarp properly, you’ll be able to enjoy your newly created private oasis for years to come. Happy tarp-attaching and balcony-enjoying!