


Painting a deck can feel like a big job. You want it to look good and last long, but it seems daunting. I get it – I’ve been there too.
But don’t worry! With the right approach, you can paint your deck quickly and effectively. In this guide, I’ll show you how to transform your deck into a beautiful outdoor space without the stress.
We’ll cover everything from picking the best paint to applying it like a pro.
I’ll walk you through each step, from prepping your deck to adding those final touches. By the end, you’ll have all the know-how to paint your deck fast and get great results.
Ready to give your deck a fresh look? Let’s get started!
Preparation Tips: Cleaning and Repairing the Deck
1. Cleaning the Deck
A clean deck is key for the paint to stick well. Start by getting rid of dirt, old paint, and grime. You’ll need a pressure washer or a stiff brush with a deck cleaner.
Here’s how to clean your deck:
- Sweep off loose debris
- Apply deck cleaner as directed
- Scrub the surface with a stiff brush
- Rinse thoroughly with water
- Let the deck dry completely
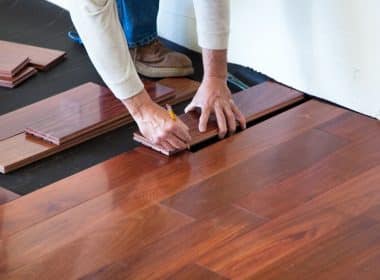
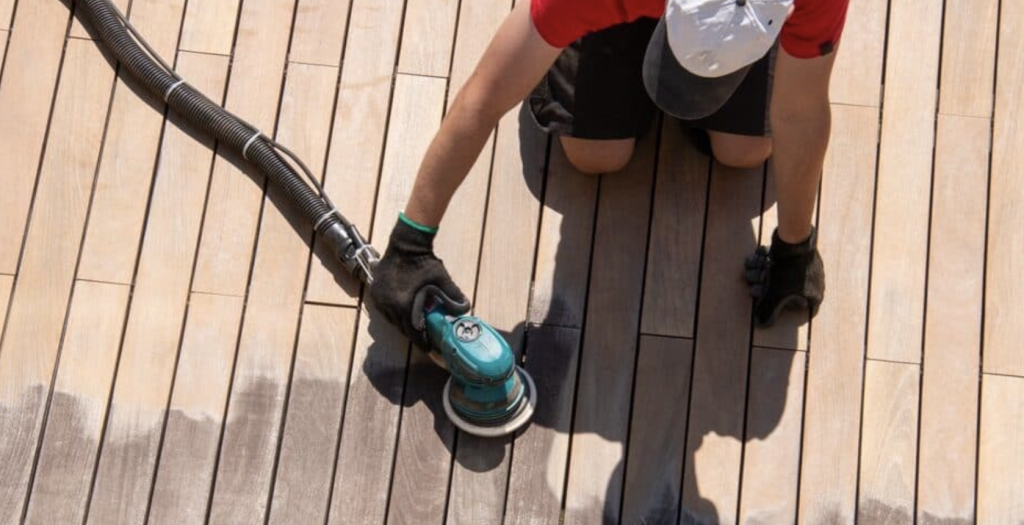
2. Repairing the Deck
Look over your deck for any damage. Replace or fix loose boards, hammer down poking nails, and sand rough spots. Use a power sander to make the surface smooth. This step helps the paint look better and last longer.
3. Priming
You might need to use primer on new wood or very old decks. Choose a fast-drying type to save time. Apply it evenly with a roller or brush, following the wood grain. Let it dry fully before painting.
Choosing the Right Paint and Tools
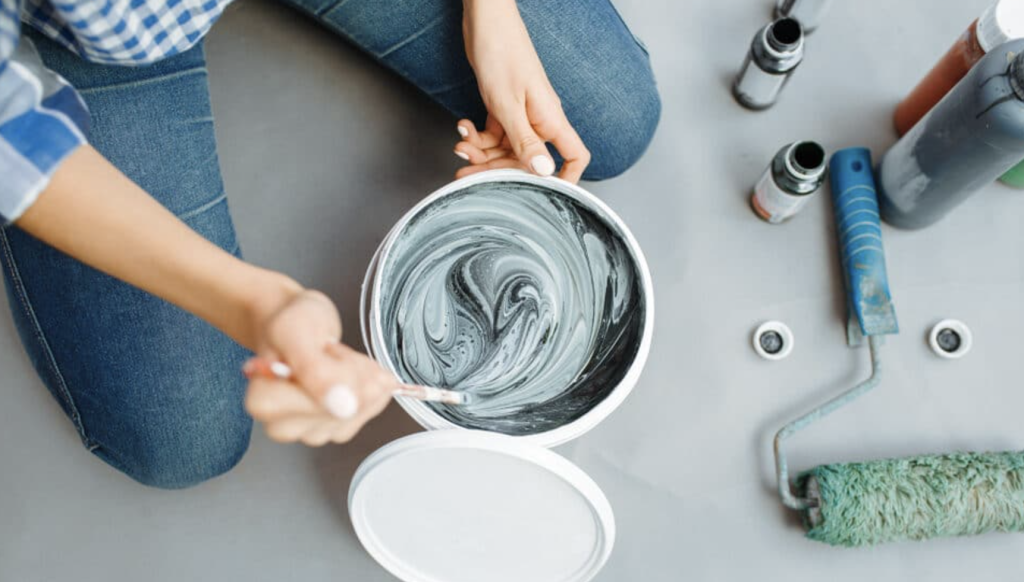
1. Selecting the Ideal Paint
For deck painting, choose paints that dry quickly. These work great when you’re short on time. Look for paints that can stand up to sun and rain.
Water-based paints dry quicker than oil-based paints, making them a good pick for most decks.
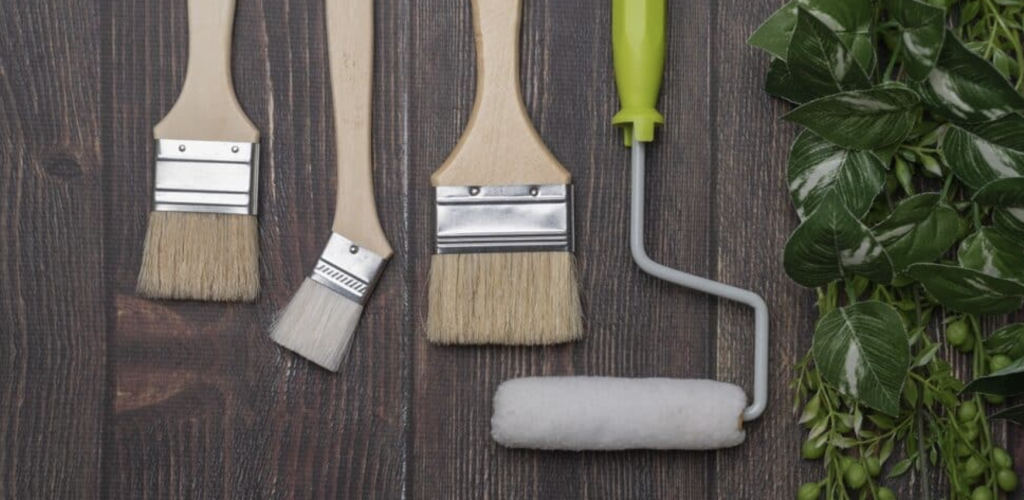
2. Essential Tools for Efficiency
- Quality Brushes: Use angled brushes for edges and corners.
- Rollers and Sprayers: These cover big areas fast. Rollers work well on flat parts, while sprayers are great for large decks.
- Supporting Tools: Don’t forget paint trays, long handles for rollers, and tape to protect areas you don’t want painted.
Tool Maintenance Tip: Clean your tools right after use. Wash brushes and rollers with soap and water for water-based paints. For sprayers, follow the maker’s
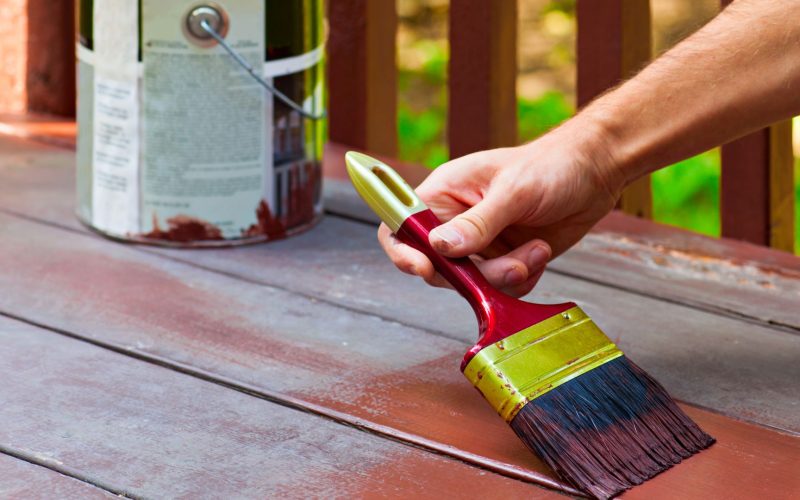
Efficient Painting Techniques
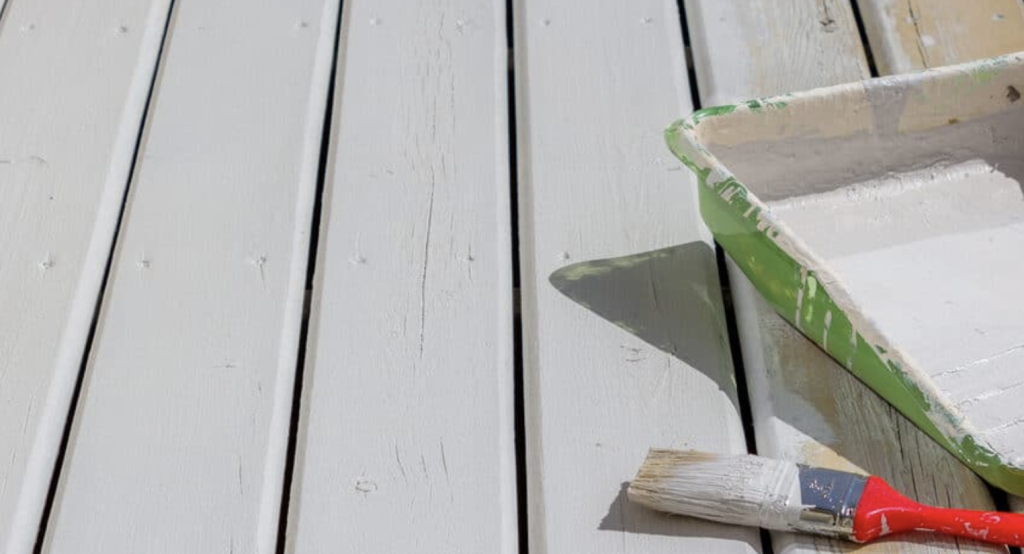
1. Brushes for Edges and Corners: Precision Work
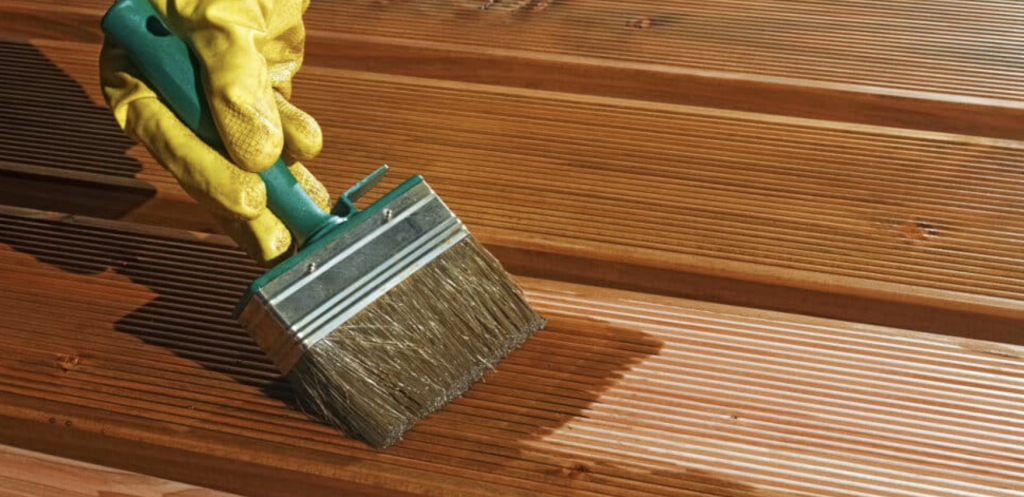
Use high-quality angled brushes for neat edges and corners. These brushes give you better control and a cleaner look.
Application Tips
- Use long, smooth strokes for even paint coverage.
- Dip the brush lightly in paint and tap off extra to avoid drips.
Cutting In
Start by painting edges and corners before the main areas. This creates a clean border and keeps the paint where you want it.
2. Rollers for Flat Surfaces: Covering Larger Areas Quickly
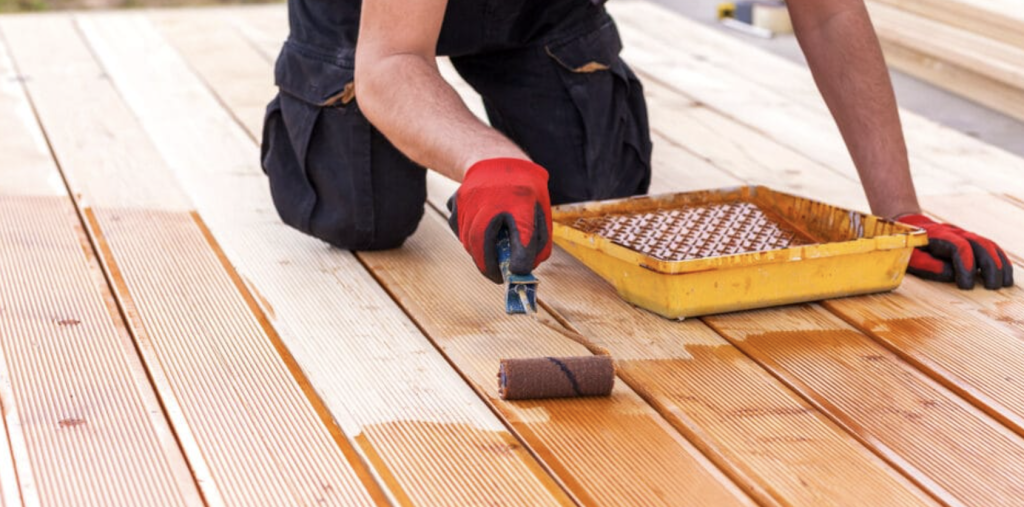
Rollers cover big, flat areas fast. Use a roller with a long handle to save your back.
Roller Types
- A short nap is needed for smooth surfaces, and a longer nap is required for rough ones.
- Synthetic rollers work well with most paints.
Application Tips
- Roll in long, even strokes. Don’t overload the roller.
- Overlap each stroke a bit for even coverage.
3. Sprayers for Large Decks: Fast and Even Coverage
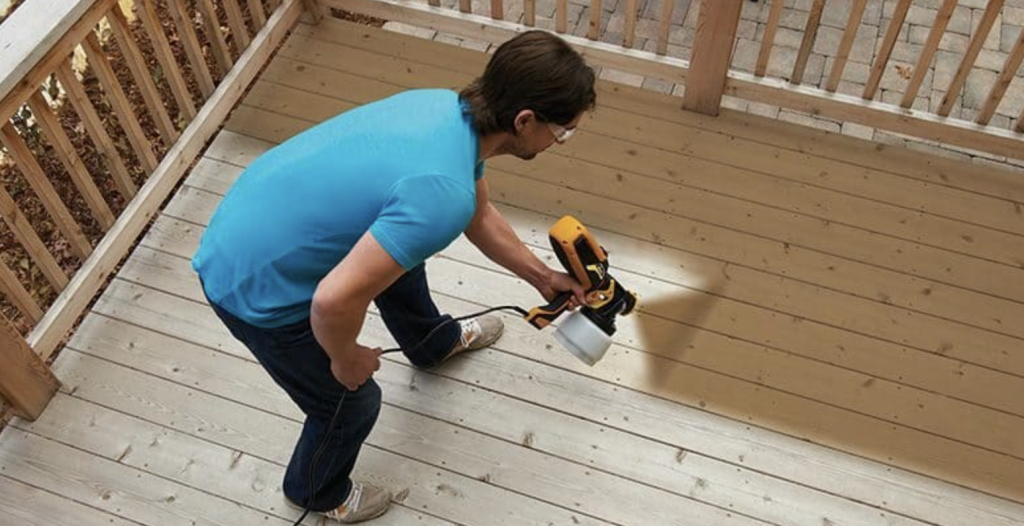
Sprayers cover large areas quickly. They’re great for big decks.
Skill Requirements
- Practice on scrap wood first.
- Learn to control the spray pattern and flow.
Application Tips
- Keep the sprayer moving to avoid drips.
- Stay the same distance from the surface as you spray.
Applying Paint
1. Multiple Thin Coats: Ensuring Quick Drying and Fewer Drips
Advantages of Thin Coats
Thin coats are your friend when painting a deck. They dry much faster than thick layers, so you can finish your project sooner. Plus, thin coats are less likely to drip or run, giving you a smoother, more professional-looking finish.
Application Tips
I recommend applying 2-3 thin coats rather than one thick coat. Here’s how:
- Start with a very light first coat. It might look patchy, but that’s okay.
- Let each coat dry fully. This usually takes 2-4 hours, but check your paint can for exact times.
- Lightly sand between coats if needed, using fine-grit sandpaper.
- Apply the next coat, covering any missed spots from the first round.
Inspection
After each coat dries, take a close look at your work. Good lighting helps here. Run your hand over the surface to feel for any rough spots. If you find any missed areas or imperfections, touch them before applying the next coat.
2. Maintaining a Wet Edge: Avoiding Lap Marks
Importance of a Wet Edge
Keeping a “wet edge” means always painting into a wet area. This prevents ugly lap marks—visible lines where wet paint meets dry paint—and is key to a smooth, even finish.
Application Tips
- Work in small sections, about 3-4 boards wide.
- Start at one end of your section and work to the other without stopping.
- When you start a new section, overlap slightly with the previous wet section.
- If you’re using a roller, roll the final stroke of each section very lightly to blend it with the previous section.
Environmental Factors
The weather plays a big role in keeping a wet edge:
- Aim for days with temperatures between 50-90°F (10-32°C) and humidity below 85%.
- Avoid painting in direct sunlight if possible. The heat dries the paint too quickly.
- If you must paint in the sun, start early and follow the shade around your deck.
- On larger decks, have a helper to keep the painting process moving quickly.
Final Touches and Maintenance Tips
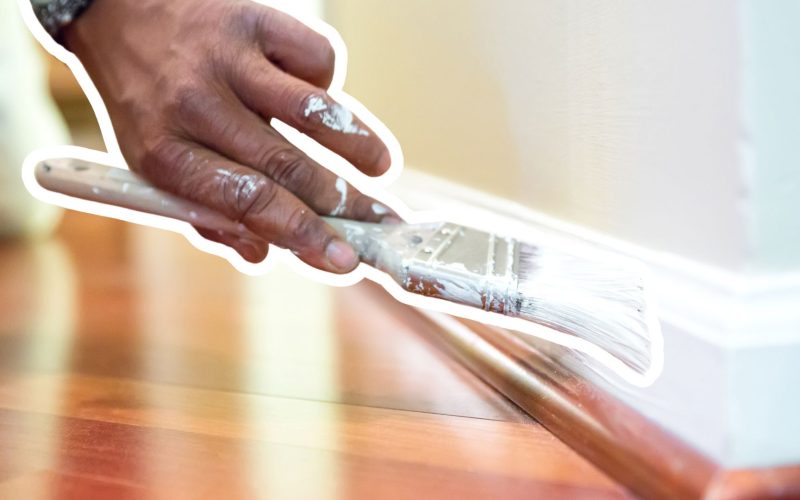
1. Light Sanding and Cleaning Between Coats
After each coat dries, I like to do a light sanding. Here’s how:
- Use fine-grit sandpaper (220-grit works well)
- Sand lightly to smooth out any bumps or rough spots
- Wipe away dust with a tack cloth
- Clean the surface with a damp cloth and let it dry
This step helps the next coat stick better and gives a smoother finish.
2. Routine Cleaning and Touch-Ups
To keep your deck looking great:
- Sweep it weekly to remove dirt and leaves
- Wash it monthly with mild soap and water
- Check for chips or peeling paint every few months
- Touch up small areas as needed with a brush
- For stains, use a soft brush and gentle cleanser
Doing these small tasks often saves you from bigger jobs later.
3. Long-Term Care
For a deck that lasts:
- Recoat every 2-3 years or when you see signs of wear
- Before recoating, clean the deck well and sand lightly
- In wet areas, think about using a water-repelling product
- Check for loose boards or popped nails yearly and fix them
- Trim nearby plants to reduce moisture on the deck
Taking care of your deck this way keeps it safe and looking good for years. It’s much easier than having to redo the whole thing!
Conclusion
Now, you have all the steps to paint your deck like a pro. Remember, the key is in preparing and using the right tools. Start with a clean, repaired surface.
Choose your paint wisely and apply it in thin, even coats. Keep a wet edge to avoid lap marks, and don’t rush between coats. Once you’re done, regular cleaning and touch-ups will keep your deck looking fresh.
Painting your deck might seem like a big job, but with these tips, you can do it efficiently and get great results.
Your newly painted deck will be more than just a part of your house—it will be a space to relax and make memories.
Got questions? Feel free to leave a comment.
Happy painting!
Frequently Asked Questions
Is It Better to Paint a Deck with a Roller or Brush?
Both have their uses. Rollers are faster for large areas, while brushes are better for details and edges. Using both gives the best results.
Should I Wash the Deck Before Painting?
Yes, always wash your deck before painting. This removes dirt, grime, and loose paint, helping the new paint stick better and last longer.
What to Do if It Rains on a Freshly Painted Deck?
Wait for the deck to dry fully. Check for water spots or uneven areas. Lightly sand rough spots. Touch up these areas with a thin coat of paint. If damage is widespread, you may need to repaint the entire deck.