


Creating a gallery wall can be tricky. And getting the spacing right is often the hardest part, leaving many of us unsure where to start.
But don’t worry – with the right approach, you can design a beautiful gallery wall that showcases your favorite pieces perfectly.
In this guide, I’ll show you exactly how to nail the spacing for your gallery wall. You’ll learn the ideal distances between frames, how high to hang your art, and tips for achieving a balanced look.
I’ll cover everything from planning your layout to hanging techniques that ensure your frames stay level.
By the end, you’ll have all the knowledge you need to create a stunning gallery wall in your home.
Types of Gallery Walls
Gallery walls come in various styles, each with its unique charm. Let’s explore three popular types: symmetrical layouts, asymmetrical arrangements, and grid patterns.
Understanding these can help you choose the best fit for your space.
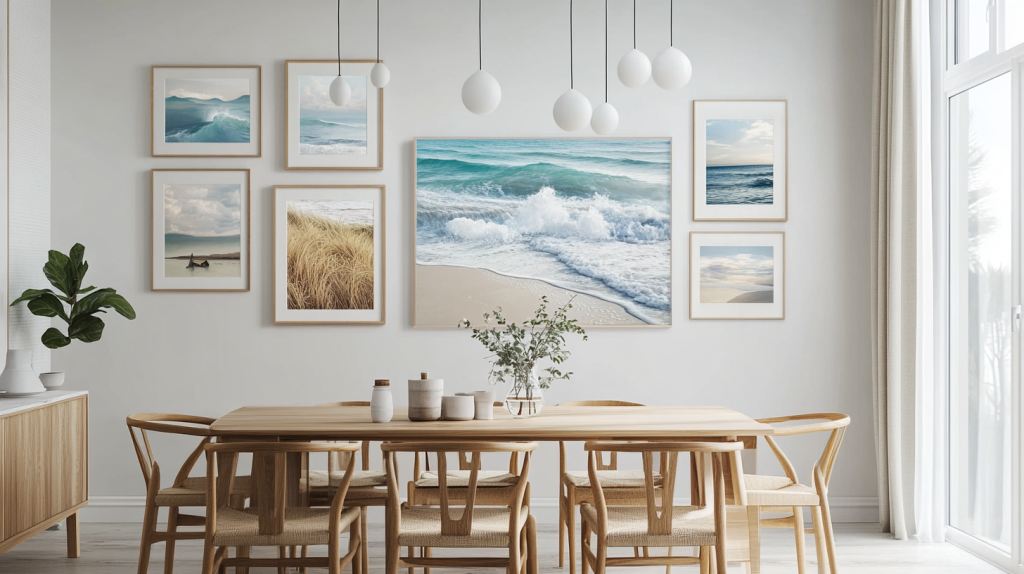
1. Symmetrical Layouts
Symmetrical gallery walls bring a sense of order and calm to a room. These layouts mirror each other on either side of a central point, creating a balanced look.
They work well in formal spaces or when you want to showcase a collection of similarly sized artworks.
To create a symmetrical layout, start by hanging the middle piece, then work outwards, ensuring each side matches perfectly.
This style can make a strong statement while maintaining a harmonious feel in the room.
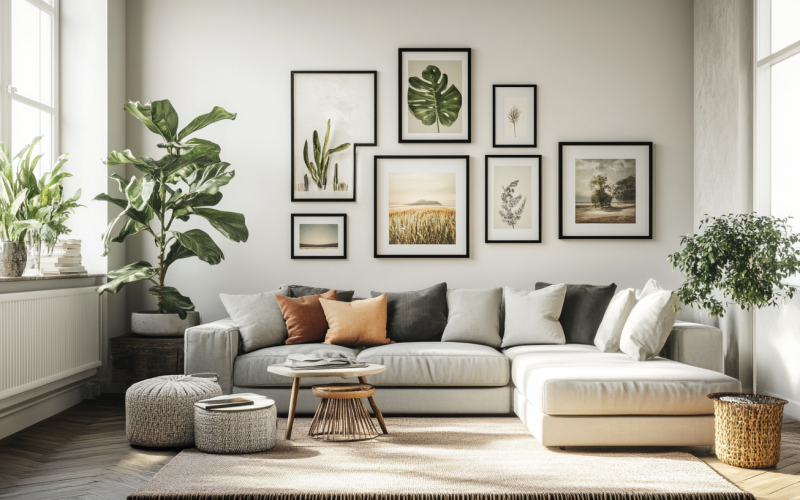
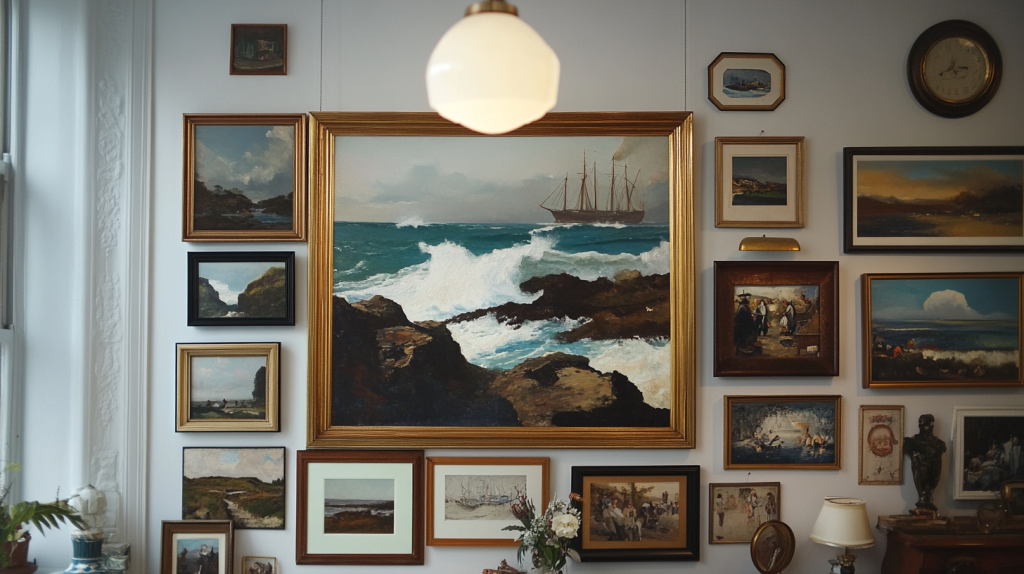
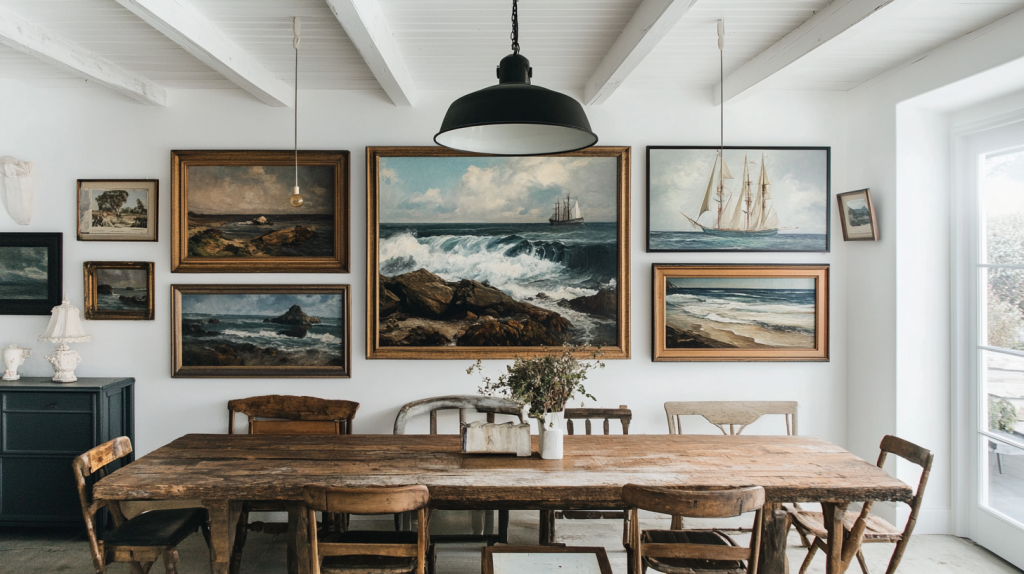
2. Asymmetrical Layouts
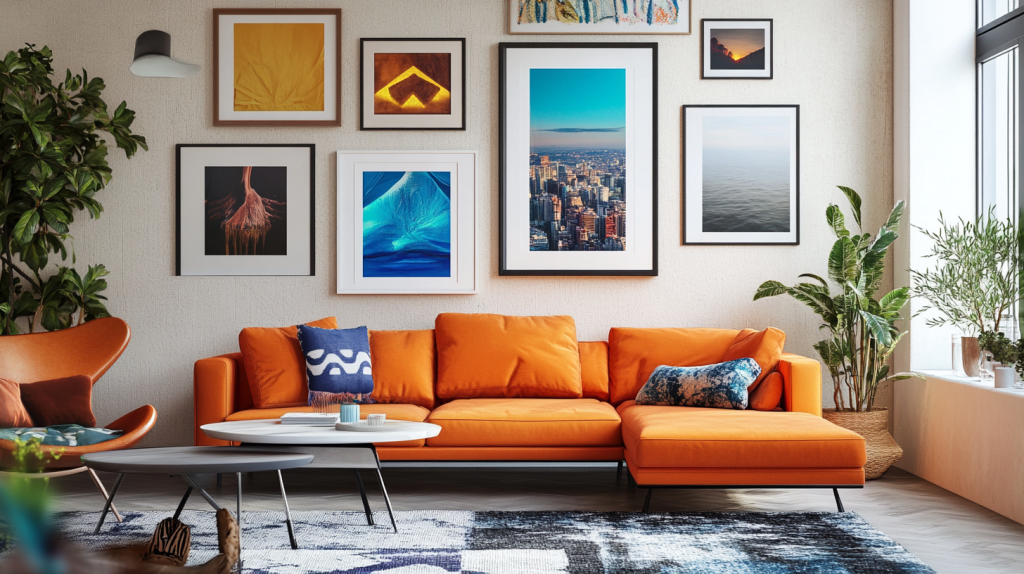
Asymmetrical gallery walls offer a more relaxed and organic feel. These layouts don’t follow strict rules, allowing you to mix different frame sizes and styles.
While the arrangement may look random, careful planning is key to achieving a pleasing result.
Begin with your largest piece as an anchor, then build around it. The goal is to achieve overall balance, even if individual elements aren’t perfectly aligned.
This style adds personality to a space and works well with eclectic art collections.
3. Grid Patterns
Grid-style gallery walls create a clean, organized look perfect for modern or minimalist spaces. This layout uses frames of the same size arranged in neat rows and columns.
Precision is the key to a successful grid – everything should line up perfectly. Use a level and measuring tape to ensure accuracy.
Start in one corner and work your way across and down. This style is ideal for displaying a series of photos or artworks with a common theme, creating a strong visual impact through repetition and order.
Grid layouts can turn a collection of individual pieces into one cohesive, eye-catching display.
Spacing Guidelines for Gallery Walls
Getting the spacing right is key to a polished gallery wall. This section covers standard recommendations, how to adjust for different frame sizes, and how your room’s dimensions can influence your spacing decisions.
1. Ideal Distance
When creating a gallery wall, it is key to have a consistent gap between each frame. The sweet spot for spacing is between 2 and 3 inches.
This distance helps create a unified look for your gallery wall. It prevents the frames from appearing too crowded or too spread out.
Consistent spacing gives your display a polished, intentional appearance. Think of the space between frames as a visual breath, allowing each piece to stand on its own while still being part of the whole.
2. Height Considerations
The overall placement of your gallery wall is just as important as the spacing between individual pieces.
Aim for a standalone gallery wall about 57 inches from the floor with a center point. This height is generally at eye level for most people, making viewing and appreciating your art easy.
When hanging a gallery wall above furniture, like a couch or console table, start the bottom of your lowest frame 7 to 10 inches above the furniture piece.
This spacing creates a visual connection between the furniture and the art without feeling disconnected or crowded.
3. Frame Size
Frame size plays a crucial role in spacing decisions. Larger frames generally need more breathing room, while smaller ones can be placed closer together.
As a rule of thumb, increase the gap by about half an inch for every 10 inches of frame size. For instance, 8×10-inch frames might have 2-inch gaps, while 16×20-inch frames could have 3-inch spacing.
Remember to consider each piece’s visual weight, too—a small frame with a bold image might need more space than its size suggests.
4. Room Size Considerations
Your room’s dimensions should guide your spacing choices. In smaller rooms, tighter spacing (around 2 inches) can help create a more compact gallery wall that doesn’t overwhelm the space.
Larger rooms can handle wider spacing, up to 4 or even 5 inches, giving each piece more prominence.
Also, consider the wall size – a large, empty wall might benefit from an expansive gallery with wider spacing, while a narrow wall between windows might need a more condensed arrangement.
Implementation Tips for Gallery Wall Project
Ready to start your gallery wall project? Here are some practical tips to help you measure, plan, and execute your vision effectively.
These steps will guide you through the process smoothly.
1. Tools Needed
Before you begin, gather the right equipment. These essential tools will make your gallery wall project much easier and more precise.
- A measuring tape helps ensure consistent spacing between frames.
- A level is crucial for keeping everything straight.
- Templates made from kraft paper or cardboard, cut to the size of your frames, allow you to test layouts without putting holes in the wall.
2. Planning Your Layout
A well-thought-out plan is key to a successful gallery wall. Consider your arrangement before you start hanging frames.
- Start by measuring your wall space and deciding on the overall size of your gallery.
- Lay out your frames on the floor, experimenting with different arrangements.
- Remember to keep 2-3 inches between each frame.
- Once you’re happy with the layout, take a photo for reference.
- This helps when it’s time to recreate the arrangement on the wall.
3. Marking and Arranging Frames
Proper marking and arranging are crucial steps. These tricks will help you transfer your planned layout to the wall accurately.
- Use your paper templates to mark frame positions on the wall.
- Stick them up with painter’s tape, adjusting until the spacing looks right.
- Draw light pencil marks where nails or hooks should go.
- When hanging, start with the center or bottom frame and work outwards.
- This method helps maintain even spacing throughout the process.
Common Mistakes to Avoid
Even seasoned decorators can stumble when creating gallery walls.
Let’s examine some frequent errors and how to avoid them. Knowing these pitfalls will help you achieve a polished result.
1. Overcrowding
Too many frames can overwhelm your wall. Learn to avoid this common pitfall and create a balanced, breathable display.
- Placing frames too close together can make your gallery wall look cluttered and overwhelming.
- Always stick to the 2-3 inch rule between frames to avoid this.
- If the wall feels too crowded, try removing a few pieces or choosing a larger wall area.
- Negative space is just as important as art in creating a balanced look.
2. Uneven Spacing
Inconsistent gaps between frames can throw off your entire gallery wall. Discover how to maintain uniform spacing throughout your arrangement.
- Uneven spacing can throw off the entire look of your gallery wall.
- To spot this issue, step back regularly during the hanging process and view the wall as a whole.
- If something looks off, don’t hesitate to adjust.
- A spacer tool (like a piece of cardboard cut to your chosen gap width) can help maintain consistency.
3. Ignoring Wall Features
Don’t let light switches or vents disrupt your gallery wall. Find out how to work around these architectural elements for a seamless look.
- When planning your layout, remember to account for wall features like light switches, thermostats, or air vents.
- These elements can disrupt your spacing if not considered beforehand.
- Try incorporating them into your design by centering a frame above a light switch or working around a thermostat.
- Adjust your spacing slightly to accommodate these features while maintaining a balanced look.
Conclusion
Lastly, creating the perfect gallery wall is about balance, planning, and personal style. Remember to measure carefully, choose a layout that suits your space, and consider the size of your frames when deciding on spacing.
Whether you opt for a symmetrical, asymmetrical, or grid pattern, consistent spacing will help achieve a polished look.
Don’t be afraid to experiment with different arrangements before committing to nail holes. And if you make a mistake, don’t worry – it’s all part of the process.
Most importantly, your gallery wall reflects your personality and showcases the art you love. So grab your hammer, gather your favorite pieces, and create a stunning focal point for your home.
Happy Hanging!