


DIY 4×4 rope shelves bring a unique, rustic touch to any home. These floating wall shelves marry functionality with a distinct style that can transform an ordinary room into a captivating space.
Perfect for those who enjoy woodworking or DIY projects, these shelves allow you to display decor items or organize essentials while adding character to your living area.
Whether you’re crafting them from scrap wood or purchasing pre-made kits, the process is straightforward and rewarding.
Join us as we explore how these charming additions enhance home decor with their farmhouse appeal and solid wood construction.
Materials and Tools Needed
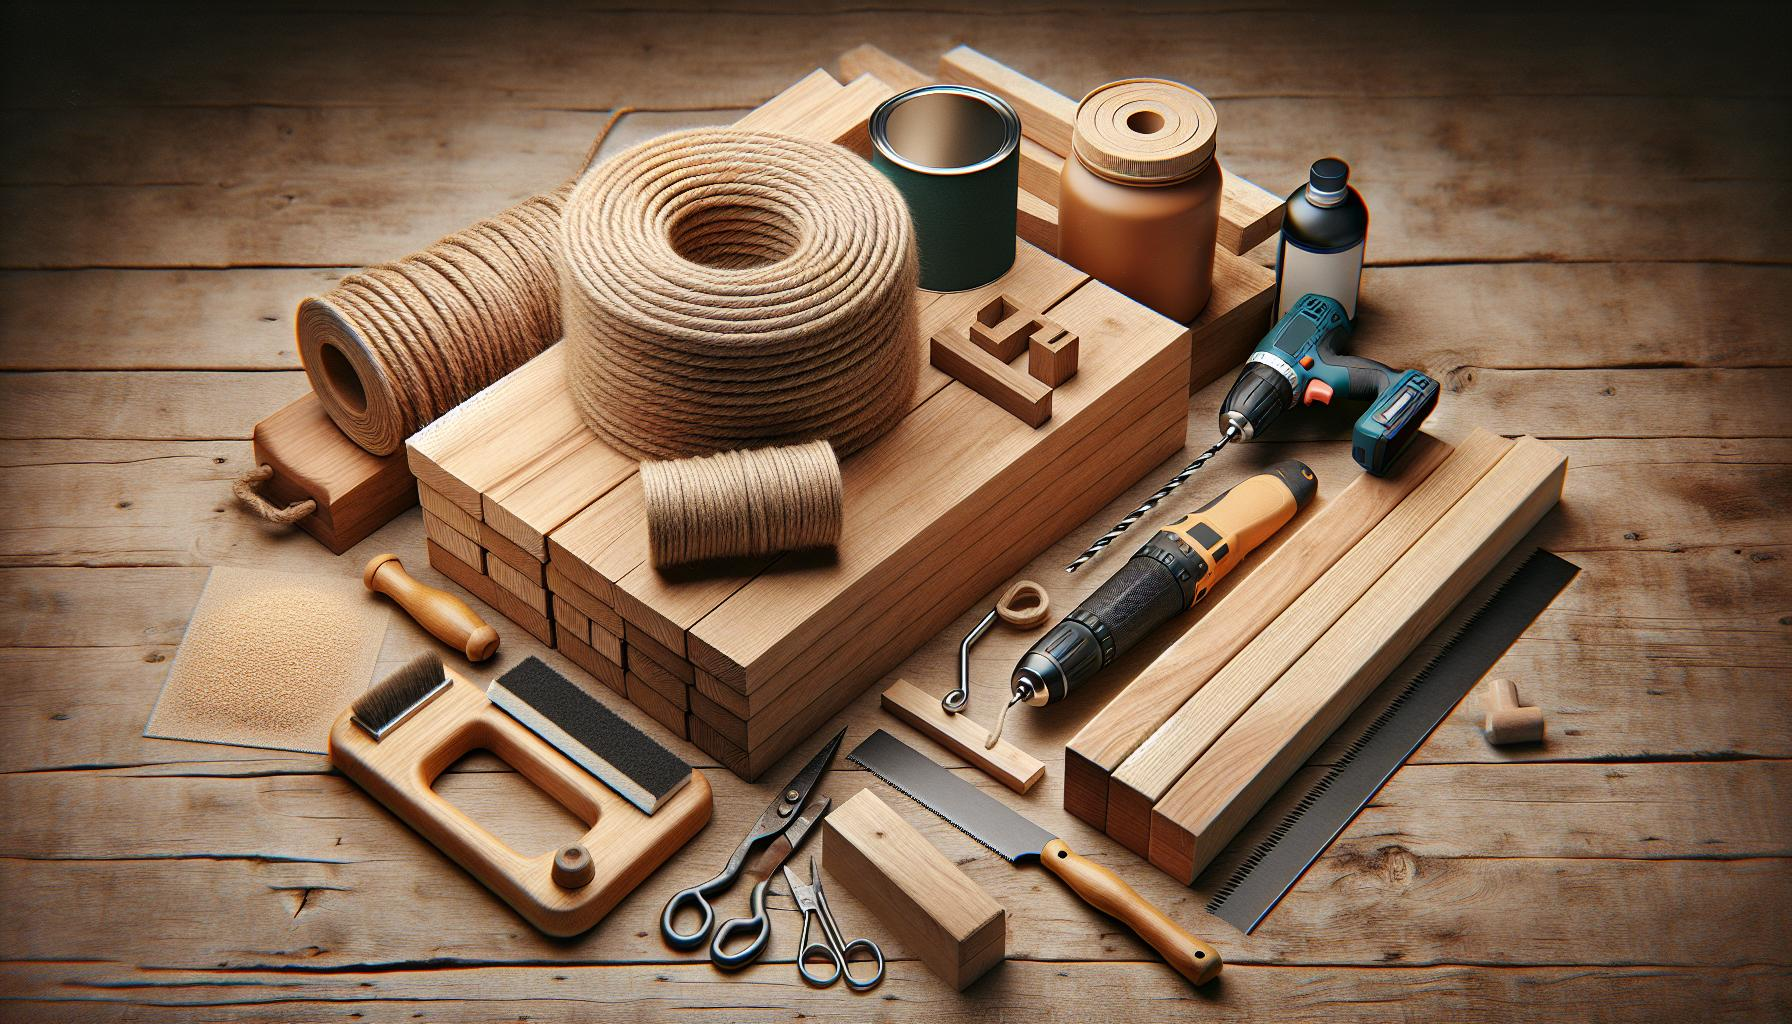
Creating DIY 4×4 rope shelves adds a rustic touch to any room. Here’s what you’ll need to start your project.
Gathering Your Materials
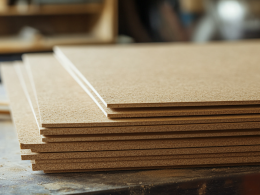
To begin, select four solid wood planks, each measuring 4×4 inches in width and length, tailored to your desired shelf size. You’ll also need a natural or synthetic rope for hanging—consider sisal or jute for that authentic rustic appeal. For the floating shelf effect, ensure the wood has a smooth finish and retains its sturdy quality. For high-quality options, check out Pro Rope for a variety of durable and aesthetically pleasing ropes.
Essential Tools for the Job
Equip yourself with a power drill for making precise holes in your wood planks—a crucial step for threading the rope. A saw may be necessary if adjustments to the plank lengths are needed. Additionally, gather some sandpaper to smooth out rough edges and varnish to protect and enhance the wood’s natural beauty. These tools will help you achieve professional-looking results that complement any home decor style.
Step-by-Step Guide to Building 4×4 Rope Shelves

Creating your own 4×4 rope shelves adds a charming rustic touch to any home decor. This guide breaks down the process into manageable steps, ensuring you can build these attractive storage solutions with ease.
Preparing the Wood
First, select four solid wood planks measuring 1 inch thick and 36 inches long for a balanced look. Sand each plank smoothly using medium-grit sandpaper to remove any splinters or rough edges. Apply a stain or protective varnish, which not only enhances the wood’s natural beauty but also preserves it against wear and tear. Allow the planks to dry completely before moving on to assembly.
Drilling and Assembling
Next, measure and mark where you’ll drill holes for the ropes—typically at each corner of your planks, about an inch from both edges. Using a power drill with a bit slightly larger than your rope’s thickness ensures easy threading later on. After drilling, align all planks evenly and secure them temporarily with clamps if necessary to maintain alignment during the next step.
Adding the Rope
Cut two lengths of durable rope—each approximately five times longer than your desired shelf height—to ensure ample slack for hanging and adjustments. Thread one end of each rope through holes on one side of the plank stack; tie large knots underneath to prevent slippage. Repeat this process on the other side, adjust for levelness, then hang from sturdy hooks anchored in your wall.
Finishing Touches
Once you’ve assembled your DIY 4×4 rope shelves, adding the right finishing touches enhances their rustic charm and durability. Here’s how to achieve that perfect farmhouse look and feel.
Staining and Sealing
To protect the wood and bring out its natural beauty, staining is a crucial step. Choose a stain that complements your home decor theme—perhaps a warm walnut for a cozy feel or a weathered gray for a more aged look. After applying the stain, seal the wood with a clear varnish or polyurethane to make it water-resistant and durable. This also gives your floating shelf an appealing glossy finish that catches the eye.
Painting and Decorating
If you prefer a pop of color or wish to add more personality, painting your rope shelves can do just that. Opt for colors that match your room’s palette or go bold with contrasting hues for a statement piece. Once painted, consider decorating the shelves by attaching hooks underneath for hanging items like mugs in the kitchen or keys in the entryway. Adding small plants, photo frames, or scented candles can transform these practical shelves into stunning wall decor elements.
Installing Your Shelves
Once you’ve crafted your DIY 4×4 rope shelves, the next crucial step involves installing them to create that appealing rustic touch in your home. Proper installation ensures your floating wall shelves are both functional and aesthetically pleasing.
Choosing the Right Location
Selecting the ideal location for your rustic floating shelves plays a pivotal role in maximizing their functionality and style. Opt for wall spaces above desks or along hallway corridors to enhance visual interest and usability. Ensure the chosen spot is free of obstructions and receives adequate visibility to highlight decorative items effectively.
Mounting the Shelves
Mounting your DIY wood shelves securely requires attention to detail. Begin by marking precise points on the wall where each end of the shelf will hang. Use a level tool to ensure these marks align horizontally for a balanced appearance. Installing robust hooks or brackets at these marked locations supports the weight of the shelves, ensuring they remain stable and secure once mounted.
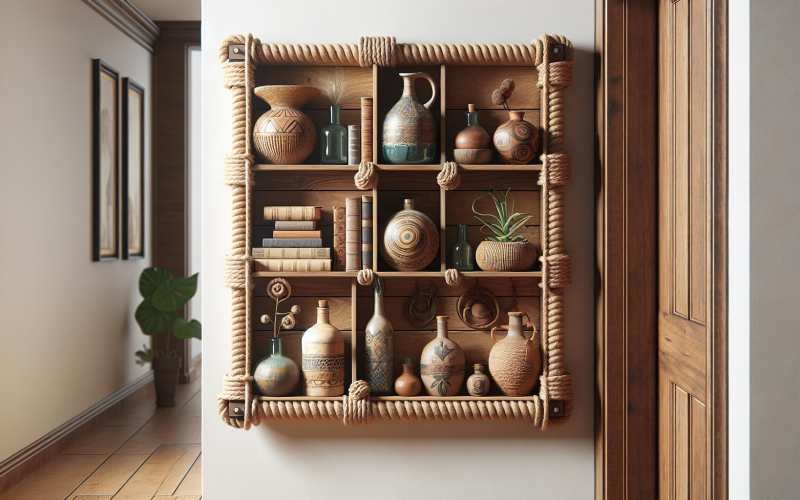
Styling Your Rustic Rope Shelves
Once you’ve successfully installed your DIY 4×4 rope shelves, it’s time to enhance their rustic charm by styling them thoughtfully. Here’s how you can bring out the best in your new wall decor.
Decorative Items
Choosing the right decorative items can transform your floating shelves into a stunning focal point. Opt for elements that complement the rustic aesthetic such as antique books, vintage glass bottles, or artisan pottery pieces.
Incorporating materials like copper, leather, or woven baskets adds texture and warmth. Keep balance in mind; arrange items with varying heights and sizes to create an inviting display.
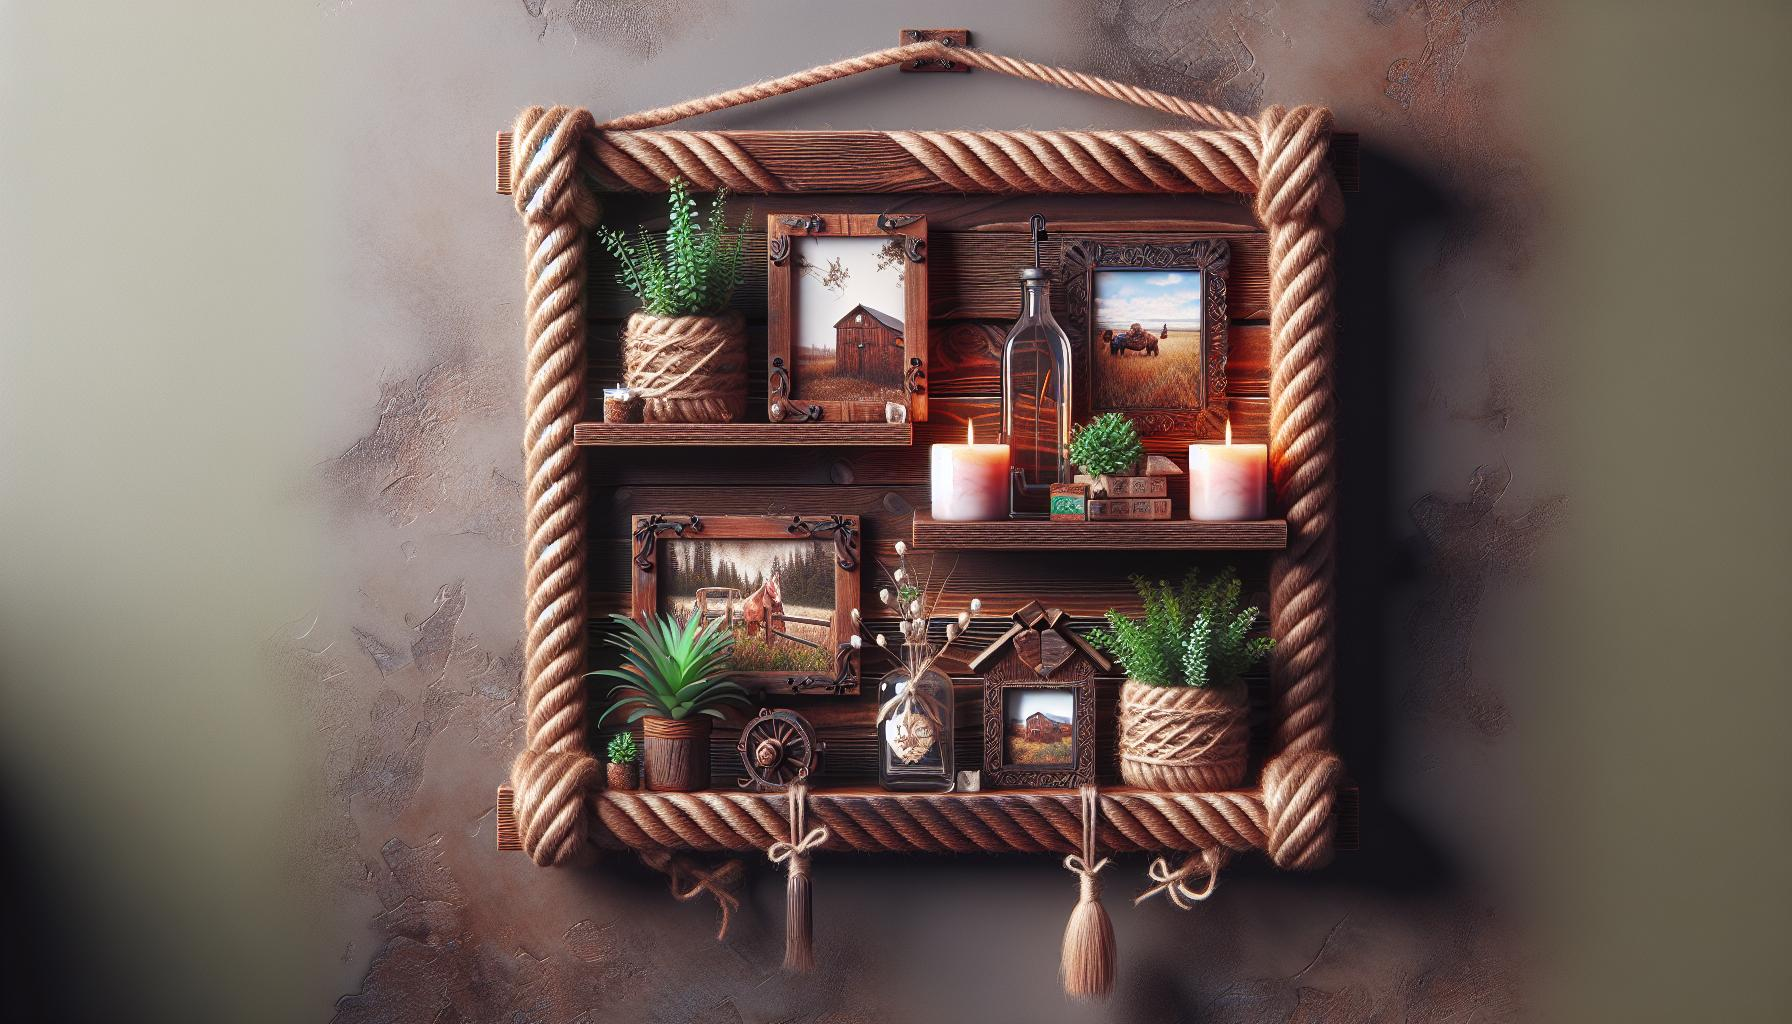
Seasonal Decorations
Seasonal decorations offer a dynamic way to keep your rustic rope shelves looking fresh and relevant throughout the year. During autumn, consider adorning them with mini pumpkins, dried leaves, or pine cones.
For winter, festive touches like small evergreen branches or string lights evoke cozy vibes. This approach not only celebrates the season but also keeps your home decor lively and engaging.
Conclusion
Creating DIY 4×4 rope shelves adds a uniquely rustic appeal to any home. By following our guide you’ve learned not only how to craft these charming shelves but also how to personalize and style them effectively.
Whether you’re displaying vintage finds or seasonal decor these shelves offer both functionality and aesthetic beauty that enhances any space. Remember secure installation is key for longevity and safety. Embrace the creative process and transform your living areas with this stylish DIY project.