Making your own dried flower ornaments can be a fun and rewarding experience.
But let’s face it – not all of us are crafting experts, and creating ornaments from scratch might seem daunting. Don’t worry; I’ve got you covered!
In this tutorial, I’ll show you how to make beautiful dried flower ornaments perfect for beginners. These unique decorations will add a touch of nature to your home decor and impress your friends and family.
I’ll guide you through each process step, from choosing the right flowers to assembling your ornaments.
By the end of this post, you’ll have all the knowledge you need to create stunning dried flower ornaments that will become cherished keepsakes for years to come.
Materials Required to Make Dried Flower Ornaments
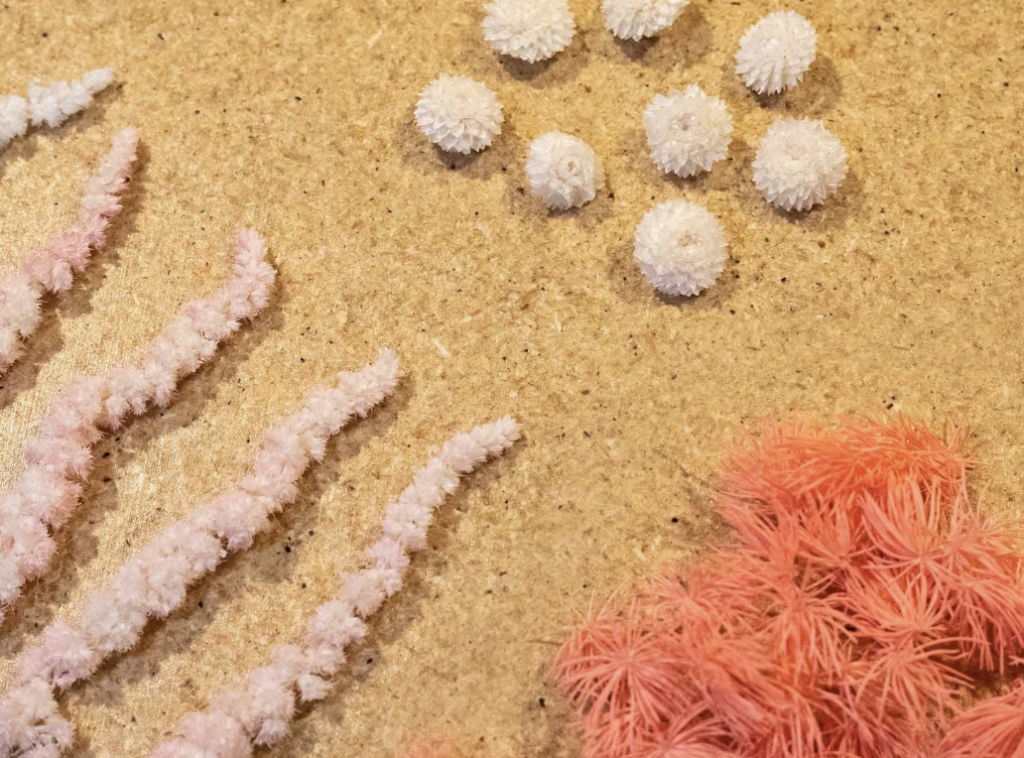
We must round up key items to start our dried flower ornament project. Here’s what you’ll need:
1. 2-3 Types of Small Dried Flowers
Pick flowers with different textures to add some variety. I like to use one type that’s a bit fuller to help fill the ornament. For example, I chose some pink preserved mink fern for volume.
2. Clear Ornaments
You can use glass or plastic. I prefer glass because it doesn’t have a seam, but plastic works too if you’re worried about breakage.
3. Ribbon
Pick your favorite color or pattern to hang your ornament.
4. Tweezers
These are super helpful for moving tiny flowers around inside the ornament. I use angled craft tweezers, but any kind will do.
You can find most of these items at craft stores or online. Don’t stress if you can’t find the exact flowers I mentioned – part of the fun is making your ornament unique!
Preparing Your Workspace
Before we dive in, let’s get our work area ready:
- Find a Flat, Clean Surface: A table or desk works great. Make sure it’s clutter-free so you have plenty of room to work.
- Lay out Your Supplies: Ensure all your materials are within easy reach. This will save time and keep you focused on the fun part—creating!
- Good Lighting: Make sure you can see what you’re doing clearly. Natural light is best, but a desk lamp works too.
- Protect Your Surface: If you’re worried about the mess, lay down some newspaper or a craft mat.
- Have a Small Container Handy: This is useful for holding your dried flowers as you work.
Getting set up properly makes the whole process smoother and more enjoyable. Trust me, it’s worth taking a few minutes to get organized before you start!
Step-by-Step Guide to Making Dried Flower Ornaments
Step 1: Preparing the Ornament
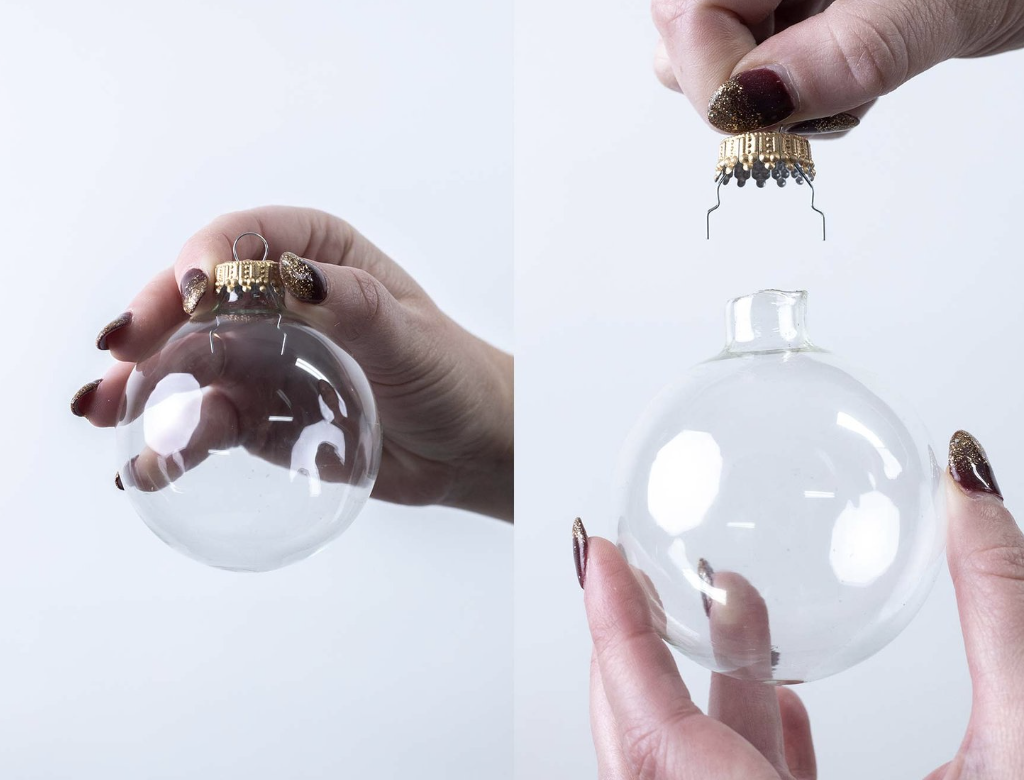
Let’s start by getting our ornament ready. First, we need to take off the top. It’s pretty simple, but you’ll want to be careful, especially if using a glass ornament.
Here’s How to Do It:
- Hold the ornament gently but firmly in one hand.
- With your other hand, grab the metal or plastic cap.
- Slowly twist and pull up on the cap.
- Be extra careful if using a glass ornament – we don’t want any accidents!
Now, you might be wondering whether to use glass or plastic ornaments. Both have their good points, so let’s talk about them:
Pros and Cons of Glass Ornaments
- They look really nice and don’t have any seams.
- If you get ones with thicker glass, they can last a long time.
- But they can break if you drop them and cost a bit more.
Pros and Cons of Plastic Ornaments
- They won’t break if you drop them, which is great if you have kids or pets.
- They usually cost less than glass ones.
- The downside is they often have a visible seam and can get scratched easily.
I like using glass for my ornaments, but plastic is a good choice, too. Pick whichever you feel most comfortable with!
Step 2: Filling the Bottom Layer
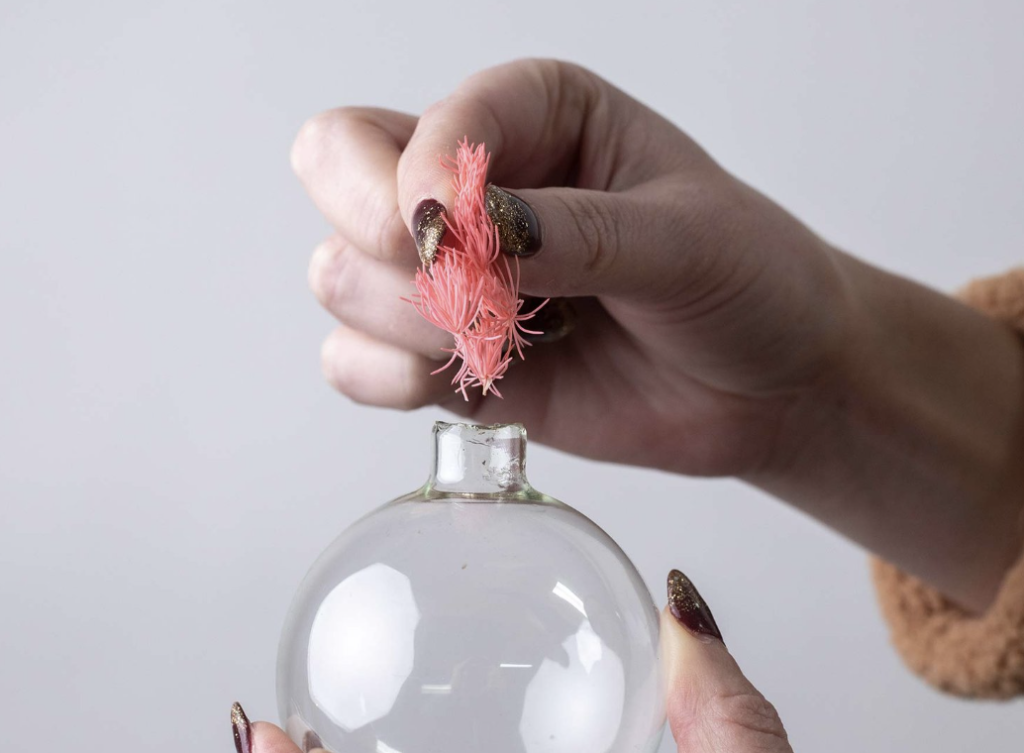
Now comes the fun part – adding flowers to our ornament! We’ll start with the bottom layer.
First, pick out some small dried flowers. Make sure they’re tiny enough to fit through the opening of your ornament. If they’re too big, they might get stuck or break when you try to put them in.
Here’s How to Add the First Layer:
- Hold your ornament steady in one hand.
- Take a few small flowers with your other hand.
- Gently drop them into the ornament through the opening.
- If they don’t land where you want, you can use tweezers to move them around.
When you’re picking flowers, remember that smaller ones are better. Measure the opening of your ornament and choose flowers that are smaller than that.
Look for flowers with small stems and petals. Avoid anything that looks like it might crumble or break easily.
To Create a Nice Base Layer:
- Start with just one type of flower. This will make a neat, even layer at the bottom.
- After you’ve added some flowers, gently shake the ornament. This helps the flowers settle into place.
- Make sure this first layer looks steady before you add more. We don’t want everything shifting around later!
Remember, there’s no rush. Take your time and have fun with it. That’s what makes these ornaments special!
Step 3: Building the Middle Layer
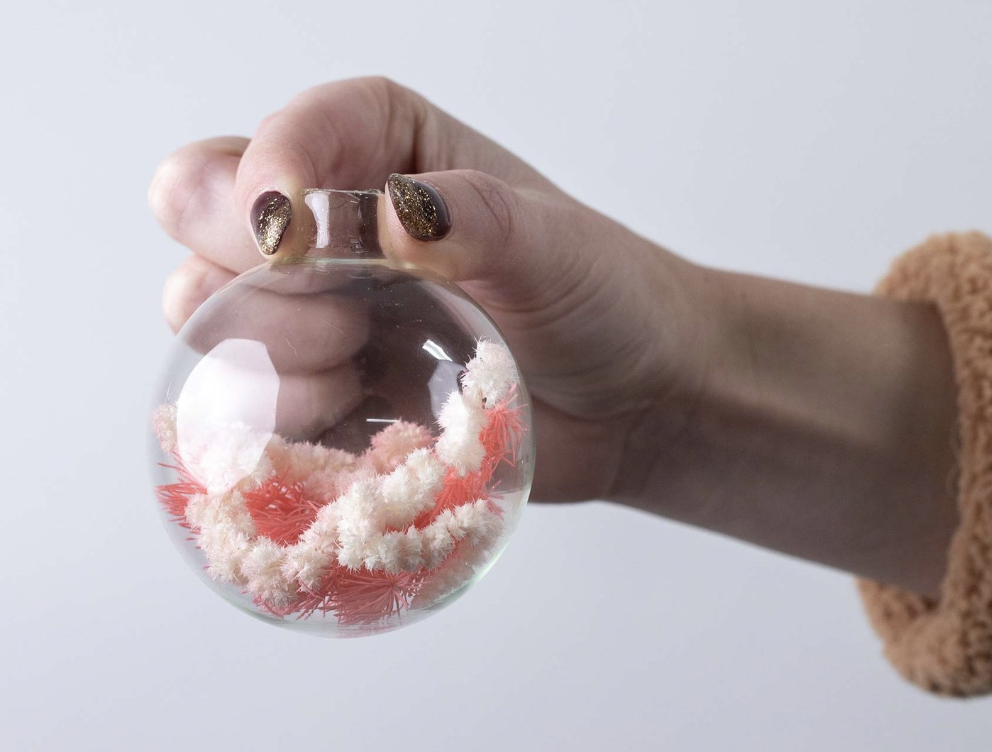
Now that we have our base layer let’s make our ornament pop with more flowers!
To Create a Nice Look with Lots of Depth:
- Pick a dried flower of a different type or color than the one you used for the bottom layer. This will make your ornament more interesting to look at.
- Add these new flowers one by one. Try to spread them out evenly around the ornament.
- Mix it up! Use flowers with different textures, such as smooth petals and fluffy bits, to make your ornament look more lively.
Here’s a Trick to Get Your Flowers Just Where You Want Them:
- Add one type of flower at a time. This way, you can control where everything goes.
- After you add a few flowers, give your ornament a gentle shake to help the flowers settle into place.
- If any flowers end up where you don’t want them, use your tweezers to move them around.
- Keep adding layers until the middle of your ornament looks full and pretty.
Remember, there’s no right or wrong way to do this. It’s your ornament, so make it look however you like best!
Step 4: Finishing the Top Layer
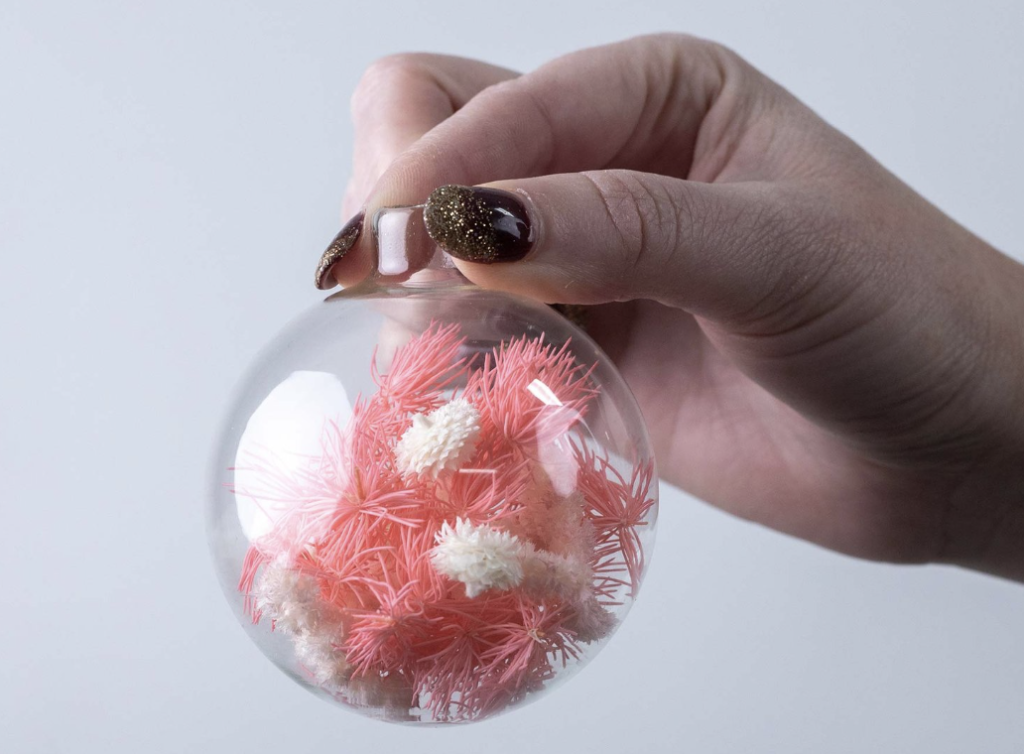
We’re almost done! Now, it’s time to fill up the rest of the ornament without making it look too stuffed.
Here’s how To Finish Off Your Ornament Nicely:
- For the top layer, choose smaller flowers or just petals. This keeps things from getting too bulky at the top.
- Add a few flowers at a time. Keep checking how it looks as you go.
- Leave enough room at the top to put the cap back on. You don’t want to squish your pretty flowers!
Now for Some Final Touches to Make Your Ornament Look Its Best:
- Use your tweezers to fix any flowers that look out of place.
- Check that the flowers are snug but not packed in too tightly. They should look natural, not squished.
- Look at your ornament from all sides. Does it look good no matter how you turn it?
- Give it one last gentle shake when you’re happy with its appearance. If nothing moves around too much, you’ve done a great job!
Step 5: Final Adjustments
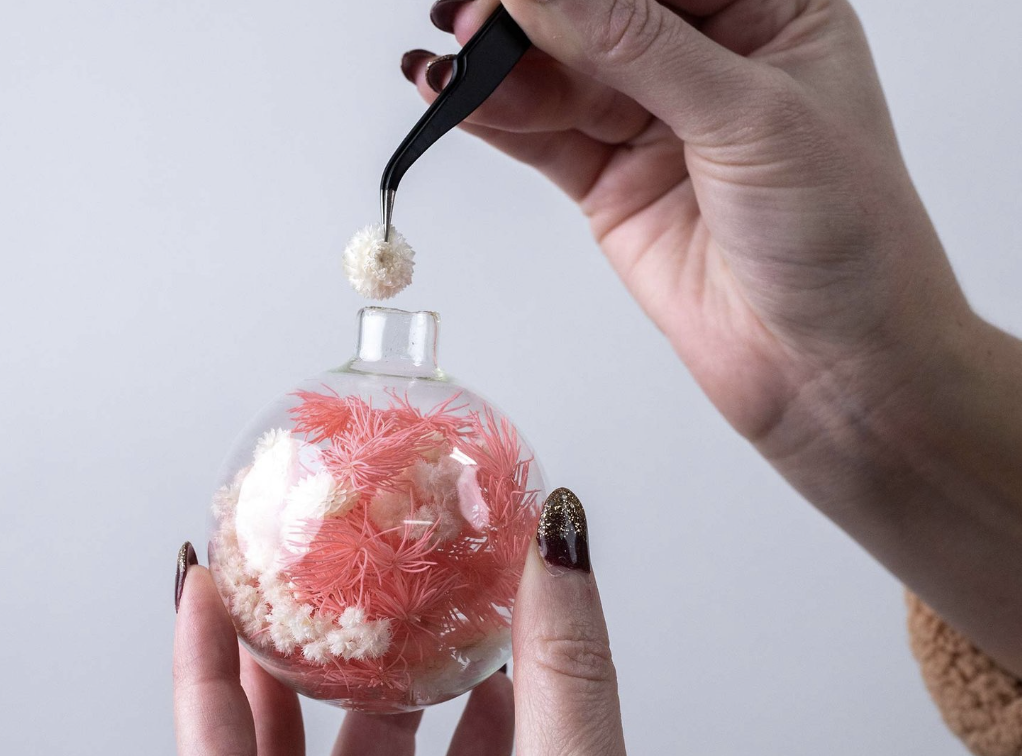
We’re in the home stretch now! This is where we make sure our ornament looks just right.
Let’s Start by Using Our Tweezers to Get Everything Perfect:
- Take a good look at your ornament. Are there any flowers that seem out of place?
- Use your tweezers to move any flowers that need a little nudge gently.
- If you see any empty spots, you can use the tweezers to fill them in.
- Don’t rush this part. Take your time to get everything just how you want it.
Now, Let’s Make Sure Our Ornament Looks Great from Every Angle:
- Slowly turn your ornament around in your hands. Does it look good no matter how you hold it?
- If you see any spots where one color or texture is bunched up, use your tweezers to spread things out.
- Try to make it look natural as if the flowers just fell that way.
- Give your ornament a gentle shake. The flowers should stay put and not move around too much.
Remember, there’s no such thing as perfect. What matters is that you like how it looks! Each ornament is special because you made it with your own two hands.
Step 6: Adding the Finishing Touches
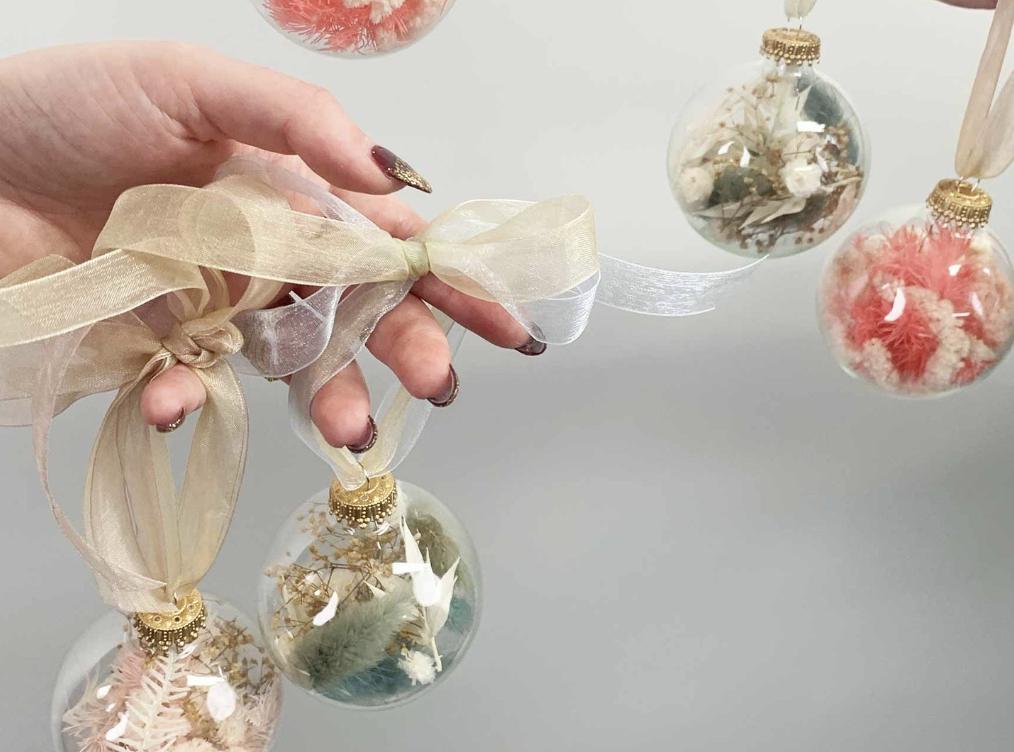
Now comes the fun part – adding a pretty ribbon to hang our ornament!
- Cut a ribbon long enough to make a loop and a nice bow.
- Take the cap of your ornament and thread the ribbon through the little hole at the top.
- Tie a good, strong knot to make a loop. You’ll use this to hang your ornament.
- Now, let’s make it pretty! Tie a bow with the leftover ribbon.
- Adjust the loops and ends of your bow until it looks just right.
Want to Make Your Ornament Extra Special? Here are Some Ideas:
- Try using two different ribbons together. You could layer a thin ribbon over a wider one.
- A patterned ribbon could look nice if your flowers are mostly one color.
- For a fancy look, use a shimmery or sparkly ribbon.
Summing It Up
Creating your own dried flower ornaments is a wonderful way to add a personal touch to your home decorations.
We’ve covered each step, from choosing materials to tying the final ribbon. Remember, the beauty of this project lies in its uniqueness—no two ornaments will ever be the same.
Don’t worry if your first attempt isn’t perfect; practice makes better!
You could even experiment with different dried flowers or ribbons to create various styles. Whatever you choose, enjoy bringing a bit of nature’s beauty into your home decor.
Happy Crafting!


