


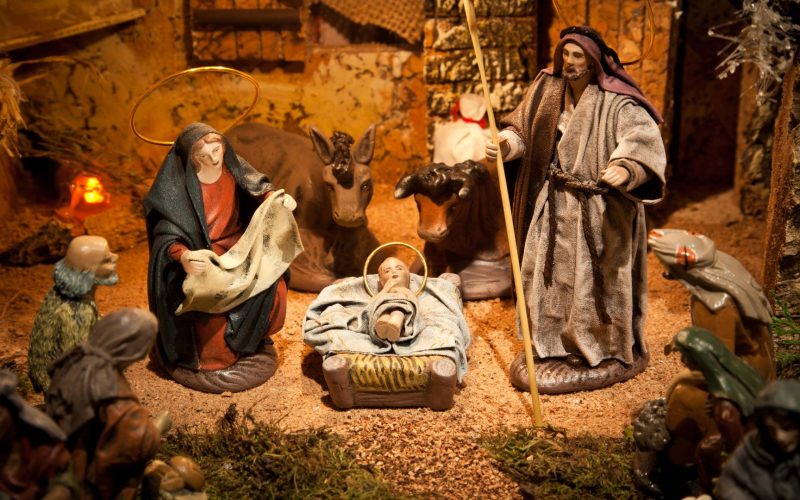
Creating a nativity scene can be expensive, and finding one that matches your style isn’t always easy. Many want to display this meaningful holiday decoration but struggle with these challenges.
Don’t worry – I’ve got a budget-friendly and customizable solution.
In this guide, I’ll show you how to make your homemade nativity scene using simple materials and easy techniques.
You’ll learn how to craft charming figurines, construct a cozy stable, and add personal touches that reflect your taste.
By the end of this post, you’ll have all the know-how to create a unique nativity display that you’ll treasure for years to come.
Materials and Tools Needed for Creating a Homemade Nativity Scene
Before we start our homemade nativity scene project, let’s gather everything we’ll need.
I’ve broken this down into two simple lists: materials and tools.
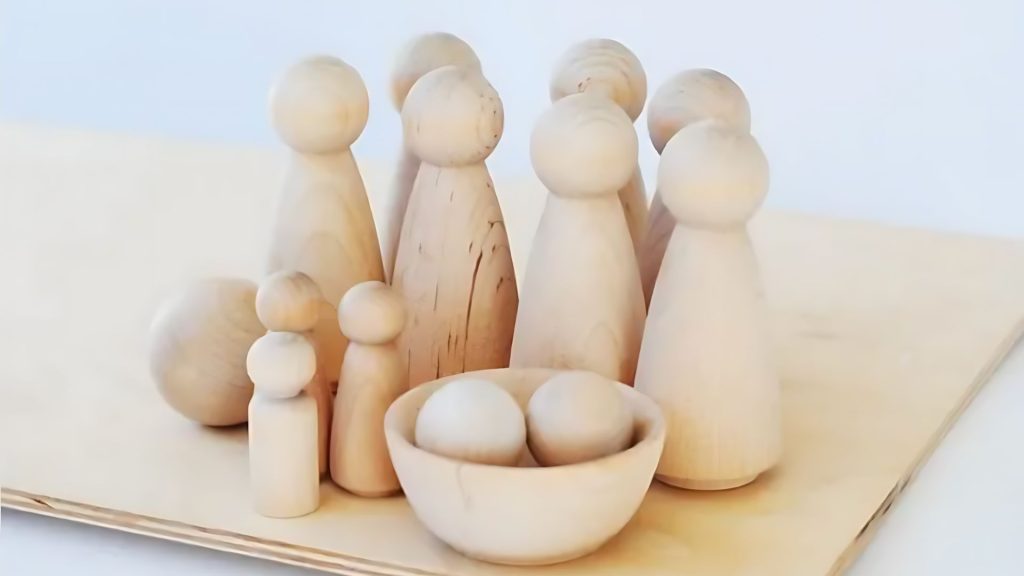
1. Materials List
- 7 wooden dolls (3″ tall)
- One wooden doll (2″ tall)
- One wooden doll (1 1/8″ tall)
- One wooden ball (1 1/2″ diameter)
- Two wooden balls (1″ diameter)
- One small wooden bowl
- Cardboard
- Chopsticks
- Toothpicks
- Acrylic paint
- White felt
- Brown paper bag
2. Tools List
- Pencil
- Hot glue gun
- Scissors
- Sanding block or sandpaper
- Paintbrushes (make sure to include some detail brushes)
- Craft knife
Most of these items are easy to find at craft stores or online. If you can’t find exact sizes, don’t worry – close matches will work fine.
Remember, the joy of making a homemade nativity scene is in the process, as well as the personal touch you add to it.
Step-by-Step Tutorial for Homemade Nativity Scene
Step 1: Preparing the Wooden Figures
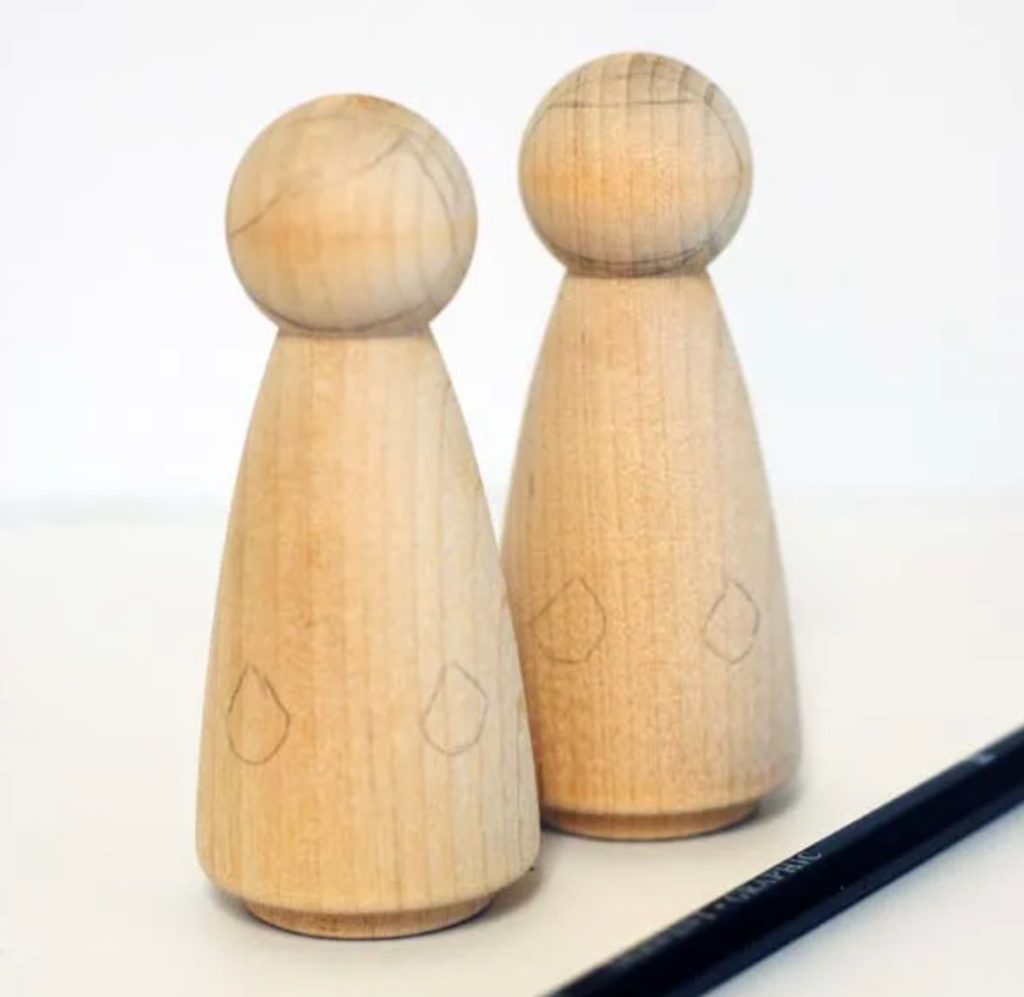
Sketch Designs
Let’s start by sketching our figures. I like using a pencil to draw the wooden dolls’ main features lightly. This includes hands, clothing, and hair.
Keep your sketches simple – they’re just guides for painting later.
Here’s a tip: begin with larger shapes, then add smaller details. If you need help with proportions, don’t be shy about using reference images. Did you make a mistake? No worries! Just erase gently and try again.
Ensure your sketches are visible but not too dark when you’re done. You don’t want them showing through the paint later.
If you’re new to this, try practicing on a scrap piece of wood first. It’ll help you get used to drawing on a curved surface.
Sand the Balls
Now, let’s prepare our wooden balls. We want them to be flat and stable, so we’ll sand the bottoms of each ball.
Grab your sanding block or sandpaper and smooth the bottom surface in a circular motion. This helps ensure even flatness.
Occasionally, place the ball on a flat surface to check your progress.
For best results, start with coarse-grit sandpaper and finish with a finer grit. This gives a smoother surface. Once you’re done, wipe the balls with a damp cloth to remove any dust before we move on to painting.
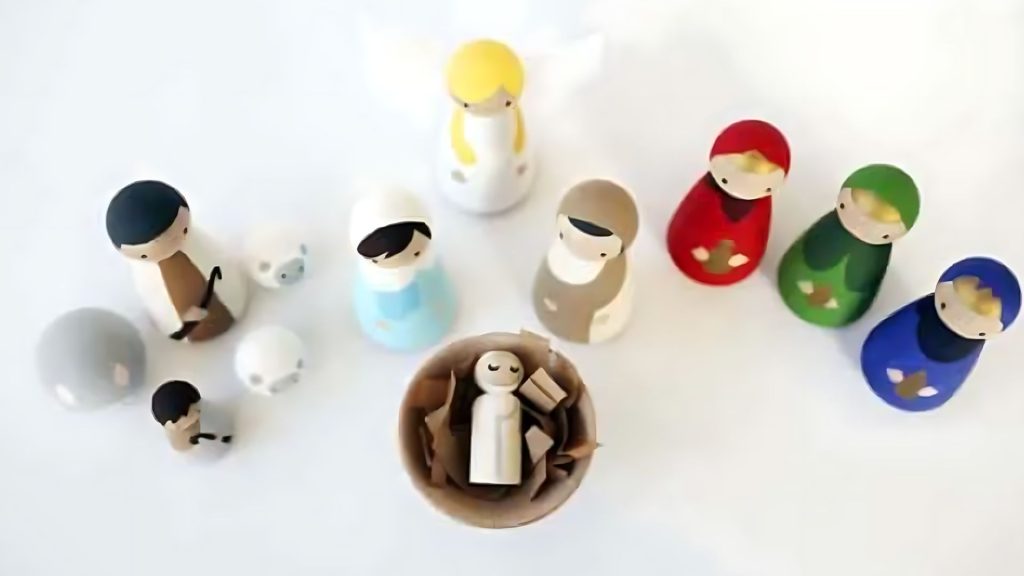
Step 2: Painting the Figures
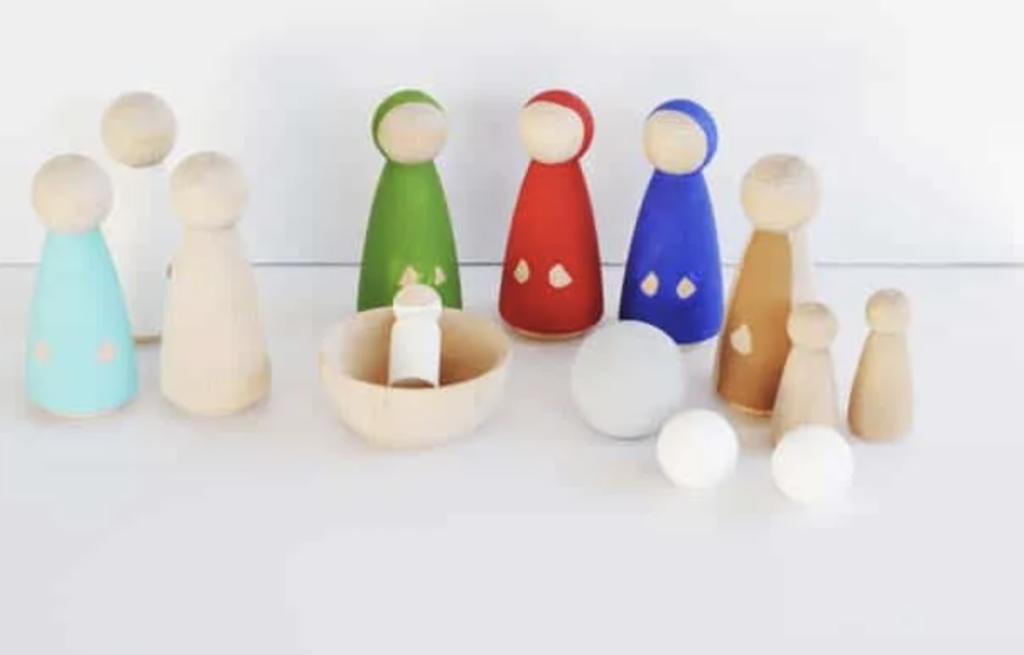
Layer Painting
Painting our figures is a step-by-step process. We’ll build up the color and details in layers.
- Start with a base coat and let it dry completely before adding more layers.
- Acrylic paint works great for this project. It dries quickly and gives vibrant colors.
- Apply thin, even coats to avoid clumping.
- Use a larger brush for base coats and switch to detail brushes for finer features.
- Remember, patience is key here. Let each layer dry fully to avoid smudging.
If you want unique colors, try mixing paints on a palette. And don’t forget to protect your work area – a newspaper or a drop cloth works well.
Detail Painting
Now for the fun part – adding fine details to our dolls. This is where those detail brushes come in handy. We’ll use them to paint hands, hair, and faces precisely.
Use steady, controlled strokes for small features.
Adding shading and highlights can bring your figures to life. Refer back to your sketches to guide where you place these details.
Feel free to experiment with different brush sizes and shapes. If you’re nervous about detail work, practice on a scrap piece first.
Consider sealing the figures with clear varnish once you’re happy with your painting. It’ll protect your hard work and give a nice, polished finish.
Step 3: Constructing the Manger
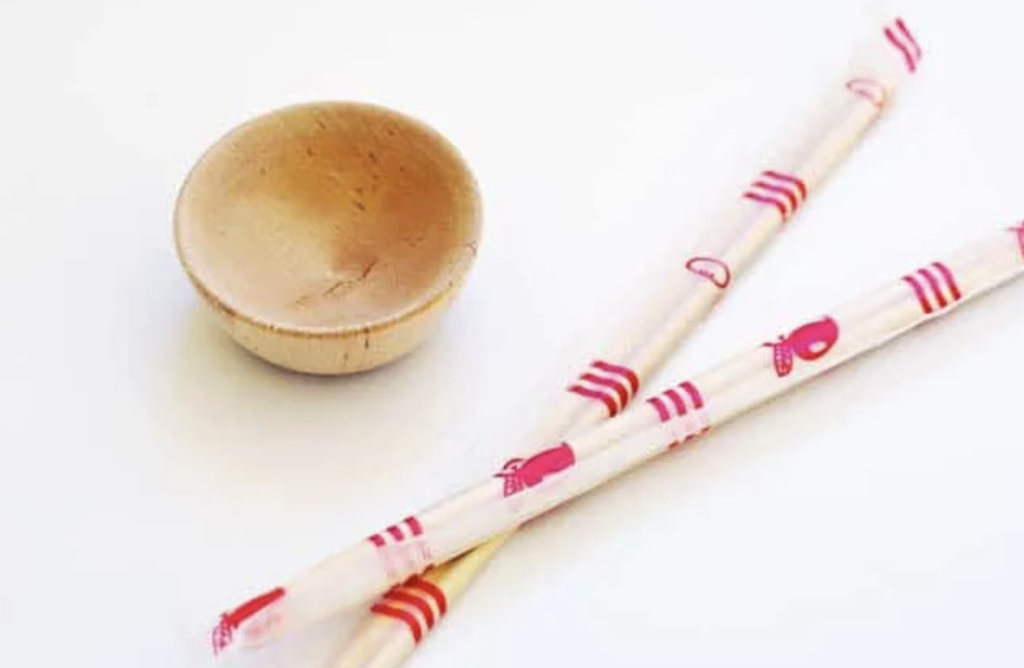
Let’s start with the manger.
- First, we need to cut the tips off two pairs of chopsticks. These will be the legs of our manger.
- Make sure to cut them evenly so our manger stands up straight.
- Now, take your small wooden bowl and flip it upside down.
- We’ll use hot glue to attach the chopstick pieces to the bottom of the bowl.
- Space them out evenly around the edge for the best stability.
- Hold each piece in place for a few seconds after gluing to ensure it sticks well.
- Once the glue is dry, let’s paint the manger. I like to use white acrylic paint for this.
- Use a small brush to cover all the surfaces evenly. You might need two coats for good coverage, but let the first coat dry completely before adding another.
Step 4: Building the Barn
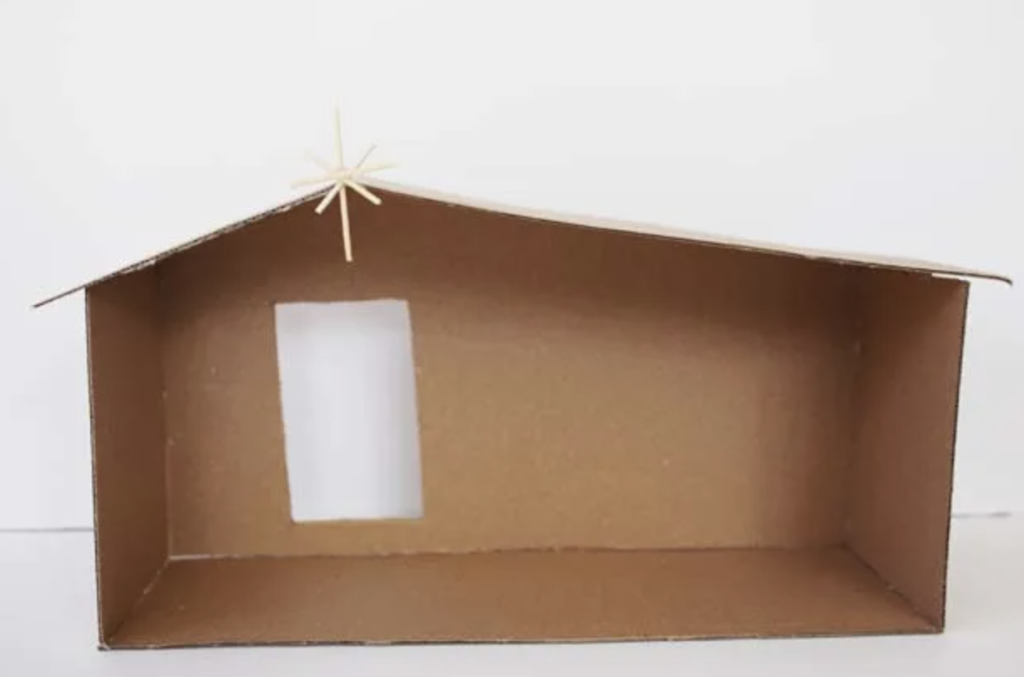
How to build the barn:
- We’ll use cardboard to make a simple structure.
- Cut out pieces for the front, back, sides, and roof. A ruler can help you get straight edges and even sizes.
- Use your hot glue gun to assemble the pieces.
- Apply glue along the edges and press them together firmly. For extra strength, add some more glue to the inside joints.
- Let’s add a window to our barn.
- Mark where you want it with a pencil, then carefully cut it out with your craft knife.
- Sand the edges of the opening to make it neat.
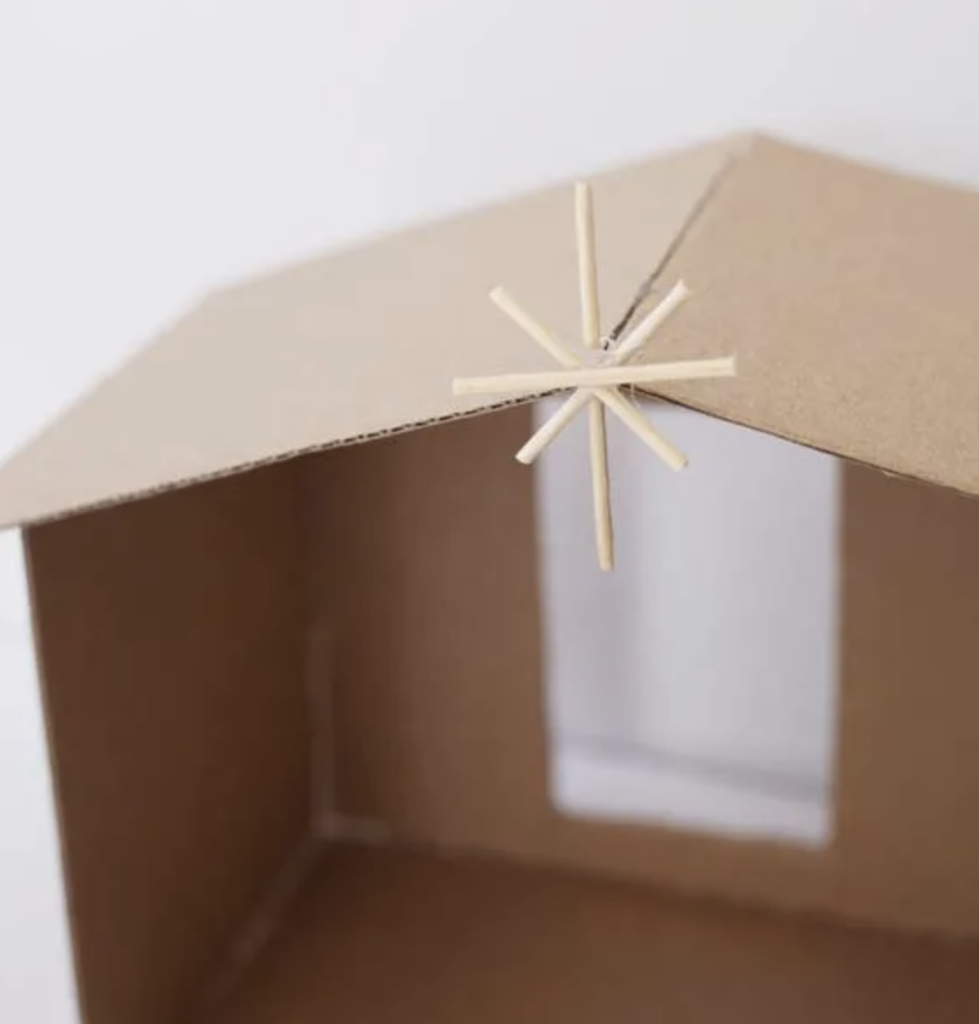
- Finally, we’ll make a star for the top of our barn.
- Cut some toothpicks to size and arrange them in a star shape.
- Glue them together, and you can paint the star if you like.
- Once it’s dry, glue it to the top of the barn.
Remember, take your time with each step. The care you put into making your homemade nativity scene will make it extra special.
Step 5: Adding Details
Angel Wings
Let’s give our angel some wings. We’ll use white felt for this. First, draw a simple wing shape on the felt with a pencil. Make sure both wings are the same size and shape. Then, carefully cut them out with scissors.
Now, let’s attach the wings to our angel peg doll. Position them on the back of the doll and secure them with a small dab of hot glue. Be careful not to use too much glue – we want our angel to look delicate!
If you want to make the wings special, add a touch of glitter to the edges. Or, for a more 3D look, you could glue a bit of cotton between the felt and the doll.
Hay for The Manger
It’s time to make some hay for baby Jesus to rest on. Grab your brown paper bag and tear it into thin strips. Then, crumple these strips to give them a hay-like texture.
Arrange them in the manger to create a cozy bed.
To make the hay look real, lightly brush the paper strips with yellow or beige paint. If you have any small twigs or dried grass, mixing them can add to the natural look.
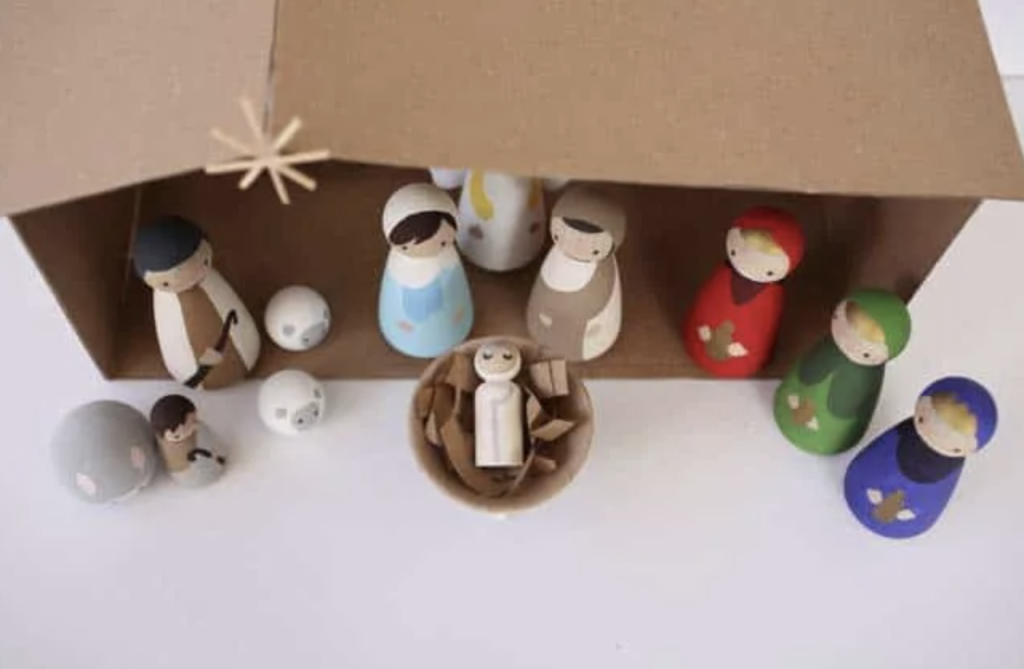
Step 6: Assembling and Styling
Assembling the Scene
Now for the fun part – putting it all together! Start by placing your barn at the back of your display area. Then, put the manger with baby Jesus in front of it.
Arrange Mary, Joseph, and the other figures around the manger. Try to create a balanced look to see all the statistics. If you’re worried about them falling over, you can use tiny dots of hot glue to keep them in place.
Styling Tips
If you want to add more to your scene, now’s the time. You could include more animals, like sheep or camels. You could also use some extra cardboard to add a roof to your barn.
To make your scene feel more alive, try adding some mini props. Tiny baskets or lanterns can work well. You could create a starry night backdrop with dark paper and white paint dots.
Remember, this is your homemade nativity scene. Feel free to add your personal touches to make it special to you and your family.
Step 7: Final Touches and Display
Final Touches
We’re nearly done with our homemade nativity scene! Let’s add some finishing touches. First, check that all your figures are standing securely. If any seem wobbly, a tiny dab of glue can help.
Now, look closely at each piece. Did we miss any paint spots? Are there any smudges we can clean up?
This is the time to fix those little details. You might want to add some facial expressions or patterns on the clothing with a fine brush.
If you feel extra festive, sprinkle glitter or faux snow around the scene. Just a little goes a long way! Some folks like to add tiny LED lights to create a warm glow.
If you do this, be careful with the placement to avoid fire hazards.
Display Ideas
Now, where should we put our beautiful homemade nativity scene? A mantelpiece, side table, or windowsill often works well. Just ensure it’s on a flat, sturdy surface where people can see and enjoy it.
You might want to place it near your Christmas tree or other decorations. This helps tie all your festive decor together.
You could create a simple backdrop to make your display even more special. Dark blue fabric with white dots makes a lovely starry night sky. To frame the scene, you could also use a small tray or a festive cloth underneath.
Don’t forget to surround your nativity with other holiday touches.
Pinecones, holly, or ornaments can all add to the festive feel. And here’s a fun idea: try moving the figures around a bit every few days.
It keeps the display interesting and can be a great way to tell the Christmas story over time.
Your homemade nativity scene is more than just a decoration – it’s a special part of your holiday traditions. Enjoy displaying it and sharing it with your loved ones!
Wrapping It Up
As we wrap up our DIY nativity scene journey, I hope you’re excited to start your project.
Creating a homemade nativity scene isn’t just about saving money or matching your decor – it’s about infusing your holiday traditions with personal meaning.
Each figure you paint, and every detail you add becomes a part of your family’s Christmas story.
Remember, there’s no right or wrong way to make your nativity scene. The imperfections and unique touches are what make it special.
Whether you display it on a mantel or under the tree, your handcrafted nativity will be a cherished part of your celebrations for years to come.
So gather your materials, let your creativity flow, and enjoy this festive crafting adventure.
Happy Creating!