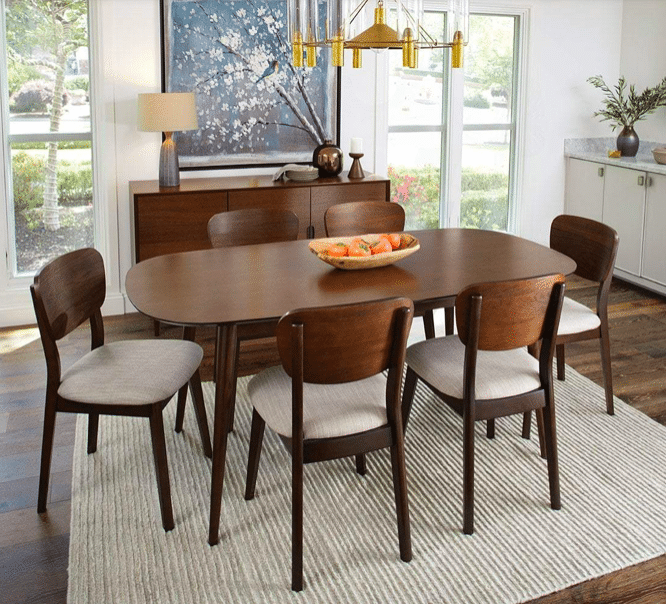


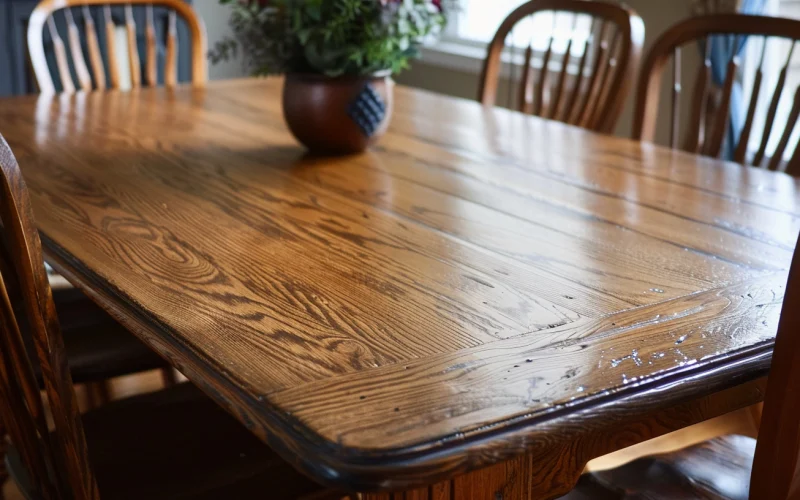
Have you ever looked at your old oak dining table and thought, “You don’t fit in anymore”? You’re not alone. That amber-tinted finish might have been all the rage once, but now it’s just… well, rage-inducing.
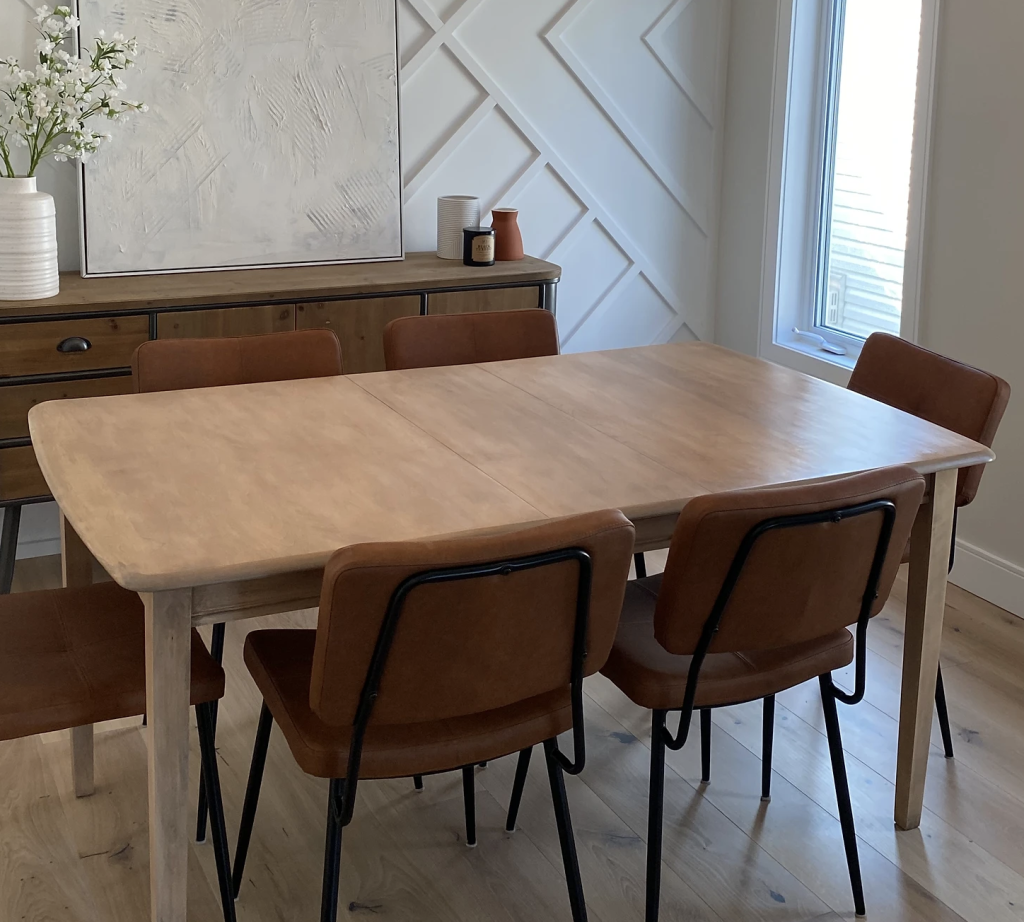
What if you could give it a stunning makeover? Imagine running your hand over a smooth, beautifully finished oak surface that perfectly matches your style.
Picture your friends oohing and asking where you got your “new” table. Now, wouldn’t that be something? Get ready to roll up your sleeves and dive into furniture refinishing.
This guide will take you through each step of transforming your old oak table into a showstopper. From stripping off years of wear to applying a finish that’ll make your table look brand new, we’ve got you covered.
Let’s get started!
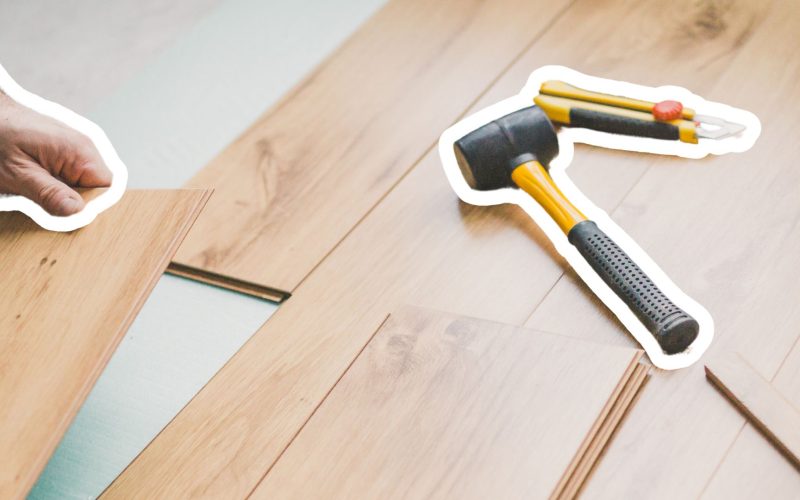
Materials and Tools Needed for Refinishing
Here’s what you’ll need to refinish your oak table:
- Strippers: Heavy-duty paint stripper, contractor-strength stripper, and lacquer thinner
- Sanding supplies: Sander or sanding block, 100 or 120-grit sandpaper, 220-grit sandpaper
- Finishing products: Liming wax, wax polish, wood stain in a natural color
- Other tools: Taping knife (3 to 4 inches), shop towels, gloves, dust mask, steel wool (optional)
Most of these items are at your local hardware store or online retailers. The total cost for materials is around $300, but prices may vary depending on your location and where you shop.
Remember, you might already have some of these tools at home, which could lower your overall cost.
Step-by-Step Process for Oak Table Refinishing
Follow the below-mentioned steps to transform your oak table. Each step ensures a smooth and professional look, bringing out the wood’s natural beauty.
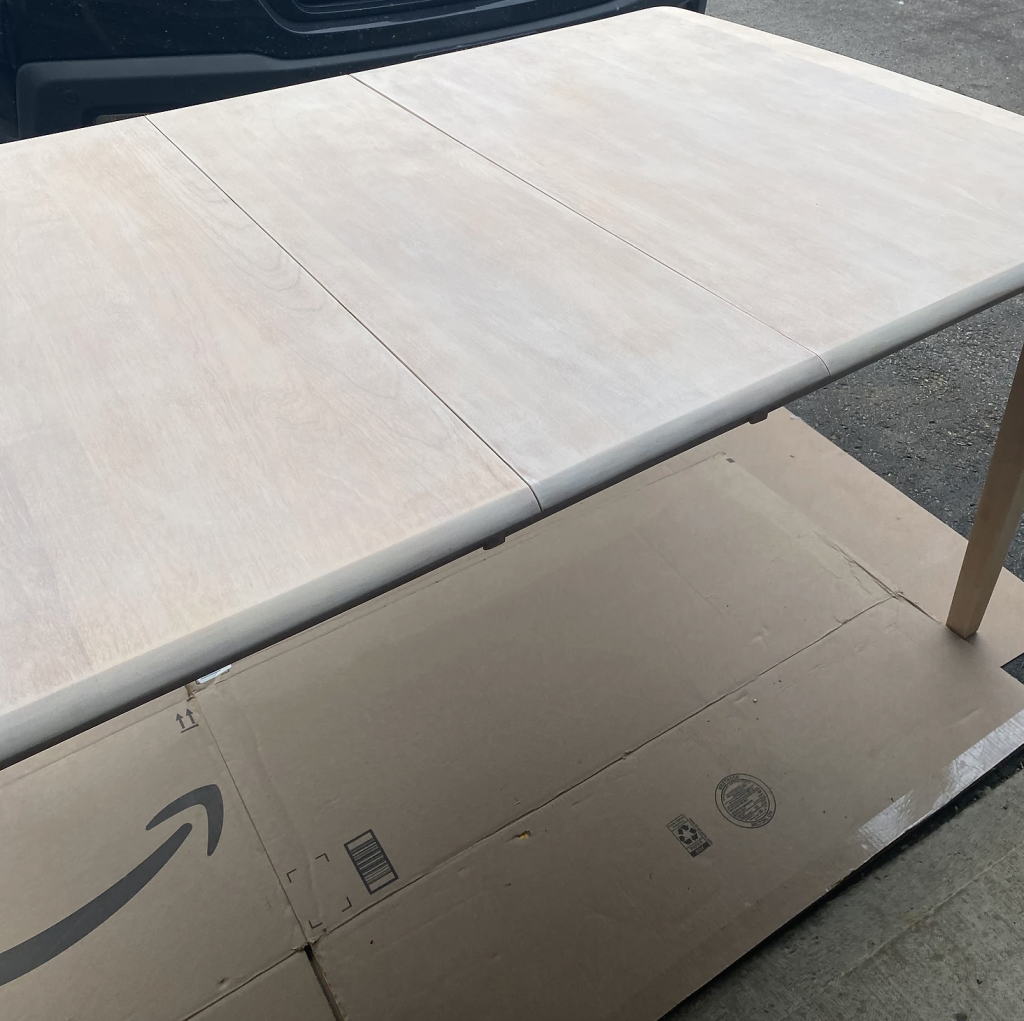
1. Removing the Old Finish
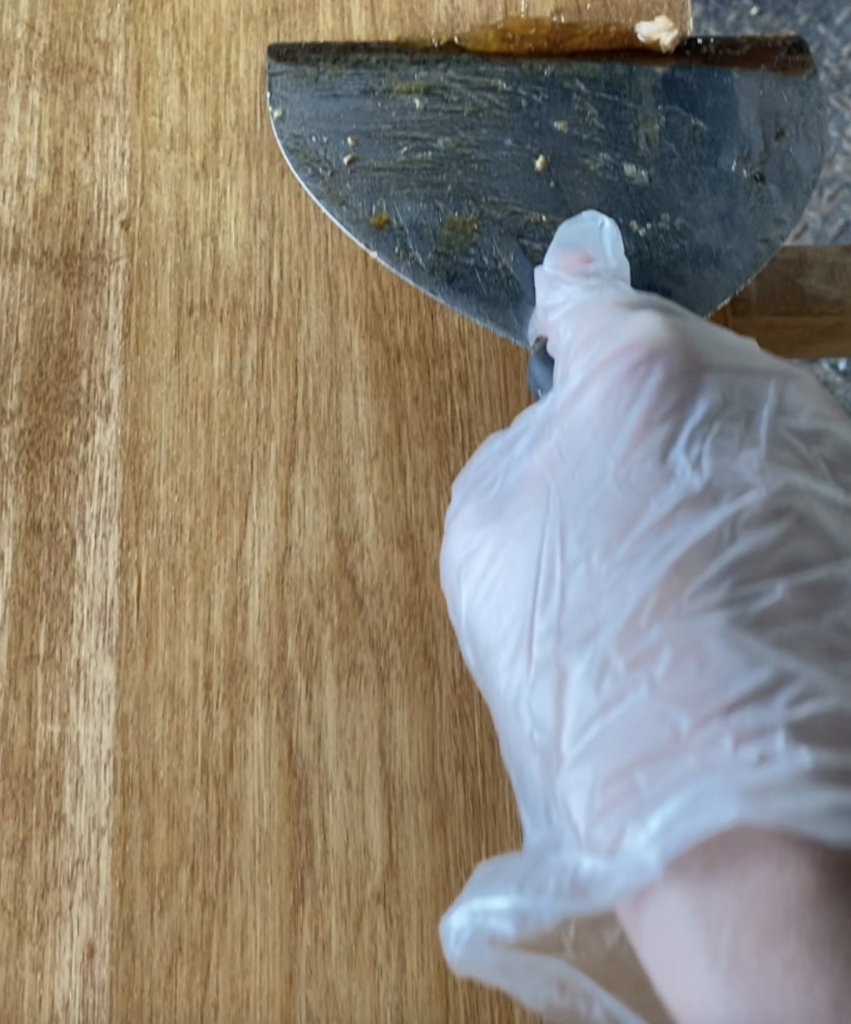
Removing the old finish is the first step in bringing new life to an oak table. This process involves using different strippers to break down the old finish.
- Start with a thick gel stripper.
- Apply it evenly with a disposable brush, avoiding over-brushing.
- Let it sit for about 10 minutes, then remove it using a wide putty knife with moderate pressure. This should take care of about 80% of the finish.
- For the remaining finish, use a second gel stripper.
- Apply and remove it in the same way as the first stripper.
To avoid damaging the wood surface:
- Round off the corners of the putty knife with a file before use.
- Use the edge of a cardboard box to clean the gunk off the putty knife.
- For stubborn residue, consider using a liquid stripper or medium-fine steel wool.
The entire stripping process typically takes about two hours. Finish with a lacquer thinner to achieve the best results and remove any lingering traces of the old finish. This extra step helps ensure a clean surface for the new finish.
2. Sanding the Table
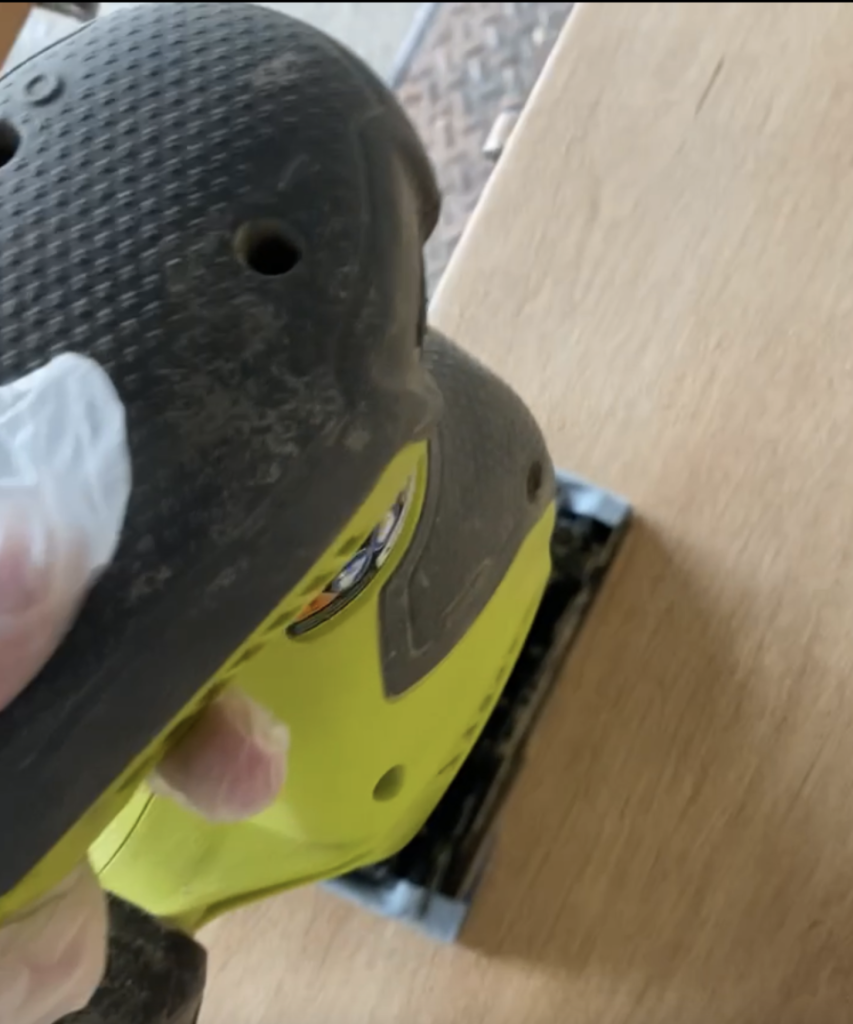
After stripping, sanding is a key step to getting that smooth, professional finish. It’s not just about making the surface feel nice—proper sanding helps the new finish stick better and look more even.
Here’s how to sand your oak table:
- Start with 100—or 120-grit sandpaper. This coarser paper helps remove any leftover finish and evens the wood surface.
- Sand the entire table, moving with the grain of the wood. Don’t rush this step – it’s the foundation for a great finish.
- Once you’ve gone over the whole table, switch to 220-grit sandpaper. This finer grit gives a smoother surface and prepares the wood for staining.
- Again, sand the table with 220-grit paper, always following the wood grain.
- Pay extra attention to the corners and legs. These areas are easy to miss but make a big difference in the final look.
- After sanding, wipe down the table to remove all dust before staining.
The whole sanding process might take about 3 hours, but it’s worth the effort. A well-sanded surface is the secret to a professional-looking finish that will make your oak table shine.
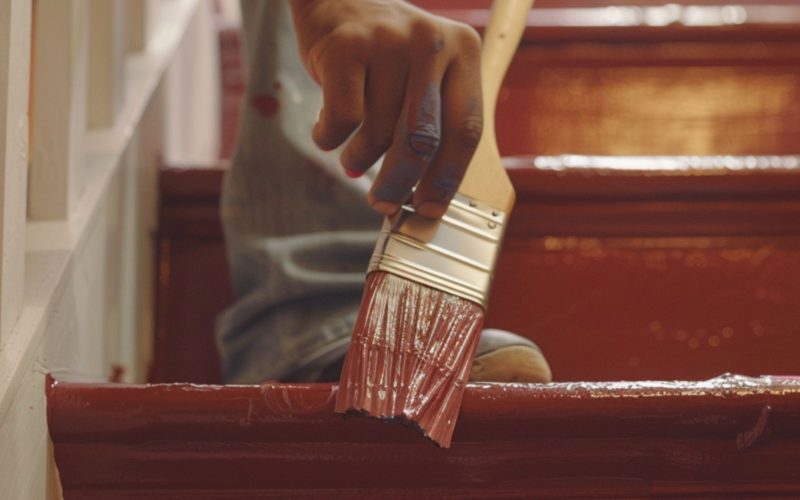
3. Staining the Table
Picking the right stain is crucial to avoid those unwanted amber tones that make oak look dated. Water-based finishes often work best for a natural look that won’t turn orange over time.
Here’s how to stain your oak table:
- Start with a liming wax. This gives the wood a light, blonde look. Apply it evenly with a cloth, working with the grain.
- If the liming wax is too light, add a layer of wood stain. The liming wax will soften the stain color, creating a warm, natural finish.
- Apply the stain with a cloth or brush, always working toward the wood grain. Wipe off excess stain promptly for an even color.
- Let the stain dry completely before adding any finishing wax or sealant.
Tips for common staining issues:
- Uneven color: Sand lightly and reapply stain to darker areas.
- Blotchiness: Next time, use a pre-stain wood conditioner to help the wood absorb stain more evenly.
- Too dark: Wipe with mineral spirits to lighten the stain while it’s wet.
Remember, staining is an art. It might take some practice, but you’ll achieve that perfect, natural oak finish you’re after with patience.
4. Applying the Wax Finish
Waxing is the final step in our oak table makeover. It protects the wood and gives it a smooth, touchable finish. For this project, we used two types of wax: liming wax and wax polish.
Here’s how to apply the wax:
- Start with the liming wax. Using a clean cloth, apply a thin, even layer—work in small sections, following the wood grain.
- Let it dry for 15 minutes, then buff it with a clean cloth.
- Next, apply the wax polish. Use a clean cloth and apply in circular motions, covering the entire surface.
- Allow it to dry for about 20 minutes, then buff to a shine with a clean cloth.
Final Touches and Maintenance
1. Inspecting the Finished Table
Once the wax is dry, it’s time to give your table a thorough once-over. Look for any spots you might have missed or areas that need a bit more attention. Here’s what to check:
- Run your hand over the surface. Feel for any rough spots that might need extra sanding.
- Look at the table from different angles in good light. This helps spot any uneven areas in the finish.
- Check the corners and legs carefully. These spots are easy to overlook but make a big difference in the look.
If you find any issues, don’t worry. A light sanding and quick touch-up with stain or wax usually does the trick.
2. Maintenance Tips
Now that your oak table looks great, here’s how to keep it that way:
- Use coasters and placemats to protect the finish from water rings and scratches.
- Dust the table regularly with a soft, dry cloth to prevent buildup.
- For cleaning, a damp cloth with mild soap works well. Avoid harsh chemicals that can damage the finish.
- Once a year, apply a thin coat of wax to maintain the protective layer.
- Keep the table out of direct sunlight to prevent fading and drying of the wood.
For best results, clean spills immediately and avoid placing hot items directly on the table. With proper care, your newly refinished oak table will stay beautiful for years. Copy
Conclusion
Let’s wrap this up! Refinishing an oak table might seem like a big job, but it’s doable with some patience and elbow grease. We’ve covered everything from stripping the old finish to applying the final wax.
The key steps are thorough stripping, careful sanding, and choosing the right stain for that perfect, natural look. Now it’s your turn to give your oak table a new lease on life.
Don’t be afraid to get started – even if you make a few mistakes along the way, you’ll learn a lot and end up with a beautiful piece of furniture you can be proud of.
We hope this guide has given you the confidence and knowledge to tackle your table refinishing project.
Happy Refinishing!