


Painting upholstery can seem daunting, especially if you want to keep the fabric soft. Many of us have old furniture that could look fresh, but the thought of ruining it with thick, crusty paint is off-putting.
I get it – I’ve been there too. But don’t worry! I promise you can transform your upholstered pieces while maintaining that cozy feel.
In this easy DIY tutorial, I’ll show you step-by-step how to paint upholstery and keep it soft. We’ll cover everything from selecting the right materials to applying paint correctly and sealing your work.
By the end, you’ll have the skills to breathe new life into your furniture without breaking the bank.
Step-by-Step Tutorial for Painting Upholstery
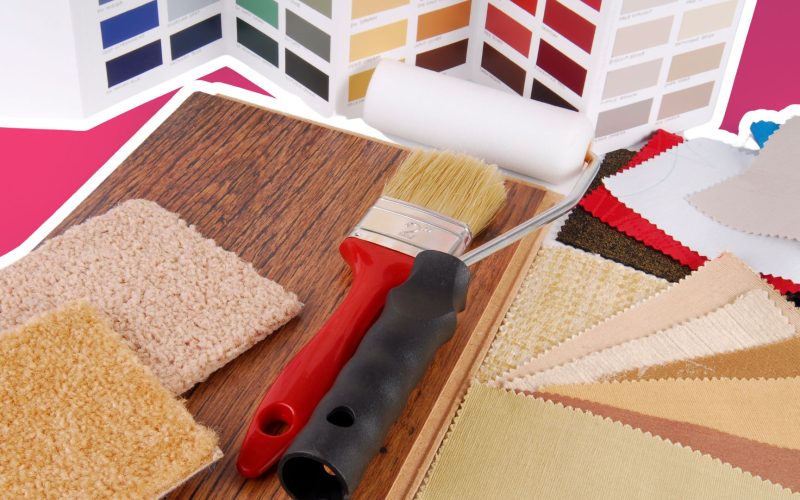
Step 1: Gather Your Supplies
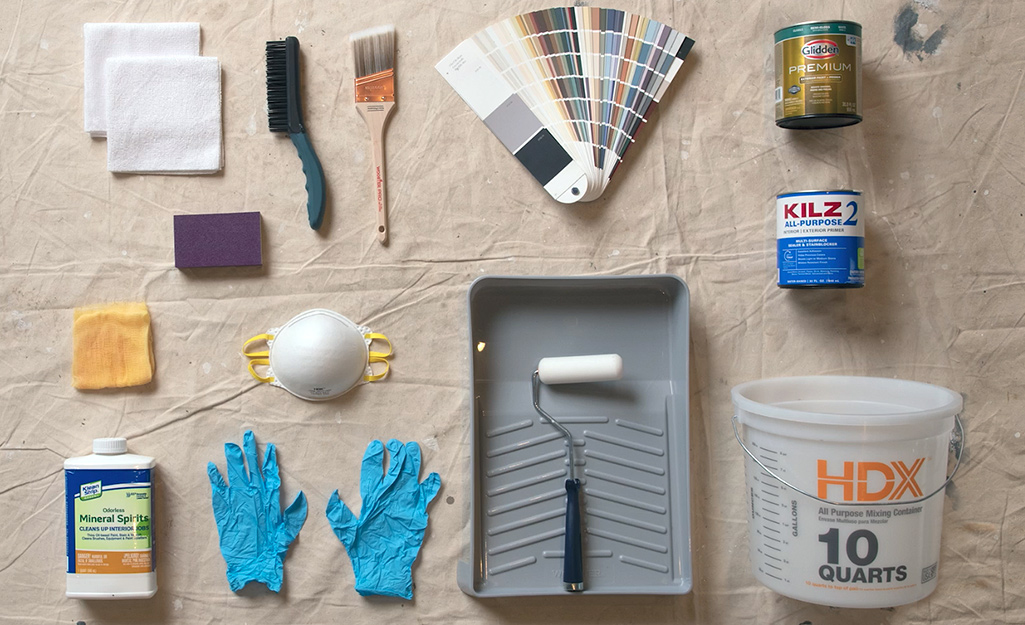
Before we start painting, let’s ensure we have everything we need. Here’s what you’ll want to round up:
- An upholstered furniture piece you want to paint
- Chalk or mineral paint in your chosen colors
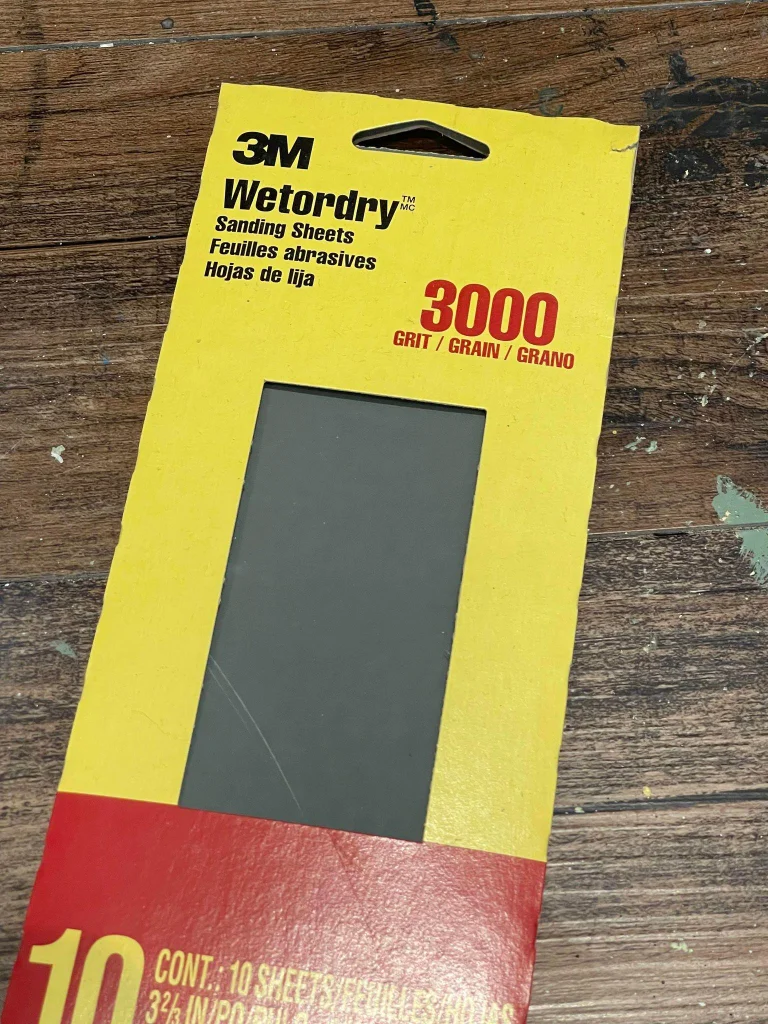
- Fine-grit sandpaper (3000 grit)
- A spray bottle with a fine mist setting
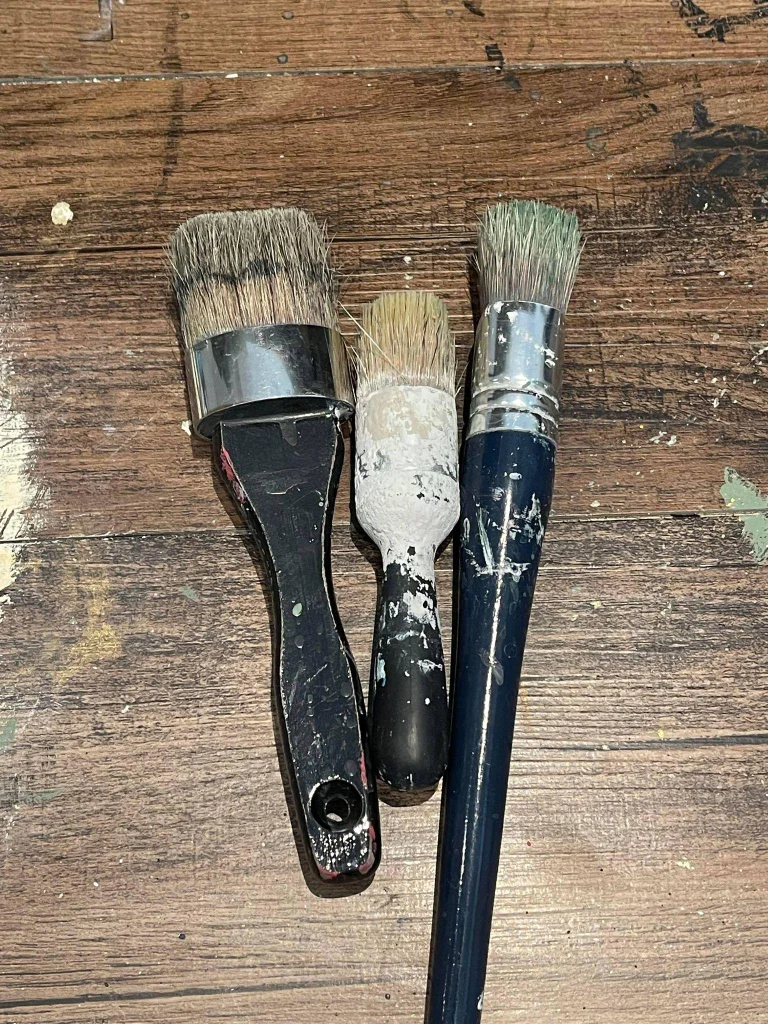
- A variety of paintbrushes, including some round chalkbrushes
- Fabric sealer to protect your work
- Cleaning materials: a vacuum and some cleaning wipes
- Optional: A hairdryer to speed up drying time
- Optional: Embellishments or transfers if you want to add extra flair
Step 2: Preparation


Getting your furniture ready is a key step in this process. It’s like laying a good foundation – it makes everything else easier and more effective.
- First, let’s clean that upholstery. Use your vacuum to remove dust or debris from the fabric and cushions. Remember to get into those nooks and crannies! Then, give the frame a good wipe-down with your cleaning wipes.
- If your furniture has any stains or smells, you’ll want to tackle those next. Apply Dixie Belle BOSS to these areas. You might need a couple of coats, but don’t worry about covering the whole piece – focus on the spots that need it.
- When picking a piece to paint, consider the fabric. Smooth, durable upholstery fabrics work best for this technique. If possible, avoid very thin materials or heavily textured fabrics. If you’re buying furniture specifically to paint, keep this in mind!
Remember, good preparation sets you up for success. Take your time with this step—your future self will thank you!
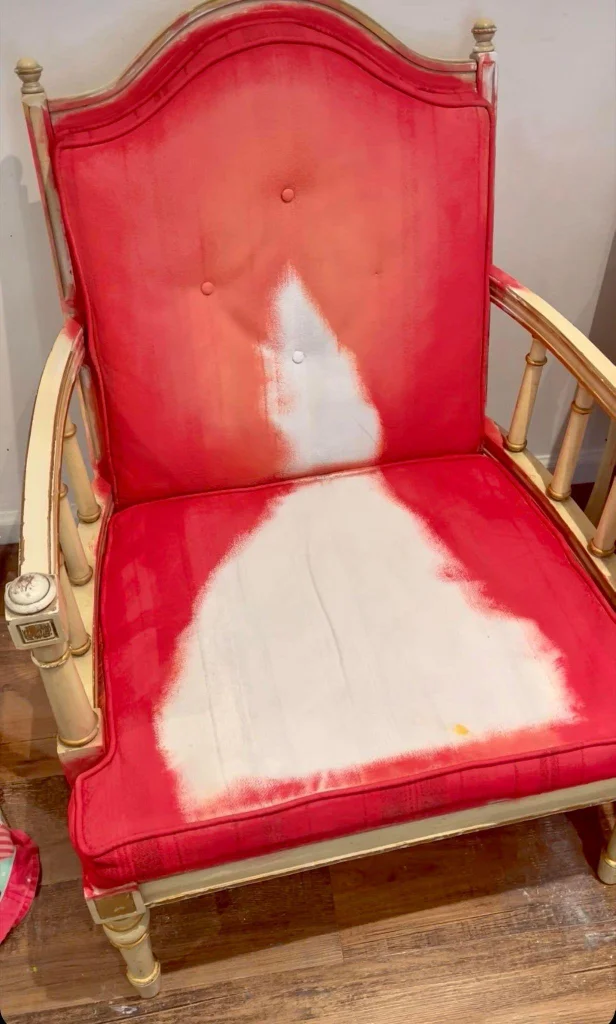
Step 3: Painting the Base Coat
Now we’re getting to the fun part – painting! But hold on, don’t touch that frame yet. We’ll paint it last to avoid any mess-ups.
Let’s start with a light-colored base coat. This gives us a clean slate and helps make our final colors pop. Here’s how to do it:
- Load up your round chalk brush with paint.
- Start painting in small circles, then give the area a quick spritz with your spray bottle. We’re talking just a mist here, not a shower!
- Keep working the paint in circles, spreading it as far as possible.
- Repeat this process until you’ve covered all the fabric.
A word of caution: don’t go overboard with the water. We want to dampen the surface, not soak the cushions. A light mist is all you need to help the paint sink into the fabric’s surface.
Step 4: Sand Between Layers
A little secret makes a big difference: sanding between paint layers. This step is key to keeping your upholstery feeling soft and fabric-like.
- Grab your 3000-grit sandpaper. Yes, it needs to be this fine! Anything rougher might take off too much paint, especially if you’re using chalk paint.
- After each layer of paint dries completely, please give it a light once-over with the sandpaper. And when I say light, I mean it—we’re not trying to strip the paint; we’re just smoothing it out.
- Think of it like giving your painted fabric a gentle massage. You want to feel the fabric becoming smoother under your fingers. Once you’re done, wipe away any dust before you start the next layer.
This might seem like extra work, but it’s worth it. Your painted upholstery will thank you for staying soft and comfy, and it will help the next layer of paint go on even better.
Step 5: Designing and Painting
Now comes the part where your furniture starts to shine! Let’s break it down step by step:
- Sketch Your Design: Use a pencil to draw your design on the fabric lightly. Don’t worry about every little detail—we’ll add those later with paint.
- Paint the background: Choose your background colors and start painting. If you’re blending colors, here’s a tip: while the first color is still wet, add the second color where they meet. Use your spray bottle to mist, then blend with your brush. This creates a smooth transition between colors.
- Add the details: Once your background is dry and sanded, it’s time for the fun part – painting the details! You can use smaller brushes for this. Work in sections, letting each part dry before moving on.
Remember, you don’t need to use circular motions for detailed work. Paint as you normally would for fine details. A fine-tip paint pen can be handy if you need crisp lines.
Step 6: Optional Embellishments
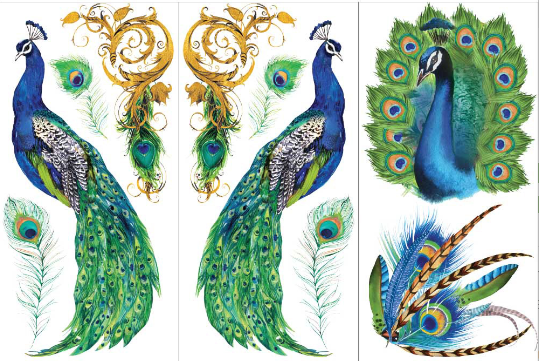
Let’s talk about transfers and embellishments! If you’ve chosen to use transfers or other decorative elements, now’s the time to apply them. Here’s how:
- Pick your spot carefully. Avoid putting transfers on seat cushions – they won’t hold up well to constant use.
- Start by removing a small part of the transfer’s backing. Don’t peel it all off at once!
- Place the transfer on your fabric and gently rub it to stick. As you work, slowly peel away more of the backing.
- Once it’s all applied, please give it a final rub to ensure it’s secure.
- Complete any remaining detail work around your transfer.
- When everything’s done, give the whole design a light sanding with your 3000-grit sandpaper.
Remember, these extras can make your piece stand out. But if you’re happy with your painted design, that’s great too! It’s all about creating a look you love.
Step 7: Sealing the Fabric
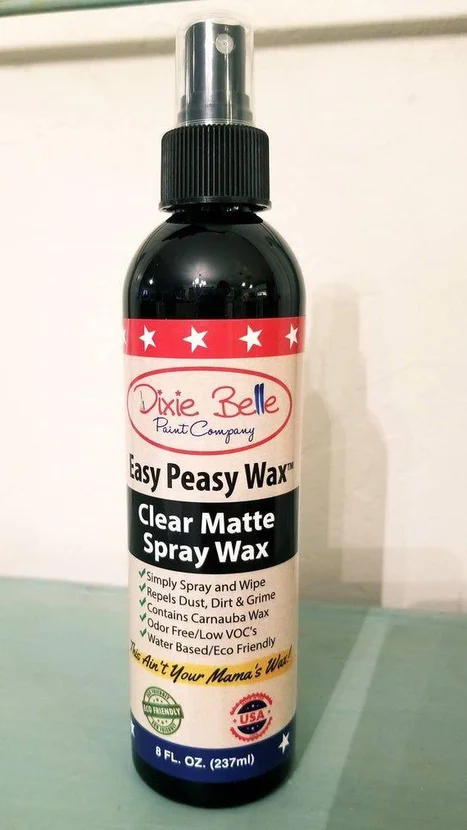
We’re almost done! But before we celebrate, there’s one crucial step left: sealing your work. This step protects your design and helps it last longer. Here’s how to use it:
- Give the bottle of spray wax a good shake.
- Hold it about 6-8 inches away and spray a light mist over your painted fabric.
- Use a lint-free cloth to wipe the wax, spreading it evenly and gently.
Let it dry, then repeat this process at least two more times.
This sealing step is like putting a protective shield over your hard work. It helps your paint job withstand everyday use and makes cleaning easier, too. Plan to reapply the wax every 6 to 9 months to keep your furniture looking its best. It’s a quick process that will keep your painted upholstery looking fresh for years to come.
Step 8: Painting and Sealing the Frame
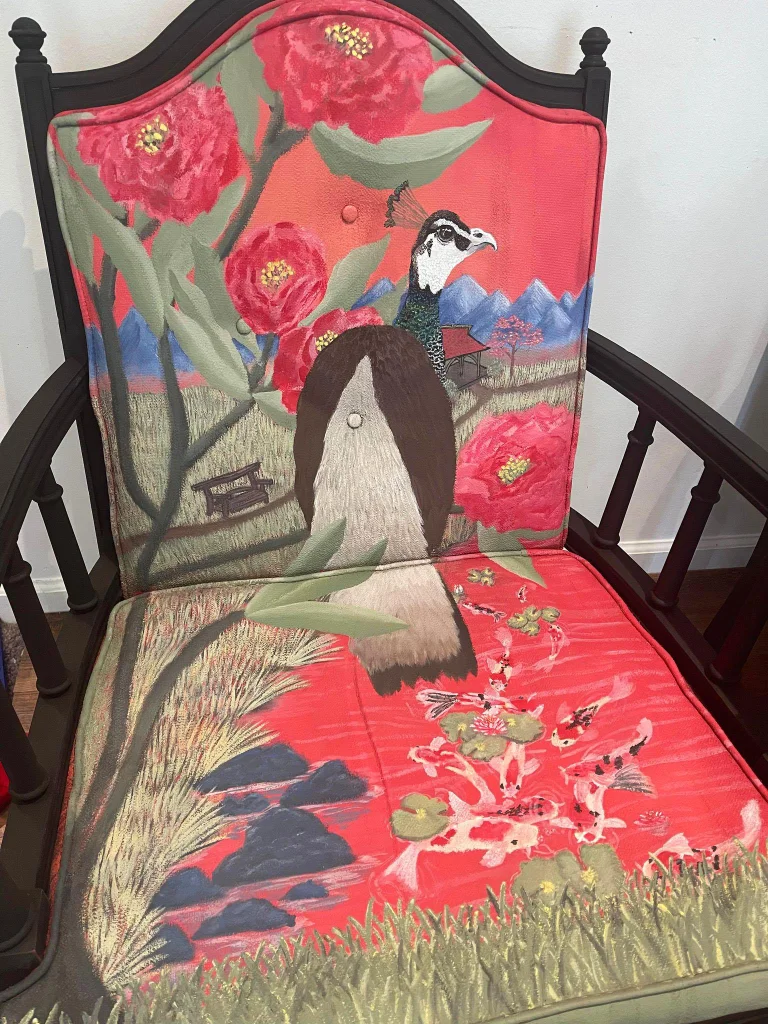
We’ve saved the frame for last, and good reason! Now that your fabric is painted and sealed, we can focus on making the frame look just as good.
- First, choose your frame color. This is your chance to make it match or contrast with your newly painted fabric. Don’t be afraid to get creative – you could add some decorative details if you like.
- Apply your chosen paint to the frame, taking care to get into all the nooks and crannies. Now’s the time to add any special details, like gold accents.
- Once the paint is dry, it’s time to seal the frame. While you can use the same wax we used on the fabric, I prefer using polyacrylic on the frame. It offers great durability and won’t yellow over time.
- Apply the polyacrylic following the product instructions, usually with a brush or foam applicator. Let it dry completely between coats, and consider lightly sanding between layers for an extra smooth finish.
And there you have it! With the frame painted and sealed, your furniture makeover is complete. Step back and admire your work – you’ve just given new life to an old piece!
Conclusion
Wow, we’ve come a long way! You now have the skills to transform your upholstery with paint while keeping it soft and comfortable. Remember, this process takes time, but the results are worth it.
To wrap up, let’s recap the main steps: gather supplies, prep your piece, apply the base coat, sand between layers, paint your design, add optional embellishments, seal the fabric, and finish the frame.
I hope this tutorial has inspired you to give new life to your old furniture. Don’t be afraid to experiment with colors and designs – that’s the beauty of DIY!
Now, go forth and paint that upholstery!