Do you love the sounds of birds chirping in your backyard or garden? If yes, then building a birdhouse for them is an excellent idea to keep enjoying their beauty. It can also be a fun learning activity for your kids and spouse in your free time.
But if you are wondering how to get started, then don’t worry because we have got you covered. We have the perfect guide for you if you want to start building a DIY birdhouse in the most fun and pocket-friendly ways.
In this article, we will explain everything – how to choose the right birdhouse plan, the materials you should use, the tools you will need, a well-curated list of free DIY birdhouse plans, and how to build each one. So, let’s get started!
How Can You Choose the Right Birdhouse Plan?
If you wish to attract birds to your beautiful DIY birdhouse, you should know a few things before you start building it. Not all species of birds nest in birdhouses, but many such as bluebirds, house wrens, chickadees, purple martins, etc., do. Some birds, such as woodpeckers, screech owls, and wood ducks, have unique specifications. Some even raise their young ones in birdhouses, so you should make sure you are building the perfect home for them (after all, even birds love their babies). So, when choosing from the list of birdhouse plans, it will be helpful to consider features such as the following:
- Thick Insulated Walls
- Ventilation (often Not Required if There Is a Decent-Sized Entrance Hole)
- Drainage Holes
- Extended Sloped Roofs
- Baffles to Keep Predators Away
Remember that if you want to build a welcoming habitat for that bird you adore, you need to take care of these little things.
Budget-Friendly Birdhouse Plans You Can Build Today
Now that you know the basics, let’s quickly jump to the list of the best free birdhouse plans you can make at home. We will also discuss the equipment you need and the step-by-step instructions to build the DIY birdhouse of your choice.
1. Board Birdhouse
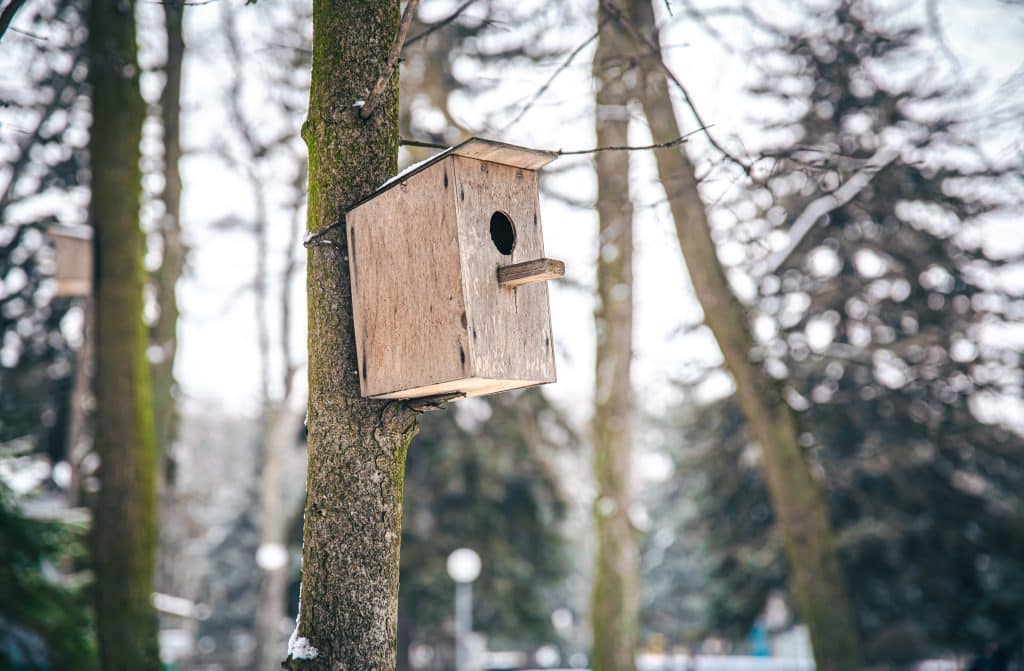
This is a simple birdhouse design you can build without going heavy on your pockets. All you need is some tools and a single pine board.
Tools Needed
- Saw
- Sandpaper
- Drill
- Clamps
- Painter’s tape
- Paintbrush (for painting the walls and insides)
Step-By-Step Guide
- Start by cutting a 2-inch long perch from a ½ inch dowel. Then, use the sandpaper to smoothen out all these parts. On the front face of the birdhouse, drill an opening of about 1.5 inches and a ½ inch hole for the perch. Then, sand these surfaces smoothly and glue the perch in place.
- Glue and fasten the two side panels to the back panel.
- Cut around ¾ inch off the length of one of the top panels to ensure an even overhang on both sides. Then, seal the roof panels together with glue. Use painter’s tape to hold them in place as the glue dries.
- Next, apply glue to the top edges of the front and back panels. Then, carefully place the roof on top. Secure this using painter’s tape and allow the glue to dry.
- Lastly, remove the tape once the glue dries, and paint your birdhouse as you wish.
2. Flowerpot Birdhouse
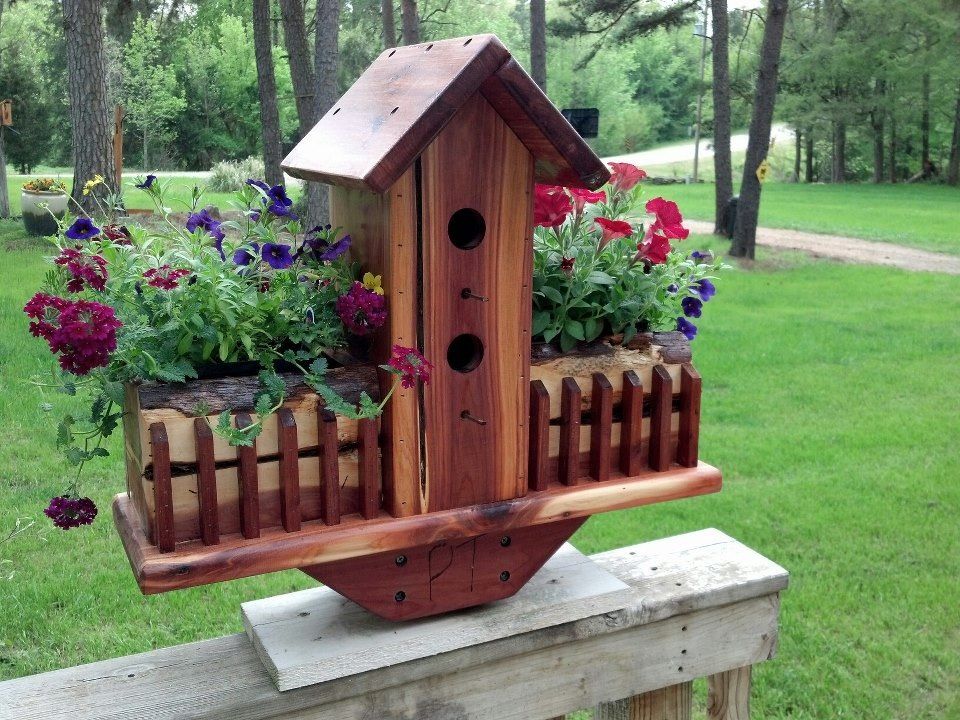
If you have a beautiful garden with flowers blooming, you can build a unique and decorative birdhouse using them. It adds a touch of beauty and natural aesthetics to your garden or outer space. The flowerpot serves as the birdhouse’s main body, with an added entrance and roof where birds can nest easily.
- Drill
- Screwdriver
- Sandpaper
- Paintbrush
Step-By-Step Guide
- Start by drilling a hole in the fence, wall, or any other surface where you wish to mount the birdhouse.
- Slide a washer onto the bolt, and insert it through the drainage hole of the flower pot. Slide another washer onto the exposed end of the belt. Then twist and tighten the nut onto the bolt to secure the pot.
- Drill a 1-1/4-inch entry hole in the wooden plaque, about 1-1/2 inches from the bottom edge. Use sandpaper to smooth the edges of the entry hole.
- Paint the outside of the wooden plaque for weather resistance and let it dry. Then, press the wooden plaque firmly into the flowerpot until you have wedged it firmly in place.
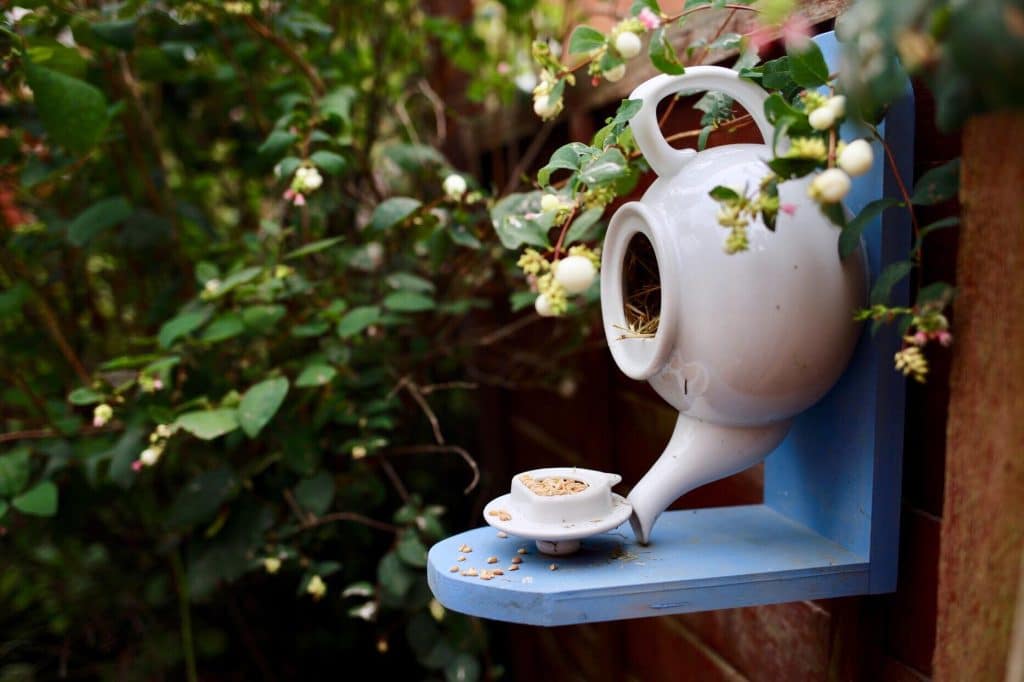
3. Teapot Birdhouse
Teapot birdhouses can give a unique and whimsical design providing a cozy and decorative bird shelter. It has the shape of a miniature teapot, and you can simply make it out of wood or other materials easily accessible at home.
- Cedarwood
- Saw
- Hammer
- Drill
- Router
- Sandpaper
- Nail gun or nails
- Wood putty
- Paintbrush
- Screwdriver
- Pipe cutter (optional)
Step-By-Step Guide
- Start by cutting the birdhouse pieces in the shape you wish. Then glue and nail the pieces together, excluding the front.
- Cut the teapot, handle, and spout from 3/4″ cedar. Then shape the edges of the handle and spout using a router. Make sure you sand all three pieces to smoothen the edges.
- Next, drill a hole in the center of the teapot. Then, drill a hole two-thirds of the way through, about ¾” down from the bottom of the center hole.
- Cut a ¼” dowel to a length of 2″. Glue and nail the teapot onto the birdhouse front. Make sure you fill any gaps with wood putty and smoothen the surfaces using sand.
- Use a primer to coat the birdhouse. This trick will help you prevent bleeding through the paint. Then, paint your birdhouse as you wish.
- Attach a pipe flange to the bottom of the birdhouse. Screw in a short pipe tube stub, a 45-degree elbow, and a 4′ piece of pipe. That is it – your teapot birdhouse is ready!
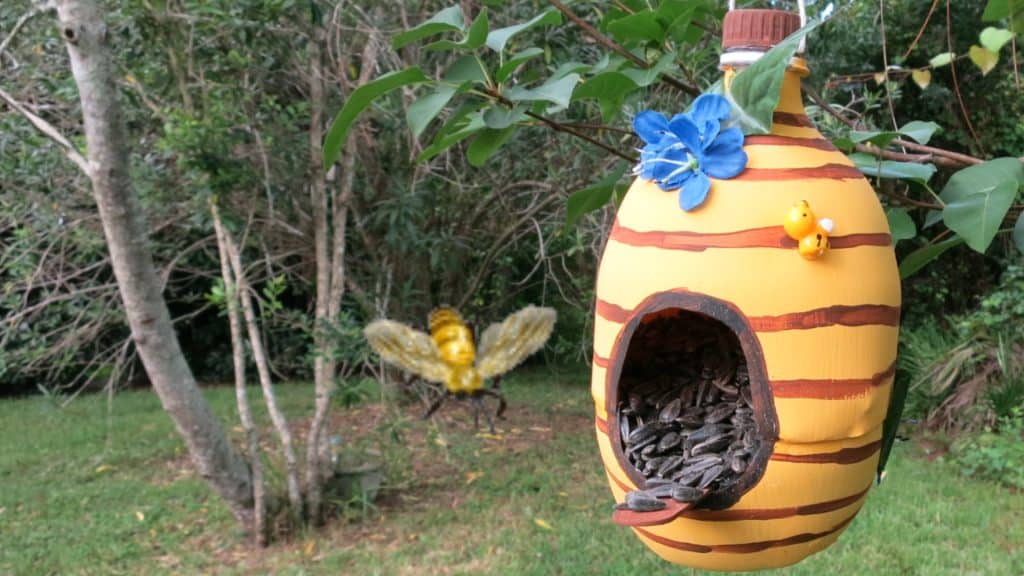
4. Bottle Birdhouse
If you have a plastic bottle in your house, you can reuse it to build the perfect bottle birdhouse. This birdhouse plan is the perfect blend of creativity and sustainability.
Tools Needed
- Pencil
- Small hacksaw
- Normal scissors
- All-purpose scissors
- Revolver rod
- Jigsaw
- Tie wrap
- Weaving needle
Step-By-Step Guide
- Start by drawing the desired shape on the bottle using a pencil. Make initial cuts with a small hacksaw and complete those cuts using normal scissors. You can use all-purpose scissors for thicker parts.
- Then, create the bottom part and the roof of the birdhouse by shaping appropriate bottle sections. Cut a fitting hole in the facade of the house to attach the cap of the bottle as the entrance.
- Next, create a cord by finger-crocheting, sewing it together using a rope, and weaving a needle. Also, you can punch a few holes at the bottom of the house to avoid water accumulation.
- Lastly, attach the roof to the house using tie wraps at the back.
Tip: If you want, attach a tie-wrap under the porch to provide a secure spot for the birds. You can even attach a pre-built nest inside the birdhouse.
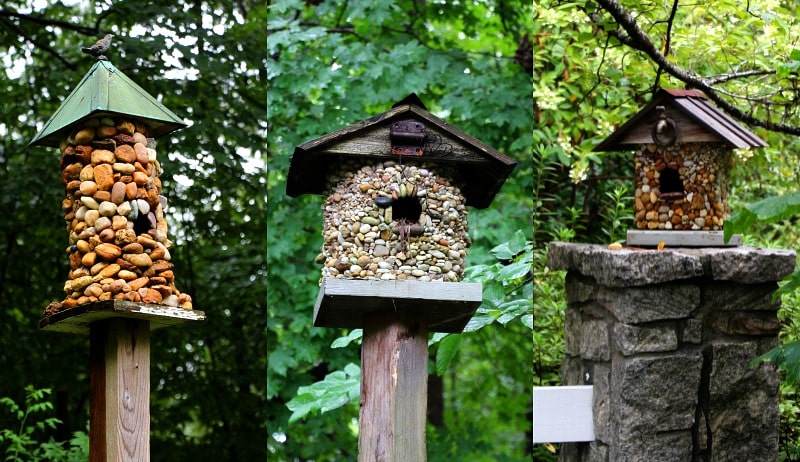
5. Stone Birdhouse
Did you know those stones around your house can be used to build a natural and rustic birdhouse? You can build a stone birdhouse without spending much money, adding the perfect element to your home decor.
Tools Needed
- Pencil
- Sandpaper
- Paintbrush
- Exterior wood primer
- Exterior polyurethane
- Silicon adhesive
- Caulking dispenser or squeeze tube
- Small stones
- Twine or other roofing material
- Acrylic paint or stain
Step-By-Step Guide
- Start by priming and painting the wood surfaces of the birdhouse to prevent the stones from popping off. Let it sit for a few minutes till it dries.
- Sort and lay out the stones if you want to set them in a pattern. Then, use the silicon adhesive to stick the stones to the birdhouse from the bottom up. Make sure you place them close together to avoid any gaps.
- Next, you will have to complete the roof. You can use funnels, twine, copper leaf, shingles, etc. Then, apply three coats of exterior polyurethane, allowing each coat to dry between applications. You can also paint the roof with acrylic paint or stain for a decorative effect. Seal the entire birdhouse with a final coat of exterior polyurethane. Let the structure dry completely.
- Once the birdhouse is dry, you can set it up at your preferred location.
- While these are a few birdhouse plans you can choose from, you can build several other types on a budget.
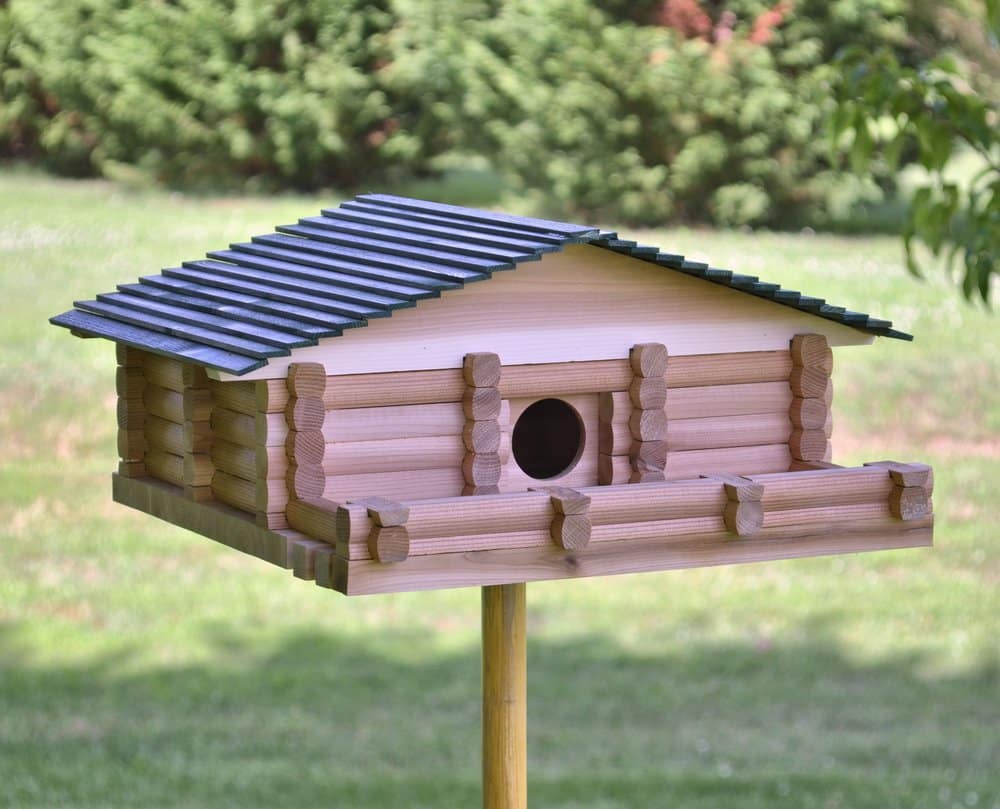
6. Log Cabin Birdhouse
You can make this natural-looking birdhouse using fallen branches or logs. Cut a small hole for an entrance, hollow out the inside, and attach a roof. This rustic birdhouse blends seamlessly into any garden and provides a cozy shelter for birds.
Tools Needed
- Saw
- Hammer
- Nails
- Measuring tape
- Pencil
- Sandpaper
Step-By-Step Guide
- Measure and mark the desired dimensions for the log cabin birdhouse on a wooden log or plank.
- Use a saw to cut the log or plank into the required pieces for the walls, roof, and base of the birdhouse.
- Use sandpaper to smooth the edges and surfaces of the cut pieces.
- Assemble the walls of the birdhouse by applying wood glue to the ends of the logs and securing them together with nails.
- Attach the roof by cutting two triangular pieces and nailing them to the top of the walls.
- Create an entrance hole for the birds by drilling a suitable-sized hole in one of the walls.
- Attach the base of the birdhouse by nailing a flat piece of wood to the bottom of the walls.
- Ensure all the pieces are securely attached and the birdhouse is stable.
- Lastly, paint the birdhouse as you wish to enhance its look and protect the wood.
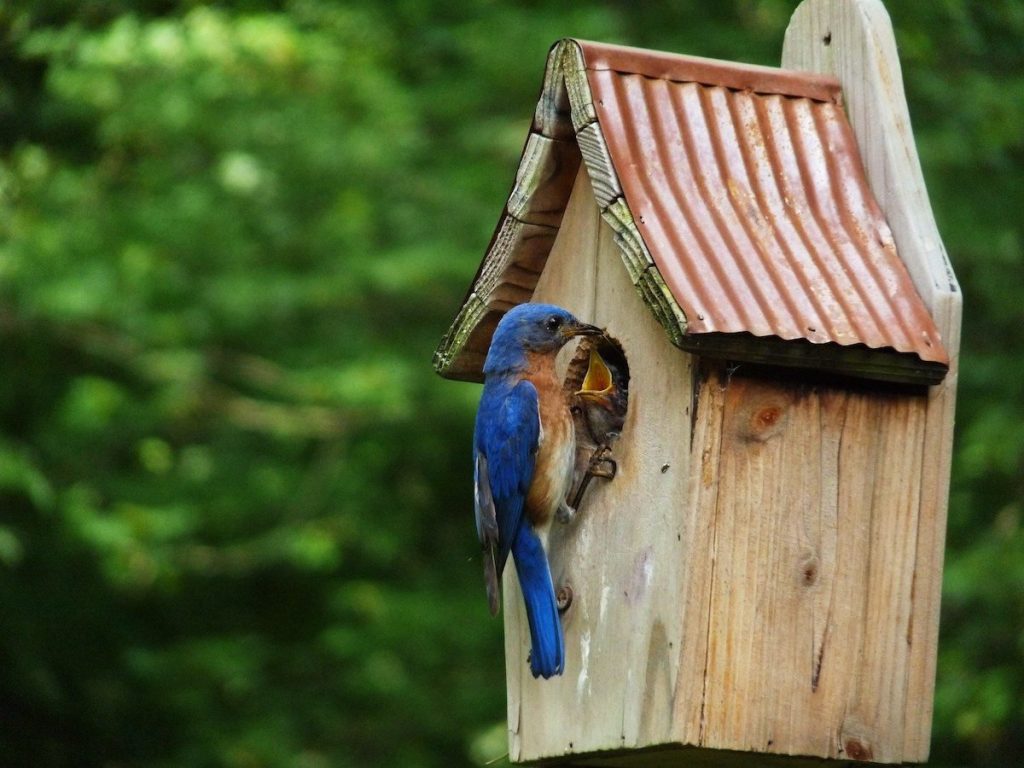
7. Bluebird Birdhouse
If you would love for a bluebird to be a part of your backyard, then you can build a birdhouse specifically for them. It has a small entrance, a cozy interior, and is simple to build.
Tools Needed
- Saw
- Drill
- Screwdriver
- Screws
- Measuring tape
- Pencil
Step-By-Step Guide
- Cut the wood into appropriate sizes for the walls, roof, base, and front panel of the birdhouse.
- Create an entrance hole specifically designed for bluebirds.
- Assemble the walls by screwing or nailing the wood pieces together.
- Attach the roof by securing it on top of the walls.
- Attach the base to the bottom of the walls. You can also add ventilation holes near the top of the walls.
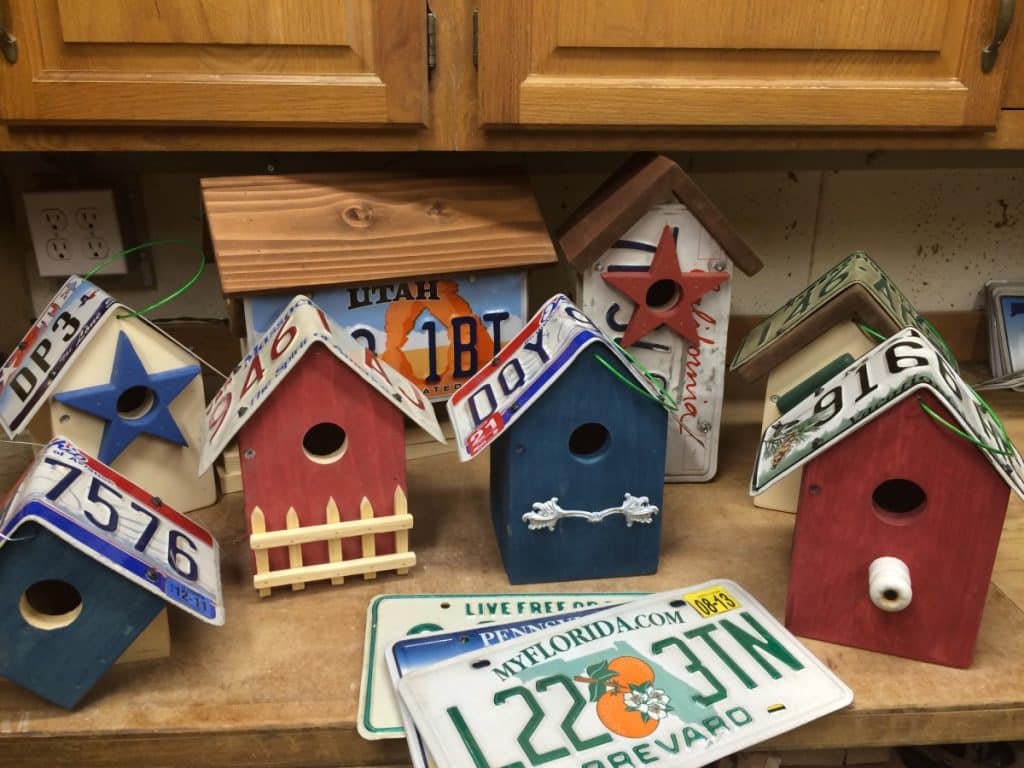
8. Licence Plate Birdhouse
Give your garden a touch of whimsy by repurposing old license plates. This DIY birdhouse plan allows you to upcycle the otherwise household waste into a fun decor item.
Tools Needed
- Saw
- Drill
- Screwdriver
- Screws
- Measuring tape
- Pencil
- License plates
Step-By-Step Guide
- Cut the wood into appropriate sizes for the walls, roof, base, and front panel of the birdhouse. Assemble the walls by screwing or nailing the wood pieces together.
- Attach the roof by securing it on top of the walls.
- Create an entrance hole in the front panel.
- Attach the front panel to the walls.
- Attach the base to the bottom of the walls.
- Use license plates to cover the exterior of the birdhouse, securing them with screws or nails.
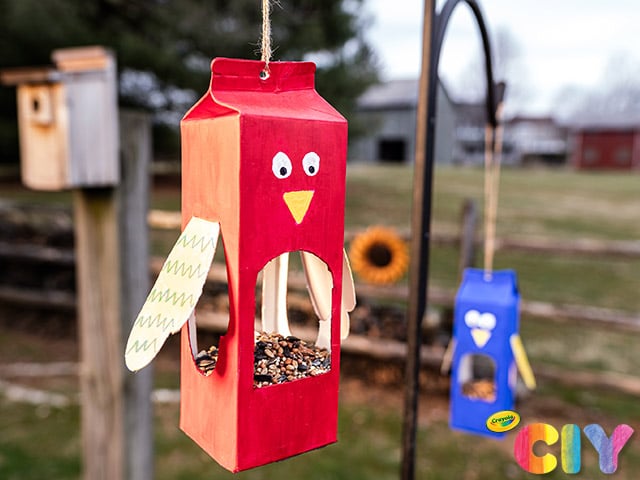
9. Milk Carton Birdhouse
Recycle milk cartons into creative birdhouses. Cut an opening on one side of the carton, and decorate it with nontoxic paint or colourful paper. Then, attach a wire for hanging, and it’s all set for your feathered friends.
Tools Needed
- Scissors
- Hole punch
- Paint or markers
- Twine or string
- Glue gun (optional)
- Dry milk carton
Step-By-Step Guide
- Start by cutting out an entrance hole near the top of the milk carton.
- Use a hole punch to create small holes near the top of the carton for attaching the twine or string.
- Next, decorate the exterior of the milk carton with paint or markers. Attach twine or string through the holes to create a loop for hanging. You can reinforce the twine or string attachment points with a glue gun.
- Fill the bottom of the milk carton with nesting material.
10. Pallet Birdhouse
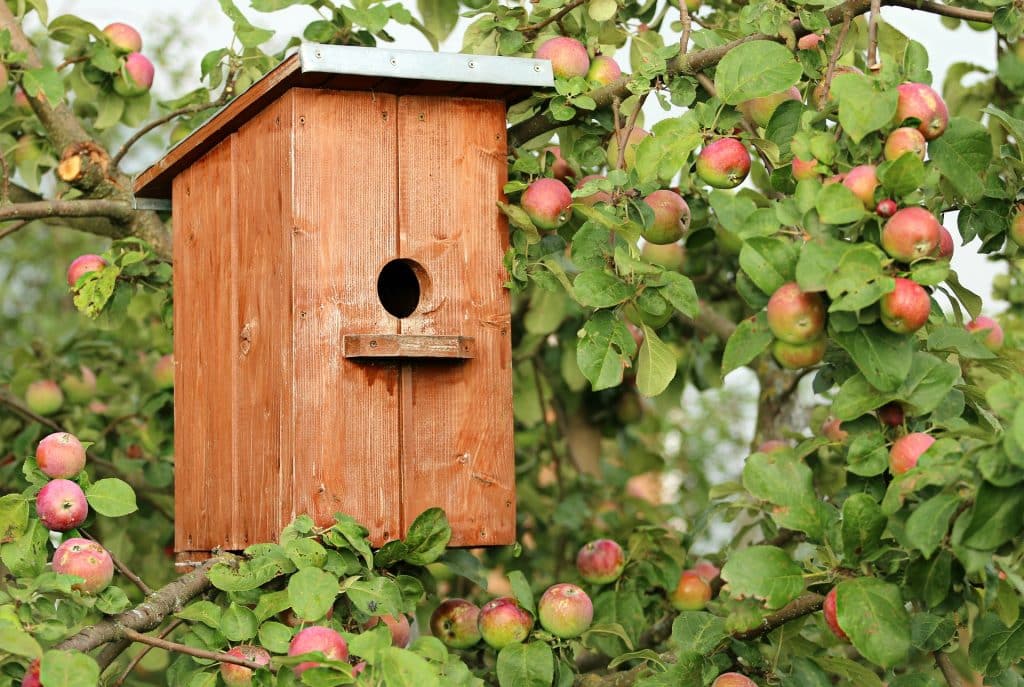
Repurpose old wooden pallets into unique birdhouses. Disassemble the pallet and use the individual pieces to create a box-like structure. Add a sloped roof, perch, and hanger. You can easily create multiple birdhouses from a single pallet.
- Reciprocating saw or pry bar
- Hammer
- Nails
- Measuring tape
- Pencil
- Drill
Step-By-Step Guide
- Disassemble a wooden pallet to obtain the necessary pallet boards.
- Cut the pallet boards into appropriate sizes for the walls, roof, base, and front panels of the birdhouse.
- Assemble the walls by nailing the pallet boards together.
- Attach the roof by securing triangular pieces on top of the walls. Create an entrance hole in the front panel.
- Attach the front panel to the walls.
- Attach the base to the bottom of the walls. Optionally, drill drainage holes in the base for water to escape.
11. Popsicle Stick Birdhouse
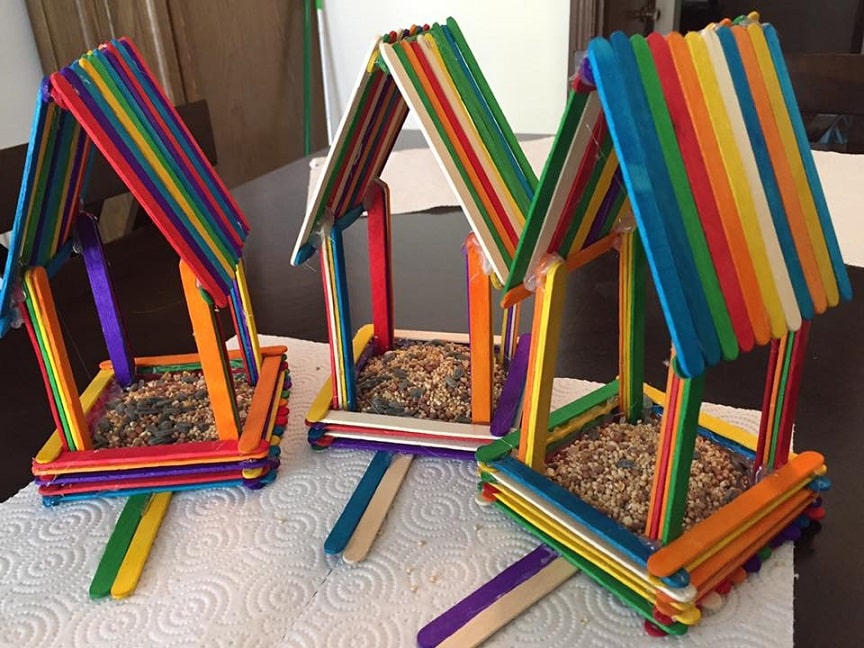
Create a birdhouse using popsicle sticks! Glue the sticks together to form the walls, roof, and floor. Customize it with paint colors and patterns of your choice. This birdhouse plan is a simple, budget-friendly project for kids and beginners.
Tools Needed
- Craft glue or hot glue gun
- Popsicle sticks
- Scissors
- Paint or markers (optional)
- String or twine (optional)
Step-By-Step Guide
- Lay out popsicle sticks to form the walls, roof, base, and front panel of the birdhouse.
- Glue the popsicle sticks together, ensuring they are securely attached.
- Create an entrance hole in the front panel.
- Attach the front panel to the walls.
- Attach the roof by gluing triangular pieces on top of the walls.
- Attach the base to the bottom of the walls. Paint or decorate your birdhouse.
- If you want, you can attach a string or twine to create a loop for hanging.
Voila! We hope this list of free DIY birdhouse plans will come in handy for you.
Conclusion
If you are looking for unique birdhouse plans that you can easily build, refer to our curated list. Building birdhouses don’t always have to be expensive or complicated. You can create shelters for your favorite birds using easily accessible tools and materials. Also, nothing matches the beauty of a complete hands-on project, isn’t it?
So grab your tools today and get ready to welcome your feathered friends into their new homes! Comment in the box below which one of these birdhouses you are going to build.


