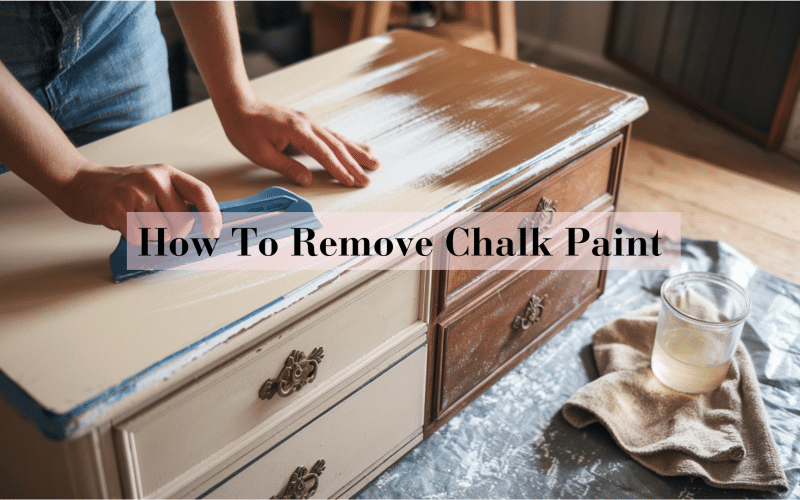
Bleaching wood is a simple way to lighten its color and give it a fresh look.
Wood bleaching is an easy process to try at home if you’re restoring old furniture, preparing wood for a new finish, or just brightening a dark piece.
There are different ways to bleach wood, depending on the type of wood and the result you want.
With the right materials and a few simple steps, you can achieve a beautifully lightened surface.
In this guide, we’ll walk you through everything you need to know about bleaching wood.
From choosing the right bleach to finishing the job with a smooth, professional look.
What is Wood Bleaching?

Wood bleaching is the process of lightening the color of wood. It can help restore old, dark, or worn wood and give it a fresh look.
Bleaching can also prepare wood for staining or create a new finish for furniture. It works by breaking down the pigments in the wood, making it lighter.
This method can be used for many wood types, but different solutions work better for certain woods.
It’s a great way to bring new life to older wood without the need for full replacement.
Why Bleach Wood?

There are several reasons why people bleach wood.
- Aesthetic Appeal: Bleaching wood can create a lighter, brighter look, perfect for modern or beach-inspired décor.
- Restoration: Bleaching helps restore old, faded, or worn wood to its original condition.
- Even Color: It can help create a consistent, uniform color on wood that has aged unevenly.
- Preparation for Staining: Bleaching is a good first step if you plan to stain wood. It provides a clean, fresh base for the stain to be applied evenly.
Overall, wood bleaching can give your furniture or wood surfaces a refreshed, new look.
Types of Wood Bleaching Solutions

Chlorine Bleach
Chlorine bleach works by removing color from wood by breaking down the pigments.
It is best used on dark woods like oak, walnut, and mahogany.
However, chlorine bleach can be harsh, so it is important to wear gloves and goggles and work in a well-ventilated area to avoid exposure to fumes.
Oxygen Bleach
Oxygen bleach is a gentler and safer option to use indoors compared to chlorine bleach.
It’s ideal for lighter woods such as pine and maple.
While oxygen bleach is non-toxic and safe for indoor use, it may not be as effective for dark woods as chlorine bleach.
Hydrogen Peroxide
Hydrogen peroxide is another gentle bleaching option.
It lightens wood without damaging it, making it great for delicate wood types.
It’s best for achieving a subtle lightening effect on lighter wood.
Always wear gloves and goggles when using hydrogen peroxide, and ensure proper ventilation to avoid inhaling fumes.
Wood Bleach (Specific Products)
Wood bleach products are commercial solutions made specifically for bleaching wood.
These products are often designed for particular wood types or specific tasks.
Always follow the product’s instructions carefully to achieve the best results.
Each bleaching solution has its advantages and disadvantages, so choose the one that works best for your specific project.
How to Bleach Wood: Step-by-Step Guide
Materials Needed for Bleaching Wood

- Wood Bleach or Solution: Choose the right bleach for your project based on the wood type and desired results.
- Rubber Gloves: Protect your hands from harsh chemicals and bleach solutions.
- Protective Eyewear: Wear goggles to protect your eyes from bleach splashes.
- Paintbrush or Rag: Use a paintbrush or rag to apply the bleach evenly to the wood surface.
- Plastic Tarp or Drop Cloth: Protect your work area from spills or splashes by covering it with a plastic tarp or drop cloth.
- Sandpaper (Optional): Sand the wood lightly before applying bleach to help the solution absorb better.
- Clean Rags or Towels: Keep clean rags or towels on hand to wipe off excess bleach and dry the wood.
- A Bucket or Container for Mixing: If your bleach solution needs to be mixed, use a clean bucket or container.
Preparation Before Bleaching

Cleaning the Wood
Before applying any bleach, make sure the wood is clean.
Remove dirt, dust, and old finishes to ensure the bleach can work effectively.
You can use a vacuum or a soft cloth to wipe away dust. For tougher spots, use mild soap and water, but make sure the wood is dry before moving on.
Sanding (Optional)
Sanding is optional but can help improve the bleach’s absorption.
If the wood surface is rough or has a finish, lightly sand it with fine-grit sandpaper.
This step helps open up the wood’s pores and allows the bleach to work more evenly.
Be careful not to over-sand, as it can damage the wood.
Steps for Bleaching Wood
Step:1 Testing First

- Always test the bleach on a small, hidden area of the wood to check how it reacts.
- Choose an inconspicuous spot on the wood, like the underside or back.
- Apply a small amount of bleach and wait for it to dry.
- Assess the color change once the test area is dry.
- If the result is satisfactory, proceed with the full application.
- If the wood lightens too much or unevenly, adjust the bleach strength or type.
Step:2 Applying the Bleach

- Mix a two-part bleach solution according to the product instructions. Wear gloves and protective eyewear.
- If using household bleach, dilute it with water (usually 1 part bleach to 1 part water).
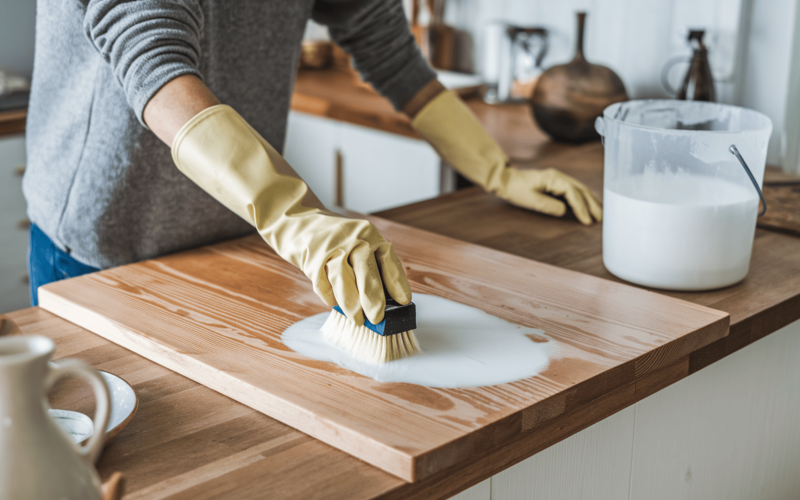
- Use a paintbrush, rag, or sponge to apply the bleach evenly.
- Apply the bleach in smooth, even strokes from one end of the wood to the other.
- Work in sections to ensure even coverage, especially on large surfaces.
- Avoid over-saturating the wood; a thin, even layer is often enough.
- For two-part bleach solutions, apply Solution A first, wait a few minutes, then apply Solution B.
- Let the bleach sit for 15-30 minutes, depending on the desired lightness.
- Monitor the wood as the bleach works, and don’t leave it too long to avoid damage.
Step:3 Neutralizing the Wood

- After the bleach has worked, neutralize the wood with a borax solution (1 cup borax in 1 gallon of warm water).
- Apply the neutralizer using a clean rag or sponge.
- Let the neutralizer sit for a few minutes to stop the bleaching process.
- Wipe down the wood with a clean, damp rag.
- Rinse the wood thoroughly with clean water to remove any leftover bleach or neutralizer.
- Let the wood dry completely before sanding or applying a finish.
Tips for Success and Troubleshooting
Bleaching wood can be a simple process if done carefully. Here are some tips to help you avoid common mistakes and achieve the best results.
Avoid Over-Bleaching
Be careful not to leave the bleach on the wood for too long. Over-bleaching can weaken the wood, making it fragile or cracked.
Follow the recommended time on the bleach product or test the wood to check progress.
If the wood starts to lighten too quickly, wipe off the bleach and neutralize it. This helps prevent any damage to the wood.
Fixing Uneven Results
If the wood becomes unevenly bleached, gently apply more bleach to the lighter spots.
Blend the new bleach application with the surrounding areas for a smooth, even finish.
For stubborn spots, lightly sand the wood to help the bleach blend more effectively.
If some areas are over-bleached, consider applying a small amount of wood stain to restore balance and even out the color.
Achieving the Right Lightness
The best way to determine if you need more bleach is to wait for the wood to dry before assessing the final color.
If the wood is too light, apply a stain or finish to add depth.
If it’s not light enough, reapply the bleach and wait a few more minutes, closely monitoring the color change.
By following these tips, you can avoid common mistakes and ensure a beautiful, even finish.
Troubleshooting issues like uneven bleaching or over-bleaching will help you achieve the desired result.
Finishing the Wood

Once the bleaching process is complete, it’s time to finish the wood and protect the new surface.
Conditioning the Wood
After bleaching, the wood can become dry and lose its natural moisture.
Applying a wood conditioner will restore moisture and help the wood absorb a stain or finish evenly.
Conditioning the wood also helps prevent cracking or splitting in the future.
Make sure to follow the conditioner’s instructions for the best results.
Applying Stain or Finish
After conditioning, you can apply a stain or finish to improve the wood’s appearance.
Staining is a great way to add depth to the wood and give it a richer look, especially if it becomes too light after bleaching.
If you prefer a natural finish, you can protect the wood with oil, wax, or varnish.
These finishes will help preserve the wood and keep it looking fresh for longer.
Follow the manufacturer’s instructions for applying the finish to ensure an even coat and proper drying time.
Safety Precautions when Working with Bleach and Wood

Working with bleach and wood requires taking some safety precautions to protect yourself and the surroundings.
Always Work in a Well-Ventilated Area
- Bleach and other wood-bleaching solutions release harmful fumes.
- Work in a well-ventilated space, preferably outdoors or near an open window.
- This reduces your exposure to fumes and ensures a safer environment.
Wear Protective Gear
- Always wear rubber gloves to protect your hands from bleach.
- Gloves also help prevent skin irritation from chemicals.
- Wear protective eyewear to shield your eyes from any splashes.
- Consider wearing old clothes to avoid staining your clothes.
Protect Surrounding Areas
- Bleach can damage other surfaces, so cover your work area.
- Use a plastic tarp or drop cloth to protect the floor and nearby furniture.
- This will prevent bleach splashes from causing damage and make cleanup easier.
Conclusion
Bleaching wood is a great way to restore and refresh old or dark wood surfaces.
By following the right steps, you can achieve a beautifully lightened finish that improves the wood’s natural beauty.
Remember to test the bleach first, apply it evenly, and neutralize the wood afterward.
Always take safety precautions to protect yourself and your surroundings.
Once the bleaching process is complete, conditioning the wood and applying a finish will help maintain its appearance and longevity.
Now that you know the steps, you can start your next DIY wood project with confidence and bring new life to your wooden pieces.
For more helpful tips, ideas, and other similar content check out other blogs on our website!