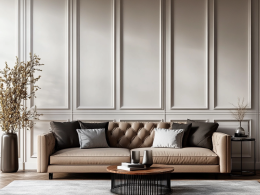


Homeowners often desire to add character to plain walls. Wall treatments can transform a space, but many seem too complex for DIY enthusiasts. Board-and-batten walls offer a solution—they’re stylish, impactful, and surprisingly simple to create.
This guide will show you how to make a board and batten wall yourself, even if you’re new to home improvement projects.
You’ll learn the step-by-step process, from planning and measuring to installation and finishing touches.
We’ll cover the materials you need, tools to use, and insider tips to ensure your project looks professional.
By the end, you’ll have the knowledge and confidence to create a beautiful board and batten wall in your home.
Materials and Tools Needed to Create a Board and Batten Wall

Before starting your board and batten wall project, gather these materials and tools:
1. Materials Required
- 1×4 boards for horizontal pieces
- 1×2 boards for the top ledge
- Brad nails (1 1/4″ for attaching battens, 2″ for baseboards)
- Construction adhesive
- Paintable caulk
- Lightweight spackle
- Paint and primer
- Optional: MDF or wood boards for baseboards and battens
2. Tools Required
- Miter saw
- Brad nailer
- Level
- Measuring tape
- Stud finder
- Utility knife
- Prybar and hammer
These items will help you create a long-lasting, good-looking board and batten wall. The 1×4 and 1×2 boards form the main structure, while the adhesive and nails secure everything in place. Caulk, spackle, and paint give your wall a finished look.
For tools, a miter saw helps make clean cuts, and a brad nailer speeds up the installation. A level ensures straight lines, while a stud finder enables you to nail into wall studs for extra stability.
12 Easy Steps to Create a Board and Batten Wall
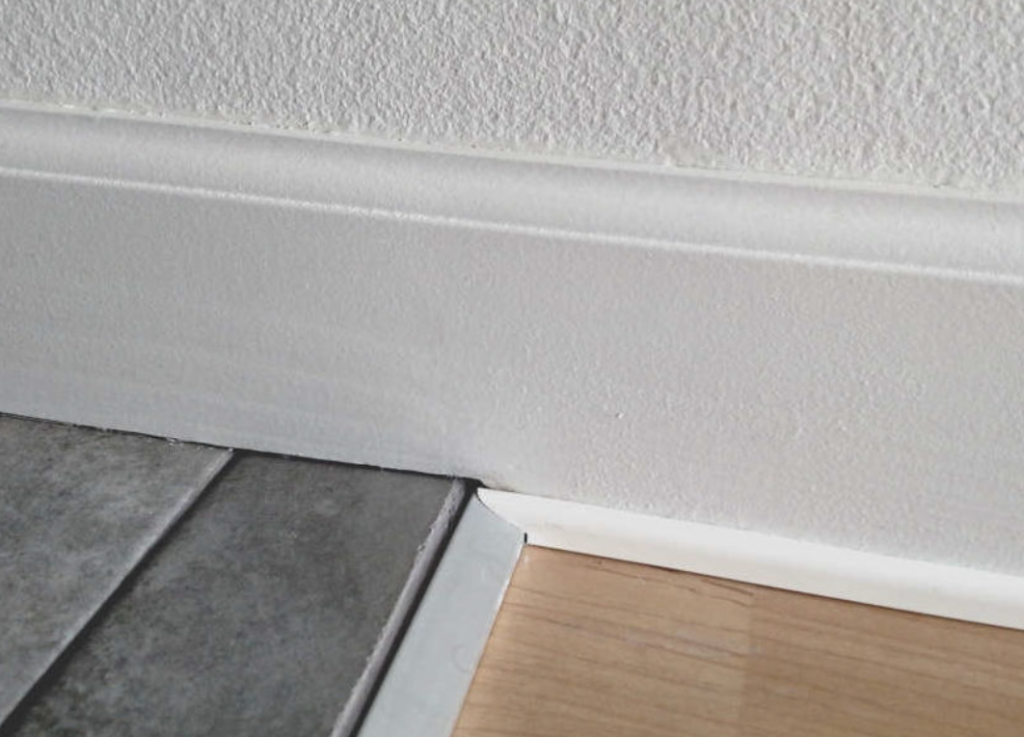
Step 1: Removing Existing Baseboards
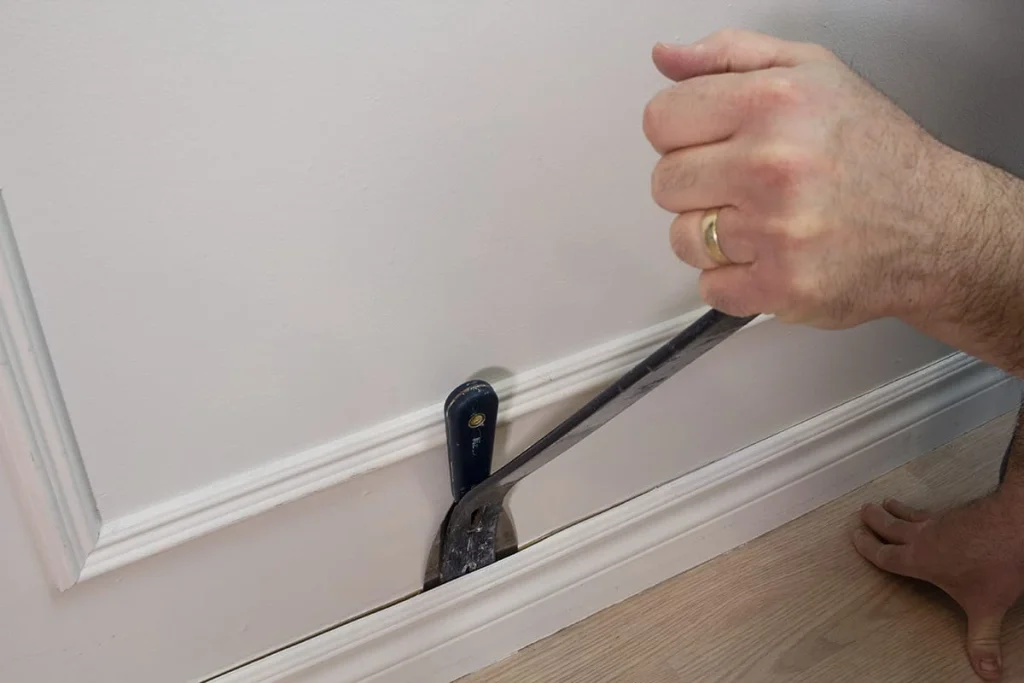
The first step in creating your board-and-batten wall is removing old baseboards. This process requires care to avoid wall damage.
Scoring Caulk Lines
Start by cutting along the top and corner edges of the baseboard with a sharp utility knife. This breaks the seal between the baseboard and the wall.
Move the knife slowly and firmly to cut through all the caulk. If you find tough spots, go over them again. This careful approach helps prevent wall damage when you remove the baseboards.
Using a Prybar and Hammer
Once you’ve scored the lines, it’s time to remove the baseboard. Begin at a corner or a loose spot. Put your prybar into the scored line and tap it gently with a hammer.
Work along the baseboard, lifting it bit by bit. Place a piece of scrap wood behind the prybar to protect your wall. If the baseboard sticks, score the caulk lines again.
This method helps you remove the baseboard cleanly while keeping your wall safe.
Step 2: Measuring and Cutting New Baseboards
After removing the old baseboards, you must prepare new ones for your board and batten the wall.
Cutting to Size
Use a measuring tape to find out how long your wall is. Mark this length on your 1×4 board, adding a little extra for adjustments. Cut the board to this length using a miter saw.
You’ll need to cut multiple pieces for walls longer than your board. Make sure they fit together well. Always check your measurements twice before cutting to avoid mistakes.
Ensuring Level Installation
Put your cut baseboard against the wall and use a level to check if it’s straight. If your floor isn’t even, use small wedges called shims to adjust the height. Once it’s level, secure the baseboard to the wall.
Use 2″ brad nails and nail into the wall studs for strong support. Mark the stud locations beforehand. Using a longer level for bigger sections ensures the whole baseboard is even.
A level baseboard creates a solid base for your board and batten wall.
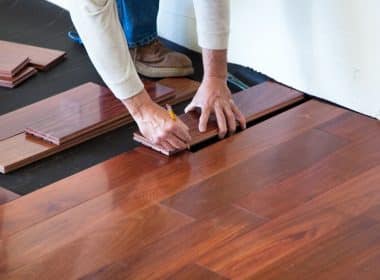
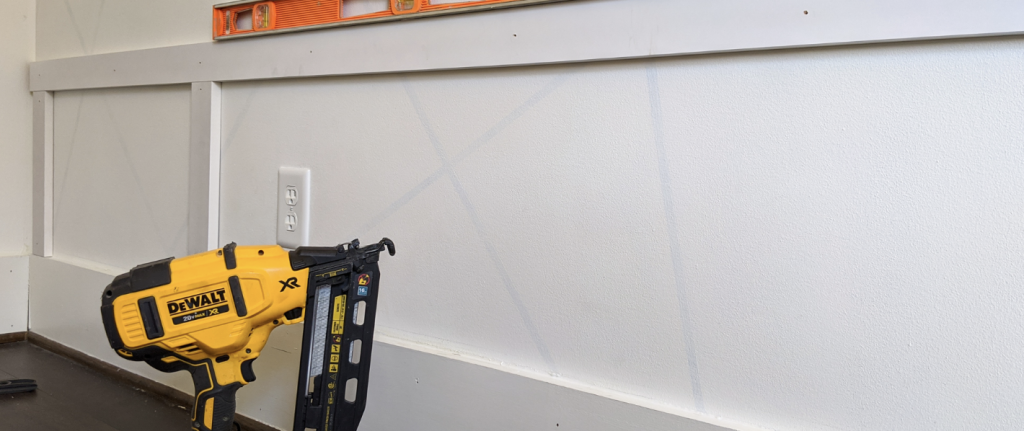
Step 3: Installing New Baseboards

Adding new baseboards is a key part of your board and batten wall project. This step ensures a solid foundation for the rest of the installation.
Nailing into Studs
- First, use a stud finder to locate the wall studs. Then, mark each stud’s spot on the wall with a pencil. These marks will guide you when nailing.
- Place your baseboard against the wall, checking that it’s level.
- Using a brad nailer with 2″ brad nails, attach the baseboard to the studs. Begin at one end and work your way along, nailing into each stud.
- Keep the baseboard steady while you nail it to prevent it from moving.
- Space your nails about 16 inches apart for a secure hold. This method keeps your baseboards firmly in place.
Adjusting for Corners and Obstacles
- Corners and obstacles need special attention.
- For corners, measure the angle and use a miter saw to cut the baseboard ends at 45 degrees. This creates a neat joint.
- Make sure the pieces meet cleanly in the inside corners. For outside corners, line up the cut edges perfectly. A coping saw can help make more exact cuts if you have tricky corners.
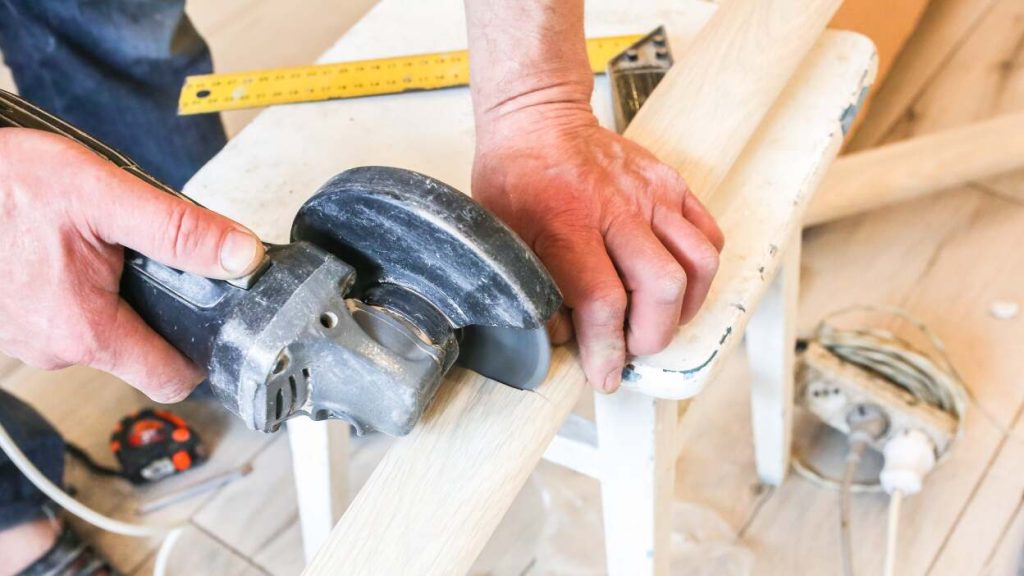
- Measure the exact positions of outlets, door frames, or pipes.
- Then, cut notches or holes in the baseboard to fit around them.
- A jigsaw or Dremel tool works well for these cuts.
- Always test fit each piece before you nail it in place. This helps you catch any issues early.
- Use caulk to fill small gaps in corners for a smooth look. These steps result in baseboards that fit well around all parts of your wall.
Step 4: Determining Height and Marking Middle Board Placement
Setting the right height for your board and batten wall is key to its overall look.
Measuring from Baseboard to Desired Height
Choose how tall you want your board-and-batten wall to be.
Most people pick between 3 and 5 feet from the baseboard. Use measuring tape to mark this height at several points along your wall. This helps keep everything even. It’s smart to mark a bit higher than you want, as the middle board will take up some space.
You can use painter’s tape to see how it looks before you make permanent marks.
Using a Level-To-Mark Placement
Once you’ve marked your height, it’s time to draw a straight line. Put a level on your marks and draw a line across the wall. Do this for the whole length of the wall. Ensure the line is clear – you’ll use it to place your middle board. For long walls, use a long level to keep things straight. Check the level often as you draw to avoid any slanting.
Step 5: Cutting and Installing Middle Board
The middle board is a key part of your board-and-batten wall. Here’s how to cut and install it correctly.
Cutting to Length
- Measure the length of your wall where the middle board will go.
- Mark this length on your 1×4 board and cut it with a miter saw.
- You’ll need to cut multiple pieces if your wall is longer than one board.
- After cutting, lightly sand the edges to smooth them out.
Nailing into Studs at Marked Height
- Line up your cut board with the line you drew on the wall.
- Use a stud finder to locate the wall studs and mark where they are.
- Then, use a brad nailer with 2″ brad nails to attach the board to the studs.
- Start at one end and work your way across. As you go, keep checking with a level to make sure the board stays straight.
Step 6: Spacing and Cutting Vertical Battens
The vertical battens give your wall its distinctive look. Here’s how to space and cut them correctly.
Determining Spacing
Measure your wall’s total length. Decide how far apart you want your battens – 16.5″ is a common choice. Divide your wall length by this number to determine how many battens you need—Mark where each batten will go on the wall.
You might need to adjust the spacing slightly to avoid odd gaps at the ends.
Measuring and Cutting Each Batten to Height
For each batten, measure from the baseboard’s top to the middleboard’s bottom. The height might be slightly different in each spot. Using a miter saw, cut each batten to its exact height.
Label each batten with its position on the wall. After cutting, sand the edges of each batten for a smooth finish.
Step 7: Attaching Vertical Battens
Securing the vertical battens is a key step in creating your board and batten wall.
Marking Positions on the Wall
Start by referring to the spacing marks you made earlier (for example, 16.5″ apart). At these points, draw straight lines from the baseboard to the middle board. Use a level to ensure these lines are perfectly straight up and down.
You might find using painter’s tape along these lines helpful as a clear guide. This step ensures your battens will be evenly spaced and straight.
Using Construction Adhesive and Nails
For each batten, apply a good amount of construction adhesive (like Liquid Nails) to the back. Press the batten firmly onto the wall along your marked line.
Hold it in place for a few seconds to let the adhesive start to bond.
Then, use a brad nailer with 1 1/4″ nails to secure the batten. Put nails at the top, middle, and bottom of each batten. Before nailing, use a level once more to check that the batten is straight.
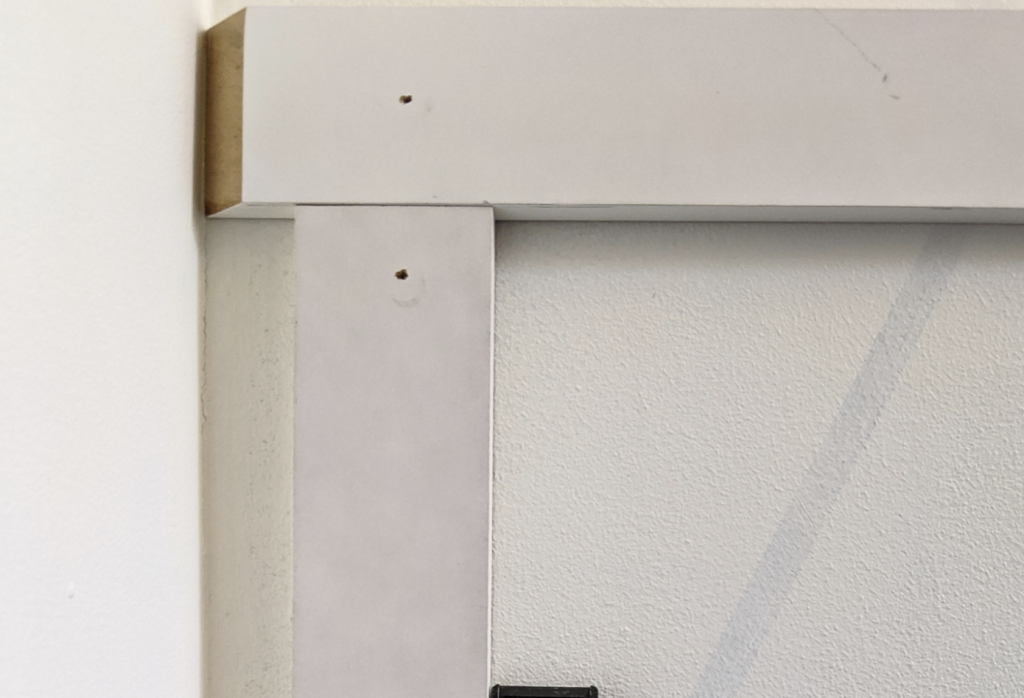
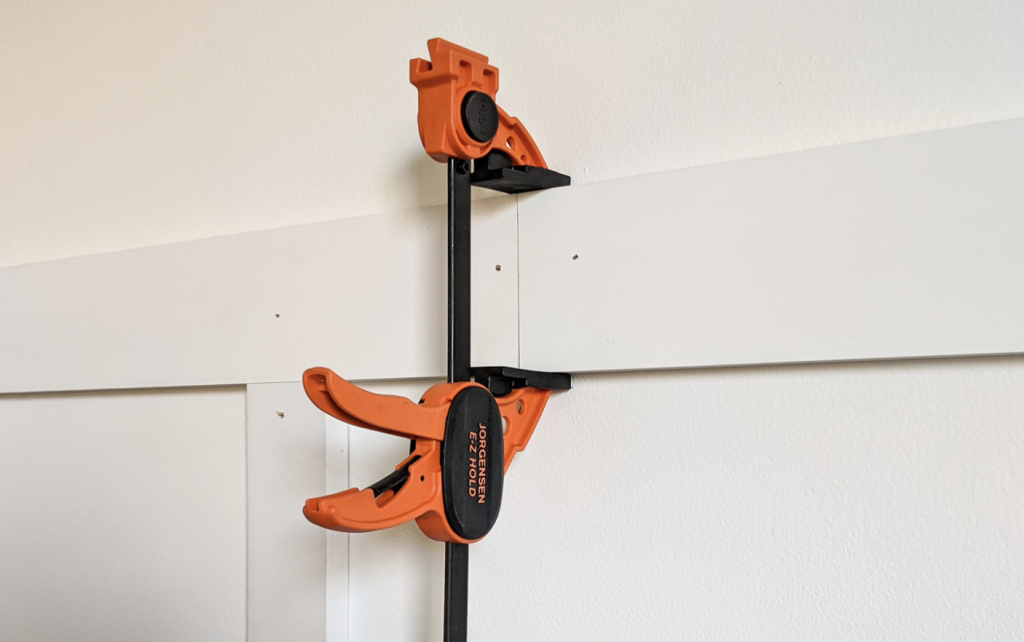
Step 8: Adding Top Horizontal Board and Ledge

This step finishes the main structure of your board and the batten wall.
Cutting and Attaching the Top 1×2 Board
- Measure the length of your wall for the top board. Using a miter saw, cut a 1×2 board to this length.
- Put construction adhesive on the back of the board.
- Line up the top of this 1×2 board with the top of your middle board and press it into place.
- Secure it with 1 1/4″ brad nails. Before you nail it down, use a level to ensure it’s straight.
- If you see any gaps, fill them with caulk for a smooth look.
Creating a Ledge if Desired
- If you want to add a ledge, use a wider board like a 1×3 or 1×4.
- Cut it to the same length as your top 1×2 board.
- Apply adhesive to its back, then place it on top of the 1×2 board, ensuring it’s flush against the wall.
- Nail it in place, angling your nails to avoid splitting the wood.
- Sand the edges of this board to smooth them. You might also want to round the edges slightly for a softer look.
Step 9: Filling and Caulking
Filling Nail Holes with Spackle
- Use lightweight spackle to fill all the nail holes.
- Put a small amount on a putty knife and press it into each hole.
- Scrape off any extra with the edge of the blade. Let the spackle dry fully before you sand it.
- For a smoother finish, lightly smooth the spackle with a damp cloth before dries.
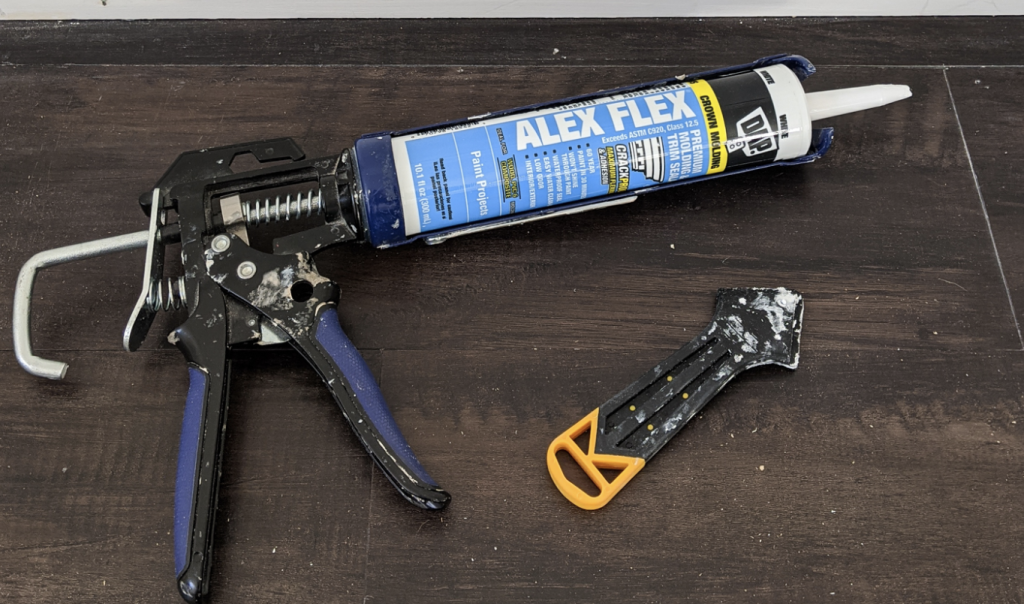
Caulking Seams and Corners
- Use paintable caulk to fill all gaps between the boards, battens, and the wall.
- Apply a steady line of caulk along these areas.
- Smooth it with a caulking tool or finger to fill gaps evenly.
- Keep a damp cloth nearby to wipe away any excess.
- Let the caulk dry completely before moving on.
Step 10: Sanding and Priming
This step prepares the surface for painting.
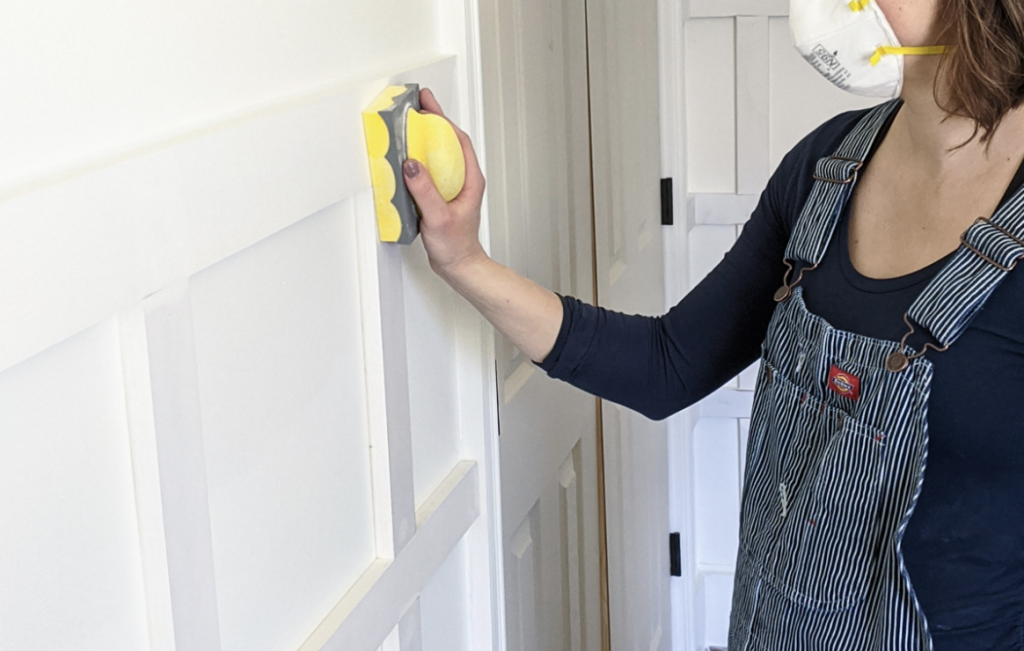
Lightly Sanding Spackle
Once the spackle is dry, sand the filled areas with fine-grit sandpaper. Sand until the surface is smooth and level with the surrounding wood. Wipe away the dust with a damp cloth.
Using a sanding block can help you sand more evenly. Wear a dust mask while sanding.
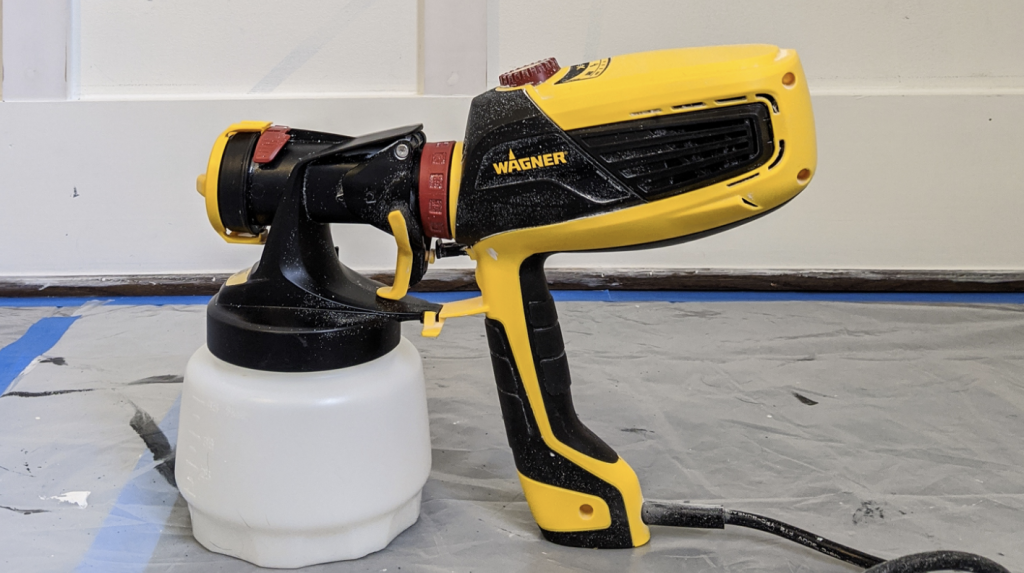
Priming Boards if Necessary
If your boards aren’t pre-primed, apply a coat of primer. Use a paint roller for large areas and a brush for edges and corners. Let the primer dry fully according to the instructions on the can.
Choose a primer that works well with the paint you plan to use. Apply thin, even coats to avoid drips.
Step 11: Painting the Board and Batten Wall
Now, it’s time to add color to your wall.
Choosing Appropriate Paint
Pick a high-quality interior paint with your desired finish (eggshell works well for a subtle shine). For ease, you might want to use a paint-and-primer-in-one. Test the paint on a small area first to ensure you like the color and finish.
Using low-VOC paint can be better for indoor air quality.
Applying Two Coats of Paint
Start with the first coat, using a roller for big areas and a brush for corners and edges. Let this coat dry completely.
Then, apply a second coat, ensuring the coverage is even. Use long, smooth strokes with the roller to avoid streaks.
You can lightly sand between coats if you want an extra-smooth finish.
Step 12: Clean Up and Reveal

This is the final step in completing your board and batten wall.
Removing Painter’s Tape
Take off the painter’s tape while the paint is still a bit tacky. Pull it off slowly at a 45-degree angle. If the paint has dried, use a utility knife to score along the tape’s edge before removing it. You can clean up any small paint bleeds with a damp cloth.
Allowing Paint to Dry
Let the paint dry fully according to the instructions on the can. Please don’t touch or put anything near the wall until the paint has set. Using fans or opening windows can help the paint dry faster.
Once it’s dry, check for any spots you might have missed or areas that need touching up.
Conclusion
Creating a board and batten wall is a rewarding project that can dramatically change the look of any room.
Following these steps teaches you to measure, cut, install, and finish a professional-looking wall treatment. Patience is key throughout the process, especially when aligning battens and caulking seams.
This DIY project adds visual interest and increases your home’s value.
As you enjoy your newly transformed space, consider how you might use these skills for future home improvements.
Don’t hesitate to share your experience or ask questions in the comments below.
We’d love to see photos of your finished board and batten walls! For more home improvement ideas and tutorials, subscribe to our newsletter or our other DIY guides.
Happy decorating!