


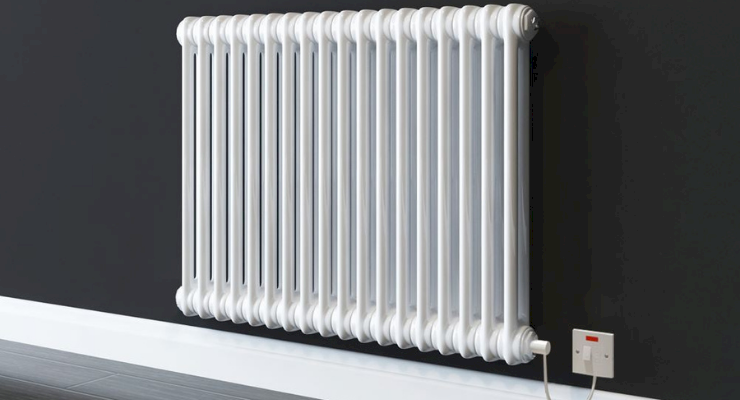
When it comes to practical and aesthetic home-heating options, column radiators stand out as viable and striking centrepieces to any room.
These radiators offer a perfect blend of traditional and modern, combining high-quality performance with timeless style.
This guide will take you through how to install column radiators, promising a step-by-step walkthrough to ensure that your installation is seamless and headache-free.
Step One: Choose Your Radiator
The very first step is to choose your column radiator. Make sure you select a radiator that is the correct size for your room to ensure adequate heat output.
The functionality and style that you have in mind will also play a role in your selection process. Consider the design, finish, size, and heating capabilities needed to get the most out of your new installation.
Step Two: Pre-Installation
Before diving into the installation process, there are some key considerations to keep in mind. Clear the area where your radiator is going to be fitted, confirming that the wall can support its weight.
Then identify where the pipes will enter the radiator and determine an efficient route for them.
Step Three: Positioning Your Radiator
The optimal position for a column radiator is usually beneath a window or on an outside wall. The reason being, these areas are typically the coldest parts of the room.
However, personal preference and room layout may also influence the placement decision. Once you’ve chosen your spot, use a pencil to mark where your brackets will ideally be attached.
Step Four: Installing Brackets
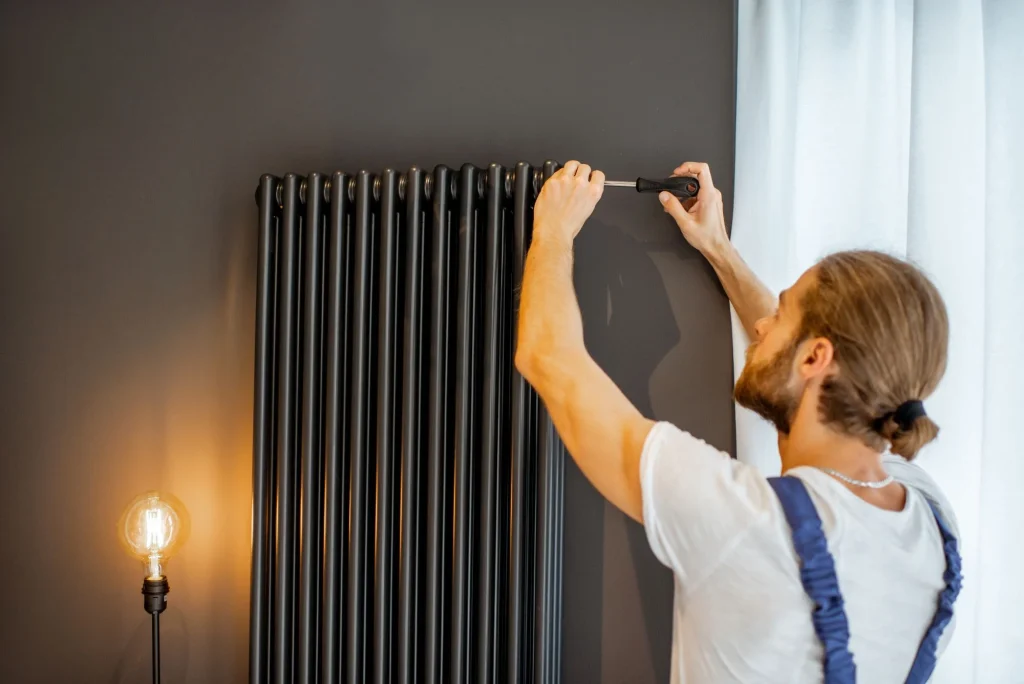
Once you’ve decided the location of your radiator, the next step is to install the brackets. Make sure they are levelled and measured correctly to fit the size of your radiator. After they are in the right position, secure them tightly to the wall with suitable fixings.
Step Five: Mounting the Radiator
With the brackets securely in place, it’s now time to mount the radiator. Carefully lift your radiator (you may require assistance due to their heavy nature) and mount onto the brackets. Make sure the radiator is level, secure and parallel to the floor before proceeding.
Step Six: Plumbing In
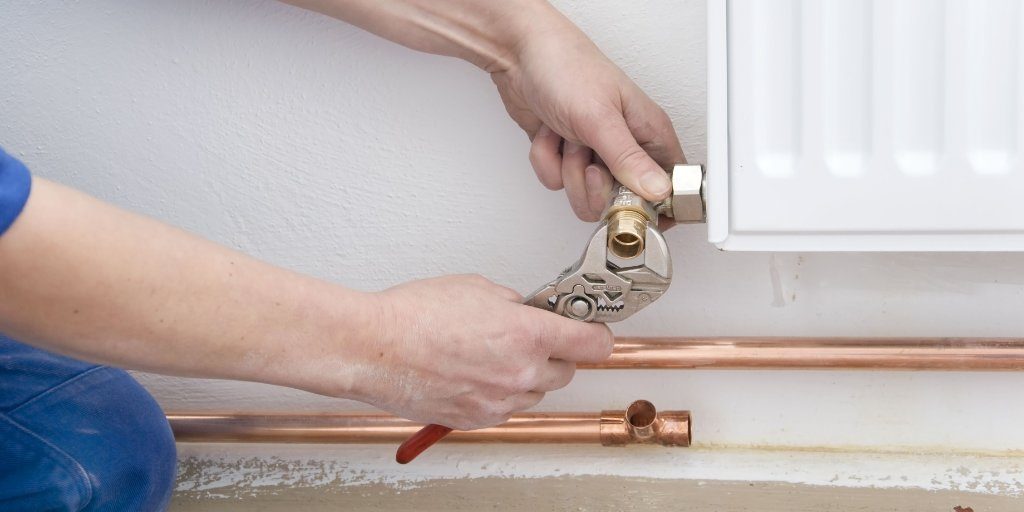
The next step is to connect your radiator to the heating system. It’s important here to follow specific instructions from the column radiator manufacturer, as incorrect installation can lead to leakage or inefficient heating. If you’re not completely comfortable with this step, it’s wise to hire a professional plumber to ensure a job well done.
Step Seven: Completing The Installation
Following a successful plumbing job, you’ll then need to fill the radiator with water, then bleed it to remove any trapped air. Lastly, the radiator’s heating capabilities should be thoroughly tested to ensure it’s working as expected.
While these steps form a basic guideline on how to install a column radiator, every installation is unique depending on the style of the radiator and the specifications of your home. For situations that require a more advanced level of handywork or plumbing, it may be beneficial to engage a professional’s help. Remember, safety should always be a priority in such installations.