


Do you miss delicious blueberry muffins from the old Jordan Marsh department store?
They were sweet, moist, and bursting with blueberry flavor – they were truly a New England classic.
Well, I have good news for you. This easy recipe will help you recreate those iconic Jordan Marsh blueberry muffins in your kitchen.
With just a few simple ingredients, I’ll show you how to bake up a batch of these nostalgic treats that will take you back to those mall-going days.
Let’s get started!
Ingredient Table
To make the classic Jordan Marsh blueberry muffins, you’ll need the following simple ingredients:
| Ingredient | Amount |
|---|---|
| Softened butter | 1/2 cup |
| White sugar | 1 cup |
| Eggs | 2 |
| Pure vanilla extract | 1 teaspoon |
| All-purpose flour | 2 cups |
| Baking powder | 2 teaspoons |
| Salt | 1/2 teaspoon |
| Milk | 1/2 cup |
| Fresh or frozen blueberries | 2 cups |
| Extra sugar for sprinkling | As needed |
Step-by-Step Instructions for Jordan Marsh Blueberry Muffins
1. Preheat the Oven
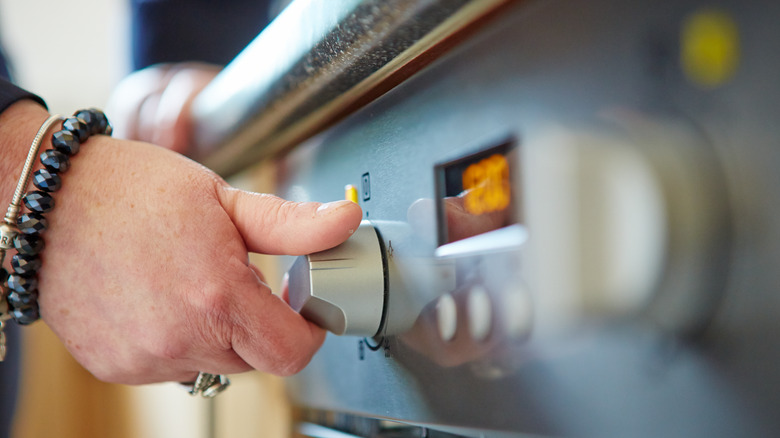
- Preheat your oven to 375°F (190°C).
- Ensuring your oven is preheated properly is crucial for even baking. Most ovens take 10-15 minutes to reach the desired temperature, so start preheating early.
- Lightly grease the muffin cups or use paper liners.
- Greasing the muffin cups prevents the muffins from sticking and makes for easy removal.
- Using paper liners is a convenient alternative that also adds a decorative touch. A light coat of butter or non-stick spray works well if you don’t have paper liners.
Useful Tips
- Why preheating matters: A fully preheated oven ensures that the muffins rise properly and bake evenly, starting in a cold oven can lead to uneven baking and dense muffins.
- Greasing tips: Use a pastry brush to coat the muffin cups evenly with melted butter or oil. Alternatively, use a non-stick spray for a quick and even application.
2. Cream Butter and Sugar
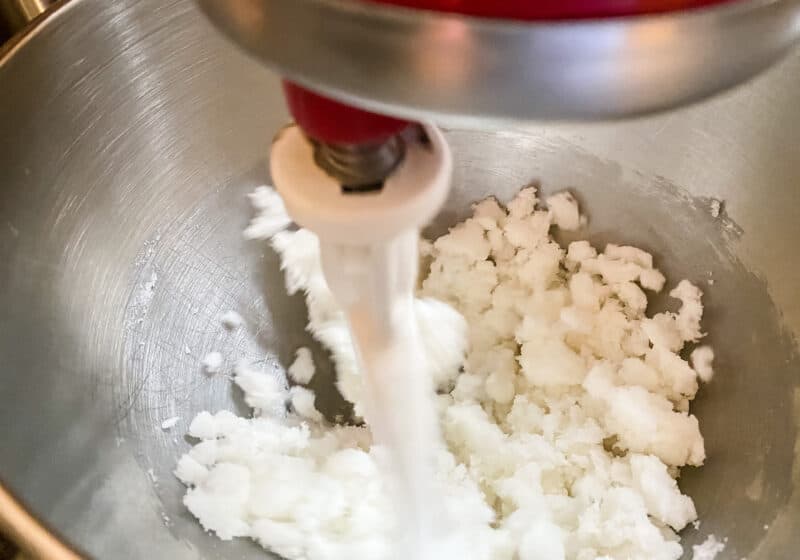
- In a mixing bowl, cream together 1/2 cup of softened butter and 1 cup of white sugar until light and fluffy.
- This process incorporates air into the mixture, which helps to create a light and airy muffin texture.
- Creaming the butter and sugar properly is crucial for the structure and texture of the final product.
- Ensure the butter is softened:
- Softened butter should be at room temperature, not melted.
- If it’s too cold, it won’t mix well with the sugar; if it’s too warm, it can make the mixture too runny.
- For the best results, use an electric mixer, starting on a low speed and gradually increasing to medium-high.
- If you don’t have an electric mixer, a wooden spoon or a hand whisk can also work, but it will require more effort and time.
Useful Tips
- Visual and texture cues: The mixture should become pale in color and have a light, fluffy texture. Scrape down the sides of the bowl periodically to ensure even mixing.
- Timing: Creaming can take anywhere from 3 to 5 minutes with an electric mixer, depending on the mixer’s power and the butter’s temperature.
3. Add Eggs and Vanilla
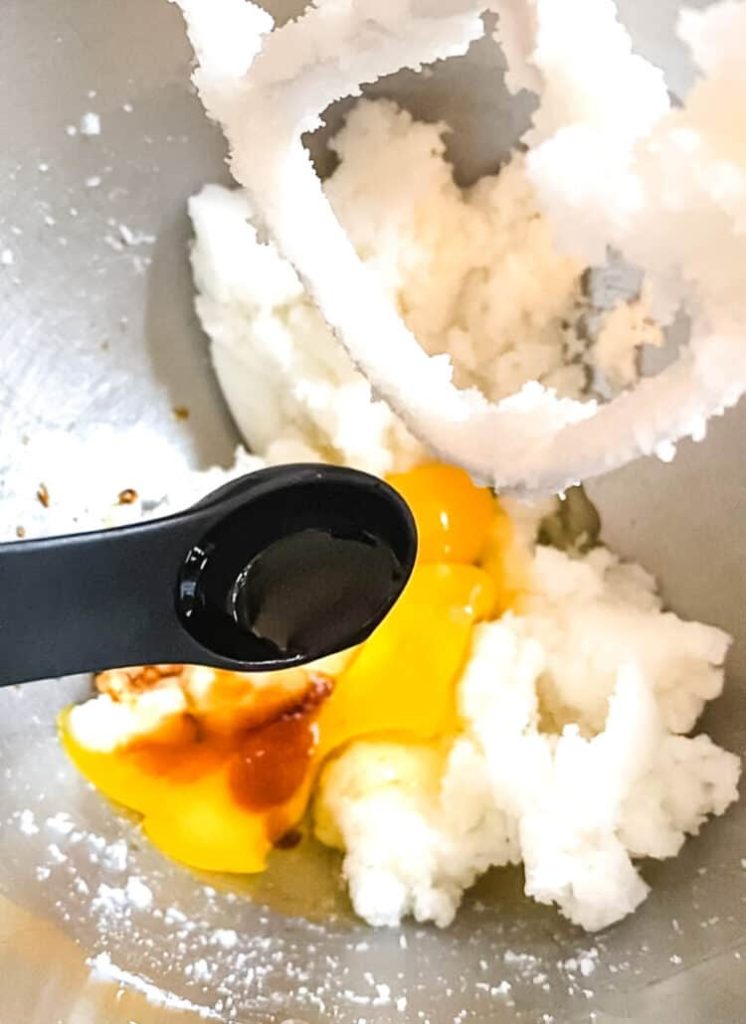
- Beat in the 2 eggs one at a time.
- Adding the eggs one at a time ensures they are fully incorporated into the batter, helping to maintain the smooth and creamy texture of the mixture.
- Add 1 teaspoon of pure vanilla extract and mix well.
- The vanilla extract enhances the flavor of the muffins, adding a subtle sweetness and depth.
- Ensure eggs are at room temperature:
- Room-temperature eggs mix more easily into the batter, creating a smoother texture.
Useful Tips
- Visual and texture cues: The mixture should be smooth and homogenous after each egg is added. If the batter starts to look curdled or separated, it might indicate that the eggs are too cold. Allow the mixture to sit for a minute, and then continue mixing.
- Flavor balance: Pure vanilla extract is recommended for the best flavor. Imitation vanilla can be used in a pinch but may not provide the same depth of flavor.
4. Mix Dry Ingredients
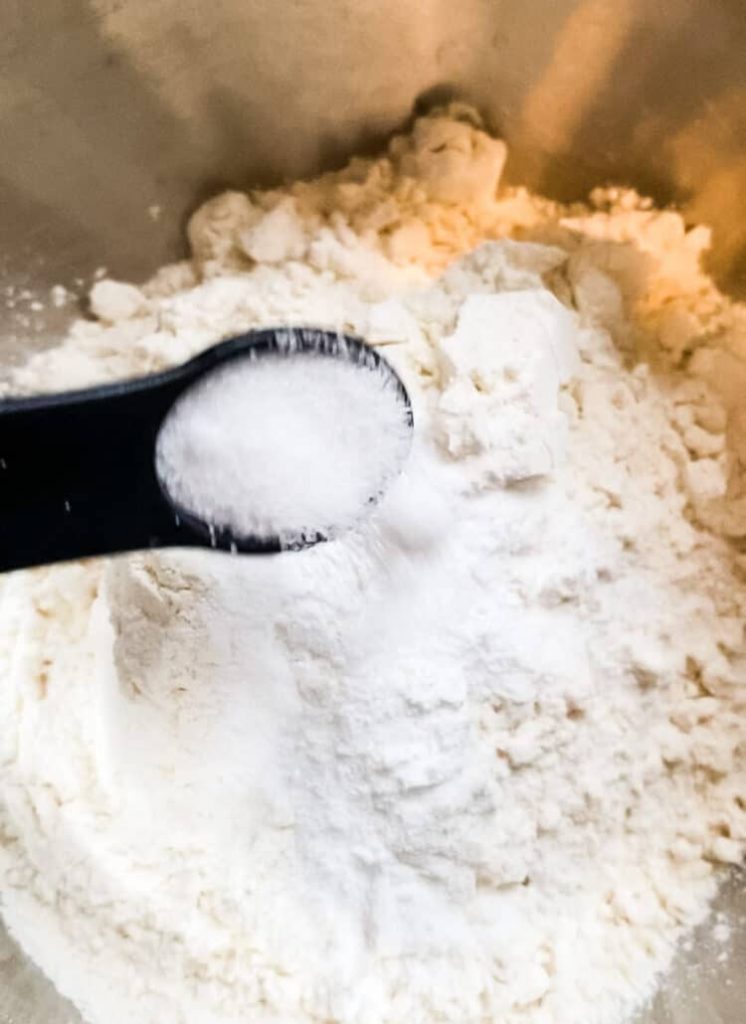
- In a separate bowl, whisk together 2 cups of all-purpose flour, 2 teaspoons of baking powder, and 1/2 teaspoon of salt.
- Mixing the dry ingredients separately ensures that the baking powder and salt are distributed evenly throughout the flour. This step helps avoid clumps and ensures that the muffins rise properly.
- Use a whisk to combine the ingredients thoroughly, breaking up any lumps in the flour. Importance of accurate measurements:
- Measure the flour correctly by spooning it into the measuring cup and leveling it off with a knife. Too much flour can make the muffins dense, while too little can affect their structure.
Useful Tips
- Quality of ingredients: Use fresh baking powder for the best results. Baking powder that is too old may not provide enough lift, resulting in flat muffins. Fine sea salt or table salt works well for baking, ensuring even flavor distribution.
- Additional options: You can sift the dry ingredients together for added flavor. Sifting helps to aerate the flour and further ensures even mixing.
5. Combine Wet and Dry Ingredients
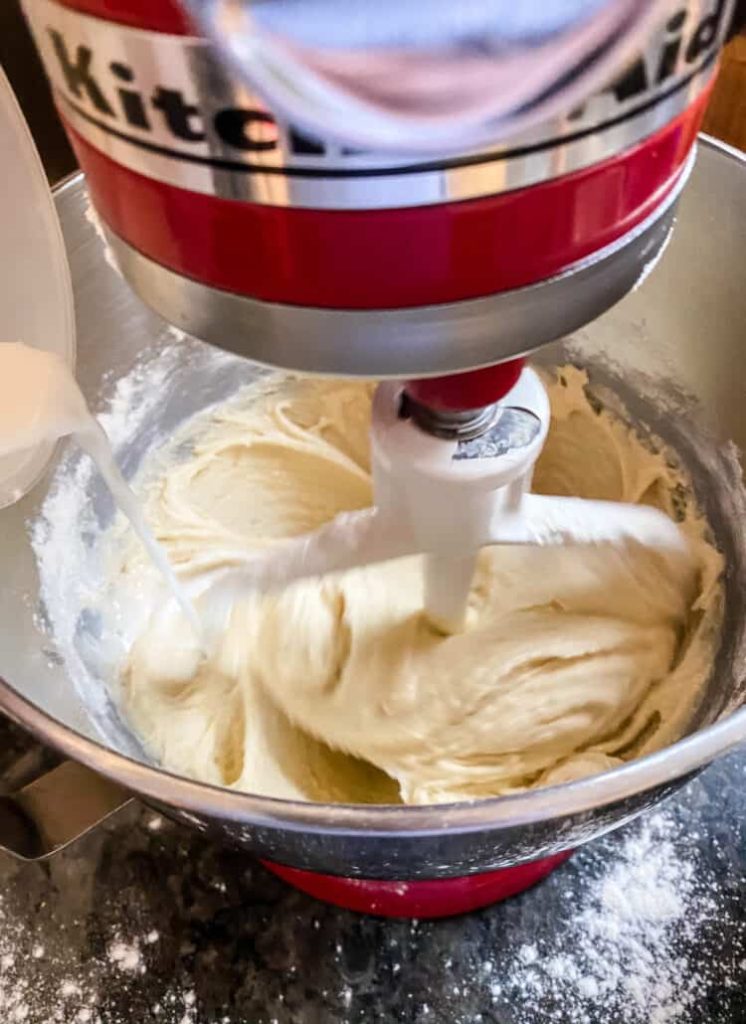
- Add the dry ingredients to the butter mixture, alternating with 1/2 cup of milk. Mix until just combined.
- This method helps to prevent over-mixing, which can lead to tough muffins. Alternating between dry ingredients and milk ensures a smoother, more even batter.
- Begin by adding some dry ingredients to the butter mixture, mixing on low speed until just combined.
- Follow with a portion of the milk, mixing again until just combined. Continue alternating between the dry ingredients and milk until all are incorporated.
- Over-mixing the batter can develop too much gluten, resulting in dense muffins. Mix each addition until you no longer see streaks of flour or milk.
Useful Tips
- Consistency of the batter: The batter should be thick but smooth, with no visible lumps of flour. If the batter seems too thick, add a small amount of milk, a tablespoon at a time, until the desired consistency is reached.
- Scraping the bowl: Periodically scrape down the sides and bottom of the mixing bowl with a spatula to ensure all ingredients are evenly incorporated.
6. Prepare Blueberries
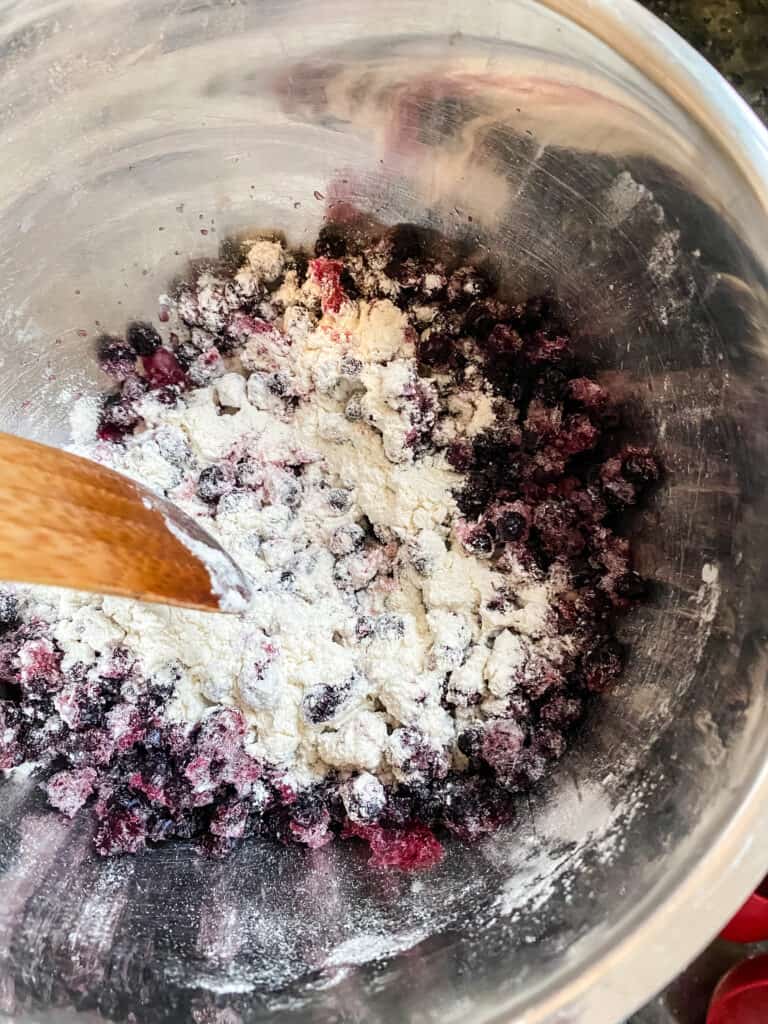
- Toss 2 cups of blueberries in a small amount of flour to prevent them from sinking in the batter.
- This step helps to distribute the blueberries throughout the muffins evenly and prevents them from sinking to the bottom.
- Use about 1-2 tablespoons of flour to coat the blueberries. Gently toss the blueberries in a small bowl with the flour until they are lightly coated.
- This recipe can use both fresh and frozen blueberries. If using frozen blueberries, do not thaw them before tossing them in flour. This helps prevent excess moisture in the batter.
Useful Tips
- Choosing the right blueberries: For the best flavor and texture, select firm, ripe blueberries. Avoid overripe or mushy blueberries, which can release too much juice during baking.
- Avoiding excess flour: Shake off any excess flour from the blueberries before folding them into the batter. Too much flour can affect the batter’s consistency and the muffins’ texture.
- Additional flavor tips: For an extra burst of flavor, you can add a small amount of lemon zest to the flour before tossing the blueberries.
7. Fold in Blueberries

- Gently fold the floured blueberries into the batter.
- This step ensures that the blueberries are evenly distributed throughout the muffin batter without being crushed.
- Fold the blueberries into the batter using a spatula or a wooden spoon.
- Gently lift and turn the batter over the blueberries, repeating until the blueberries are evenly distributed.
- Avoid stirring vigorously, which can crush the blueberries and release their juices into the batter.
Useful Tips
- Even distribution: Ensure that the blueberries are evenly spread throughout the batter to avoid clumping in certain areas of the muffins.
- Preventing color bleed: Folding gently helps to prevent the blueberries from breaking and bleeding color into the batter. If using frozen blueberries, keep them frozen until the last moment to minimize color bleeding.
- Additional ingredients: For extra flavor, add a handful of ingredients, like lemon zest or a dash of cinnamon.
8. Fill Muffin Cups
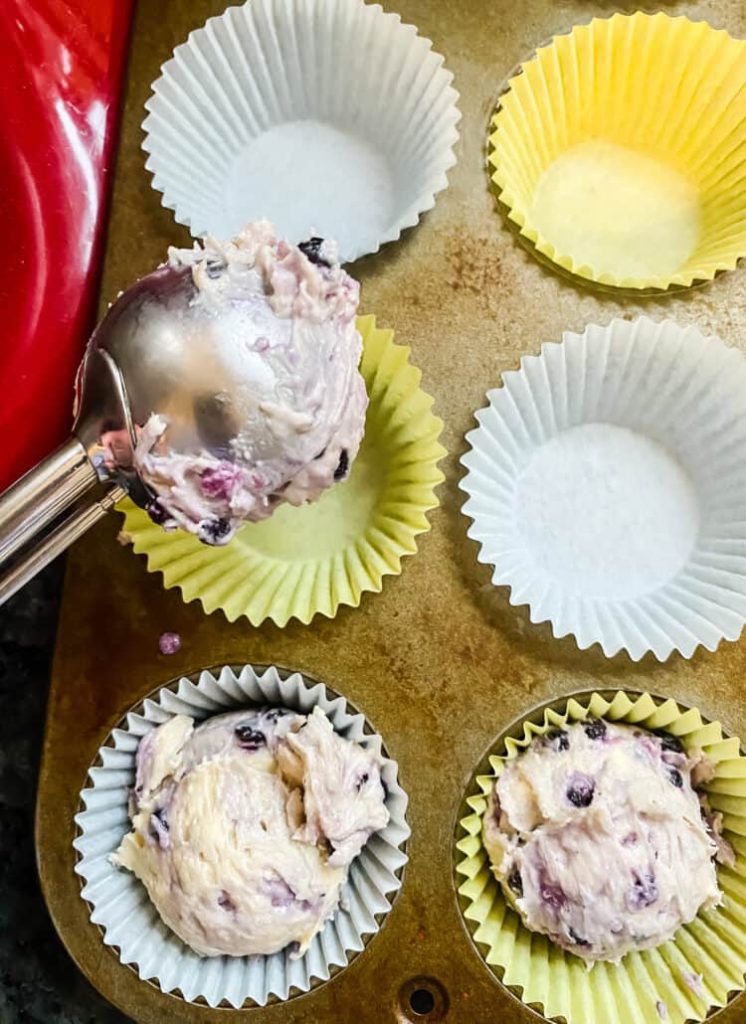
- Scoop the batter into the prepared muffin cups, filling them to the top.
- Filling the cups to the top ensures a generous, bakery-style muffin with a nice domed top.
- Use an ice cream scoop or a large spoon to portion the batter into the muffin cups evenly.
- Be careful not to overfill or spill batter on the edges of the muffin cups, as this can cause the muffins to stick.
- Use a damp paper towel to clean any spills before baking.
Useful Tips
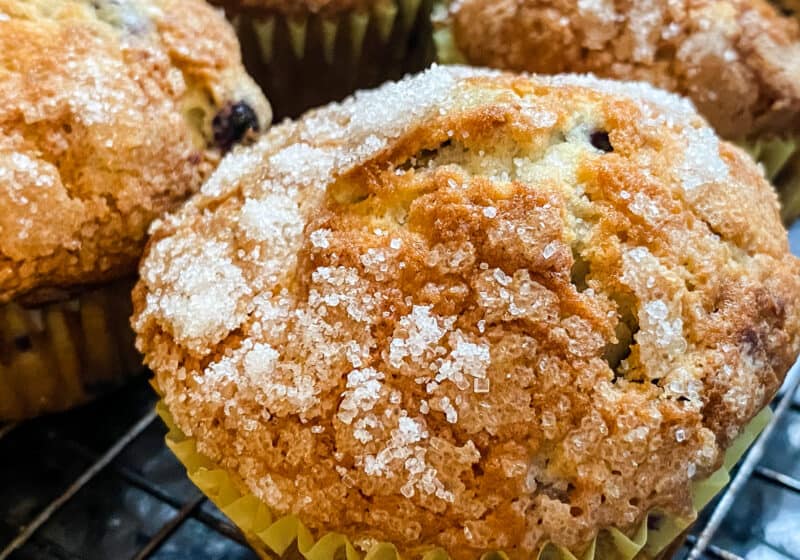
- Sprinkle extra sugar on top: Use coarse or granulated sugar for the best texture and appearance. This step adds a delightful crunch and a bit of extra sweetness to the muffins.
- Optional toppings: For added flavor and visual appeal, you can also sprinkle cinnamon or add a few extra blueberries.
- Ensuring even baking: Place the muffin tray in the center of the oven to ensure even heat distribution. If your oven has hot spots, rotate the tray halfway through baking.
9. Bake
- Bake in the preheated oven for 25-30 minutes or until the tops are golden and a toothpick inserted into the center comes clean.
- Baking time may vary slightly depending on your oven, so start checking around the 25-minute mark.
- The muffins should have a golden brown top and a firm texture.
- A toothpick or cake tester inserted into the center of a muffin should come out clean or with just a few crumbs attached, indicating they are fully baked.
- Place the muffin tray in the center of the oven to ensure even heat distribution.
- To maintain a consistent temperature, avoid opening the oven door frequently during baking.
Useful Tips
- Let the muffins cool: Allowing the muffins to cool in the pan for about 5 minutes helps them set and makes them easier to remove. If necessary, use a butter knife or a small spatula to gently loosen the muffins from the pan.
- Cooling on a wire rack: Transfer the muffins to a wire rack to cool completely, which prevents the bottoms from becoming soggy and allows air to circulate them.
Best Serving Suggestions
- Serve Warm with a Pat of Butter for The Best Experience: Warm muffins enhance the flavors and provide a comforting, homemade feel. The butter melts into the warm muffin, adding richness and moisture.
- Enjoy as a Breakfast Treat or a Snack: These muffins are versatile and perfect for any time of the day. Pair them with a cup of coffee or tea for a delightful morning or afternoon pick-me-up start.
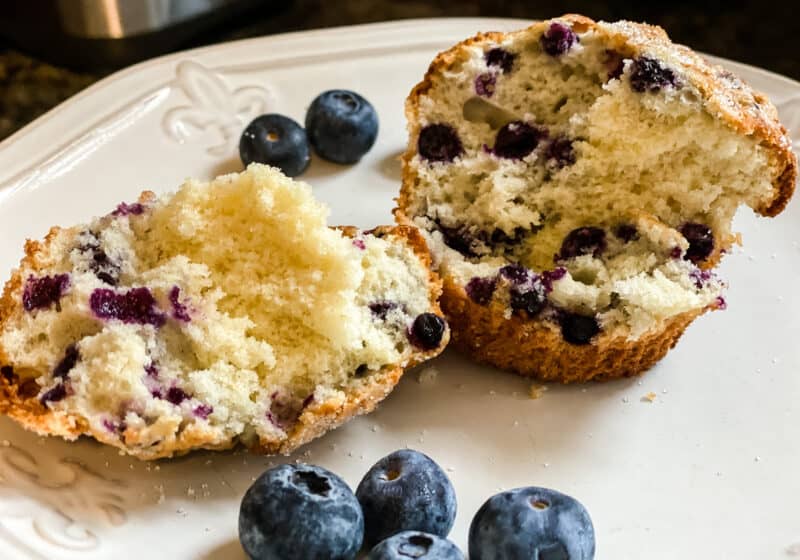
- Use Fresh or Frozen Blueberries; Both Work Well: Fresh blueberries provide a burst of flavor and a firmer texture. Frozen blueberries are convenient and often available year-round. They may bleed slightly into the batter, giving the muffins a lovely purple hue.
- Use Wild Blueberries for a More Intense Flavor: Wild blueberries are smaller and more flavorful than cultivated ones, offering a more concentrated blueberry taste. They distribute more evenly throughout the muffin, ensuring a blueberry in every bite.
Conclusion
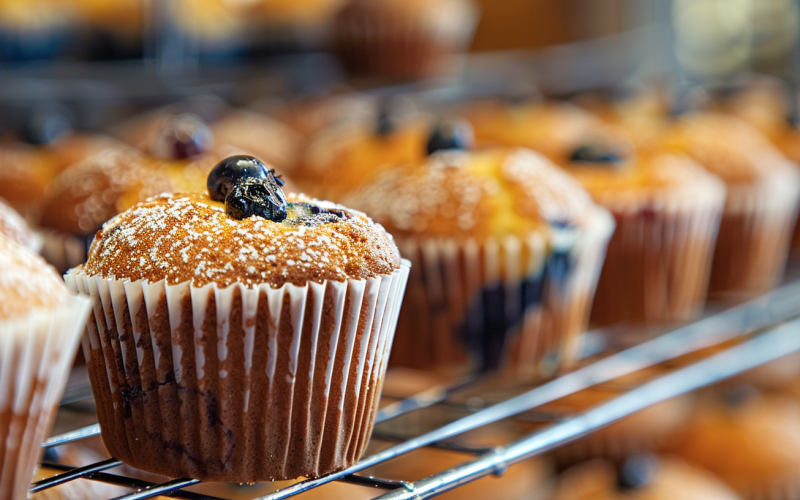
These classic Jordan Marsh blueberry muffins are the perfect way to bring back nostalgic New England memories.
Their soft, tender crumb and bursting blueberry flavor will surely delight your taste buds.
Now that you have the secret recipe, you can easily bake up a batch of these beloved muffins in your kitchen.
Whether you enjoy them for breakfast, an afternoon snack, or even dessert, they will become a new family favorite.
So, what are you waiting for? Grab your ingredients and get baking!
Serve these muffins warm, with a pat of butter, and let the flavors transport you back to the good old days at the Jordan Marsh department store.