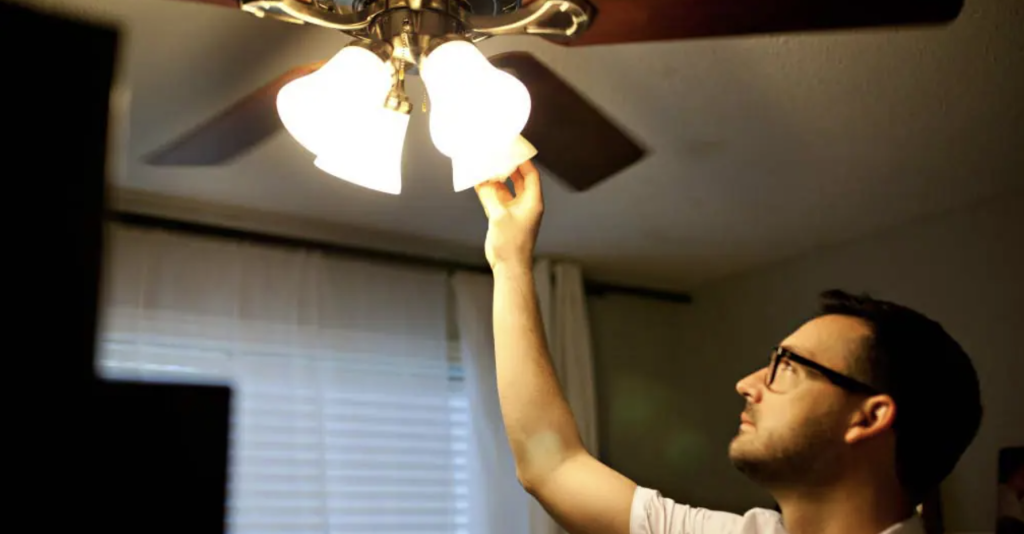
Are your dimmable LED lights giving you a headache with their constant flickering?
You’re not alone. Many homeowners face this frustrating issue, turning their cozy ambiance into a disco nightmare.
Flickering dimmable LEDs can be caused by incompatible dimmer switches, poor-quality bulbs, or incorrect wattage.
This ruins the mood, leading to eye strain and increased energy consumption.
Plus, the constant on-off cycle may shorten the lifespan of your expensive LED bulbs.
This blog post will discuss quick and effective solutions to stop your dimmable LEDs from flickering.
We’ll cover everything from choosing the right dimmer switch to selecting compatible bulbs and adjusting your existing setup.
By the end, you’ll know to banish that annoying flicker and enjoy the smooth, adjustable lighting you deserve.
Understanding the Causes of Flickering

Dimmable LED lights can flicker for various reasons, each requiring specific solutions.
Understanding these root causes is essential for effectively fixing and preventing flickering issues in your lighting setup.
Key Causes and Solutions
1. Unsecured Wiring
Loose connections often lead to intermittent flickering, a common issue in new and older installations.
To address this:
- Inspect all wiring connections
- Tighten any loose wires
- Seek professional help if needed to avoid potential hazards.
2. Non-dimmable LEDs
Using non-dimmable bulbs with dimmers is a frequent cause of flickering.
To resolve this:
- Check the packaging for “dimmable” indication
- Replace non-dimmable bulbs with dimmable ones
- Ensure all bulbs in a dimmable fixture are compatible
3. Incompatible Dimmer Switches
Old or incompatible dimmer switches may not work well with LED bulbs.
To fix this:
- Verify the compatibility of your dimmer switches
- Upgrade to dimmers designed specifically for LED lights
- Look for ‘LED compatible’ or ‘RC’ labeled dimmers
4. Defective Bulbs Faulty
LED bulbs can cause intermittent flickering due to manufacturing defects or end-of-life issues.
To address this:
- Test bulbs in a different fixture
- Replace defective bulbs with new, high-quality ones
- Consider purchasing bulbs from reputable brands
5. Overloaded Circuits
Too many LEDs on one circuit can overload the dimmer switch.
To solve this:
- Reduce the number of bulbs on the circuit
- Distribute the load across multiple circuits
- Upgrade to a dimmer switch with a higher load capacity
6. Preventive Measures
- Regularly check and secure all wiring connections
- Invest in high-quality dimmable bulbs and compatible dimmer switches
- Consult with electricians for complex installations and persistent issues
You can solve most problems flickering by addressing unsecured wiring, using dimmable LEDs with compatible dimmer switches, replacing defective bulbs, and avoiding circuit overloads.
Understanding these causes and solutions will help you enjoy stable, efficient lighting with dimmable LEDs.
Advanced Solutions to Stop the Flickering

1. Check for Minimum Load Requirements
- Problem Identification: Some dimmers require a minimum electrical load to function correctly. Without meeting this requirement, LED lights may flicker or not dim properly.
- Solution: Use dimmers specifically designed for low-wattage LEDs. For example, the Varilight V-Pro range has no minimum load requirement.
Benefits
- Ensures smooth dimming even with low-wattage LED bulbs.
- It prevents flickering and prolongs the lifespan of both bulbs and dimmers.
Implementation Tips
- Check the specifications of your dimmer to confirm the minimum load requirement.
- Replace existing dimmers with models that support low-wattage LEDs.
2. Consider Wireless Dimming Systems
- Problem Identification: Traditional wired dimmers may struggle with compatibility and stable performance with modern LEDs.
- Solution: Implement wireless dimming systems such as Casambi or Philips Hue. They offer more stable and flexible dimming options.
Benefits
- Provides seamless dimming without flickering.
- Offers additional features like remote control, programmable settings, and integration with smart home systems.
Implementation Tips
- Ensure your LED lights are compatible with the chosen wireless system.
- Follow installation guidelines to integrate wireless dimming into your lighting setup.
3. Invest in High-Quality Products
- Problem Identification: Low-quality dimmers and LEDs are more prone to flickering and other performance issues.
- Solution: Invest in reputable brands known for rigorous testing and high-quality products.
Benefits
- Reduces the likelihood of flickering and other issues.
- Provides better longevity and reliability for your lighting system.
Implementation Tips
- Research and choose products with strong positive reviews and endorsements.
- Consider products from brands with a proven track record in LED lighting and dimming technology.
4. Prevent Overheating
- Problem Identification: Overheating of dimmers can lead to flickering and potential damage to the lighting system.
- Solution: Ensure proper ventilation around dimmers and avoid exceeding the wattage limits of the dimmers.
Benefits
- Maintains stable dimming performance.
- Prolong the lifespan of both dimmers and LED bulbs by preventing overheating.
Implementation Tips
- Check your dimmers’ wattage limits and ensure they are not overloaded.
- Install dimmers in areas with adequate ventilation to dissipate heat effectively.
- Consider using a heat sink or additional cooling solutions if necessary.
Troubleshooting the Flickering Issue

Encountering flickering issues with your dimmable LED lights can be frustrating, but many problems can be resolved systematically.
Follow these steps to diagnose and fix common causes of LED flickering, starting with the most critical actions and moving on to more advanced solutions.
1. Check Wiring and Connections
- Inspect all connections for loose or exposed wires
- Use a screwdriver to tighten any loose connections
- If unsure, contact a professional electrician to avoid safety hazards
2. Verify Bulb Compatibility
- Look for ‘dimmable’ on the bulb packaging
- Check the manufacturer’s specifications to confirm the bulb’s capabilities
- Replace any non-dimmable bulbs with compatible alternatives
3. Test and Replace Defective Bulbs
- Observe which bulbs are flickering
- Replace the flickering bulb with a known working one to test
- Properly dispose of defective bulbs and replace them with new ones
4. Upgrade Incompatible Dimmer Switches
- Verify that your dimmer switch is designed for LED lights
- Purchase dimmer switches labeled as compatible with LEDs
- Install new dimmer switches following manufacturer instructions or hire a professional
5. Ensure Power Supplies are Dimmable
- Check the driver’s specifications to confirm if it’s dimmable
- Purchase and install dimmable drivers if necessary
- Consider professional assistance for proper installation and functionality
6. Match Dimmers with LED Types
- Identify if your LEDs are leading-edge or trailing-edge
- Select a dimmer switch that matches the LED type
- Follow any specific recommendations from the LED manufacturer
Preventive Maintenance and Best Practices
Maintaining your dimmable LED lighting system is key to preventing flickering issues and ensuring long-term performance.
By following these best practices and implementing regular maintenance routines
You can significantly reduce the likelihood of problems and extend the life of your lighting components.
1. Regular Inspections
Schedule Routine Checks
- Set up a bi-annual or annual inspection schedule for your lighting system
- Mark calendar reminders to ensure consistency in maintenance
Visual Inspections
- Look for signs of wear, discoloration, or damage on bulbs and fixtures
- Check for any loose connections or exposed wiring
Functional Tests
- Test dimmer functionality across its full range
- Listen for unusual buzzing or humming sounds
2. Proper Installation Techniques
Follow Manufacturer Guidelines
- Carefully read and adhere to installation instructions for both bulbs and dimmers
- Pay attention to specific wattage and compatibility requirements
Use Appropriate Tools
- Employ the correct screwdrivers, wire strippers, and other necessary tools
- Consider investing in a multimeter for electrical testing
Ensure Proper Wiring
- Double-check all connections are secure and correctly wired
- Use wire nuts of the appropriate size for connections
3. Cleanliness and Dust Control
Regular Cleaning
- Dust bulbs and fixtures regularly to maintain optimal performance
- Use a soft, dry cloth to avoid scratching or damaging components
Ventilation Maintenance
- Keep vents on dimmers and fixtures clear of dust and debris
- Ensure proper airflow around dimmer switches to prevent overheating
4. Quality Product Selection
Choose Reputable Brands
- Research and select well-reviewed, reliable brands for both bulbs and dimmers
- Be willing to invest in higher-quality products for better long-term performance
Match Components Carefully
- Ensure LED bulbs and dimmers are compatible
- Consider purchasing bulbs and dimmers from the same manufacturer for optimal compatibility
5. Environmental Considerations
Temperature Control
- Be aware of ambient temperature effects on LED performance
- Avoid installing dimmers in areas prone to extreme temperature fluctuations
Humidity Management
- In high-humidity areas, use fixtures and dimmers rated for damp locations
- Consider using dehumidifiers in problem areas to protect electrical components
7. Documentation and Record Keeping
Maintain Product Information
- Keep receipts, warranties, and product manuals in an easily accessible location
- Note the purchase date and expected lifespan of components
Log Maintenance Activities
- Keep a record of all inspections, repairs, and replacements
- Document any recurring issues for future reference or professional consultation
By implementing these preventive maintenance practices and following best practices.
You can significantly reduce the likelihood of flickering issues and extend the lifespan of your dimmable LED lighting system.
Conclusion
Flickering dimmable LED lights can be frustrating, but with the knowledge gained from this guide, you’re well-equipped to tackle the problem.
We’ve explored common causes, from incompatible dimmer switches to loose wiring, and provided step-by-step solutions.
The key often lies in ensuring compatibility between LED bulbs, dimmer switches, and electrical systems.
Following the troubleshooting steps and implementing advanced solutions when necessary.
Adhering to preventive maintenance practices can significantly improve your lighting’s performance and longevity.
Regular inspections, proper installation, and choosing quality products are crucial.
Remember to recognize when a problem requires professional help.
Consult a licensed electrician if you’ve exhausted all options or encountered electrical hazards.
With the right approach, you can transform flickering nightmares into smoothly dimming, energy-efficient lighting that enhances your space’s ambiance.


