


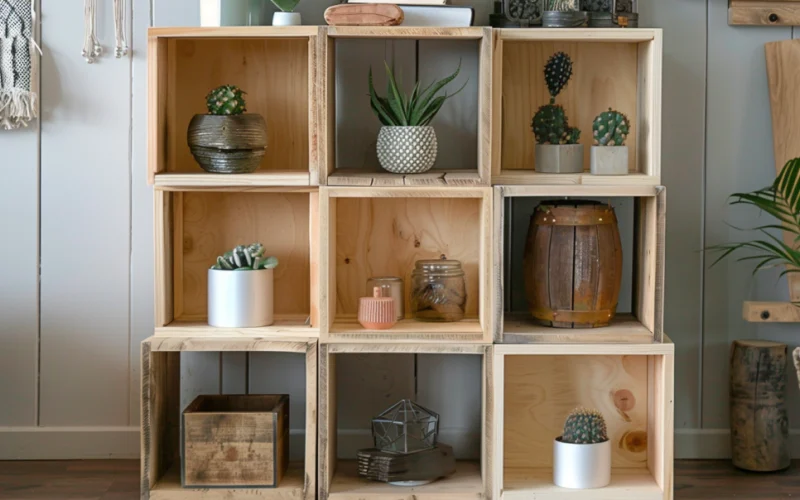
Storage cubes are great, but let’s face it – those plain boxes can look pretty dull.
Many of us want stylish storage solutions without breaking the bank. I get it.
I’m excited to share my budget-friendly DIY cube storage makeover.
In this post, I’ll walk you through transforming basic cubes into eye-catching storage pieces.
You’ll learn simple techniques to add color, texture, and personality to boring boxes.
Best of all, you can do it all without spending a fortune.
I’ll cover everything from choosing materials to finishing touches.
You’ll get step-by-step instructions, money-saving tips, and creative ideas to make your cubes stand out.
By the end, you’ll have the know-how to create custom storage that fits your style and budget.
Material Required
- Two 1x3x8 pine boards
- One edge-glued panel board
- Scrap piece of 2×4 lumber
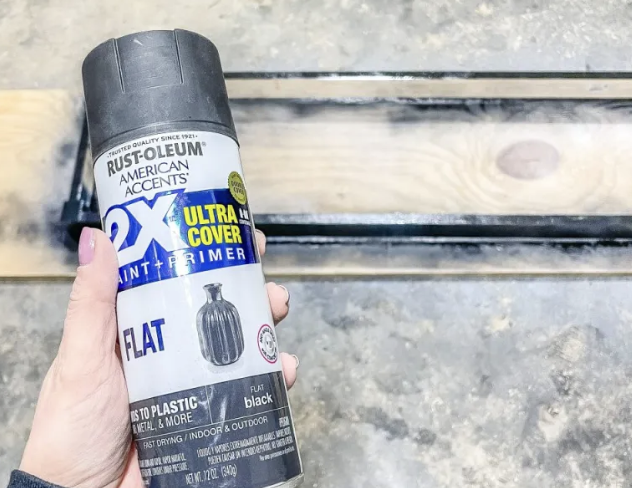
- White primer
- Paint of your choice
- Wood glue
- Sandpaper (220 grit)
- Wood screws (1-1/4″ and 1-1/2″)
- Storage bins or baskets (optional)
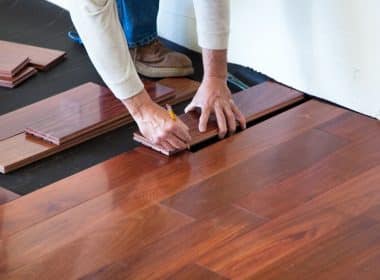
Step 1: Prepare the Base
To begin the makeover, focus on creating a sturdy base for your cube storage unit.
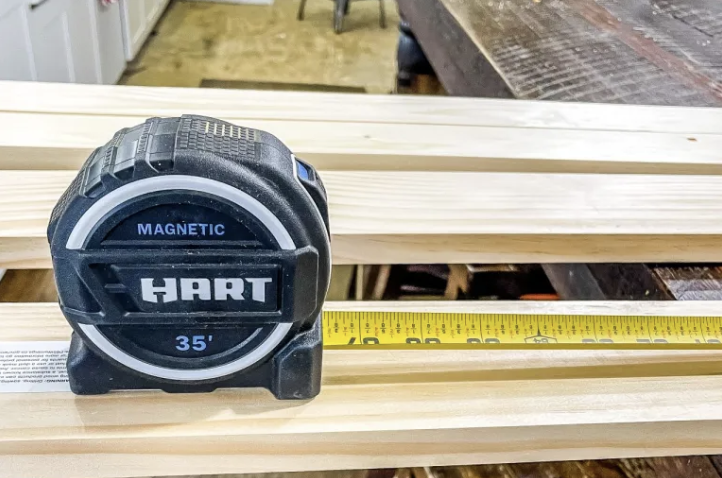
Measure the length of your unit and subtract 4 inches.
Use this measurement to cut two pieces of 1×3 pine board for the front and back of the base.
Next, measure the unit’s width, again subtracting 4 inches, and cut two more 1×3 pieces for the sides.
From your 2×4 scrap, cut four 1-inch wide pieces to serve as feet for the base.
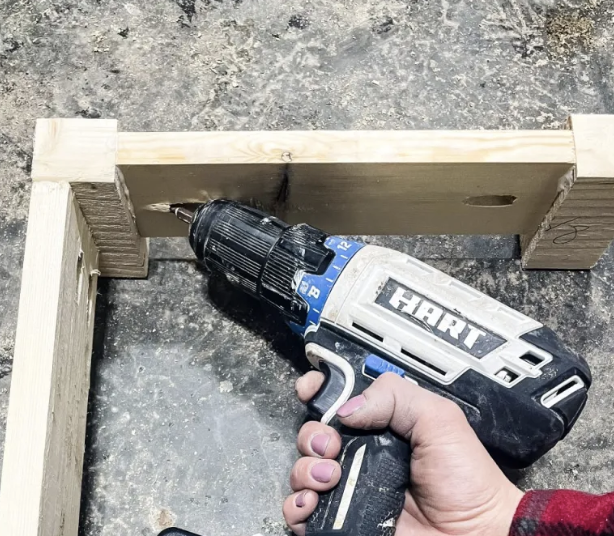
Step 2: Assemble the Base
Now, it’s time to assemble the base.
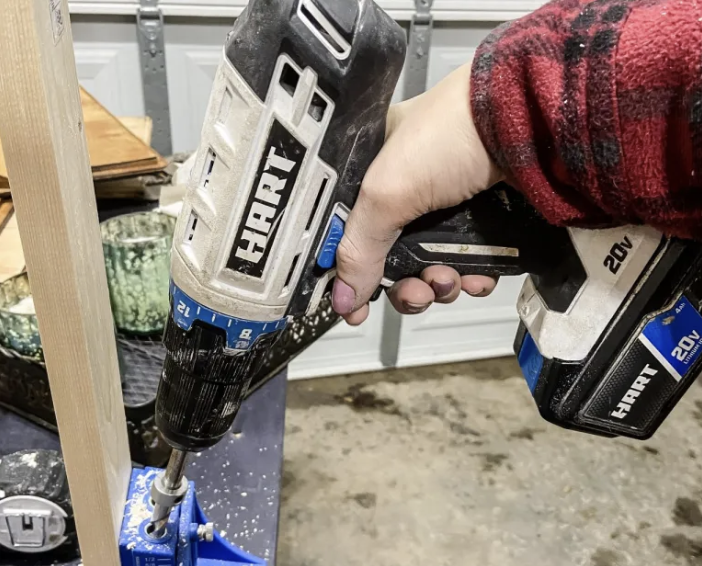
Attach the long sides to the feet using wood screws, then connect the short sides to form a rectangular frame.
You might want to use wood glue at the joints for added stability.
Once the base is assembled, please give it a light sanding with 220-grit sandpaper.
Apply a coat of white primer, and paint the base in your chosen color when dry.
Step 3: Create the Top

While the base is drying, turn your attention to creating a new top for your unit.
Measure the length and width of your cube storage, then cut the edge-glued panel board 2 inches longer and wider than these measurements.
This will create a slight overhang on all sides.
Prime and paint the top to match your newly created base.
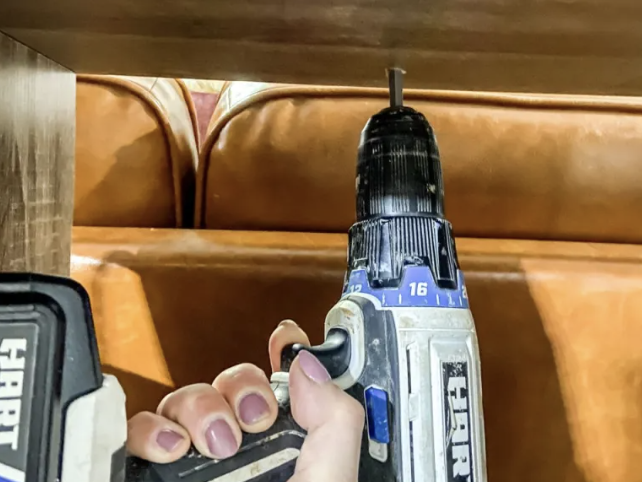
Step 4: Attach the Base
With all components ready, it’s time to put everything together.
Start by attaching the base.
Turn your cube storage unit upside down and position the base on the bottom.
Secure it by drilling 1-1/2″ wood screws from inside the unit into the base.
Next, apply wood glue to the upper edges of the cube storage unit.
Carefully place the painted top panel onto the unit, ensuring equal overhang on all sides.
For extra security, drill 1-1/4″ screws from inside the top cubes into the panel.
Step 5: Attach the Top
Once everything is dry, stand your newly renovated cube storage unit upright.
You’ll immediately notice how the added base elevates the unit off the floor, giving it a more substantial, built-in appearance.
The new top provides a sleek, finished look that transforms the entire piece.
Step 6: Finishing Touches
Consider adding storage bins or baskets to organize your items as a final step.
This enhances the unit’s functionality and adds a decorative element.
Choose containers that complement your decor style and meet your storage needs.
Additional Tips and Tricks
While the basic makeover process is straightforward, you can use several tips and tricks to enhance your project and make it even more successful.
1. Choosing the Right Paint
Consider using a semi-gloss or satin finish paint for the base and top.
These finishes are more durable and easier to clean than flat paint, which is important for furniture that will see regular use.
If you’re painting the cube unit, oil-based paint or a specialized furniture paint will adhere better to the laminate surface.
Don’t forget to lightly sand and prime the laminate first for better paint adhesion.
2. Customizing the Look
There are many ways to customize your cube storage unit beyond just painting it.
You could add decorative molding to the top edge for a more refined look.
Another option is to use wood veneer or peel-and-stick wallpaper on the back panel of each cube for added visual interest.
For a trendy two-tone look, paint the inside of the cubes a different color than the exterior.
3. Reinforcing the Structure
If your cube storage unit feels flimsy, you can reinforce it during the makeover.
Add a thin piece of plywood to the back for extra stability.
When attaching the top, consider using L-brackets on the inside corners for added strength.
4. Leveling the Unit
Floors aren’t always perfectly level, making your newly made-over unit wobble.
To prevent this, consider adding adjustable furniture feet to the base.
These allow you to fine-tune the level of your unit, even on slightly uneven floors.
5. Protecting the Top
Consider applying a clear polyurethane coating to keep your new top looking good.
This will protect the paint or stain from scratches and make cleaning easier.
You could even add a piece of glass cut to size on top for extra protection.
6. Organizing the Cubes
While bins and baskets are great for storage, don’t feel limited to just these options.
Small tension rods can create hanging storage for files or folders.
Install small hooks inside the cubes for hanging items.
You could even add a wine rack insert to one of the cubes for a unique storage solution.
7. Lighting It Up
For a high-end look, consider adding some lighting to your unit.
Battery-operated LED puck lights can be easily installed on the top of each cube.
This adds ambiance and makes it easier to see what’s stored inside.
8. Making It Mobile
If you want the flexibility to move your storage unit around, consider adding casters to the base instead of feet.
Choose locking casters so you can keep them in place when needed.
9. Eco-Friendly Options
For a more environmentally friendly makeover, look for low-VOC paints and sustainably sourced wood for the base and top.
You could even use reclaimed wood for a unique, rustic look.
10. Future-Proofing Your Design
Think about how your storage needs might change in the future.
You could design your makeover to allow for easy addition or removal of shelves or dividers later on.
Remember, the key to a successful DIY project is planning.
Take the time to think through your design and gather all your materials before you start.
Don’t be afraid to sketch your ideas or create a mood board to help visualize the final product.
Lastly, safety should always come first.
Wear appropriate protective gear when sanding or painting and work in a well-ventilated area.
If you’re uncomfortable with any part of the process, don’t hesitate to ask for help or advice from more experienced DIYers or professionals.
With these tips and tricks, you can take your cube storage makeover to the next level. Happy crafting!
Conclusion
Transforming a basic cube storage unit into stylish furniture is easier than you might think.
This DIY makeover improves the look of your storage and makes it more functional.
Adding a base and top creates a custom piece that fits your space and needs.
This project shows you can upgrade your home decor without breaking the bank with creativity and effort.
The result is a personalized storage solution that looks much more expensive than it is.
I hope this guide has inspired you to look at your cube storage with fresh eyes. Why not give it a try?
You might be surprised at how much difference this simple makeover can make in your space.
If you take on this project, I’d love to hear about your experience or your results.