Corner shelves are a smart way to use space in any room. Many people struggle to find storage solutions that fit snugly into corners.
A DIY corner shelf is the perfect answer to this common problem. It’s a project you can finish in a weekend, saving you money and giving you a custom look.
This guide will show you how to build your own DIY corner shelf step by step.
You’ll learn what tools and materials you need, how to measure and cut the wood, and how to assemble it. By the end, you’ll have a beautiful, useful shelf that fits perfectly in your corner.
Let’s get started on making your very own DIY corner shelf. With our clear instructions, you’ll be enjoying your new shelf in no time.
How to Make a DIY Corner Shelf: Quick Steps
Step 1: Gather Materials and Tools
Materials Needed
For this DIY corner shelf project, you’ll need:
- Two 2x6x8 boards
- Three 2x2x6 boards
- 2 ½″ wood screws
- 2 ½″ pocket hole screws
- Wood glue
- Wood filler or dowels (if you want to hide screw holes)
Tools Required
Make sure you have these tools on hand:
- Miter saw
- Table saw
- Drill/driver
- Pocket hole jig
- Jigsaw
- Measuring tape
- Sander
- Clamps (various sizes)
Having all your materials and tools ready before you start will make the building process smoother. Check that your tools are in good working order and that your materials are the right size and quality for the job.
Step 2: Prepare the Lumber
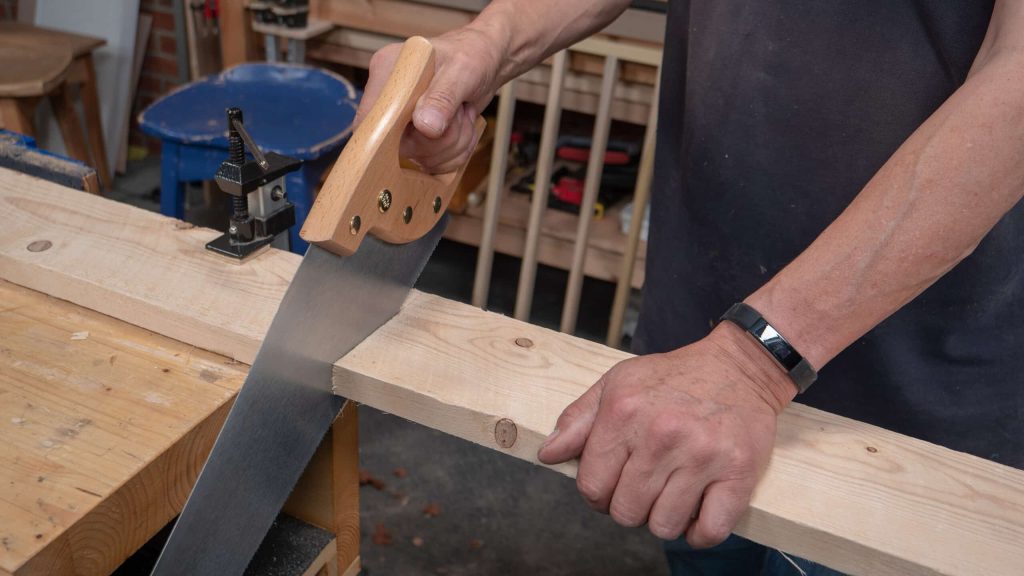
Cut the Boards
- Start by trimming one 2×6 board into three pieces, each about 32″ long. This gives you the parts needed for the shelf panel.
- To avoid messy glue-ups, square the board edges on a table saw. Most lumber has rounded edges, which can make gluing tricky. Squaring them helps create a neater, more exact glue-up.
- Next, glue these pieces together to form a solid panel.
- Place the three pieces side by side, apply wood glue to the edges, and clamp them together.
- Let the glue dry fully before proceeding.
Cut the Posts
- For the main support, cut one 2×2 to 50 ½″ long with square ends.
- Then, cut two more 2x2s to 50 ⅞″ long, with the ends mitered at 7 degrees parallel. This slight difference in length and the angled cuts are key for the posts to line up right with the shelf slats.
- Set your miter saw to a 7-degree angle to make these mitered cuts.
- Cut one end of the 2×2, then measure 50 ⅞″ from this cut and make another cut at the same angle without turning the board. This keeps both cuts parallel, ensuring a good fit for your frame.
- Remember to wear safety gear and keep your work area clear.
- Use a stop block for consistent cuts and label your pieces.
- Always check your cuts with a square and sand any rough edges for a smooth finish.
Step 3: Assemble the Frame
Cut and Prepare Back Slats
- Start by cutting back slats from 2x6s.
- Make one end square and the other with a 7-degree miter. This shape helps the slats fit snugly between the posts, making your shelf strong and good-looking.
- Next, drill 1 ½″ pocket holes into the angled ends of each piece. These holes let you join the slats to the posts without seeing the screws.
- Before you put it all together, sand the pieces well. This will remove rough spots and make your shelf look more professional.
Attach the Slats to the Back Post
- Now, attach the slats to the back corner post.
- Use 2 ½″ screws and keep an 8 ½″ space between each slat. This spacing looks nice and helps spread the weight of things you’ll put on the shelves.
- Secure the angled posts with 2 ½″ pocket hole screws. These screws make sure the posts stay firmly attached to the slats, making your shelf extra sturdy.
- When you’re putting it together, start at the top and work your way down. This helps you keep the spacing right. Use clamps to hold the slats in place while you put in the screws.
Remember to wear safety gear and work in a room with good airflow. Before you start putting things together, drill all your holes and cut all your slats. After you attach each slat, check that it’s level and aligned.
When you’re done, give everything a final sanding to make it smooth and neat.
Step 4: Cut and Install Shelves
Cut the Shelves
- Once the glue on your panel is fully dry, trim the ends to make them square. This gives you a good base for your shelves.
- Next, draw four-quarter circles on the panel. These will be your shelf shapes.
- Use a jigsaw to cut along these lines carefully. After cutting, sand all the edges well. This will make the shelves smooth and safe to touch and improve their appearance.
Install the Shelves
- Now, it’s time to put the shelves in place.
- Start with the smallest shelf at the top and work down to the largest at the bottom. This order fits the shape of your corner shelf frame.
- To attach each shelf, use 2 ½″ screws. Put these screws through the back of each slat into the edge of the shelf. This keeps the shelves firmly in place and stops them from sagging over time.
- When you’re installing, start at the top and work down. This helps ensure each shelf fits right and the spaces between them stay even. It’s a good idea to use clamps to hold each shelf while you’re screwing it in place.
- Remember to wear safety glasses and ear protection when you’re using tools.
- Keep your work area tidy to avoid accidents. It can help to cut all your shelf pieces before you start putting them in.
- You might want to label each shelf (top, middle, bottom) so you don’t mix them up.
- After you’ve installed all the shelves, check that they’re level and firmly attached. This helps ensure your corner shelf stays strong and looks good for a long time.
Step 5: Finishing Touches
Fill Screw Holes (Optional)
If you want a cleaner look, you can fill the screw holes. Use wood filler, dowels, or plugs that match your wood type.
To apply wood filler, press a putty knife firmly into the holes. Let it dry as the instructions say, then smooth it to blend in with the wood around it.
Paint or Stain
Now, it’s time to give your shelf some color.
Choose a paint or stain that complements your room and helps protect the wood. Before you start, ensure the shelf is clean and dust-free. Use a tack cloth to wipe away any small bits.
Apply thin, even coats when you’re ready to paint or stain. If you’re staining, use a brush or rag and follow the wood grain. For paint, you can use a brush or roller. Let each coat dry fully before adding more.
Check the product instructions for drying times and how many coats to use.
After you’ve finished painting or staining, let the shelf dry completely before you use it. This keeps the finish from getting damaged.
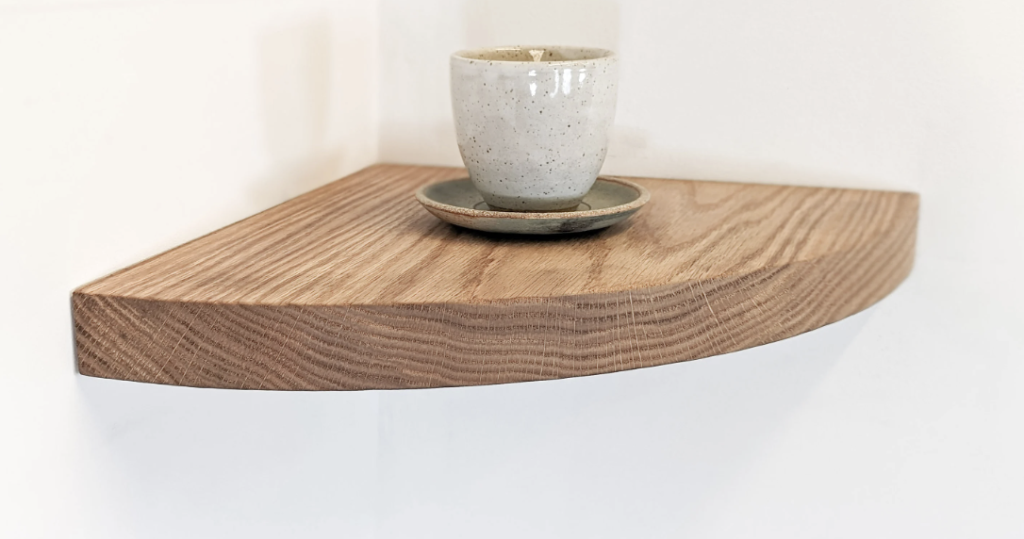
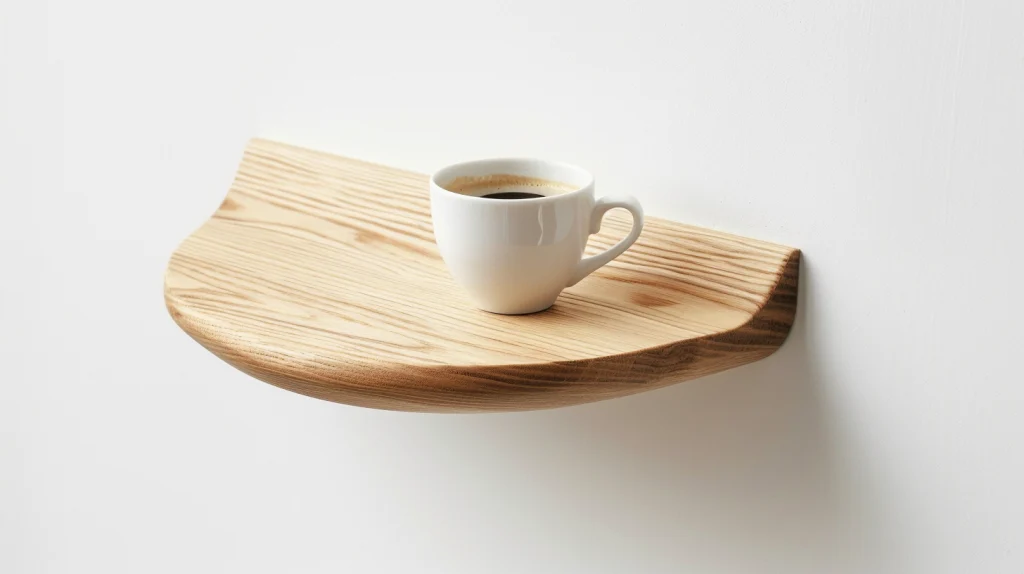
Display and Use
Once your shelf is dry, put it in your chosen corner. Make sure it’s level and firmly attached to the wall. Then, start putting your things on it. Mix up decorative items like pictures or plants with useful stuff like books.
Dust your shelf often to keep it looking good. Do not put anything too heavy on it, as this might damage the shelf or its finish.
Remember to work in a room with good airflow when painting or staining. Wear gloves and a mask if necessary. It’s also a good idea to have a special spot where the shelf can dry without being bumped.
Before you finish, check for any missed spots in the paint or stain and touch them up if needed.
Safety Considerations
- Always wear protective gear while working on your DIY corner shelf. This keeps you safe and improves your work.
- Goggles are a must. They keep dust, small bits of wood, and splinters out of your eyes when cutting, sanding, or drilling. Wear them the whole time you’re working.
- Gloves are also important. They protect your hands from sharp edges and splinters, and they keep paint and stains off your skin. Pick gloves that protect you but let you move your fingers easily to use your tools.
- You might also want to use a dust mask or respirator. These prevent you from breathing in sawdust and strong smells, especially when you’re sanding or applying finishes.
- If you’re using loud tools, wear something to protect your ears, too.
- What you wear matters. Long sleeves and pants keep your skin safe from cuts. But make sure your clothes aren’t too loose – they could get caught in your tools.
- Wear strong shoes that cover your toes in case you drop something heavy. Staying safe means you can enjoy making your shelf without worries.
Tips for Professional-Looking Diy Corner Shelf
1. Plan and Measure Accurately
Start by planning your project carefully. Draw out your design and include all the sizes. Use good measuring tools like tape measures and squares. Always check your measurements twice before you cut.
This helps you avoid mistakes and waste materials. When planning, remember to consider the thickness of your wood and how joints will fit together.
2. Choose Quality Materials
Pick good wood and hardware for your project. Look for straight boards without warps or big knots. Good materials make your furniture stronger and look better.
Check your wood and other supplies for any problems before you buy them. While better materials might cost more, they make your finished project last longer and look nicer.
3. Use the Right Tools
Having the right tools makes your work easier and safer. You’ll need a miter saw, table saw, drill, sander, and clamps. Keep your tools clean and sharp. Practice using your tools on scrap wood first.
This helps you get better at using them before you work on your real project.
4. Sand Thoroughly
Sand all your wood surfaces well before you finish them. Start with rough sandpaper and then use smoother kinds. Always sand in the same direction as the wood grain.
This makes the wood smooth and helps the finish stick better. After sanding, feel the wood to make sure it’s soft. Clean off all the dust before you finish it.
5. Apply Finishes Evenly
When you paint or stain, apply thin, even layers. Let each layer dry fully before you add another. Make sure the wood is clean before you start. Use the right tools for painting or staining, such as brushes or rags.
Follow the instructions on the paint or stain for drying times. You might want to test your finish on a small hidden spot first to make sure you like how it looks.
Summing It Up
Now that you’ve learned how to build your DIY corner shelf, you can tackle this fun weekend project.
Remember, the key to success is careful planning, accurate measurements, and attention to detail. Take your time with each step, from cutting the lumber to applying the final finish.
Your effort will pay off with a beautiful, custom shelf that fits perfectly in your space.
Don’t be discouraged if your first attempt isn’t perfect. Like any skill, woodworking improves with practice. Each project you complete will build your confidence and abilities.
Why not get started this weekend? Gather your materials, set up your workspace, and create your corner shelf.
Soon, you’ll have a unique piece of furniture to show off and enjoy for years.
Frequently Asked Questions
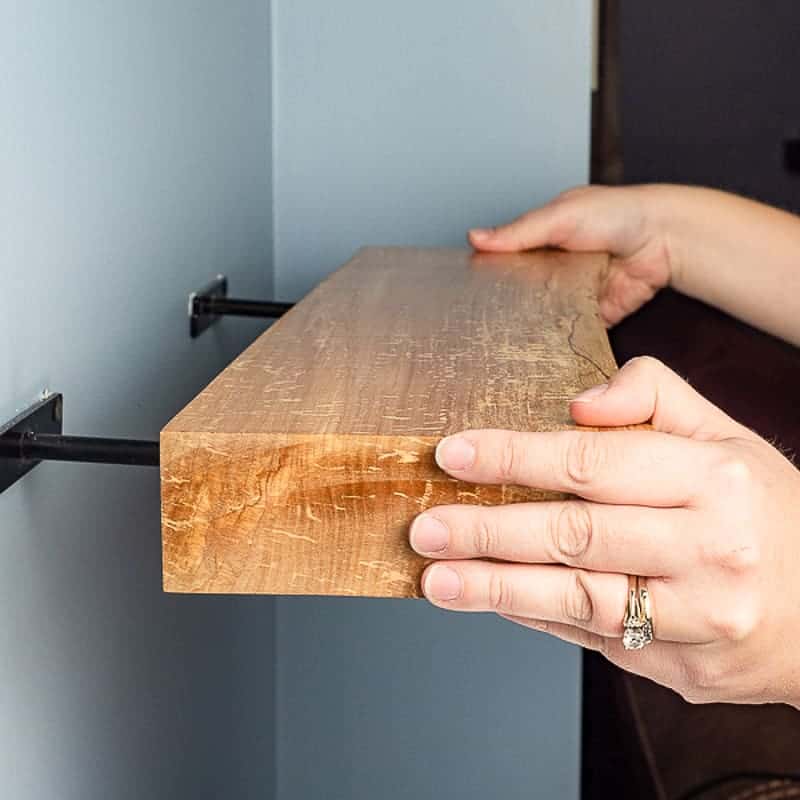
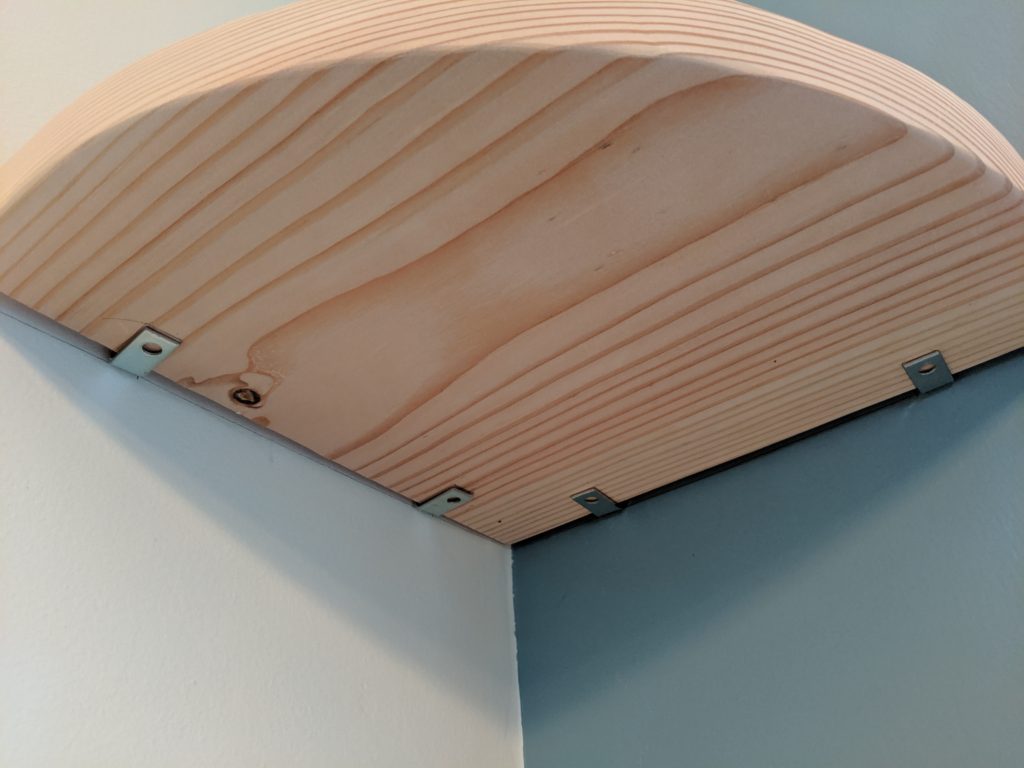
How to Hang a Floating Corner Shelf?
Find studs on both walls. Attach a mounting bracket to the studs. Place the shelf on the bracket and secure it with screws. Check it’s level and adjust if needed.
How to Cut Shelves for A Corner?
Measure the corner space and mark your measurements on the wood. Use a circular saw or jigsaw to cut straight edges. For curved edges, use a jigsaw. Sand the edges smooth after cutting.