
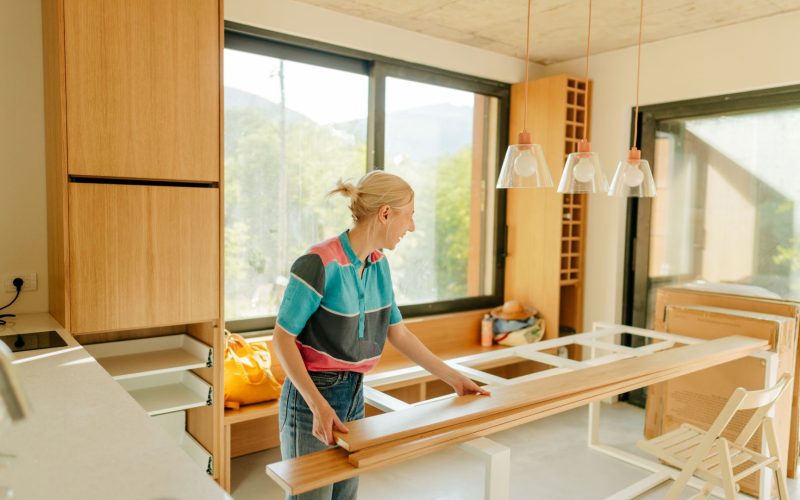
Building your dining table might seem challenging, but it’s a rewarding project that can save you a lot of money. We know cutting, gluing, and assembling a large piece of furniture can feel overwhelming.
However, you can create a custom dining table with the right plan and basic tools. This guide will take you through the process, from selecting lumber to the final finish.
By the end, you’ll have a beautiful, sturdy DIY dining table that fits your space and style, all within your budget.
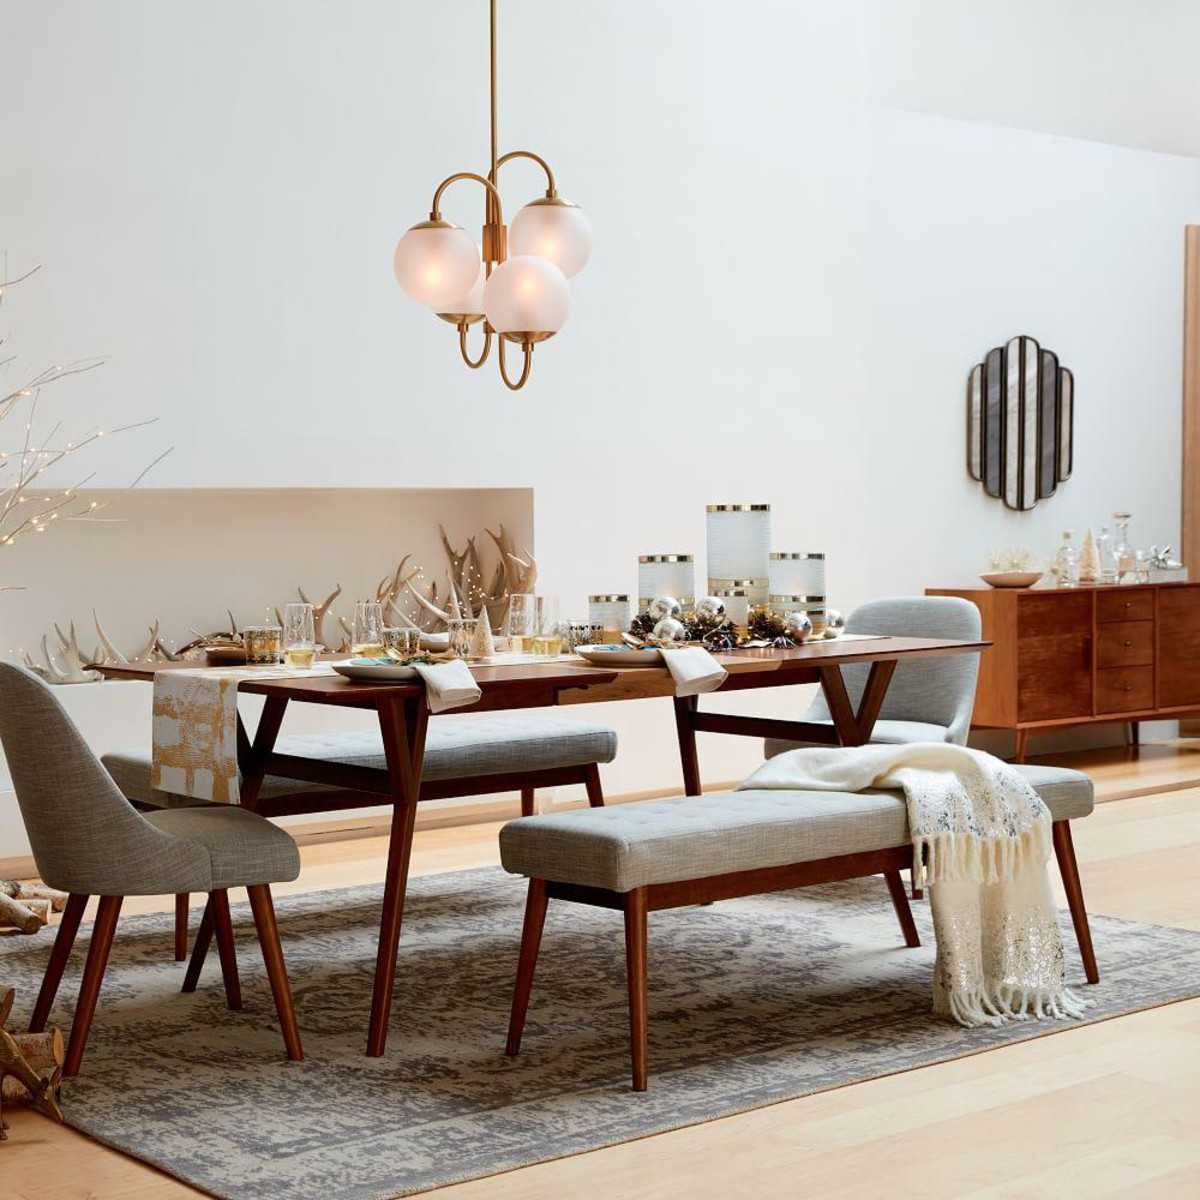
Determine Your Dining Table Design
Crafting your dining table opens up a world of customization possibilities. You can create a piece that seamlessly fits your home’s unique style and your family’s needs.
Whether you envision a sleek, modern aesthetic or a warm, rustic charm, the design decisions you make at the outset will shape the outcome.
1. Decide on the Style and Size
Style Selection
- Modern: You could opt for a contemporary look with clean lines and minimalist design, often incorporating metal or glass accents.
- Rustic: A rustic approach celebrates the natural beauty of the wood, embracing its unique grains, textures, and imperfections to cultivate an earthy, cozy ambiance.
- Farmhouse: Another popular choice is the farmhouse style, which blends traditional elements with a touch of distressed charm, resulting in a sturdy, timeless piece.
Table Dimensions
- Standard Height: As for the table’s dimensions, the standard height is typically 30 inches, providing a comfortable dining experience.
- Width and Length: The width can vary, usually between 36 and 42 inches, while the length is more flexible, often ranging from 6 to 8 feet to accommodate seating for 6 to 8 people comfortably.
2. Consider Space and Seating Needs
Before finalizing your design, you must assess your dining area and determine the optimal size for your table.
Space Assessment: Measure the available space, ensuring ample room for the table and allowing at least 36 inches between the table and surrounding walls or furniture for easy movement.
Seating Requirements: Additionally, consider your seating requirements, both for everyday use and larger gatherings. A bench seating arrangement can be practical and space-saving if you have limited space.
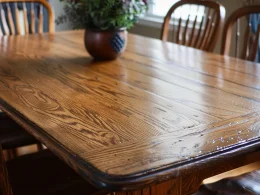
3. Select the Type of Wood
The choice of wood can significantly impact your DIY dining table’s overall aesthetic and durability.
Hardwood vs. Softwood
- Hardwoods: Hardwoods, such as oak, maple, and walnut, are generally more robust and resistant to scratches and dents, making them well-suited for high-traffic areas.
- Softwoods: Softwoods, like pine and fir, are often more affordable and easier to work with, though they may be less durable.
Lumber Species
You’ll find a range of specific lumber species within these broad categories, each with unique characteristics.
- Poplar: Affordable, easy to work with, takes paint well but is less durable.
- Maple: Hard, dense, and durable, great for tabletops, smooth finish.
- Pine: Softwood is cost-effective, easy to work with, and ideal for rustic or farmhouse styles.
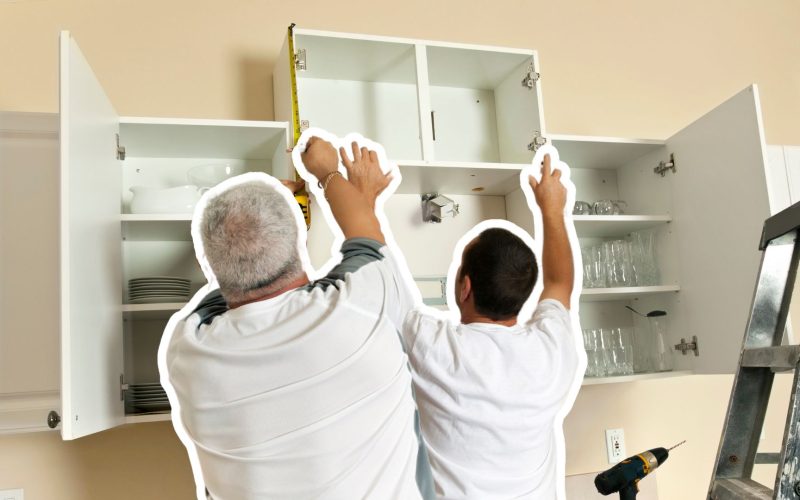
Gather Tools and Materials

Gathering all necessary tools and materials beforehand ensures a smooth and successful DIY dining table project.
This preparation will save time and prevent interruptions during the building process.
1. Materials
- Lumber: The most important consideration regarding materials is the type and size of lumber you’ll use. Common choices include 1×10, 2×10, 1×6, and 2×6 boards, each with unique properties and suitability for different table designs. Regardless of the specific dimensions, selecting lumber that is straight, free of knots, and appropriate for the overall aesthetic you’re aiming to achieve is crucial.
- Adhesives and Fasteners: In addition to the wood, you’ll need high-quality wood glue for strong joints, as well as wood dowels and screws of various sizes to ensure a robust and stable construction. For the finishing touches, consider wood conditioner, stain, and polyurethane to protect the table and enhance its appearance.
- Additional Supplies: Don’t forget essential supplies like clamps, sandpaper, and wood filler to address any imperfections in the wood.
2. Tools
When it comes to the necessary tools, you’ll need a variety of cutting, drilling, fastening, smoothing, and shaping implements.
- Cutting Tools: A circular saw is a versatile option for cutting the lumber to size, while a miter saw can provide more precise angle cuts, particularly for the legs and aprons. A table saw can offer even more accurate and consistent long cuts.
- Drilling and Fastening Tools: A reliable drill/driver is a must-have for drilling and fastening, and a pocket hole jig (if you choose to use this technique) can create strong, hidden joints, especially for the apron and legs.
- Smoothing and Shaping Tools: Sanding tools, such as an orbital sander, will help you achieve a smooth finish, while a router can add decorative edges and create specific joints. A chisel may also come in handy for fine woodworking details.
- Clamping Tools: Various clamps in different sizes are crucial for holding the pieces securely in place during assembly and gluing.
Prepare the Lumber
Properly preparing your lumber is crucial in building a sturdy and attractive DIY dining table.
This stage involves accurately measuring, cutting, and squaring the edges of the boards to ensure a perfect fit and seamless assembly.
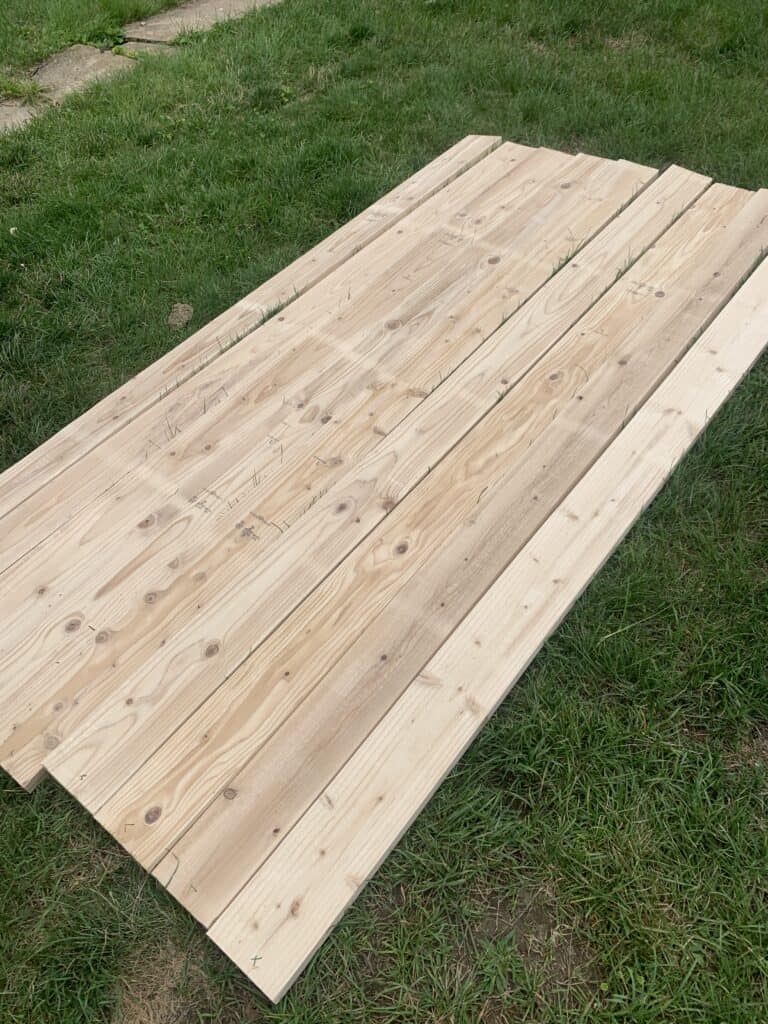
1. Determine and Cut Lumber to Size
Measure and Mark Boards
Carefully measure and mark each board before cutting. Use a tape measure and pencil to note the precise dimensions you’ll need, double-checking your work to avoid costly mistakes.
Cutting Lumber
- Circular Saw: A circular saw is an excellent choice for straight, clean cuts on larger boards. Just ensure the blade is sharp and properly aligned.
- Table Saw: If you can access a table saw, this tool can offer even more precision, especially for long, straight cuts. Set the fence to your desired measurement and guide the board steadily.
- Miter Saw: A miter saw will prove invaluable for crosscuts and angled cuts, such as those needed for the legs and apron.
2. Square the Edges of the Boards
Squaring the edges of your boards is essential. Straight edges help the boards fit together perfectly, preventing gaps and misalignments.
This step also gives your table a more professional and finished look.
Ways to Square the Edges of Boards
- Using a Table Saw: To square the edges using a table saw, adjust the fence and blade to make a straight cut along the board’s edge. Pass the board through the saw slowly and steadily to achieve a clean, square edge.
- Using a Jointer: Alternatively, a jointer can be an effective tool for this task, as it removes a small amount of material from the edge, leaving you with a perfectly straight and smooth surface.
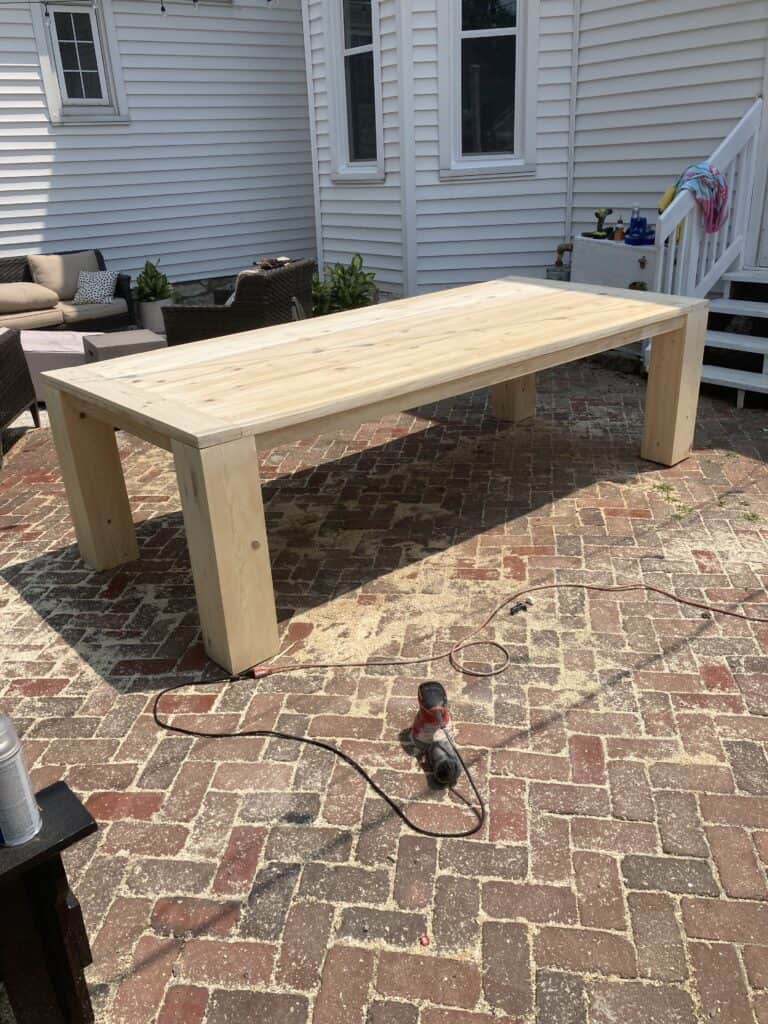
Build the Tabletop
Constructing a solid and attractive tabletop is a key step in your DIY dining table project. A well-built tabletop ensures durability and enhances the overall look of your table.
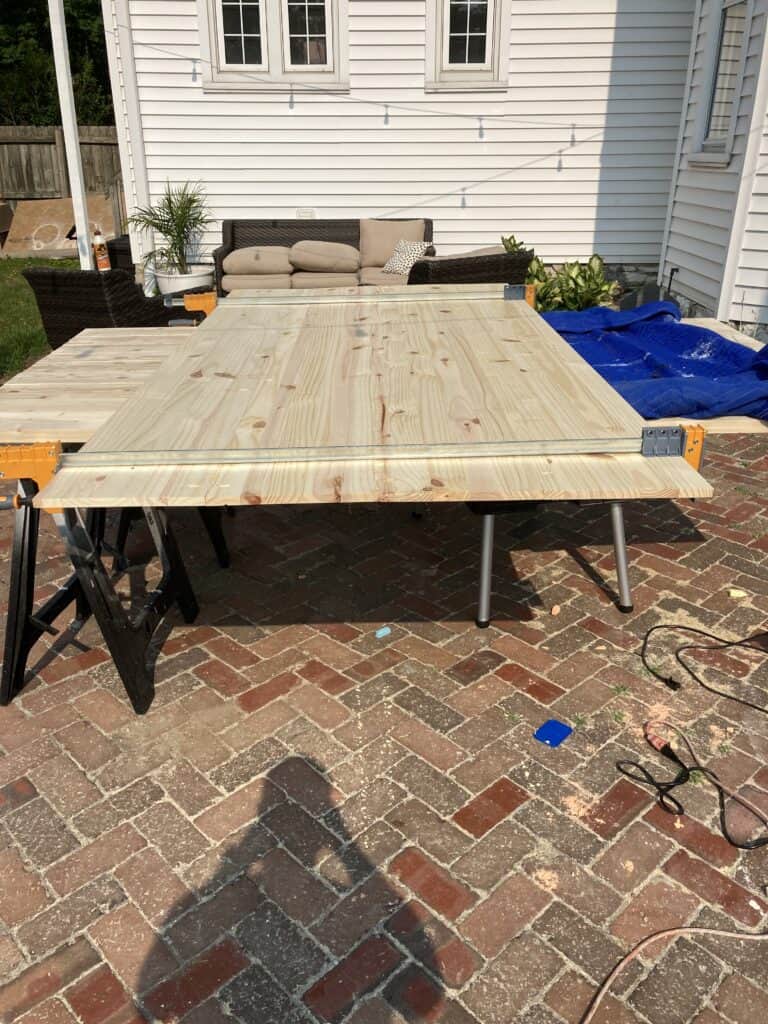
Step 1: Lay Out Boards
- Begin by laying out all the boards for your tabletop on a flat surface.
- Arrange them visually appealingly, paying attention to the wood grain and color variations.
- Adjust the placement to minimize gaps and create a uniform surface.
Step 2: Glue Boards Together
- Once you’re satisfied with the arrangement, it’s time to apply wood glue and clamp the boards together.
- Apply a generous amount of glue to the edges of each board, spreading it evenly using a brush or your finger.
- Quickly clamp the boards tightly together, ensuring even pressure across the entire length to prevent gaps.
- Wipe away any excess glue that squeezes out to avoid staining.
- After clamping, allow the glue to dry for at least 24 hours to ensure a proper bond.
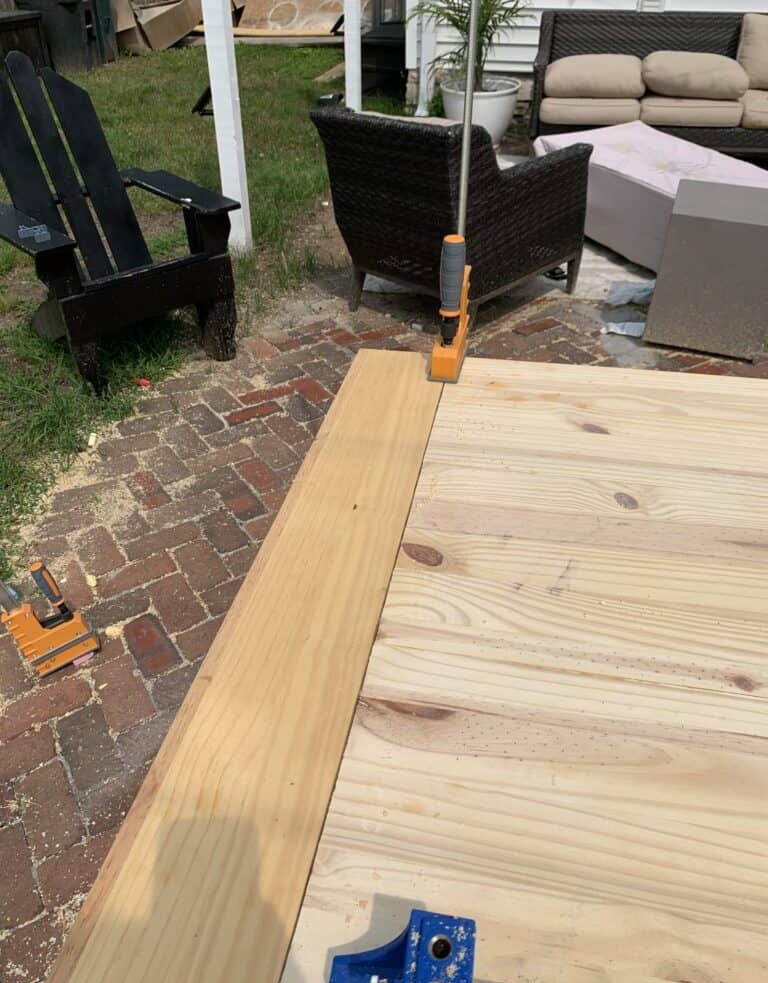
Step 3: Trim and Sand
- With the glue dry, use a circular saw to trim the tabletop’s edges, ensuring they are straight and the corners square.
- This step will create a clean, even surface for the next stage.
- Next, sand the tabletop, starting with coarse grit sandpaper to remove rough spots and dried glue.
- Gradually progress to finer grits, using a sanding block or an orbital sander to achieve a smooth, even finish.
Construct the Table Legs
Building sturdy and well-designed legs is crucial for the stability and aesthetics of your DIY dining table.
Proper construction of the legs ensures that the table can support weight and withstand regular use.
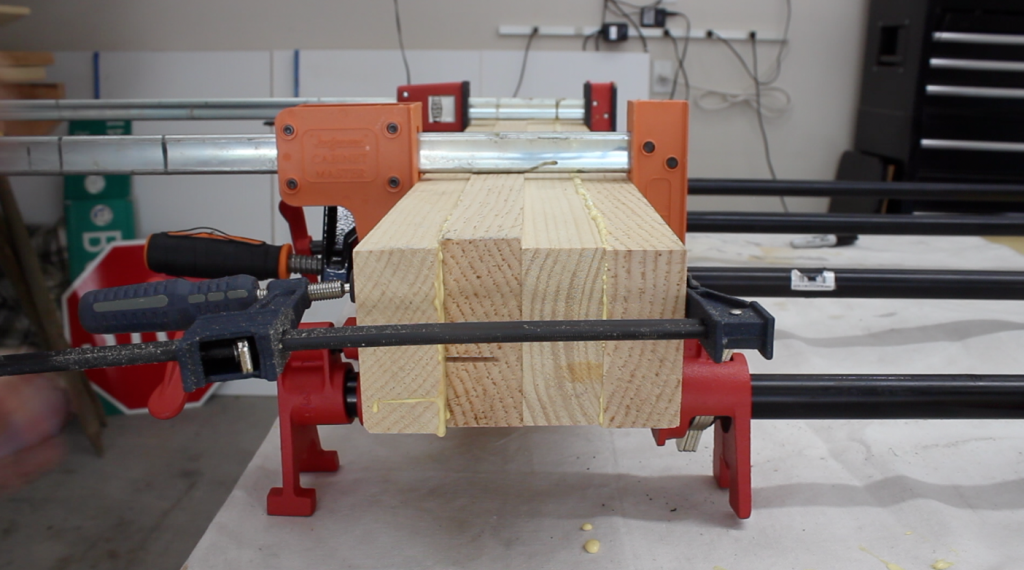
Step 1: Cut Leg Pieces
- Begin by determining the legs’ desired length, typically 27 ½ inches for standard dining tables.
- Mark the length of your lumber using a tape measure and pencil, then cut the legs using a miter or a circular saw.
- Ensure that all four legs are of equal length to maintain a level table.
Step 2: Assemble Legs
- Apply a generous amount of wood glue to the edges of the pieces, carefully aligning them to ensure they are straight and even.
- Use clamps to hold the glued pieces together tightly, applying even pressure to prevent gaps and create a strong bond.
- Allow the glue to dry for at least 24 hours before moving on.
Optional Steps
- Use Dowels for Added Stability: You can also incorporate wood dowels into the leg construction for added stability. Measure and mark the desired dowel positions, then use a drill and the appropriate bit size to create the necessary holes. Insert the dowels into the holes, securing them with wood glue to further strengthen the leg assembly.
- Cut Rabbets for Apron Support: You can cut rabbets, or notches, into the inside corners of the legs. These rabbets will provide a space for the table apron to fit snugly, creating a more secure and visually appealing connection. Use a router or chisel to make these cuts, ensuring they are of uniform depth and width.
Assemble the Table Frame
The table frame, consisting of the apron and legs, provides essential support and stability for your dining table. Proper assembly ensures that the table is sturdy and durable.
Step 1: Build the Apron
- Begin by measuring and marking the dimensions for the apron pieces based on the size of your table.
- Typical apron height is around 3-4 inches, with the lengths adjusted to fit between the legs.
- Use a miter or circular saw to cut the apron pieces to the correct size.
- With the apron pieces cut, arrange them on a flat surface to form a rectangular frame.
- Apply wood glue to the ends of the pieces where they will join, then secure the joints using either dowels or pocket screws.
- For the dowel method, drill holes at the joints, insert the dowels with glue and clamp the assembly until the glue dries.
- Alternatively, you can use a pocket hole jig to drill the necessary holes and then fasten the pieces with screws.
Step 2: Attach Apron to Legs
- Position the assembled apron inside the legs, ensuring it is flush with the top of the legs.
- If you cut rabbets in the legs during the previous step, fit the apron into the notches.
- To secure the apron to the legs, drill pilot holes through the apron and into the legs.
- This will help prevent the wood from splitting.
- Insert screws with washers through the pilot holes, tightening them just enough to hold the pieces firmly together without over-tightening.
Final Assembly
The final assembly combines your DIY dining table project, making it functional and visually appealing.
This stage involves attaching the tabletop to the frame and applying finishing touches to enhance the table’s durability and appearance.
Step 1: Attach Tabletop to Frame
- To securely attach the tabletop to the frame, you can use figure 8 tabs, tabletop fasteners, or other appropriate hardware.
- Position the tabs evenly around the underside of the tabletop, approximately 2-3 inches from the edges, and mark and drill shallow holes for them in the apron.
- When attaching the tabs, be sure to allow for wood movement.
- Screw the tabs into the apron, but do not over-tighten them, as this should allow the tabletop to expand and contract naturally.
- Position the tabletop on the frame, align it properly, and then secure it by screwing through the figure 8 tabs into the underside of the tabletop.
Step 2: Sand and Finish
- With the tabletop firmly in place, inspect the entire table for gaps, cracks, or imperfections.
- Wood filler is applied to these areas using a putty knife, smoothing it out to create an even surface.
- Allow the wood filler to dry completely according to the manufacturer’s instructions.
- Next, sand all table surfaces, starting with coarse-grit sandpaper and gradually progressing to finer grits to achieve a smooth finish.
- Use a sanding block or an orbital sander to ensure even sanding, paying special attention to the edges and corners.
- After sanding, apply a wood conditioner to the tabletop and frame. This will help the stain penetrate the wood evenly and create a more consistent appearance.
- Choose a wood stain that complements your décor and apply it evenly using a brush or rag.
- Allow the stain to penetrate the wood for the recommended time, then wipe off any excess with a clean cloth.
- Once the stain is dry, apply multiple coats of polyurethane to protect the wood and enhance its appearance.
- Sand lightly between coats with fine-grained sandpaper for a smooth finish, and allow the final coat to dry thoroughly before using the table.
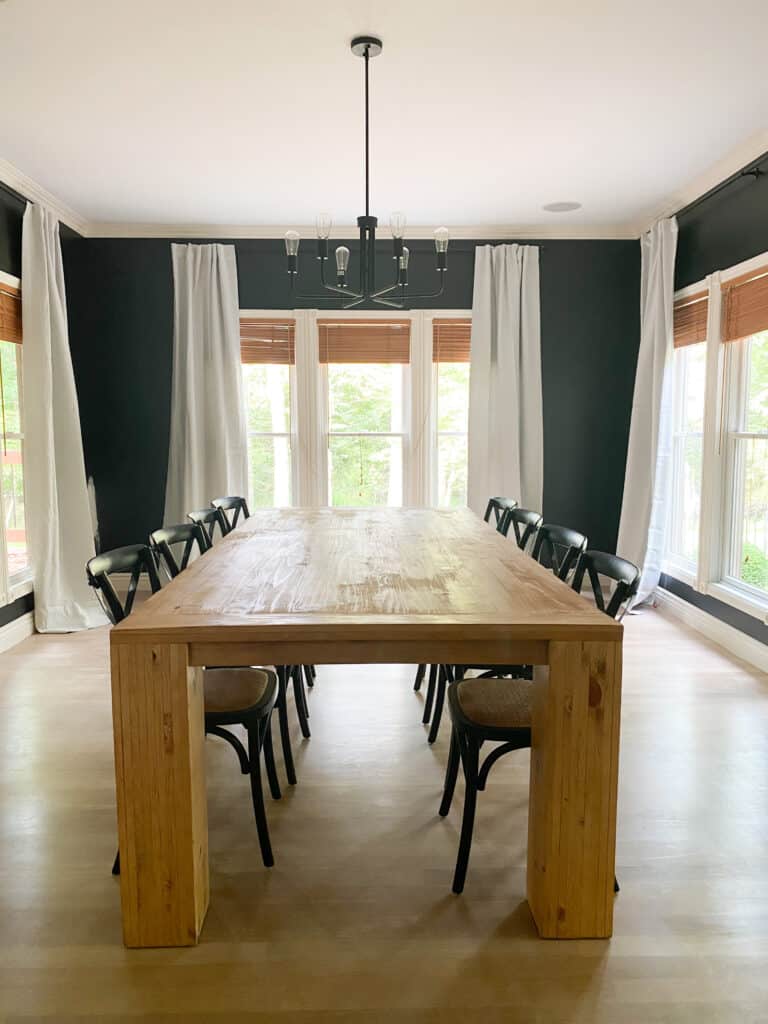
Conclusion
With your complete custom-built dining table, you’ve created a stunning, functional centerpiece for your home that reflects your unique style and needs.
By carefully considering the design, materials, and construction process, you’ve ensured your table looks beautiful and is built to last.
As you gather your family and friends around this one-of-a-kind piece, take pride that you’ve gained valuable woodworking skills and saved significantly compared to purchasing a pre-made table.
Looking to the future, consider ways to continue honing your DIY abilities, perhaps by tackling another furniture project or exploring new home improvement ideas.
Your hard work and attention to detail have paid off – now, enjoy your new dining table for many years to come.