


Many of us love the cozy charm of wooden Christmas decorations, but finding the perfect tree can be tricky. Handmade wooden trees offer a unique touch, but they might seem hard to make.
Don’t worry – I’ve got you covered with an easy solution. In this guide, I’ll show you step-by-step instructions on creating wooden Christmas tree patterns.
Using basic tools and materials, you’ll learn to cut, assemble, and finish these festive trees. By the end, you’ll have the skills to make beautiful wooden trees for your home or as thoughtful gifts.
This article will walk you through choosing wood, making precise cuts, putting the pieces together, and adding final touches to create charming wooden Christmas trees.
Understanding the Project of Creating Christmas Tree Pattern
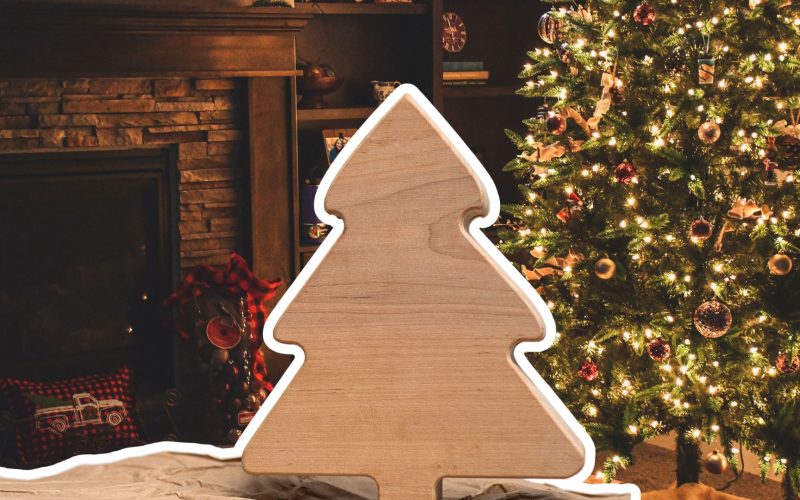
Before we start sawing, let’s get to know what we’re making. These wooden Christmas trees are simple yet eye-catching.
They’re perfect for adding a festive touch to your home or giving as gifts.
Materials Needed
- 8′ – 1×4 or 2×4 boards
- 2″ wood screws
- Adhesive
- Basic woodworking tools
Tools Required
- Compact Cordless Circular Saw
- Bar Clamps
- Electric Detail Sander
Step-by-Step Guide to Make Wooden Christmas Tree Patterns
Creating wooden Christmas tree patterns is a fun and easy project. This guide will walk you through each step, from choosing materials to adding final touches.
You’ll learn to cut, assemble, and decorate your unique wooden trees. Perfect for festive home decor or heartfelt gifts.
1. Preparing Your Workspace
Before diving in, it’s crucial to set up the work area properly. A good setup makes the job easier and safer.
Safety Measures
- Safety should always come first. Ensure the workspace has good airflow.
- Sawdust can get pretty thick in the air, so open a window or use a fan if working indoors.
- Don’t forget safety gear! Always wear goggles and gloves. They might not look stylish, but they keep you safe.
Workspace Setup
- The work area should be clean and open for cutting and assembling the trees.
- Clear out any clutter—you’ll need room to move around.
- A sturdy table or workbench is ideal, but any flat, stable surface will do the trick.
- With a safe, tidy workspace, everything is set to start making wooden Christmas trees!
2. Cutting the Wood Pieces

Now comes the exciting part – cutting the wood! Let’s break this down into easy steps.
Cut List
- There are two plans available – one for a small tree and one for a large tree.
- Both use 30-degree cuts, but there’s a twist.
- Most cuts are perpendicular, but four pieces need parallel cuts.
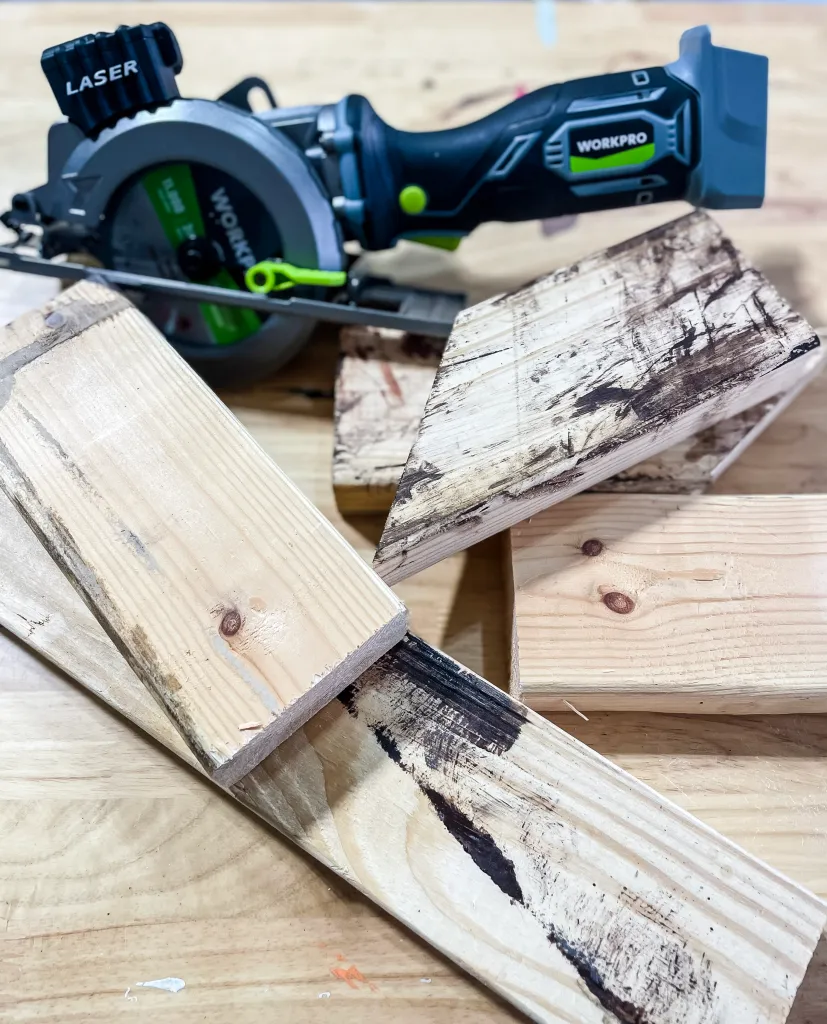
Cutting Process
- Start by setting the Compact Cordless Circular Saw to a 30-degree angle. This saw is excellent for precise cuts.
- Then, begin cutting according to the plans. For the small tree, cuts range from about 5 to 12 inches. The large tree needs slightly bigger pieces, from about 8 to 17 inches.
- Remember, measure twice and cut once! It’s okay to go slow. Always double-check measurements before making each cut.
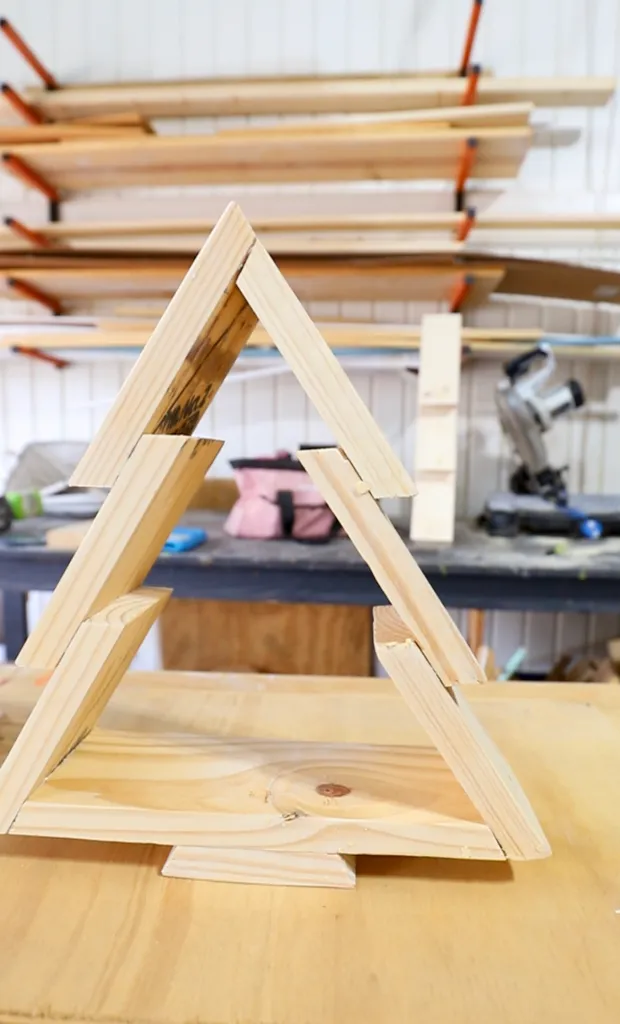
- After cutting, lay out all the pieces to ensure everything looks right. It’s like a puzzle – all the parts should fit together to form the tree shape.
3. Assembling the Tree
With all the pieces cut, it’s time to put the tree together!
Initial Assembly
- Before starting the gluing process, do a “dry run”.
- Lay out all the pieces to ensure everything fits well. It’s like putting together a jigsaw puzzle.
- If something doesn’t fit, now’s the time to make adjustments.
- Next, sand all the pieces. It’s much easier to sand now than after the tree is assembled.
- The Electric Detail Sander makes quick work of smoothing out any rough spots.
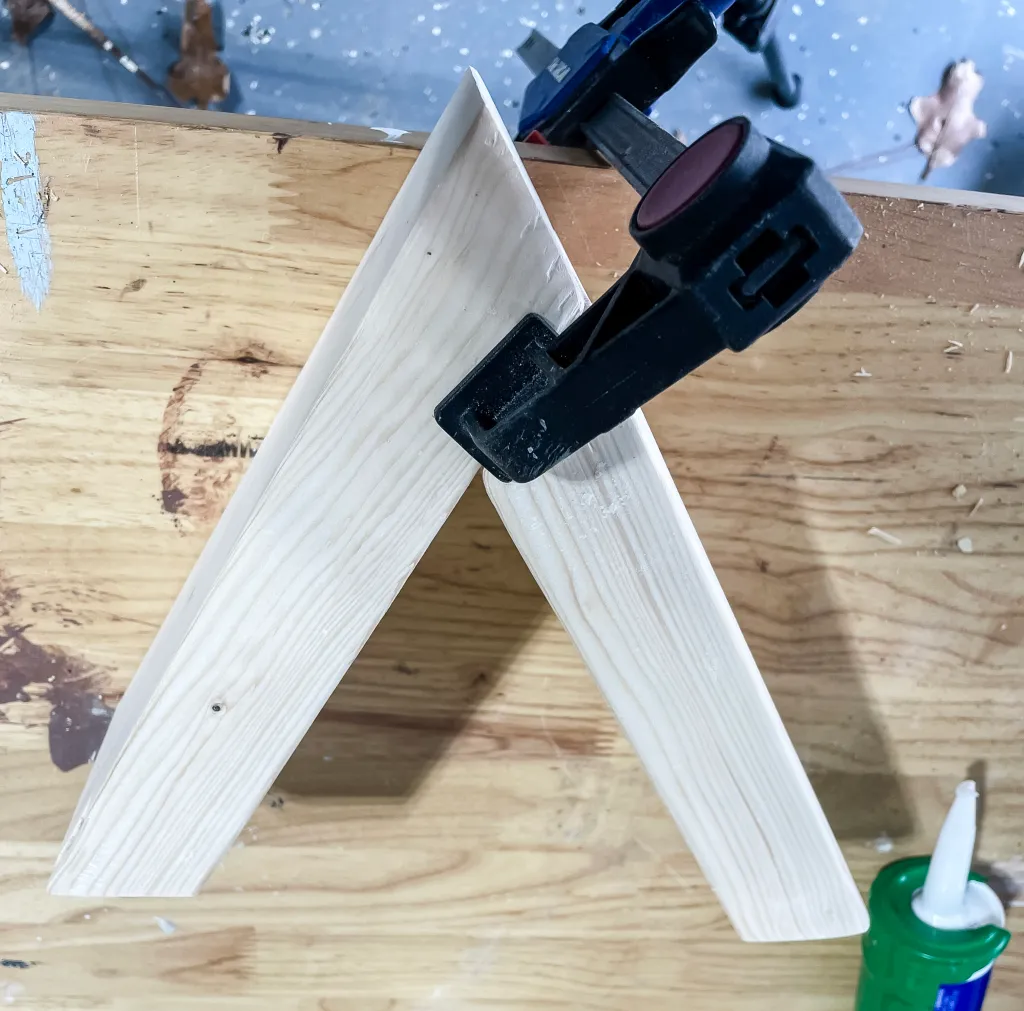
Top Pieces
- Start at the top. Use wood glue to attach the smallest piece to the larger top piece.
- Then, clamp them together. The clamps hold everything in place while the glue dries.
Middle and Bottom Pieces
- Work your way down. Glue and clamp each set of pieces, overlapping them by about an inch. This overlap gives the tree a nice, full look.
- Finally, attach the long bottom piece to the inside of the tree. This piece acts like a stand, keeping the tree upright.
- Remember, take your time with this step. Good assembly makes for a sturdy, long-lasting tree!
4. Final Assembly
The home stretch is near! It’s time to ensure the tree is sturdy and looks great.
Stability Check
- Start by gently shaking the tree. This helps spot any loose pieces. If any are found, add a bit more glue and clamp them again.
- For extra stability, add a few screws or nails. For the bigger 2×4 trees, use 2-inch wood screws.
- With the smaller 1×4 trees, finishing nails do the trick. This step ensures the tree stays together for many Christmases to come.
Filling Holes
- Now, tackle those little holes left by the screws or nails. Wood filler works well for this.
- It’s easy to apply – push it into the holes with a finger or a small tool.
- Sand it smooth after the filler dries (usually about an hour). A quick once-over with the sander will make those holes invisible!
- By the end of this step, you’ll have a solid, smooth wooden Christmas tree ready for the finishing touches.
5. Finishing Touches
Now for the really fun part – making the tree look festive!
Painting and Staining
- First, decide on a color. Rosemary green gives a classic Christmas look. But a dark stain might be preferred for a more rustic feel. Choose what fits your style best!
- When painting, use smooth, even strokes. If staining, remember to wipe off the excess for an even tone.
- Let it dry completely before moving on.
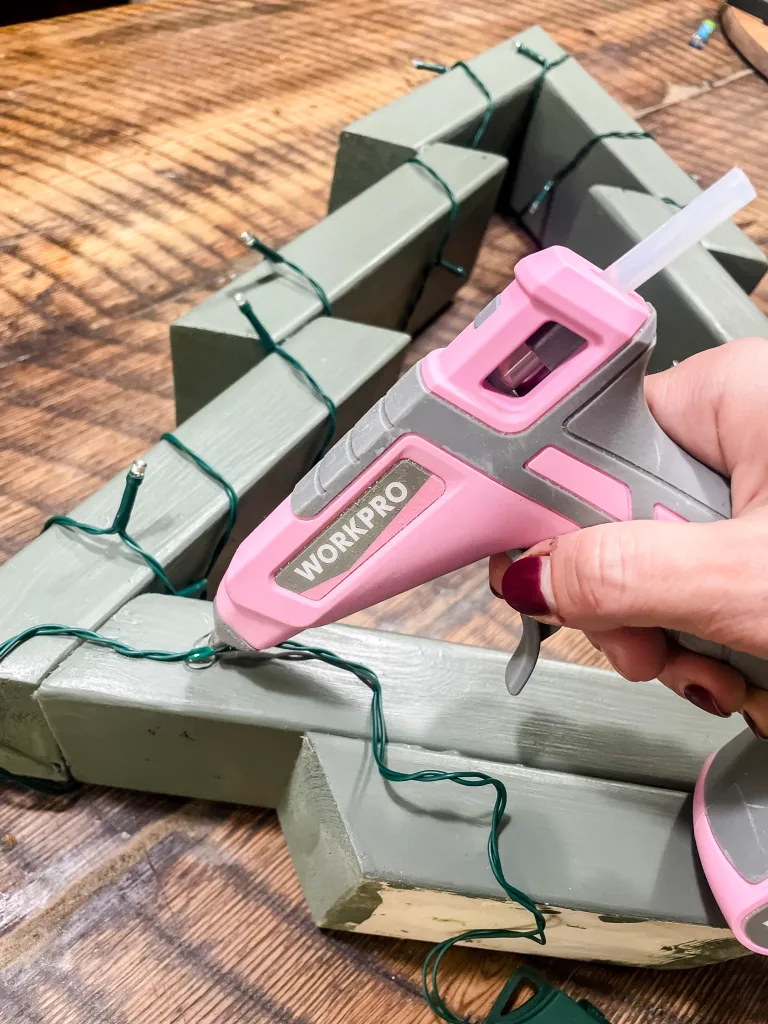
Decorations
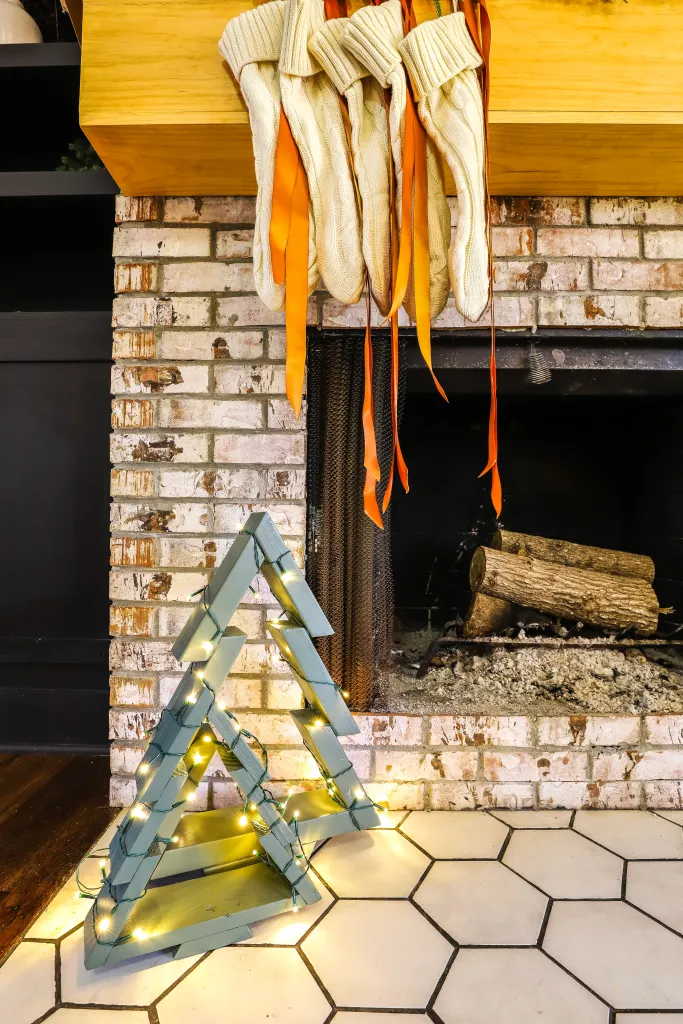
Once the paint or stain is dry, it’s time to decorate!
- Battery-powered lights can give the tree a warm, cozy glow. You could add small bells, wrap some twine around it, or hang tiny ornaments.
- Remember, there’s no right or wrong way to decorate. Maybe you prefer a minimalist look with just lights or a tree loaded with ornaments. It’s all about personal preference.
Conclusion
Let’s wrap this up! Making your own wooden Christmas tree is a fun and rewarding project. This guide has covered everything from cutting the wood to adding those final decorative touches.
Remember, the key is to take your time and enjoy the process. These trees aren’t just decorations; they’re handmade treasures that’ll bring joy year after year.
Now it’s time to get creative! Why not try making trees of different sizes or experimenting with various decorations? This could even be turned into a family project or used to create unique gifts for friends.
Hopefully, this guide has inspired you to create wooden Christmas trees.
Happy crafting, and may your holidays be merry and bright!
Frequently Asked Questions
How to Make a Christmas Tree Out of Wood for Beginners?
Start with a simple design. Cut triangular shapes from wood boards. Sand the edges. Stack and glue the pieces, the largest at the bottom. Add a base for stability—paint or stain as desired.
What is the Angle of A Wooden Christmas Tree?
The typical angle for a wooden Christmas tree is 30 degrees. This angle provides a classic tree shape that’s neither too narrow nor too wide. Adjust slightly for personal preference.
How to Make a Wooden Christmas Tree for Outdoors?
Use weather-resistant wood like cedar or pressure-treated pine. Apply waterproof wood glue and outdoor paint or sealant. Make a sturdy base. Consider adding weight at the bottom for wind resistance. If possible, place it in a sheltered area.