

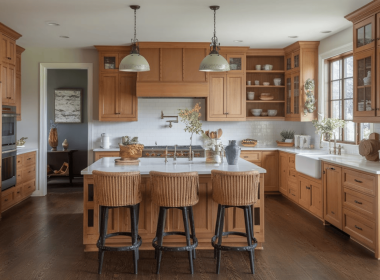
A cozy brick fireplace can be the heart of any home, adding warmth and charm to your living space.
But the task might seem daunting if you want to update or install one.
Many homeowners worry about the complexity and cost of such a project.
Don’t let these concerns hold you back! With the right guidance, you can create a beautiful brick fireplace on your own, saving money and feeling accomplished.
This guide will walk you through the entire process, from planning to finishing touches.
In this post, I’ll share step-by-step instructions, tips on choosing materials, and common pitfalls to avoid.
Whether building from scratch or giving your existing fireplace a facelift, this guide provides the information you need to tackle this rewarding DIY project confidently.
Material Required for DIY Brick Fireplace
Before starting your DIY journey, ensure you have the following materials so you are not inconvenienced while working on them.
1. Bricks
- Old Chicago Blanc Thin Brick or similar style
2. Framing materials
- 2×4 lumber
- Common boards
- Screws or nails
3. Backing board
- Concrete board
- Screws for concrete board
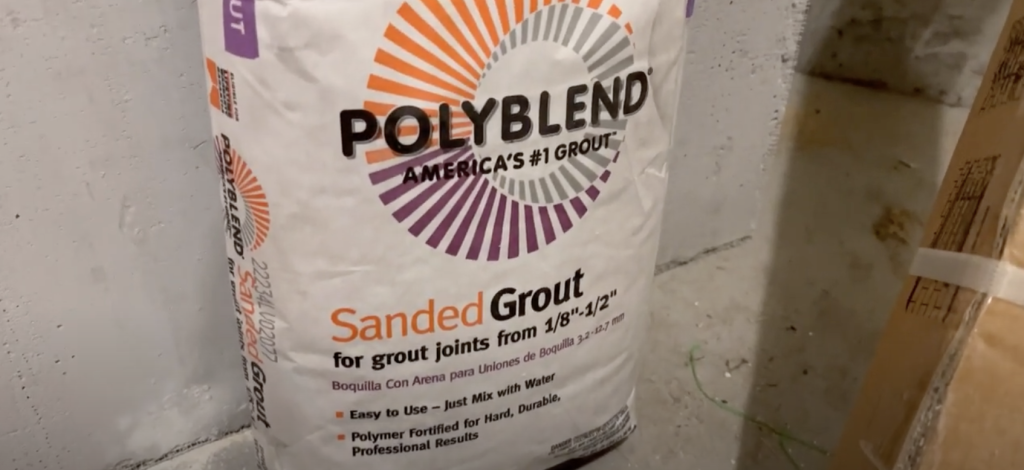
4. Mortar and grout
- Thinset mortar (white)
- Sanded grout (white)
5. Tools
- Grout trowel
- Grout float
- Brick jointer (3/8″)
- Laser Level
- Drill (for mixing mortar and driving screws)
- Mixing paddle for drill
- Utility knife
- Measuring tape
6. Mantel materials
- Birch plywood or your choice of wood
- Wood stain
- Polyurethane finish
- Hinges (if making an opening mantel)
7. Spacers
- 3/8″ wooden dowels or plastic tile spacers
8. Safety gear
- Gloves
- Safety goggles
- Dust mask
9. Cleanup supplies
- Sponges
- Buckets
- Drop cloths or carpet protection
- Fireplace insert (if not already owned)
10. Optional finishing materials
- Trim pieces
- Paint for surrounding walls
- Decorative elements (e.g., garland, stockings)
Remember to measure your space and calculate the amount of each material needed for your specific project size.
It’s always a good idea to buy a little extra, especially materials like bricks and mortar, to account for cuts, mistakes, or breakage.
Building Your Dream DIY Brick Fireplace
Whether you want to add a cozy focal point to your living room or increase your home’s value, this step-by-step tutorial will equip you with the knowledge and confidence to tackle this exciting project.
We’ll cover everything from gathering materials to laying bricks and adding finishing touches that make your fireplace uniquely yours.
So, roll up your sleeves and prepare to go on a DIY journey to enhance your living space and give you a sense of pride and accomplishment.
Step 1: Plan and Prepare
Before starting, make a detailed plan of your fireplace design.
Measure your space carefully and list all materials you’ll need.
Visit your local home improvement store to purchase bricks, mortar, concrete board, framing lumber, and tools like a level, trowel, and grout float.
Don’t forget safety gear such as gloves and goggles.
It’s also wise to check local building codes and obtain necessary permits.
If you’re not experienced with DIY projects, consider consulting a professional.
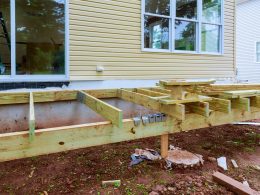
Step 2: Create the Frame
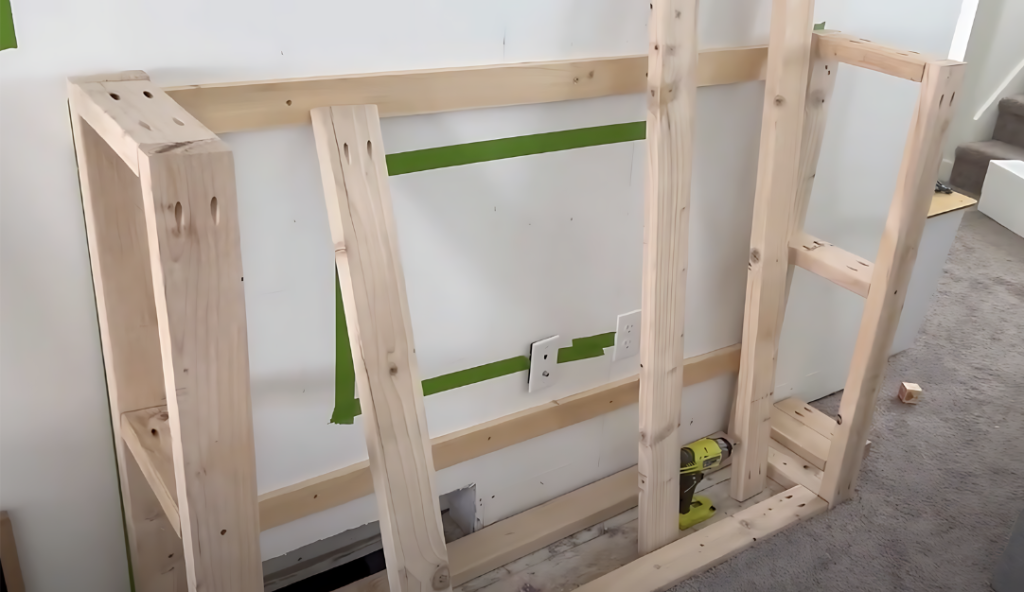
Using 2×4 lumber, construct a sturdy frame to support your fireplace insert and brick facade.
Start by attaching boards to the wall studs for a secure foundation.
Then, build the frame to your desired dimensions, ensuring it’s square and level.
Use a drill to create pocket holes for joining the boards, or use construction screws.
Remember to leave an opening for your fireplace insert.
Attach the frame to the floor as well for extra stability.
This frame will serve as the skeleton of your fireplace, so take your time to ensure it’s solid and correctly sized.
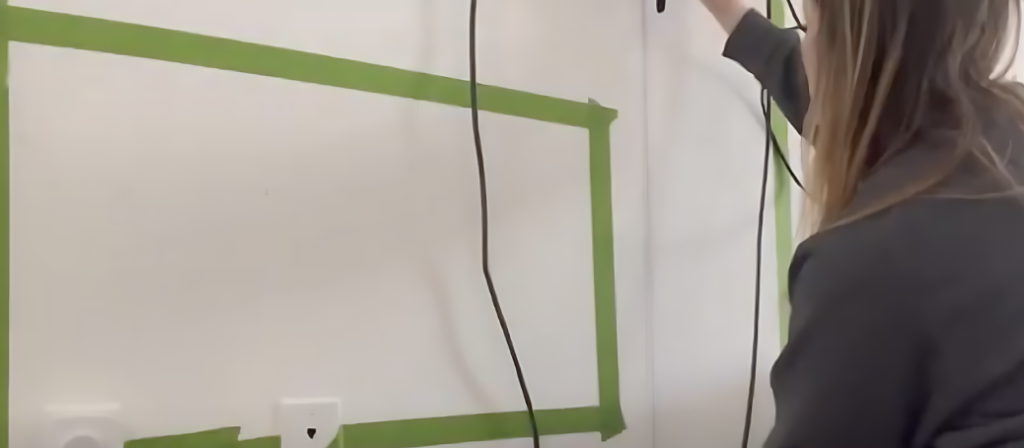
Step 3: Prep the Area
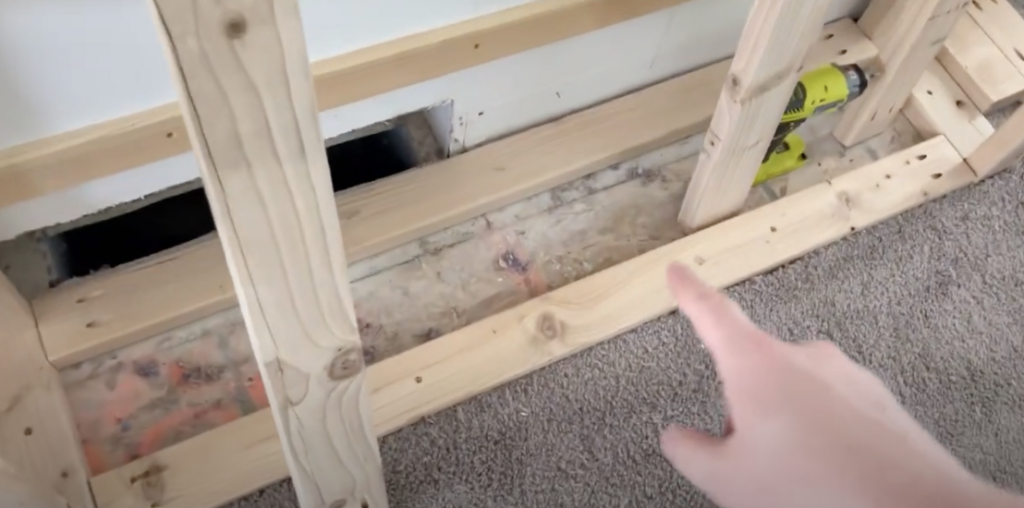
If your fireplace location is currently carpeted, you must remove this section.
Use a sharp utility knife to cut the carpet carefully along your planned fireplace outline.
Gently pull up the carpet and padding, exposing the subfloor.
Remove the tack strips around the edge, but keep them for later—you’ll reuse them to secure the remaining carpet edges.
Clean the exposed area thoroughly, removing any staples or debris.
If the subfloor isn’t level, now is the time to address this issue.
A level foundation is crucial for a successful brick installation.
Step 4: Install Backing Board
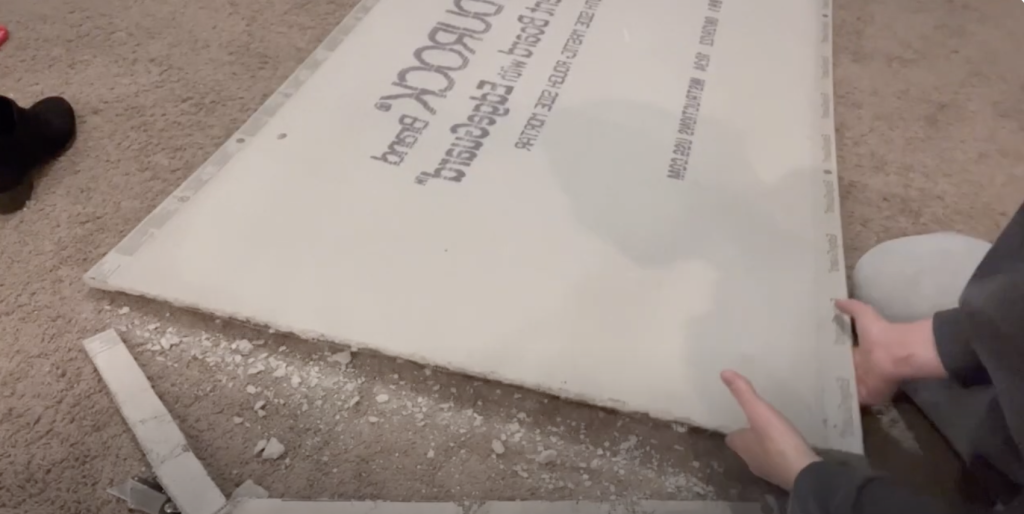
Concrete board provides an ideal surface for brick installation.
Using a utility knife, cut the board to fit your frame—score deeply, then snap along the line.
Attach the board to your frame using screws designed specifically for the concrete board.
These should be placed every 8 inches along the studs.
Make sure the screws are countersunk slightly to avoid interfering with the brick placement.
If you have any joints between boards, tape and mud them as you would with drywall.
This creates a smooth, continuous surface for your bricks.
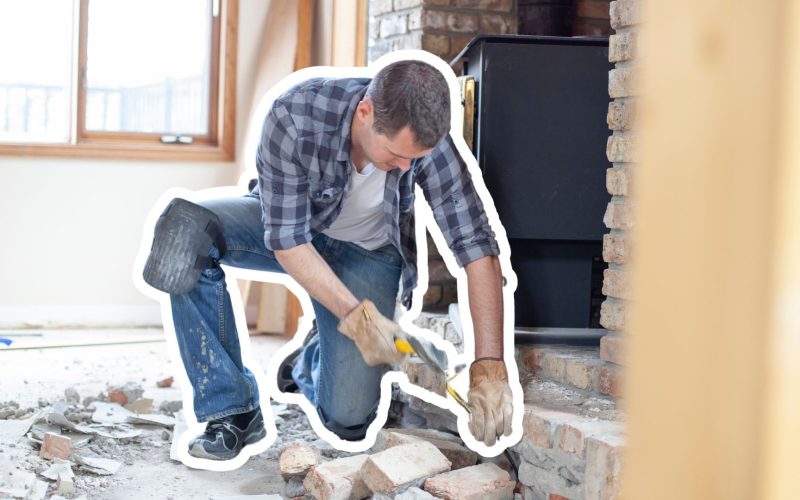
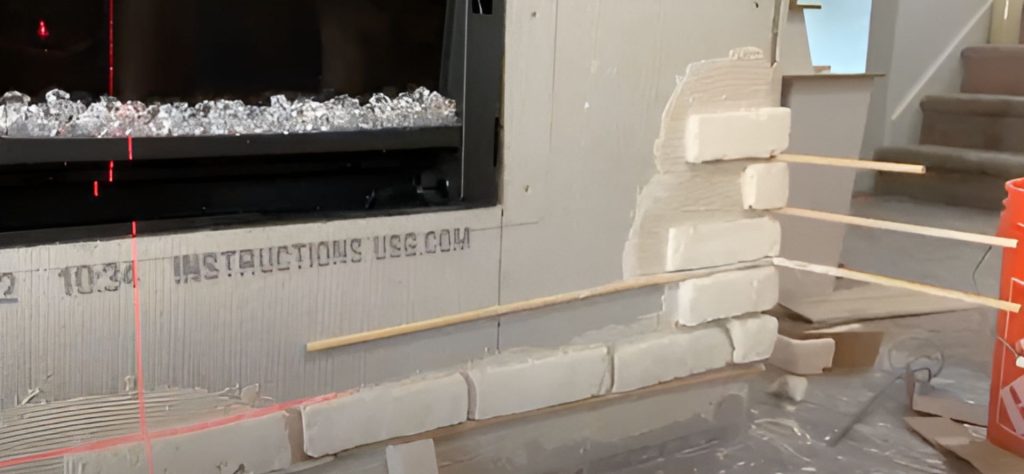
Step 5: Start Laying Bricks
Begin your brick installation with the bottom row.
Use a laser level to ensure this first row is perfectly straight – it sets the foundation for all subsequent rows.
Start with corner pieces if your design includes them.
Apply mortar to the back of each brick (a process called “back-buttering”) and press it firmly into place.
Use wooden dowels or plastic spacers between bricks to maintain consistent gaps.
Take your time with this first row – its alignment will affect the entire project.
Clean any excess mortar immediately with a damp sponge.
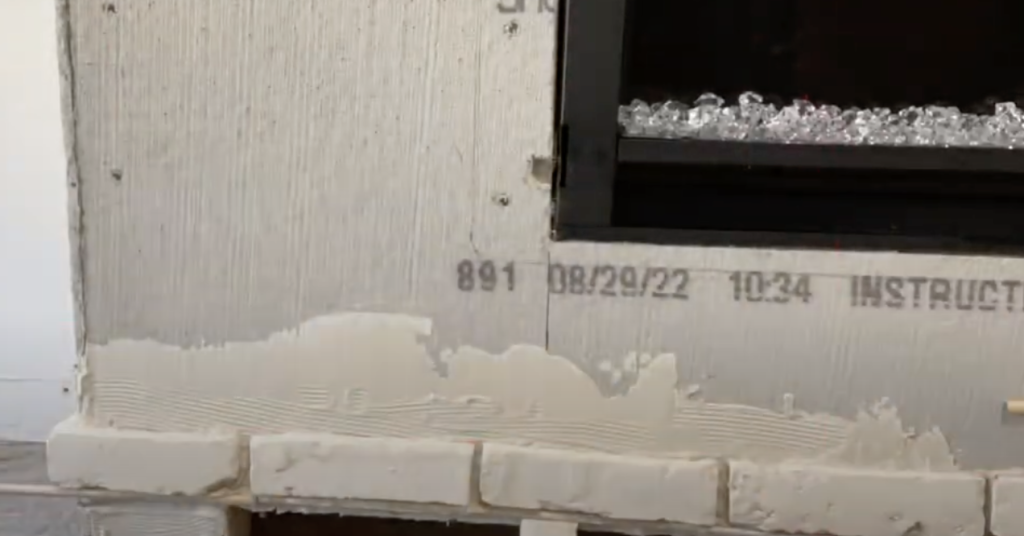
Step 6: Apply Mortar
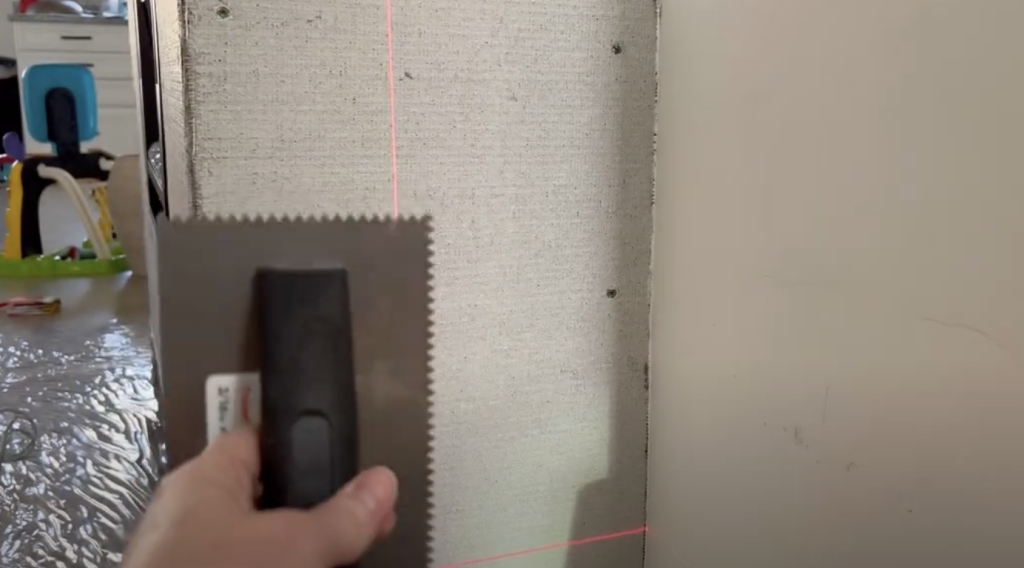
Mix your mortar according to the manufacturer’s instructions, aiming for a consistency similar to peanut butter.
Using a notched trowel, apply a layer of mortar to the concrete board.
Then, “back-butter” each brick before placing it.
This dual application ensures good adhesion.
When pressing the brick into place, wiggle it slightly to create suction.
Use your grout float to tap the bricks gently, ensuring they’re level and flush with neighboring bricks.
Keep a bucket of water and a sponge handy to clean up excess mortar before it dries.
Step 7: Continue Brick Placement
Work your way up the wall, one row at a time.
Stagger your bricks for a traditional look, or align them for a more modern aesthetic.
Use your level frequently to ensure rows remain straight.
If you include decorative patterns or accents, plan these carefully as you go.
Remember to remove your spacers after about 10 minutes before the mortar sets fully.
This prevents them from becoming permanently stuck.
Step back regularly to view your work from a distance, checking for misalignments or inconsistencies.
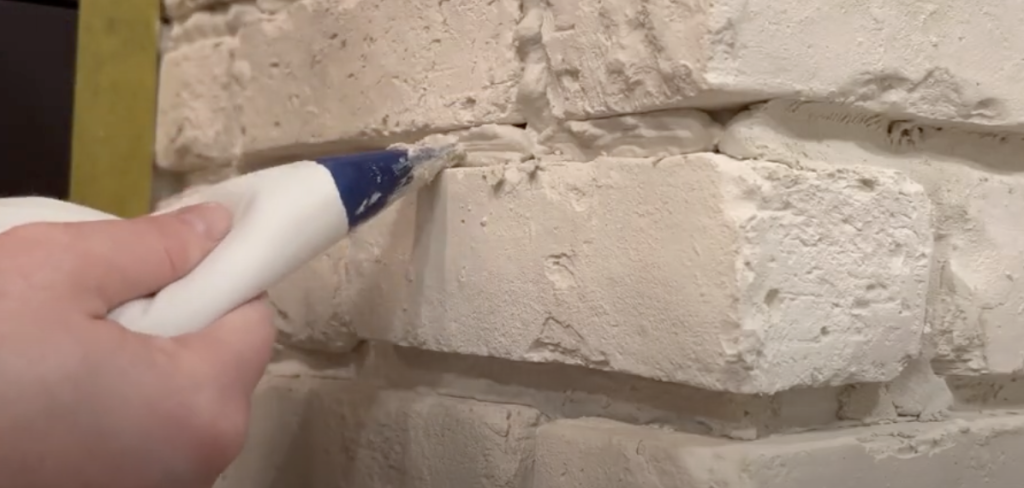
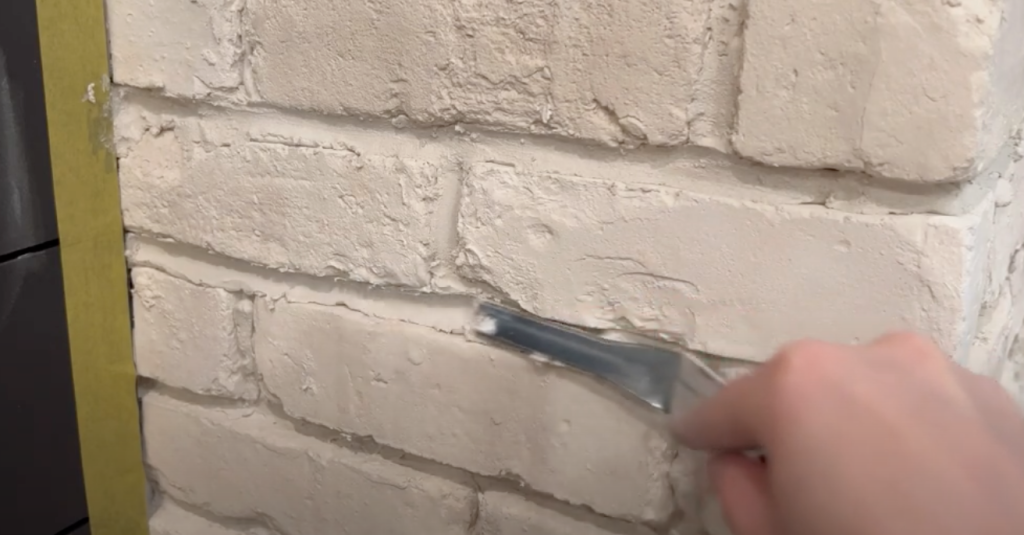
Step 8: Add Grout
Once all bricks are in place and the mortar has fully set (usually 24-48 hours), it’s time to grout.
Mix your grout according to package instructions.
Using a grout bag (like a piping bag for icing), carefully fill the gaps between bricks.
Work in small sections, starting from the top, to avoid drips on completed areas.
After applying grout to a section, use a jointing tool to smooth and shape it.
This not only improves appearance but also helps seal the grout.
Clean any excess from the brick faces with a damp sponge before it dries.
Step 9: Build the Mantel
Design a mantel that complements your fireplace and room decor.
You can build a simple box structure using plywood or opt for a more complex design with moldings.
If you want hidden storage, consider incorporating hinges for a lift-up top.
Sand your mantel thoroughly, then apply wood conditioner before staining to ensure even color absorption.
Choose a stain color that enhances your room’s palette. After staining, protect your work with a few coats of polyurethane.
Once dry, carefully install the mantel on your fireplace, ensuring it’s level and securely attached.
Step 10: Finish Up
In this final stage, focus on the details that will make your fireplace look polished and professional.
Install any trim work around the edges of your brick facade.
If you’ve covered a vent, create a new one – this might involve installing a decorative grate in your baseboard.
Touch up any paint on surrounding walls that may have been scuffed during construction.
Finally, style your new fireplace with decor that complements your room.
Stand back and admire your handiwork – you’ve created a beautiful focal point for your home!
For a more detailed guide, watch this video:
Tips and Tricks for Your DIY Brick Fireplace Project
Building your brick fireplace can be a fun and rewarding experience. Here are some helpful tips and tricks to make your project smoother:
- Practice laying bricks: Lay a few rows on a flat surface before starting on your fireplace. This will help you understand the process and improve your technique.
- Use a story pole: Create a marked stick that shows where each row of bricks should end. This simple tool helps keep your rows level and evenly spaced.
- Protect your floors: Cover the area around your workspace with drop cloths or cardboard. Mortar can be messy and hard to clean off certain surfaces.
- Keep your tools clean: During the project, regularly clean your trowels, floats, and other tools. Dried mortar can be tough to remove later.
- Mix small batches of mortar: Only mix as much as possible in about 30 minutes. This prevents waste and ensures your mortar is always fresh.
- Use a wet saw for precise cuts: Rent a wet saw for cutting bricks. It gives cleaner, more accurate cuts than a regular brick chisel.
- Consider the weight: Bricks are heavy. Before starting, ensure your floor can support the weight of a full fireplace.
- Expansion plan: Leave a small gap between the bricks and wood framing for thermal expansion.
- Seal your bricks: After fully cured mortar, apply a brick sealer to protect against moisture and stains.
- Take breaks: Laying bricks can be physically demanding. Take regular breaks to avoid fatigue and maintain the quality of your work.
- Maintain consistent moisture: If you work over multiple days, cover your unfinished work with plastic. This keeps the mortar from drying too quickly.
- Check for level frequently: Use your level often on individual bricks and across multiple rows.
Small errors can compound quickly. Remember, patience is key in this project.
Don’t rush the process – take your time to ensure each brick is placed correctly.
With these tips, you’ll be well on your way to creating a beautiful, long-lasting brick fireplace that you can be proud of.
Conclusions
Creating your brick fireplace is a fulfilling project that adds charm and warmth to your home. We’ve covered the essential steps, from planning to the final touches.
Following this guide, you can craft a beautiful focal point showcasing your skills and style.
Remember, patience is key.
Take your time, especially when laying that crucial first row of bricks. It sets the stage for the entire project.
Ready to get started? Begin by planning your design and gathering materials.
Don’t hesitate to seek advice from DIY communities or online forums if you need help.
We’d love to see your completed fireplaces! Share your projects in the comments below, and feel free to ask any questions.
Enjoy the process, and soon, you’ll relax in the cozy warmth of your DIY brick fireplace!