


Have you ever wondered how to dry flowers in the microwave? It’s a fantastic way to preserve your favorite blooms quickly and easily!
I’m excited to share this method with you because it’s changed how I remember special bouquets. You can dry flowers in minutes instead of weeks using your microwave and some special silica gel.
This technique is perfect for craft lovers or those who want to keep that beautiful birthday arrangement longer.
In this post, I’ll guide you through each step of how to dry flowers in the microwave.
We’ll cover everything from choosing the right blooms to setting up your microwave and even what to do with your dried flowers afterward.
Ready to learn this amazing flower-preserving trick? Let’s dive in and start drying!
What You’ll Need
Let’s start by getting everything ready. Don’t worry; you probably have most of these things at home already.
The only special item is the silica gel, which you can easily buy online. Here’s what you’ll need to dry flowers in your microwave:
- 1.5 lb (680 g) of Flower Drying Art™ Silica Gel
- Flowers you want to dry
- A pair of scissors
- Your microwave
- Two containers that can go in the microwave
- Some water

Steps to Follow in The Process
Drying flowers in the microwave involves a few key steps: preparing your microwave and flowers, setting the drying time, and allowing a cool-down period.
This method ensures quick and effective preservation of your favorite blooms for various creative projects.
Step 1: Prepare Your Microwave
First things first, let’s get your microwave ready. Before doing so, take a quick look at its manual to understand its power levels.
This is important because different microwaves have different strengths.
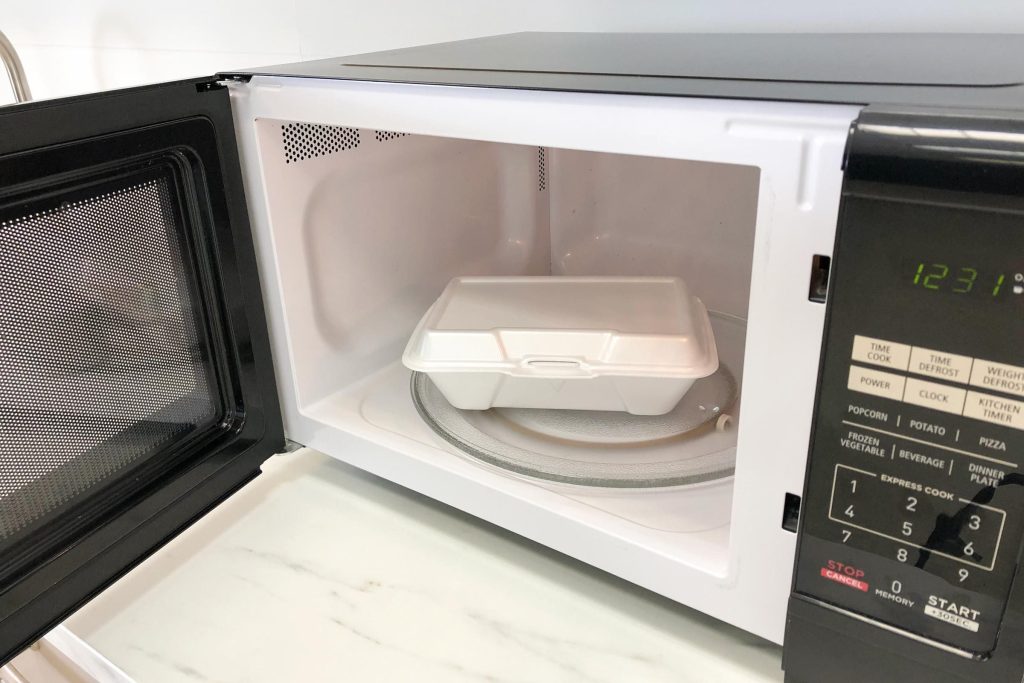
Once you know your microwave’s power, find a microwave-safe container that’s big enough to fit your flowers comfortably.
Make sure it’s not too small – your flowers need space to dry properly. If you’re drying multiple flowers, you might need a larger container or plan to do them in batches.
Step 2: Set up Your Flowers
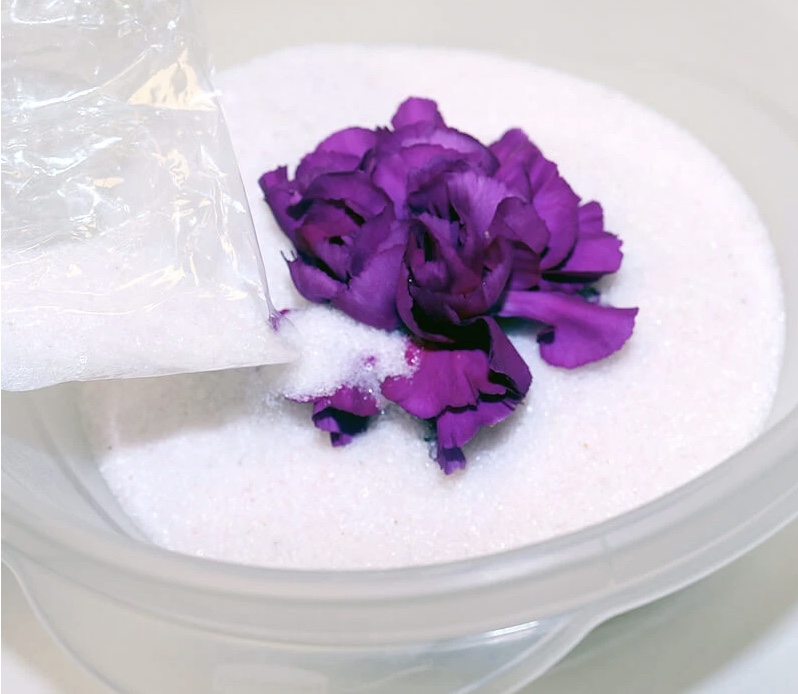
Now, let’s prepare your flowers for drying. Pour about 1 to 1.5 inches of Flower Drying Art™ Silica Gel into your container.
This gel is special because it absorbs moisture without damaging your flowers. Next, trim your flower stems to about 1-2 inches long.
This helps them fit better in the container. Gently place the flowers face-up on the gel. Be careful not to damage the petals.
Then, carefully pour more gel around the flowers, making sure to cover the centers.
The trick is to cover the flowers completely without squishing any petals. Take your time with this step—it’s key to getting good results.
Step 3: Arrange in The Microwave
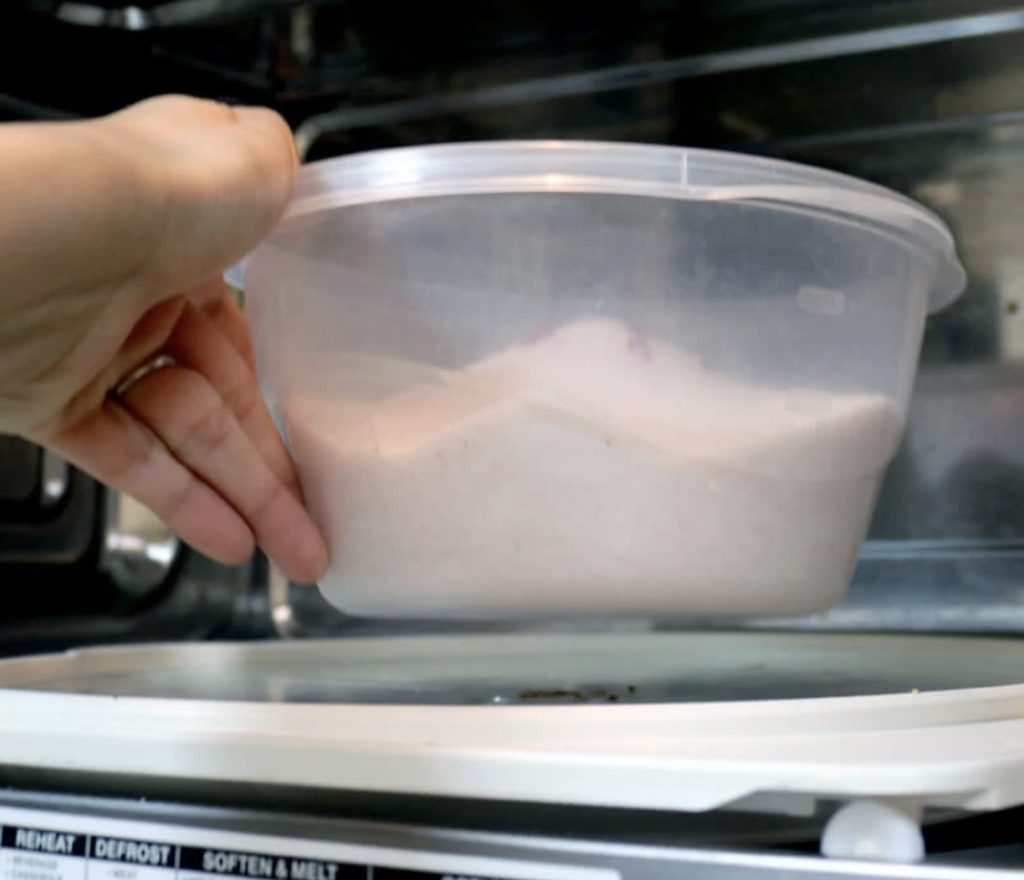
It’s time to set up your microwave for flower drying. Put your flower-filled container in the microwave, but don’t put a lid on it. The flowers need to be exposed to dry properly.
Now, here’s a little trick: place a cup filled with about 1 cup of water at the back of the microwave.
This water helps prevent your flowers from over-drying and keeps the microwave from getting too hot.
Make sure the cup is microwave-safe too. This setup creates the perfect environment for drying your flowers quickly and evenly.
Step 4: Set the Drying Time
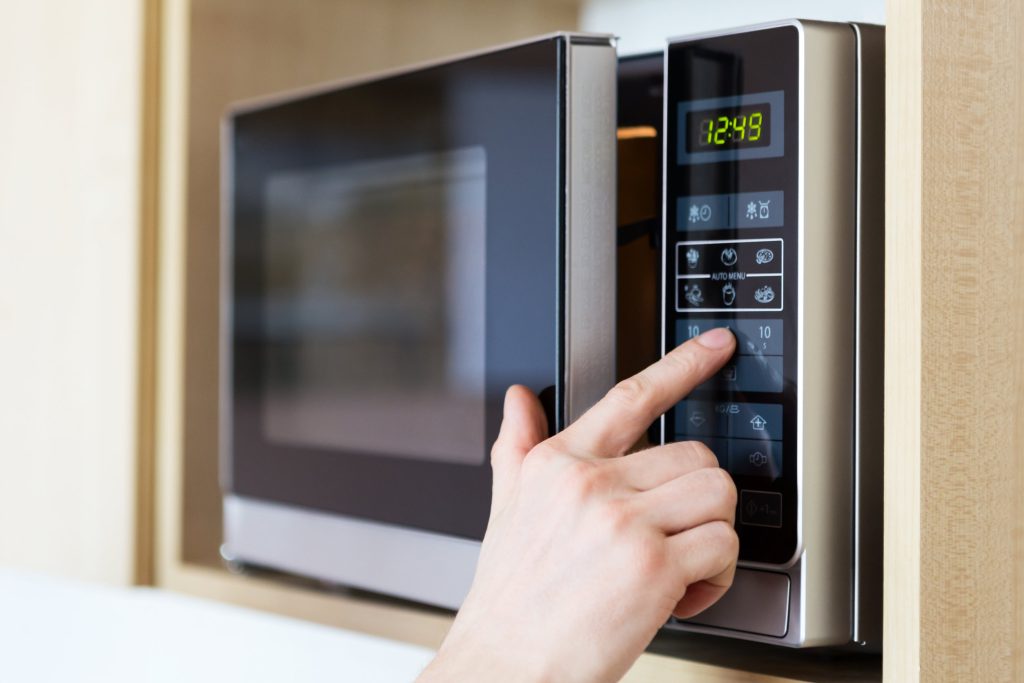
This step is where the magic happens. Set your microwave to medium power. The drying time depends on the size and type of your flowers:
| Flower Type | Examples | Drying Time |
|---|---|---|
| Small flowers | Pansies, Violas, Baby’s breath | 1 to 2 minutes |
| Medium flowers | Daisies, Asters, Bachelor buttons | 2 to 3 minutes |
| Large, dense flowers | Roses, Carnations, Marigolds | 3 to 3.5 minutes |
Remember, these times are just a guide. You might need to adjust based on the number of flowers you’re drying and their size.
Start with the lower end of the time range and check your flowers. It’s better to under-dry and need to add more time than to over-dry and damage your flowers.
If you’re trying different types of flowers together, go with the shorter time and check frequently.
Step 5: Cool Down Period
After microwaving, it’s time for the cool-down. Carefully remove the container using oven mitts – it’ll be very hot! Place it on a heat-safe surface.
Now, here’s the important part: let it cool completely without disturbing the gel or flowers. This cooling period is crucial because the drying process continues as the gel cools.
Be patient – it might take 30 minutes to an hour to cool fully. If your flowers aren’t fully dry after cooling, don’t worry.
Just cover them with more gel, refill the water cup, and microwave again for 1-2 minutes on medium power.
You can repeat this process if needed, but be careful not to over-dry them, as this can affect their color and make them brittle.
Step 6: Create Your Floral Art
Congratulations! Your flowers are now dried and ready for crafting. Gently remove them from the gel, shaking off any excess.
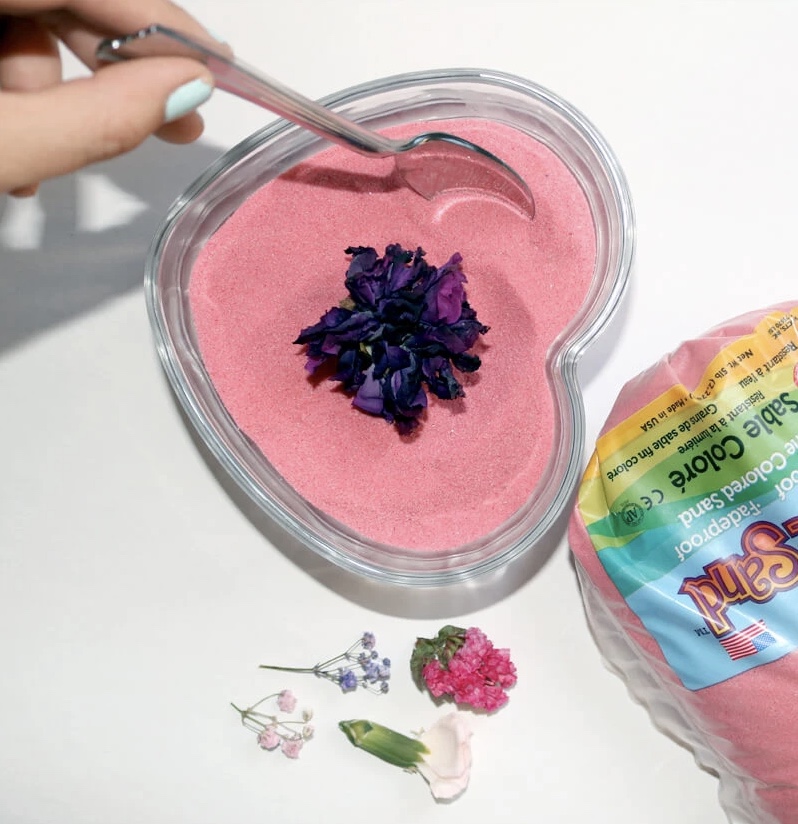
Be careful, as dried flowers can be delicate. Now, it’s time to get creative! You could arrange them in a vase with colorful decorative sand for a stunning display.
They can also be used in various craft projects like pressed flower art, jewelry making, or even as decorations for homemade cards. The possibilities are endless.
Experiment with different arrangements and see what beautiful creations you can create. Remember that you can reuse the Flower Drying Art™ Silica Gel by following the package instructions.
This means you can keep drying flowers to your heart’s content, creating a never-ending supply of dried flowers for all your projects!
Final Thoughts
Now you know how to dry flowers in the microwave! Isn’t it amazing how quick and simple it can be? I hope this guide has inspired you to give it a try.
Remember, practice makes perfect when learning to dry flowers in the microwave. Don’t worry if your first attempt isn’t flawless – each flower is unique and might need slight adjustments.
Why not experiment with different types of blooms and see what works best? Once you’ve mastered it, you’ll dry flowers in your microwave like a pro!
Think of all the creative projects you could do with your preserved flowers. From beautiful home decorations to heartfelt handmade gifts, the possibilities are endless.
So, grab some flowers and get drying! I’d love to hear about your microwave flower-drying adventures!