


Are you looking to add a unique, eye-catching storage solution to your home? Let me share how I tackled this challenge with a DIY arched bookcase.
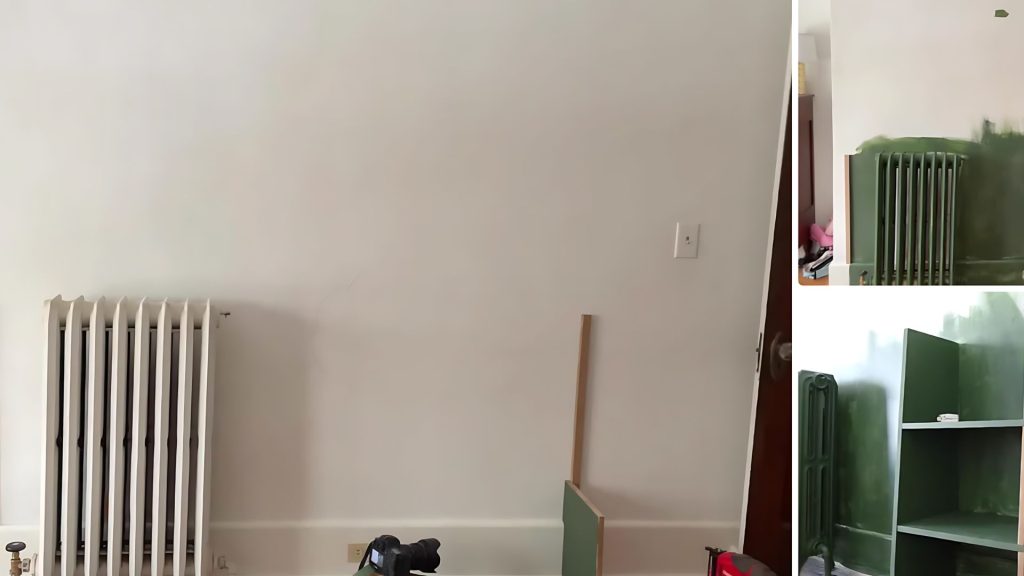
When faced with a bare wall and a radiator in our kids’ room, I saw an opportunity to create something special.
This project solved our storage needs and added a playful touch to the space.
In this guide, I’ll walk you through building your arched bookcase, from cutting the initial boards to adding the finishing touches.
Don’t worry if you’re new to DIY – with patience and basic tools, you can create a beautiful, functional, stylish, custom piece.
So, join me on the journey and transform that empty wall into a storage masterpiece!
What You’ll Need
- Two sheets of 4×8 MDF
- Circular saw
- Jigsaw
- Nail gun
- Router
- Paint and painting supplies
Steps to follow in the process
The article details an 8-step process for building a DIY arched bookcase, from cutting boards to final assembly.
It guides readers through creating the curved arch, fitting shelves, and adding decorative touches.
The steps are explained in a beginner-friendly manner, emphasizing patience and safety throughout the project.
Step 1: Sizing Up Your Boards
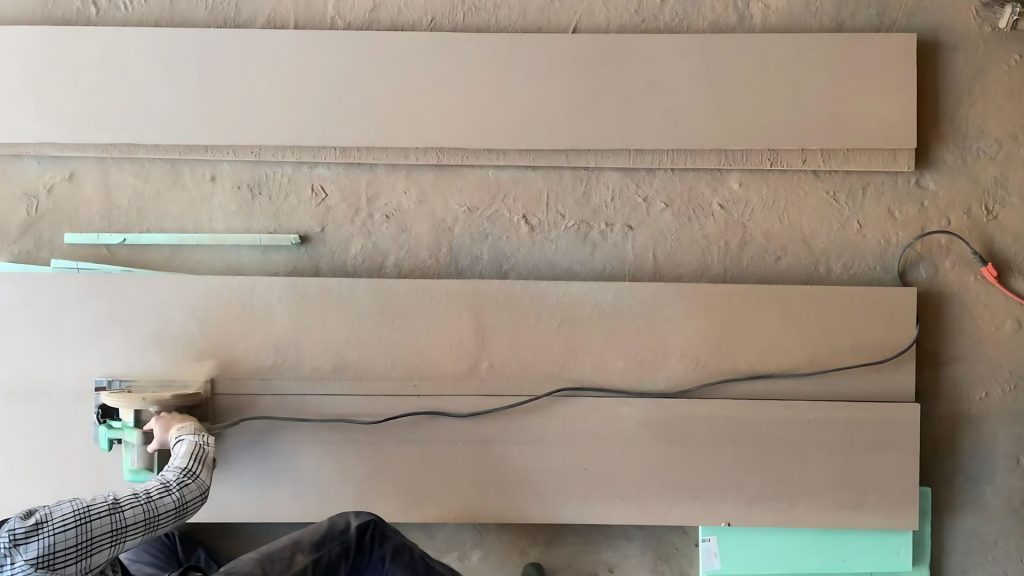
Let’s kick off our DIY arched bookcase project by preparing our boards.
Grab your MDF sheets and circular saw – it’s time to get cutting! We aim to match all boards to the width of the bookcase’s base, which is the widest part.
Measure carefully and mark your cutting lines. When using the circular saw, ensure you’re in a well-ventilated area and wearing safety goggles.
Take your time with each cut, letting the saw do the work without forcing it. If you’re new to using a circular saw, practice on some scrap pieces first to get comfortable.
Once all your boards are cut to the right width, lay them out to visualize how your bookcase will take shape.
This step sets the foundation for your project, so accuracy is key. Don’t rush – a little extra time here will save you headaches later!
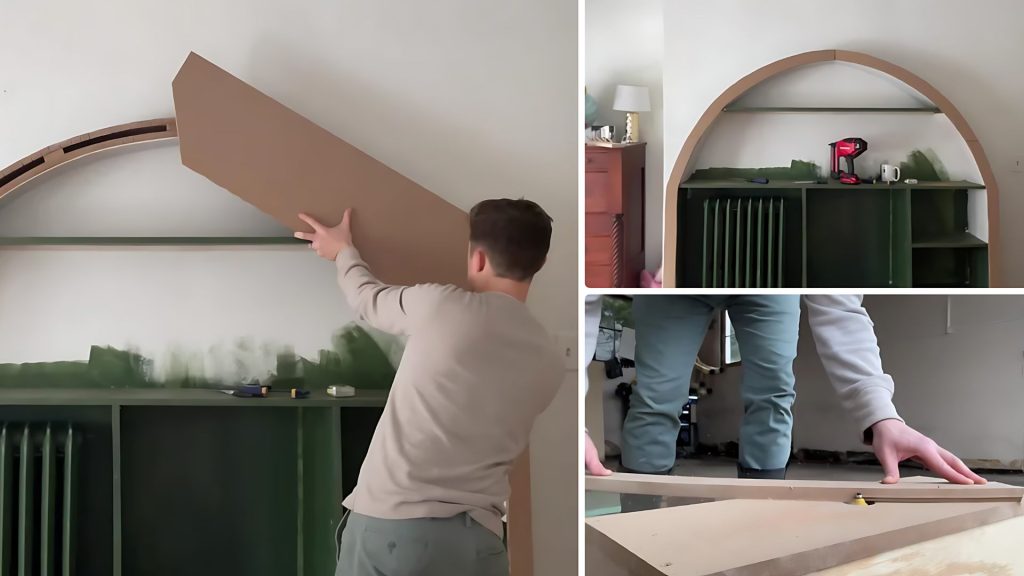
Step 2: Making the Curve

Now for the fun part – creating that eye-catching arch! We’ll use kerf cutting to make our MDF board bend smoothly.
Kerf cuts are shallow grooves about two-thirds through the board’s thickness. Start by marking your cutting lines – they should be close together for a smooth curve.
Set your circular saw blade depth correctly, then carefully make these cuts.
Remember, we’re not cutting all the way through! Keep adding cuts, testing the bend after every few. You’ll see the board gradually becoming more flexible.
It’s like magic – you’re teaching the wood to curve! This process requires patience and a steady hand. Take breaks if needed, and always prioritize safety.
Keep going until your board bends easily and smoothly. Once you’re happy with the curve, please give it a final test bend.
Congratulations – you’ve just created the defining feature of your arched bookcase!
Step 3: Building the Shelves
With our curved top ready, let’s focus on the interior shelves. This step requires some planning and precision.
I used SketchUp to calculate shelf depths, but careful measurements and math can be used. Measure from the wall to where each shelf will sit, accounting for the bookcase’s slope.
Here’s a crucial detail: we must cut the front of each shelf board at an 85-degree angle. This ensures the shelves sit flush with the bookcase’s sloping front.
If you don’t have a miter saw, you can achieve this with a circular saw by carefully tilting the base to 85 degrees.
Take your time with these cuts – they’re key to your bookcase’s polished look. After cutting, do a dry assembly to check your measurements.
This test run can save you from surprises later. Adjust as needed – remember, it’s okay if it takes a few tries to get it right!
Step 4: Fitting It to the Wall
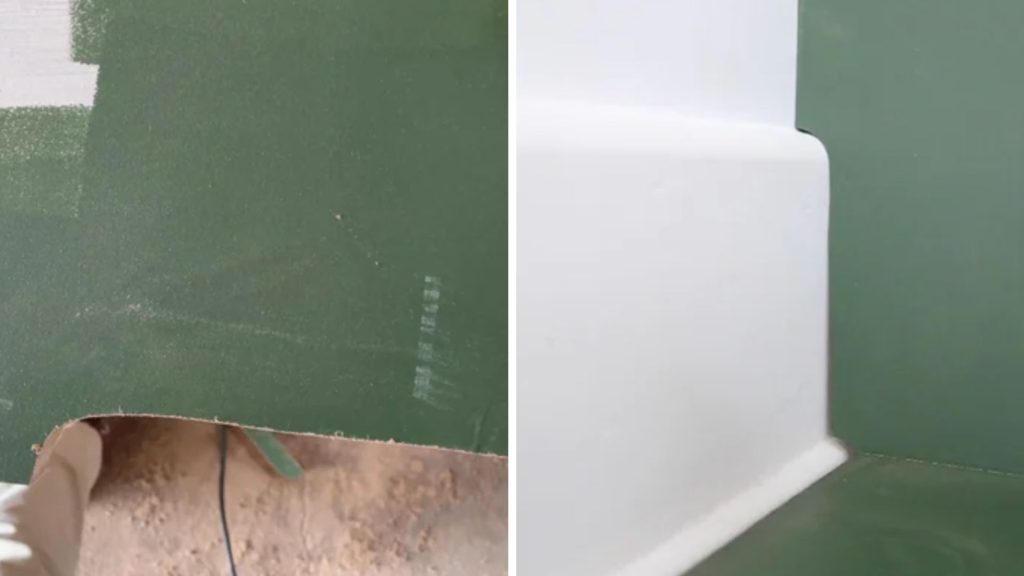
Let’s tackle a common challenge – fitting our bookcase snugly against the wall despite that pesky baseboard molding. This step requires attention to detail and careful cutting.
First, place your bookcase where it will stand and mark where it meets the molding.
Then, carefully cut away the marked sections of your bookcase’s base using a jigsaw or coping saw. Take it slow – it’s better to cut too little and adjust than too much!
Test the fit frequently as you go. You might need to make small adjustments for a perfect fit.
This extra effort ensures your bookcase sits flush against the wall, giving it a built-in look.
These little details elevate your DIY project from good to great. Once you’re happy with the fit, cut the edges with a light sanding for a smooth finish.
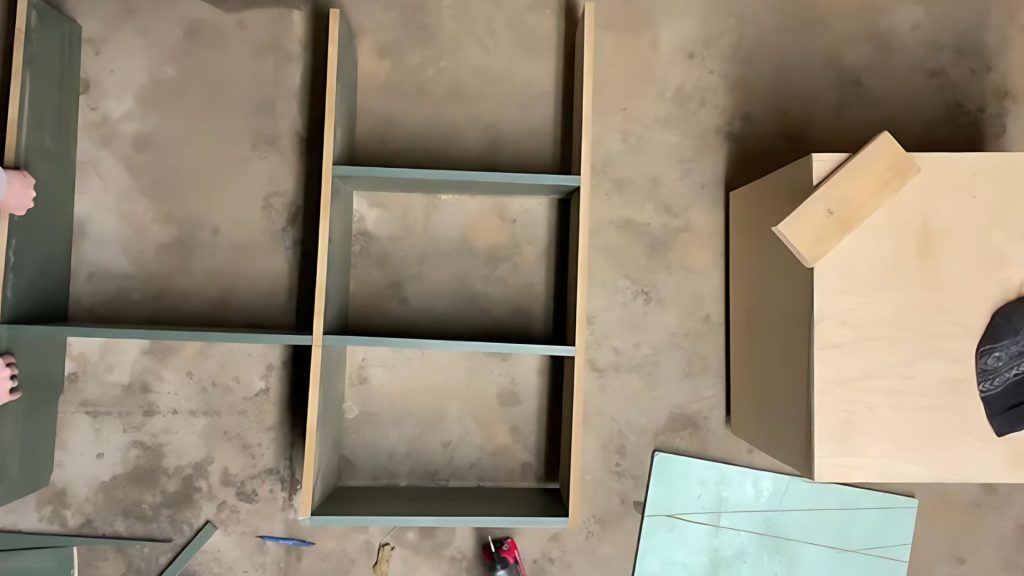
Step 5: Putting It All Together
It’s time to see your DIY arched bookcase take shape! I found it easiest to assemble and paint as I went along.
Start from the bottom, using a 1-inch spacer nailed to the wall to guide the bookcase’s shape.
This spacer acts like an extra pair of hands, helping you maintain the correct curve as you build up.
Secure each piece with your nail gun, checking for level and plumb. Don’t forget to pre-drill holes for your nails to prevent splitting.
As you assemble, periodically step back to check your progress and make any necessary adjustments.
This gradual assembly allows you to paint hard-to-reach areas as you go, ensuring a professional finish.
Take your time with this step – careful assembly now means a sturdier, better-looking bookcase.
Step 6: Adding Some Flair
Let’s give your DIY arched bookcase extra character! Adding molding is a great way to achieve a polished, professional look.
Start by tracing the shape you need directly onto your molding pieces. Cut these carefully, taking your time to get smooth, accurate cuts.
A miter saw is ideal, but you can also use a handsaw with a miter box. Once cut, use your router to add decorative detail to the edges.
This extra touch elevates the look of your bookcase. When attaching the molding, use wood glue to form a strong bond and secure it with finished nails.
Wipe away any excess glue immediately. These little details might seem small, but they make a big difference in the final appearance of your project.
Stand back and admire how these finishing touches transform your bookcase!
Step 7: Smoothing It Out
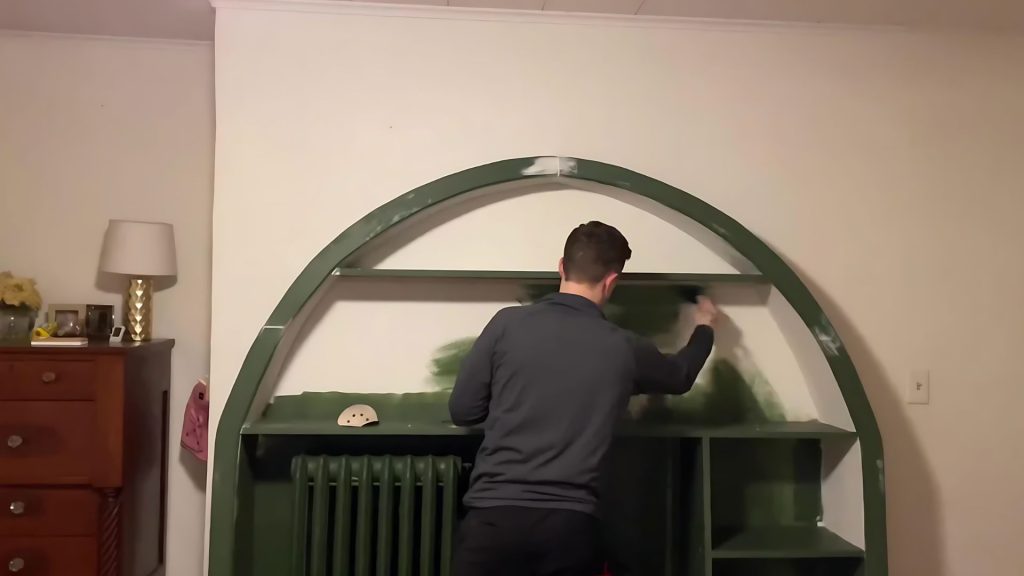
Even with careful work, your DIY arched bookcase might have some imperfections – that’s normal! Now’s the time to smooth everything out for a flawless finish.
Start using wood filler to address gaps, nail holes, or uneven spots. Apply the filler generously, let it dry completely, then sand it smooth.
Next, caulk along all the edges where different pieces meet. This step gives that seamless, built-in look. Once the caulk is dry, thoroughly sand the entire bookcase.
Start with medium-grit sandpaper and finish with fine-grit for a super smooth surface. Wipe away all dust with a tack cloth.
Now you’re ready for the final coats of paint. Take your time with painting, using thin, even coats for the best results.
This careful preparation and finishing will make your bookcase look professionally crafted!
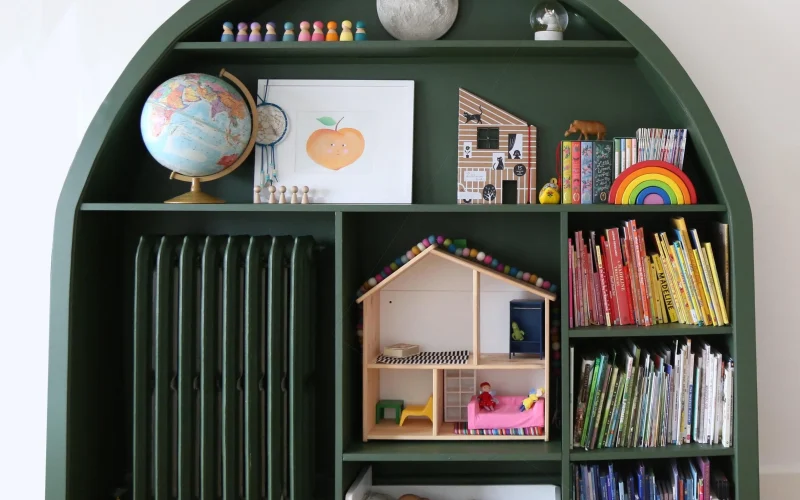
Step 8: The Fun Part

Congratulations! Your DIY arched bookcase is complete, and now comes the most enjoyable part – filling it up! Start by giving your newly painted bookcase ample time to dry.
Once it’s ready, begin arranging your items. For a kids’ room, consider placing heavier books and larger toys on the lower shelves for easy access and stability.
Use the upper shelves for lighter items or decorative pieces. Mix and match books, toys, and decorative objects for a balanced, visually appealing look.
Don’t be afraid to rearrange until you’re happy with the result. This is your chance to showcase your children’s favorite things and create an inviting space.
Step back and admire your handiwork – you’ve solved a storage problem and created a beautiful, custom piece of furniture. Your DIY-arched bookcase is now the stylish centerpiece of the room!
Final Thoughts
And there you have it – your very own DIY arched bookcase! This project is more than just a storage solution; it’s a unique piece of furniture that adds character to your room.
Remember, the key to success is taking it step by step and not rushing the process. Don’t be discouraged if things aren’t perfect on the first try – that’s all part of the DIY journey.
The result is worth it: a beautiful, customized bookcase that serves a practical purpose and becomes a talking point in your home.
So step back, admire your handiwork, and enjoy filling those shelves with books, toys, and treasures.
You’ve not just built a bookcase; you’ve created a personalized space that your family will enjoy for years.