Adding greenery to your living space can be tricky, especially if you’re short on floor space. Many people want to bring nature indoors but struggle to find the right spots for their plants.
Don’t worry – I’ve got a practical and eye-catching solution. In this post, I’ll show you how to make your DIY wall planter.
It’s a fun project to help you maximize your space and create a stunning green display.
I’ll walk you through the process step-by-step, from gathering materials to hanging your finished planter. You’ll learn how to upcycle everyday items and create a unique piece that fits your style.
Let’s get started on this easy and rewarding project!
Materials and Tools Needed for DIY Wall Planter
Before starting our DIY wall planter project, let’s gather all the necessary supplies.
Here’s a complete list:
- Metal buckets or pails: I found some 6-inch metal pails at the dollar store. They’re perfect for small plants and easy on the wallet.
- Hose clamps: Get 6-inch hose clamps to match your bucket size. These will hold your pails securely.
- Spray paint (optional): If you want to add some color, pick up a can of spray paint. I used a teal shade, but choose whatever matches your decor.
- Screws: You’ll need #6 3/4-inch screws to attach the hose clamps.
- Wood boards or other creative backings: I used some leftover 1×3 boards, but you can use driftwood, old pallets, or any wood you like.
- Hanging hardware: D-rings work great for hanging these planters. They’re sturdy and easy to install.
- Drill and screwdriver: These tools will help you put everything together.
If you want to give your planter a unique look, consider these extras:
- Chalk paint This can give your wood backing a nice, rustic finish.
- Sandpaper: Use this to distress painted surfaces for an aged look.
With these materials, you can start creating your wall planter. In the next section, we’ll dive into the step-by-step process.
Choosing the Perfect Wood for Your DIY Wall Planter
When choosing wood for your wall planter, you’ve got plenty of options. I’ve tried a few different types, and here’s what I’ve found:
| Type of Wood | Appearance | Availability | Cost | Preparation | Safety Considerations |
|---|---|---|---|---|---|
| Driftwood | Natural, beachy look | Often found near coastal areas | Usually free | Ensure it is dry and sturdy | Check for rot or insects, and clean thoroughly |
| Pallet Wood | An industrial, rustic look | Available from local businesses | Usually free | Check for stamps indicating safety for indoor use sand thoroughly | Ensure it is free of harmful chemicals, and remove any nails or staples |
| Reclaimed Wood | Varied, often aged, and characterful | Sourced from old buildings, furniture, etc. | Low to moderate cost | Clean and sand may require cutting to size | Check for nails, lead paint, or other hazards |
| New Wood Boards | Smooth, clean appearance | Available at hardware stores | Moderate to high-cost | It may need to be cut to size, sanded, and painted or stained | Minimal, ensure it is suitable for indoor use |
Preparing the Wood Board for Your DIY Wall Planter
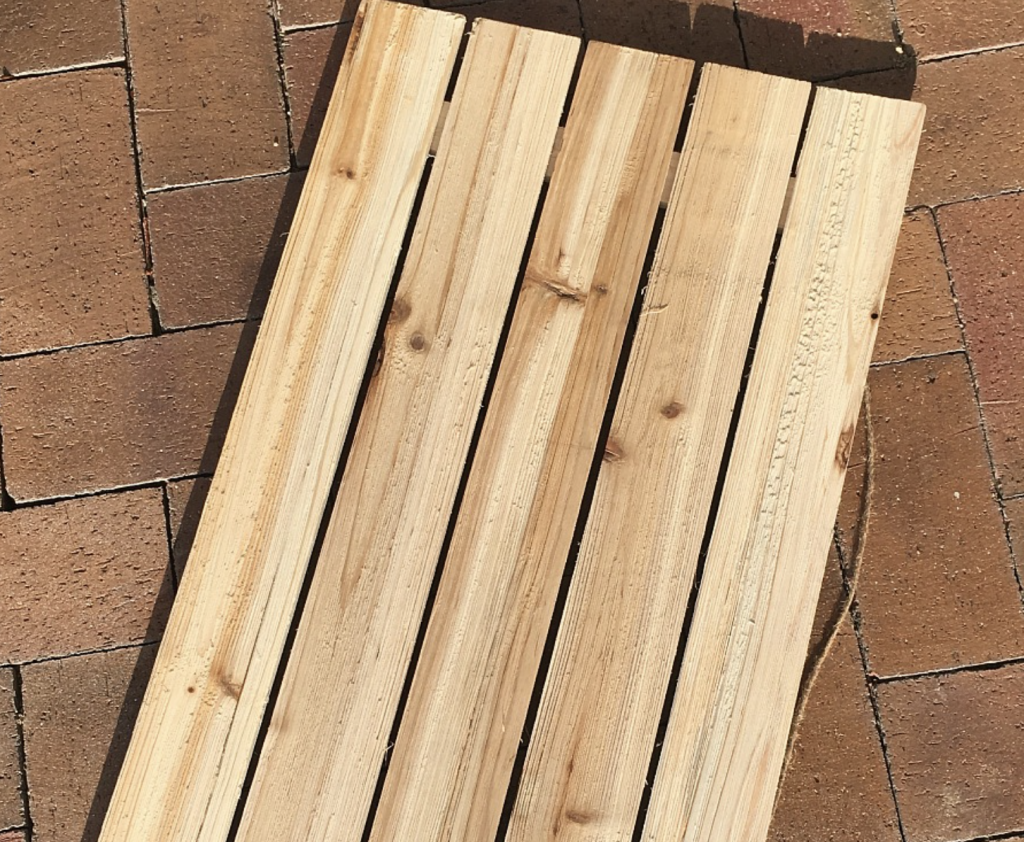
Once you’ve picked your wood, it’s time to prep it. Here’s what I do:
- First, I cut the wood to size.
- A handsaw works fine for this, but it’s even better if you’ve got a power saw. Just remember to measure twice and cut once!
- Next comes sanding. I start with rough sandpaper to smooth out any major bumps, then move to finer grit for a smooth finish.
- Don’t skip this step – it prevents splinters and makes painting easier.
Painting and Finishing the Wood Board
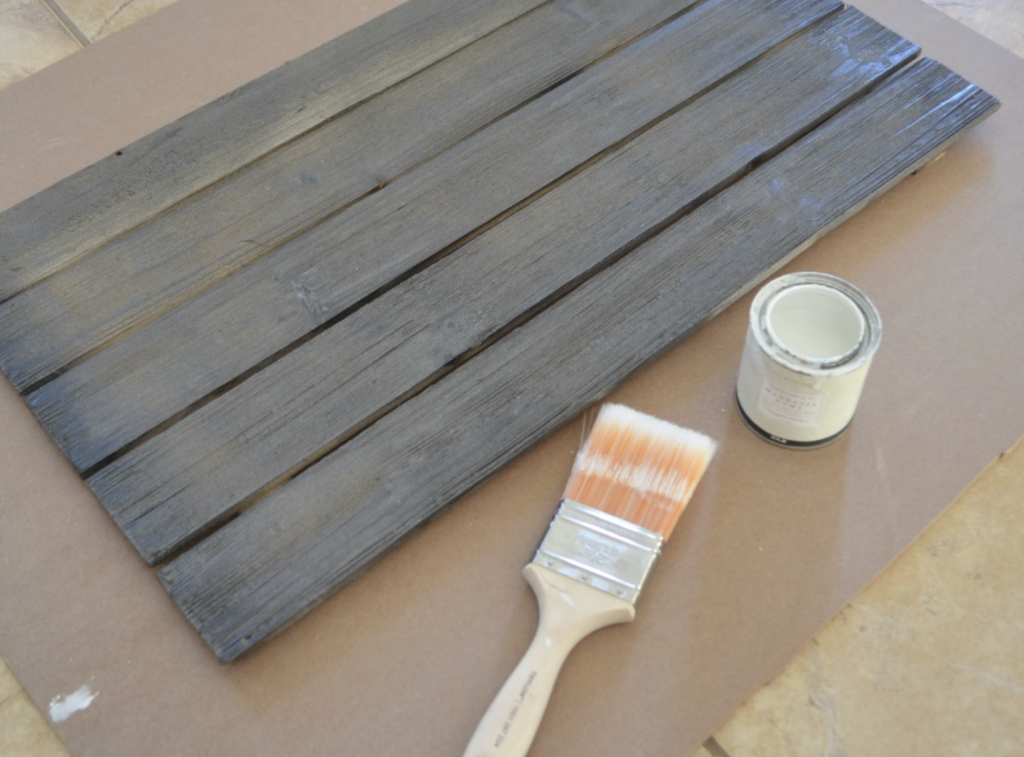
Now for the fun part—adding color! When choosing paint, I think about where the planter will hang. I went with a neutral white to match the decor for my living room, but I picked a bright blue for my kids’ room.
I usually use chalk paint because it gives a nice matte finish and doesn’t need priming. But regular latex paint works well, too, especially if you want a glossy look.
To add some character, I like to distress the paint a bit. After it’s dry, I lightly sand the edges and corners. It gives the wood an aged look that I love.
Finally, I added a clear coat to protect the paint and wood. For my planters, I use a water-based polyurethane. It’s easy to apply and dries quickly.
Remember, there’s no right or wrong way to finish your wood. Play around with different techniques until you find a look you love. That’s the beauty of DIY – you get to make it uniquely yours!
Assembling the DIY Planter
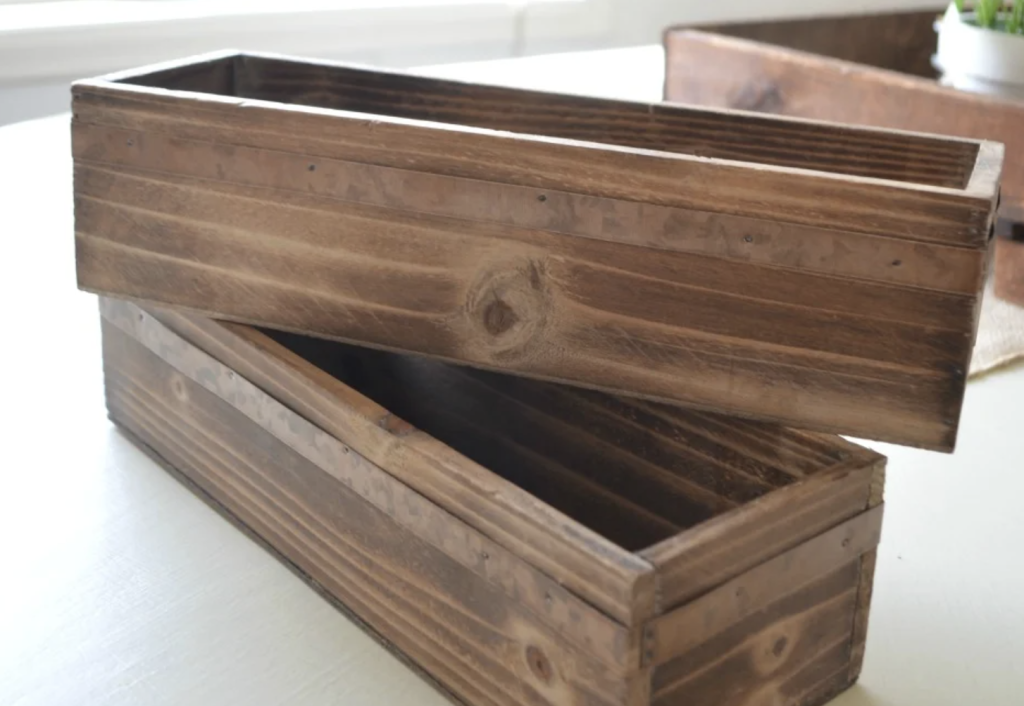
Now that we’ve finished our wood let’s put this planter together. It’s easier than you might think!
1. Attaching the Hanging Hardware
First, we need to attach the D-rings. These little guys keep your planter on the wall, so ensure they’re secure.
Here’s how I do it:
- I measure and mark where I want the D-rings to go. I like to place them about an inch from the top corners of the board.
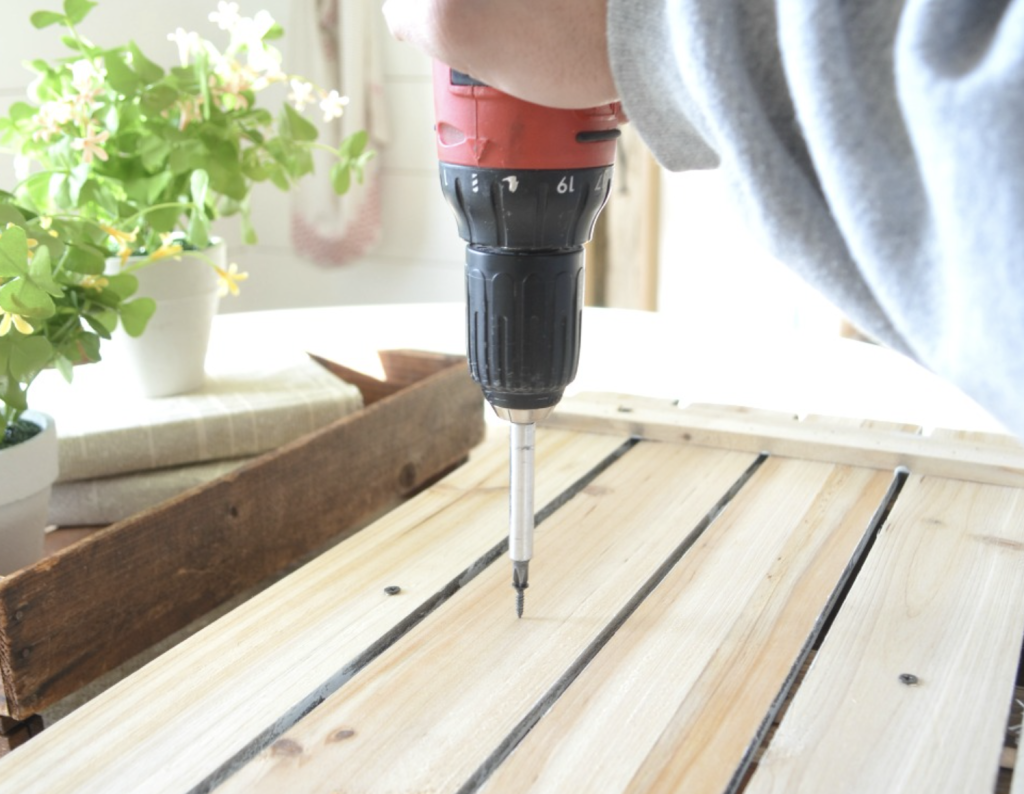
- Then, I used a drill to make pilot holes. This helps prevent the wood from splitting when I put in the screws.
- Finally, I screw in the D-rings. I always double-check that they’re tight.
A quick tip: Use a level to ensure your D-rings are even. It’ll save you a headache when you hang the planter later!
2. Mounting the Hose Clamp
Next, we’ll attach the hose clamp. This is what holds your DIY planter in place.
- I position the clamp where the planter sits on the board.
- Then, I mark where the screws will go and drill pilot holes.
- I secure the clamp with screws using the slotted section of the clamp.
- Once it’s attached, I adjust the clamp to fit snugly around my planter.
Remember, you want it tight enough to hold the planter but not so tight that it damages it.
3. Trimming Excess Metal
Sometimes, there’s a bit of extra metal on the hose clamp. If that’s the case for you, here’s what to do:
- Measure how much you need to trim off.
- Use tin snips to cut away the excess carefully.
- If any sharp edges are left, I smooth them out with a metal file.
Be careful when you’re doing this – metal edges can be sharp!
Customizing the Planters
Now comes the fun part – making your DIY wall planters uniquely yours! Let’s dive into some ways to add your personal touch.
1. Painting the Metal Pails
First, let’s talk paint. When choosing colors, I like to consider where the planter will hang. I wore a soft teal for my living room that matched my throw pillows. But don’t be afraid to go bold if that’s your style!
Here’s my painting process:
- I clean the pails thoroughly and let them dry.
- Then, I apply a couple of light coats of spray paint. It gives a nice, even finish.
- If I want a distressed look, I let the paint dry completely, then lightly sand some areas. It’s a great way to add character!
A tip: If you’re unsure about a color, try it on a small spot first. Paint can look different when it’s dry and in different lighting.
2. Adding Decorative Elements
Want to take your planters to the next level? Try adding some extra flair!
Stencils are a fun way to add patterns or words to your pails. I’ve used floral designs on mine, but geometric patterns look great too.
Here’s how I do it:
- I position the stencil where I want it and secure it with tape.
- Then, I dab paint over the stencil with a sponge.
- I carefully peel off the stencil while the paint is still wet.
If stencils aren’t your thing, try decals. They’re super easy to apply and come in tons of designs.
You can also add some hardware for a unique touch. I found some cute vintage-style handles at a thrift store and attached them to my pails. Just be careful when drilling into the metal – you don’t want to make the holes too big.
Selecting Suitable Plants for Your DIY Wall Planter
Choosing the right plants is key to a successful DIY wall planter. Here’s what I’ve learned:
I love using pothos or snake plants for indoor planters, especially in low-light areas. They’re super hardy and can thrive almost anywhere.
If your planter will get lots of sun, succulents are a great choice. They’re low-maintenance and come in so many cool shapes and colors.
For my kitchen planter, I went with herbs. There’s nothing like fresh basil or mint right at your fingertips when cooking!
Remember, if you’re putting more than one in a planter, pick plants with similar water needs. This will make your life much easier when it comes to care.
Planting Process
Now, let’s get those plants in their new homes:
- I start by mixing up some potting soil with a bit of perlite. It helps with drainage.
- Then, I add a layer of pebbles at the bottom of the planter. This is extra important if your planter doesn’t have drainage holes.
- Next, I gently remove the plant from its original pot and place it in the planter.
- I fill in around the roots with soil, patting it down gently to remove air pockets.
- Finally, I give it a good watering to help the plant settle in.
Mounting the DIY Planters on the Wall
Here comes the exciting part – getting those DIY planters up on the wall!
First, I decide where I want them. I consider the light needs of my plants and how easy it’ll be to water them. I also think about how they’ll look with my decor.
Once I’ve decided on the placement:
- I mark where each planter will go with a pencil.
- Then, I pre-drilled holes for my screws. I use wall anchors for extra support if I mount on drywall.
- Finally, I secure the planters to the wall, ensuring they’re level.
A word of caution: Make sure your wall can support the weight of the planters, especially once they’re filled with soil and plants. Safety first!
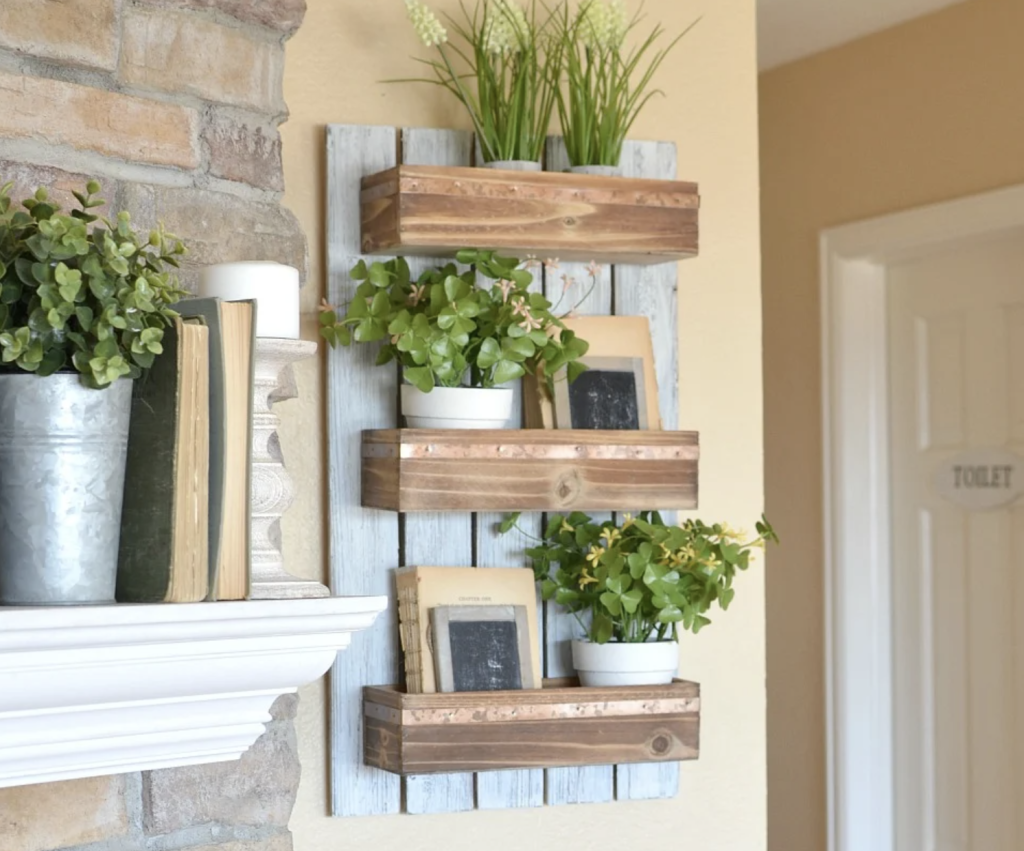
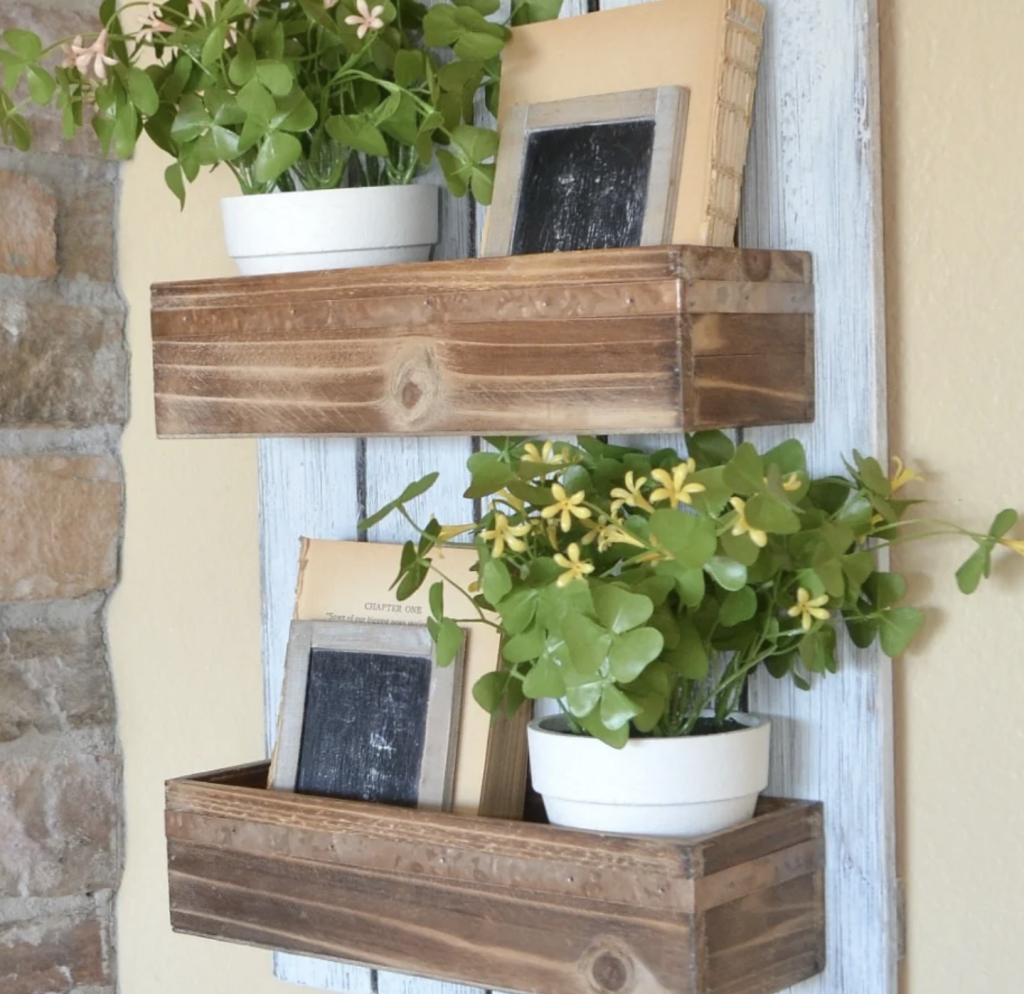
Creative Display Ideas for Your DIY Wall Planter
Now that we’ve got our planters up, let’s talk about making them look amazing! Many fun ways to arrange your planters and create a real wow factor exist.
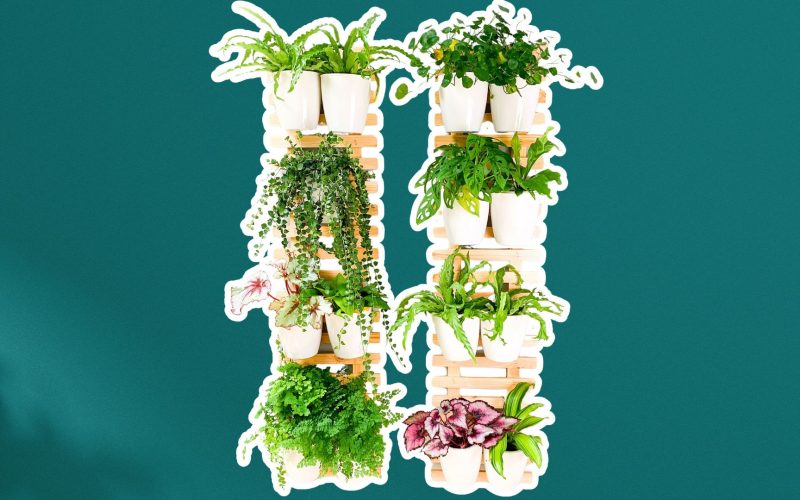
1. Arranging Multiple Planters for Visual Impact
Creating a living wall is a great way to make a big statement. Here’s how I like to do it:
- First, I measure my wall space and plan where each planter will go.
- Then, I decide if I want a symmetrical look (very neat and organized) or something more random and artsy.
- I always start hanging from the bottom row and work my way up. It’s much easier that way!
A tip: Play around with planters of different sizes and colors. I like to put bigger ones at the bottom and smaller ones up top. It gives the whole display more depth.
2. Seasonal and Thematic Decorations
One of the best things about DIY wall planters is their ability to update. I love changing mine with the seasons:
- In spring, I fill them with colorful flowers.
- For summer, I switch to herbs – perfect for fresh summer cooking!
- I add some mini pumpkins or gourds in the fall for a festive touch.
- And in winter, I use evergreens and add some twinkly lights.
You can also create themed displays. For my kitchen, I’ve got an herb garden wall. It looks great and is super handy when I’m cooking. Herbs are so easy to care for, and they look cool together.
Summing It Up
Creating your DIY wall planter isn’t just a fun project – it’s a way to bring life and color into your space.
Whether you’ve gone for a herb garden in your kitchen or a succulent display in your living room, you’ve added a unique touch to your home.
Remember, the beauty of DIY is that you can always change things up. Try different plants, switch out decorations, or rearrange your planters to keep your green wall fresh and exciting.
I hope this guide has inspired you to get creative with your indoor gardening. Why not share your wall planter creations on social media? I’d love to see what you come up with!
Now, it’s your turn. What kind of DIY wall planter are you planning to make?