Building a desk can seem daunting, especially if you’re new to DIY projects. Many people worry about the complexity, cost, and time involved.
But don’t let these concerns stop you from creating a custom workspace that fits your needs perfectly.
This guide will show you how to build a desk easily and affordably, even as a beginner. You’ll learn to choose the right materials, use basic tools, and follow simple steps to construct a sturdy, functional desk.
We’ll cover everything from planning and measuring to assembly and finishing touches.
By the end of this tutorial, you’ll have the skills and confidence to build a unique desk, saving money and gaining satisfaction in the process.
Choosing the Right Design for Your DIY Desk
When building a desk, picking the right design is key. It affects how the desk looks and works in your space.
A well-designed desk can help you work better and make your room look good.
1. Deciding on The Desk Size Based on Your Space
- Measure Your Space: Use a tape measure to determine your room’s size. Leave space for your chair and any other furniture you need to move.
- Consider Usage Needs: Consider what you’ll use the desk for. If it’s for work, ensure room for your computer, papers, and office supplies. For gaming, plan for multiple screens and gaming gear.
2. Selecting an Appropriate Desk Style
- Modern: These desks have clean lines and simple designs. They often use metal and glass. They look great in new-style rooms but might not have much storage.
- Rustic: Rustic wooden desks have an old-time look. They’re strong and give a warm feel, but they can be big and might not fit in modern rooms.
- Compact: These desks save space and can do many jobs. They’re great for small areas and often have built-in storage, but you might not have as much workspace.
3. Example Dimensions for Standard Desks
Standard Dimensions:
- Height: 29-30 inches
- Length: 48, 60, or 72 inches
- Width: 24, 30, or 36 inches
Custom Dimensions: If you need a different size, you can change these numbers. Just make sure the desk is still comfortable to use.
Materials and Tools Required to Build a Desk
1. Essential Materials
When building your desk, you’ll need these key items:
- Plywood Sheets or Pre-Cut Wood Panels: These form the main surface of your desk. Choose a thickness that balances strength and weight, typically 3/4 inch.
- 2×4 and 2×2 Lumber: These are used for the legs and supports. They provide a strong frame for your desk.
- Screws, Wood Glue, Wood Putty: These help join the parts and fill any gaps. Choose screws suited to your wood type.
- Wood Stain, Paint, and Polyurethane (optional): These give your desk its final look and protect the wood.
2. Necessary Tools
To build your desk, you’ll need these tools:
- Saw: A circular saw or miter saw helps cut wood to size. If you’re new to this, ask for help at the store to cut your main pieces.
- Drill: You’ll use this to make holes for screws and join parts together.
- Sander: This smooths rough edges and prepares surfaces for finishing.
- Clamps: These hold pieces in place while you work.
- Measuring tape and pencil: This is used to mark where to cut and drill.
- Pocket Hole Jig: This helps make strong, hidden joints. It’s very useful but not always needed.
- Screwdriver You require a screwdriver to drive in the screws. An electric screwdriver saves more time and effort. Remember, safety comes first. Wear goggles when cutting or drilling, and follow all tool safety guidelines.
How to Build a Desk at Home: 8 Quick and Easy Steps
1. Start by Cutting the Wood Pieces
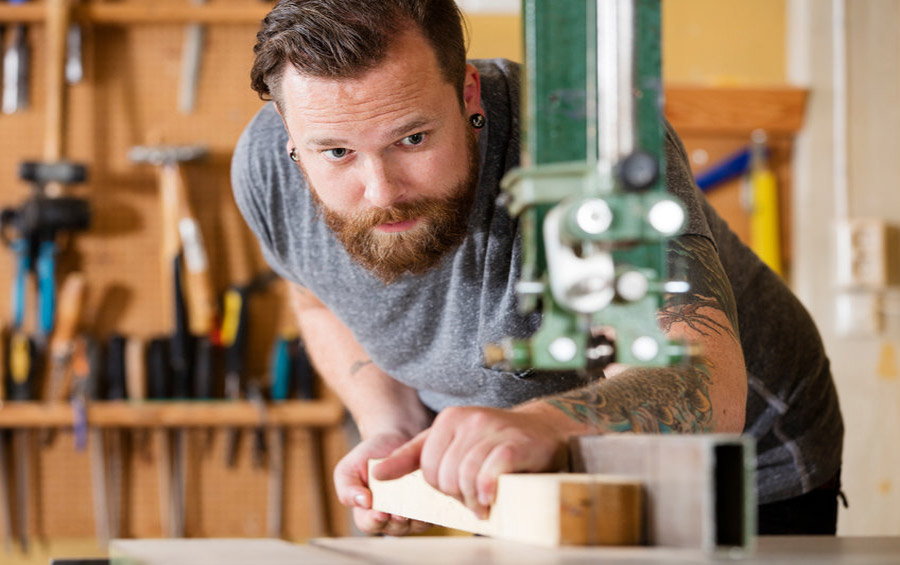
Getting your wood cuts right is key to building a strong, good-looking desk. When all the parts fit together, your desk will be sturdy and neat.
Cut List
- Plywood for Desktop and Supports: You’ll need a big piece, like 48 inches by 24 inches. Make sure to cut it straight and even. For supports, cut smaller pieces, like 2-inch by 4-inch strips. These need to be exact to keep your desk steady.
- Lumber for Legs and Crossbars: Cut four legs, each 29 inches long. They must all be the same length so your desk stands straight. For crossbars, cut pieces as wide as your desk. These help make the desk stronger.
Tips for Cutting
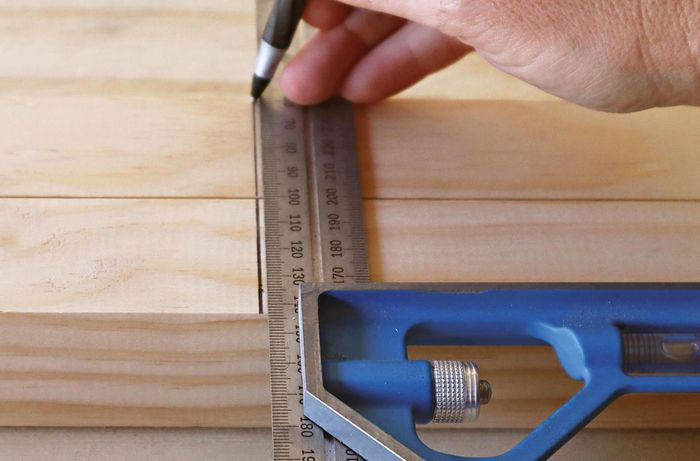
- Measuring Accurately: Use a tape measure and a square to mark straight lines. Always measure twice before you cut. Mark your cut lines clearly with a pencil.
- Using a Saw Safely: Use a circular saw for straight cuts and a miter saw for angled cuts. Always wear safety glasses. Keep your hands away from the blade. Use clamps to hold the wood still. Start the saw before touching the wood and moving it along your marked line.
- Sanding Edges Smooth: After cutting, sand the edges to make them smooth and safe. Use a power sander or sandpaper with a block. Sand in the same direction as the wood grain. For the best result, start with rough sandpaper and finish with smooth sandpaper.
Additional Tips for Success
- Organizing Your Workspace: Keep your work area clean and tidy. This helps prevent mistakes and keeps you safe. Make sure you have good light and all your tools nearby.
- Handling Mistakes: If you cut a piece too short, you might be able to add a small extra piece. You can sand it down to the right size if it’s too long.
- Maintaining Your Tools: Keep your tools clean and sharp. This helps you make better cuts. Clean saw blades often and replace them when they get dull.
- Budgeting for Wood: Look for good deals on wood. Sometimes, buying more at once can save money. Plan your cuts to use as much of the wood as possible.
2. Building the Legs of Your Desk
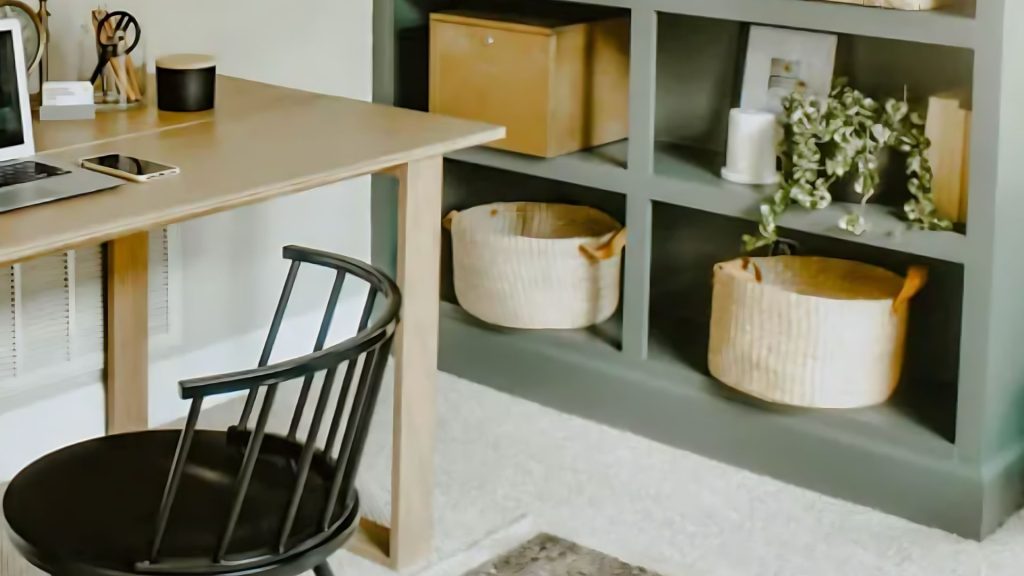
There are three different methods for building the legs of your desk:
- Kreg Jig: Use this tool to make hidden pocket holes. It gives you strong, hidden joints for a clean look. To use it, clamp the jig to your wood, drill the holes, then join the pieces with screws.
- Nails and Glue: This is a simple method great for beginners. Apply wood glue to the joint, hold the pieces together, and nail them in place. Let the glue dry fully before moving on.
- Miter Saw: This saw cuts precise angles for leg joints, allowing for more detailed designs and stronger joints. Set the saw to the desired angle, cut, and join the pieces.
3. Ensuring Stability and Evenness
- Use clamps to hold pieces steady while you work.
- Check with a level to ensure the legs are even and the same height.
- Double-check all measurements before cutting.
- Use a carpenter’s square to ensure all angles are 90 degrees.
4. Creating the Frame of Your Desk
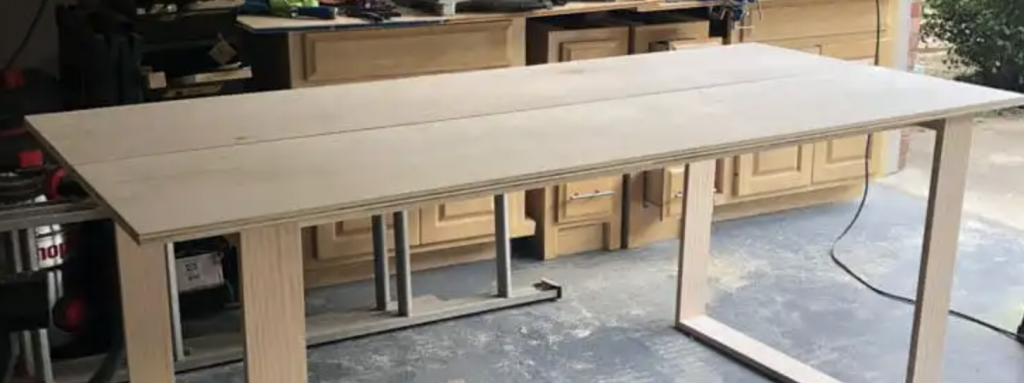
Attaching Legs to Support Beams
For this step, you’ll need a drill, screws, and wood glue.
Steps:
- Mark where the legs will attach to the support beams.
- Apply wood glue to these spots for extra strength.
- Screw the legs into the support beams securely.
Ensuring All Parts are Square and Level
- Use a carpenter’s square to check all angles.
- Adjust as needed before the glue dries and before fully tightening the screws.
- Place a level on the frame to check if it’s tilted.
- If needed, loosen screws and reposition until everything is level.
5. Attaching the Desktop
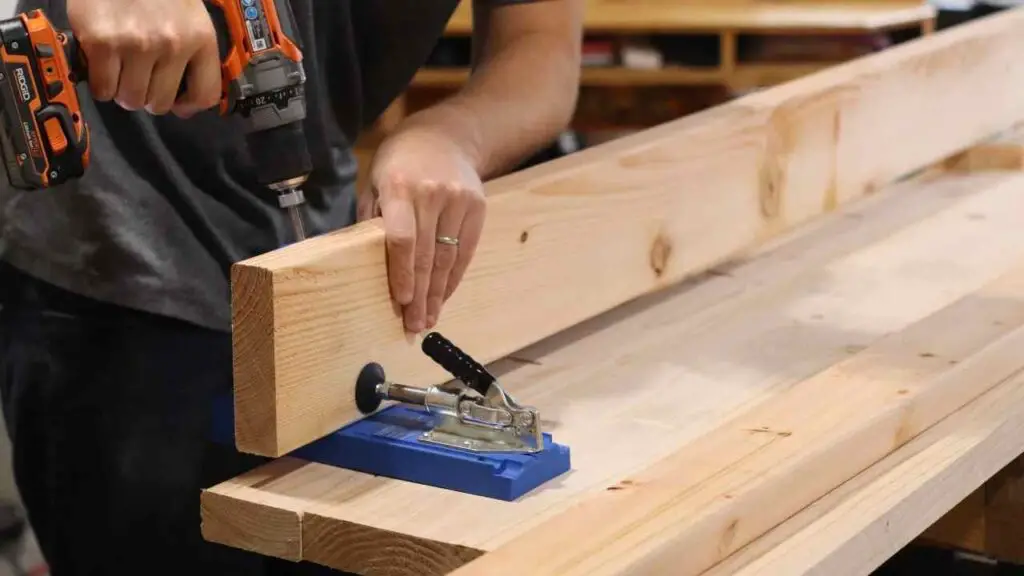
Securing your desktop to the frame is key for a stable, useful desk. Let’s go through aligning and securing the desktop.
Aligning the Desktop
- Place the desktop on top of your assembled frame.
- Adjust it so it’s centered and even on all sides.
- If you want an overhang, ensure it’s equal on all sides.
- For now, use clamps to hold the desktop in place.
Securing It with Screws and Glue
For this step again, you’ll need a drill, screws, and wood glue.
- Apply wood glue to the top edges of the frame where the desktop will sit.
- Use screws to attach the desktop to the frame from underneath.
- Space the screws evenly for a secure hold.
6. Finishing the Desk
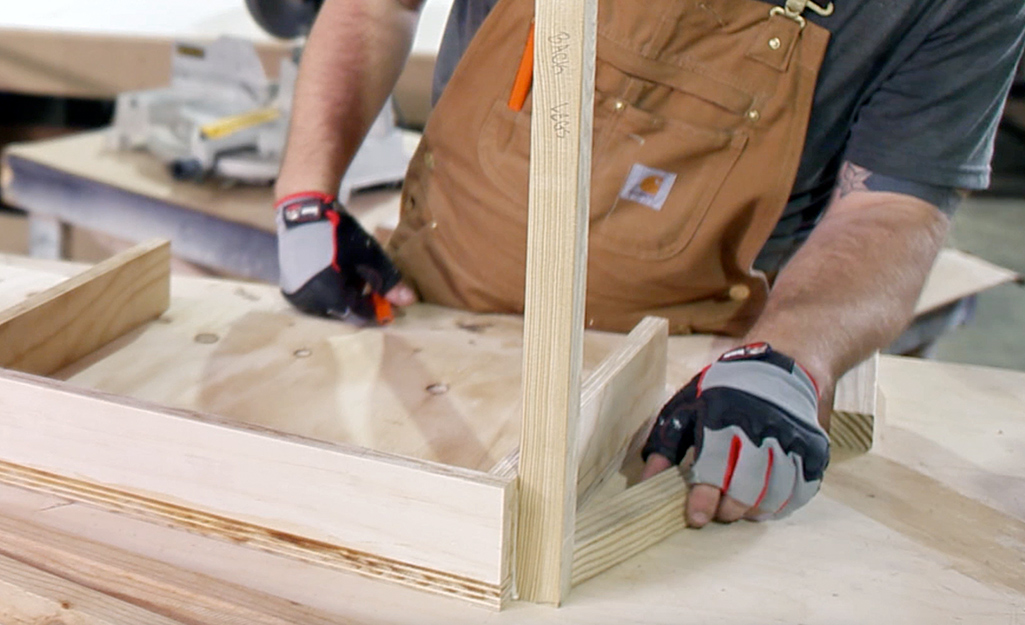
The finishing touches are key to making your desk look good and work well. Let’s go through sanding, staining, and final assembly.
Sanding and Staining
Preparing the Surface
- Use a power sander or sandpaper. Start with rough sandpaper (80-100 grit) and move to smoother (220 grit).
- Sand all parts evenly, including edges and corners.
- Wipe the desk with a damp cloth to remove dust.
Tips
- Sand in the direction of the wood grain to avoid scratches.
- Make sure the surface is clean before finishing.
Applying Wood Conditioner, Stain, and Topcoat
Wood Conditioner
- Apply with a clean cloth or brush to prevent blotchy staining.
- Let it soak for 10-15 minutes, then wipe off extra.
Stain
- Apply stain with a brush or cloth, following the wood grain.
- Wipe off extra after 5-15 minutes, depending on how dark you want it.
- Let it dry fully (usually 24 hours).
Topcoat:
- Apply a clear topcoat for protection.
- Use a brush or spray, applying thin, even layers.
- Sand lightly between coats with fine sandpaper (320 grit) and wipe off dust.
- Apply 2-3 coats, letting each dry well.
7. Adding Additional Features to Your Desk
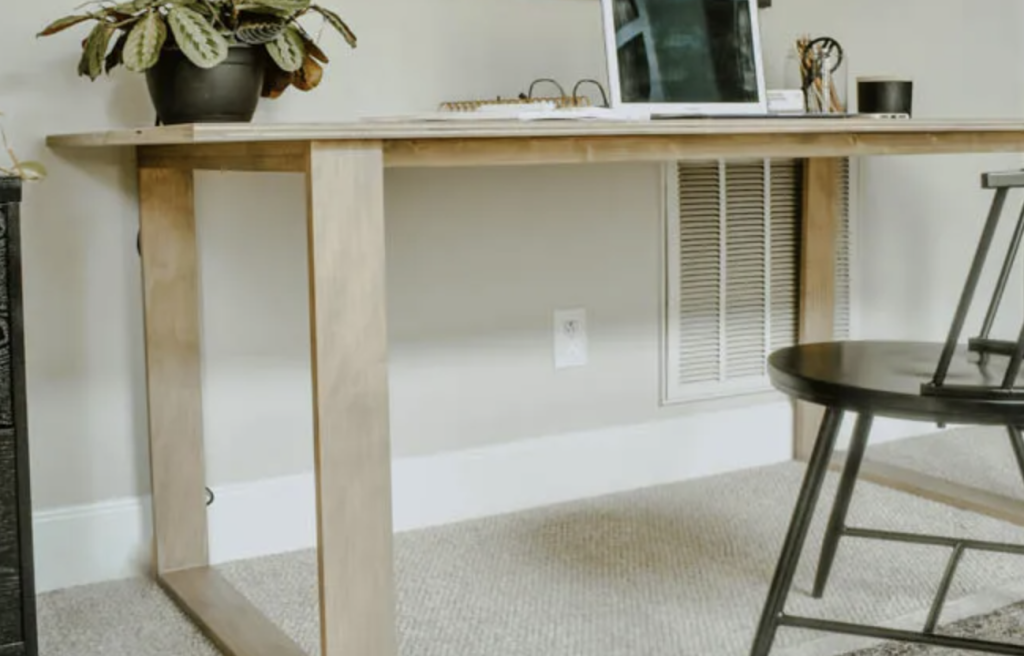
Installing Drawers or Shelves
- Mark where drawer slides or shelf brackets will go.
- Attach slides or brackets firmly with screws.
- Put in drawers or shelves, making sure they move smoothly.
Tips
- Use a level to ensure drawers and shelves are straight.
- Test that everything moves well and adjust if needed.
Adding Cable Management
- Decide where to put cable holes and clips.
- Use a hole saw on a drill to make cord holes.
- Put grommets in the holes for a neat look.
- Attach cable clips under the desk to organize cords.
Tips
- Put cord holes towards the back of the desk to hide cables.
- Use sticky cable clips for easy setup and changes.
8. Final Assembly and Adjustment

Final Checks
- Check all screws on the frame, legs, and extras.
- Tighten any loose screws, but don’t overdo it.
- Put the desk on a flat surface and use a level to check if it’s even.
- Gently shake the desk to test if it’s stable.
Adjustments
- Put felt pads on the bottom of each leg to protect floors and reduce noise.
- If the desk wobbles use shims under uneven legs.
- Tighten or loosen screws in the frame to adjust tension.
9. Additional Tips for Securing and Building the Desk
- Double-check all measurements before final assembly.
- Wear safety gear and work in a well-ventilated area.
- Add personal touches like decorative trim or custom drawer handles.
- Dust often and use coasters to keep your desk in good shape.
- Personalize with special hardware or paint colors.
- For common issues: re-sand and re-stain uneven areas, add screws to loose joints, and use wood filler for scratches.
A Comparison Between the Types of Woods Used to Build a Desk
| Wood Type | Features | Durability | Price Range (per board foot) | Best For | Pros | Cons |
|---|---|---|---|---|---|---|
| Pine | Softwood, light color, easy to work with | Moderate | $2 – $5 | Budget-friendly projects | Affordable, easy to find, lightweight | Prone to dents and scratches |
| Oak | Hardwood, prominent grain, strong | High | $5 – $10 | High-end, durable furniture | Very durable, attractive grain, finishes well | It can be expensive, heavy, and harder to work with |
| Maple | Hardwood, light color, smooth texture | High | $6 – $9 | Desktops, cabinetry | Strong and durable, smooth surface | It can be hard to stain evenly, moderately expensive |
| Walnut | Hardwood, rich dark color, unique grain | High | $10 – $15 | Luxury furniture, decorative pieces | Very attractive, durable, polishes well | Expensive, heavy, can be hard to work with |
| Cherry | Hardwood, reddish-brown color, smooth | High | $7 – $10 | High-end furniture, cabinetry | Beautiful color, smooth finish, ages well | Expensive, darkens with age |
| Birch | Hardwood, light color, fine grain | High | $5 – $8 | Plywood, veneer, furniture | Affordable, durable, good for staining | Can warp if not properly dried, moderate workability |
| MDF (Medium-Density Fiberboard) | Engineered wood, smooth, uniform | Moderate | $1 – $3 | Budget-friendly furniture | Very affordable, smooth surface for painting | Not as durable as solid wood, heavy, prone to water damage |
| Plywood | Engineered wood, layers of veneer | Moderate | $3 – $6 | Versatile, strong surfaces | Strong, resistant to warping, affordable | Edges can be rough and require edge banding |
| Bamboo | Grass, eco-friendly, distinctive look | High | $4 – $7 | Modern furniture, eco-friendly | Sustainable, strong, unique appearance | It can be expensive and may require special tools |
Wrapping It Up
Building your own desk is a rewarding project that blends creativity with practicality.
Following this guide, you’ve learned how to choose the right design, gather materials, cut wood pieces, assemble the frame, attach the desktop, and add finishing touches.
Remember, the key to success lies in careful planning, precise measurements, and attention to detail.
Your new desk is more than just a piece of furniture; it’s a testament to your skills and creativity.
As you use it, you’ll appreciate the personal touch and the satisfaction of building it yourself. Whether working, studying, or pursuing hobbies, this custom-made desk will serve you well for years.
Don’t hesitate to share your experience or ask questions in the comments.
Happy building!
Frequently Asked Questions
Is It Cheaper to Build Your Desk?
Building your own desk can be cheaper than buying one, especially if you use basic materials and have some tools. However, costs can vary based on the design and materials you choose.
Is a Solid Wood Desk Worth It?
Solid wood desks are often worth the investment. They’re durable, long-lasting, and can be refinished. They also add a timeless look to your space. However, they’re usually more expensive than desks made from other materials.
Is Pine Too Soft for A Desk?
Pine can work for a desk, but it’s softer than hardwoods. It dents and scratches easily, which might be an issue for heavy use. However, it’s affordable and easy to work with. Consider using a harder wood for the desktop or applying a tough finish.






![Dog Run Ideas [Free DIY Plans and Tips for a Backyard your dog will love ]](https://cdn.northernfeeling.com/wp-content/uploads/2023/07/Dog-Run-Ideas-Free-DIY-Plans-and-Tips-for-a-Backyard-your-dog-will-love-.jpg)

