


Are you looking to transform your small space with the timeless beauty and durability of tile flooring? While tiling larger areas might seem straightforward, working with limited space can pose unique challenges. From selecting the right tile size and layout to efficiently utilizing every square inch, careful planning and execution are key.
That said, this article will explore effective strategies and practical tips to help you achieve a seamless and beautiful tile installation in your small area.
Tools and Materials:
- Tiles (ceramic, porcelain, or other types)
- Tile adhesive (thin-set mortar)
- Tile spacers
- Tile cutter or wet tile saw
- Notched trowel
- Safety glasses
- Grout
- Grout float
- Sponge
- Level
- Measuring tape
- Chalk line or pencil
- Utility knife
- Knee pads (optional for comfort)
By gathering these items before you begin, you’ll save time and avoid unnecessary interruptions, ensuring a smooth process from start to finish.

Step-by-Step Guide
Laying down tile flooring in small spaces can be a rewarding DIY project. Here’s a step-by-step guide to help you through the process:
1. Measure the Area
Start by measuring the length and width of the space where you will lay the tiles to calculate the total square footage. This will help you determine how many tiles you’ll need for the project.
As you plan, consider the tile pattern layout, as it can affect the number of tiles required depending on whether you’re going for a straight, diagonal, or more intricate design. It’s recommended to purchase 10% more tiles than needed to account for potential cutting mistakes or future repairs. Having a little extra ensures you won’t run out mid-project.
2. Prepare the Subfloor
Before laying any floor tiles, ensure the subfloor is clean, dry, and free of dust or debris. Check that the subfloor is level—this is especially important in small spaces, where any unevenness can be more noticeable. If the surface is uneven, use a leveling compound to smooth it out. Taking the time to prepare the subfloor properly will result in a more professional-looking finish.
3. Plan the Layout
Dry-lay your tiles to visualize the final layout before applying any adhesive. Start from the center of the room and work outward toward the edges, ensuring a symmetrical and balanced placement. Using a chalk line or pencil, mark the center of the space and create grid lines as guides.
This step is crucial because most rooms do not have perfectly square corners, and starting in the middle helps to minimize uneven edges at the walls.
4. Cut the Tiles
Once you’ve planned the layout, you’ll likely need to cut some tiles to fit around corners, walls, or tight spaces. Use a tile cutter or wet tile saw to measure carefully to ensure precision. Remember, small spaces highlight imperfections, so measuring twice and cutting once is essential to avoid wasting tiles or creating an uneven look.
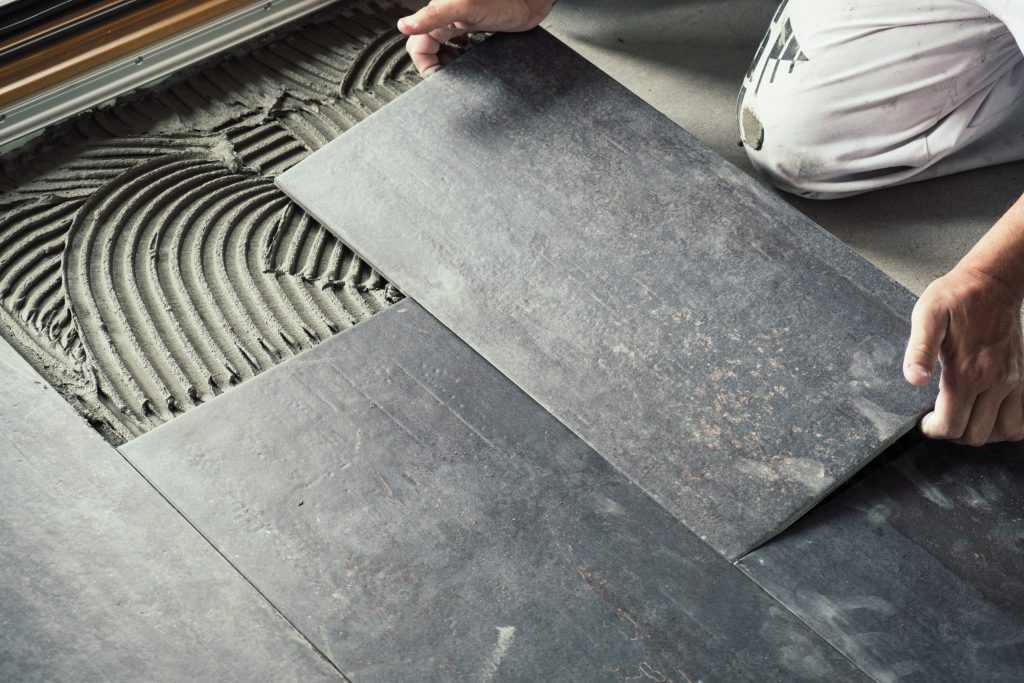
5. Apply Tile Adhesive
After cutting the tiles, begin applying the adhesive. Apply a thin layer of mortar to a small section of the floor using a notched trowel. Hold the trowel at a 45-degree angle to create ridges in the adhesive, which will help secure the tiles in place. These ridges will help secure the tiles in place. Working in small sections is essential to prevent the mortar from drying out before placing the tiles.
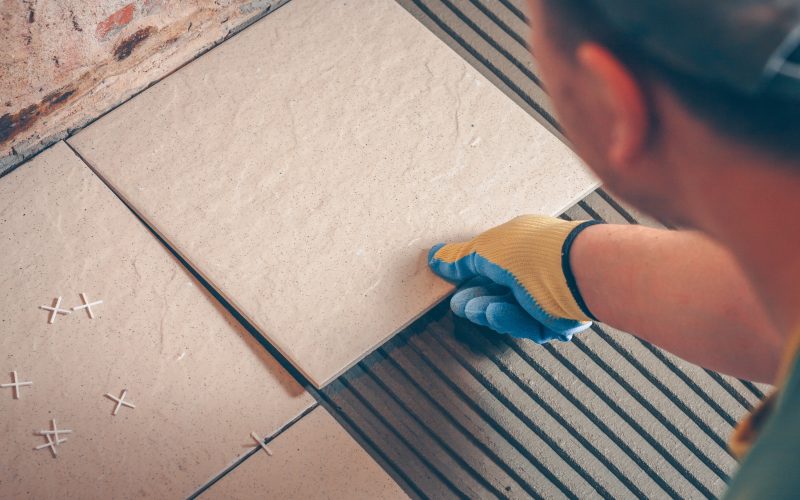
6. Lay the Tiles
Once the adhesive is applied, begin laying the tiles, pressing each one firmly into the mortar. Be sure to place tile spacers between each tile to maintain even spacing. Gently twist the tiles slightly as you press them into place to ensure good contact with the adhesive. Use a level to check that the tiles are even and adjust them as necessary. Continue this process until all the tiles are laid.
7. Let the Adhesive Set
After laying the tiles, allow the adhesive to set according to the manufacturer’s instructions, which typically takes around 24 hours. This step is crucial to ensure the tiles are fully attached before moving forward with the project’s next phase.
8. Apply Grout
Once the adhesive has fully set, remove the tile spacers and prepare the grout mixture according to the package instructions. Use a grout float to spread the grout over the tiles, ensuring that it fills the spaces between them. To prevent grout buildup and ensure a smooth finish, gently wipe away any excess grout with a damp sponge before it hardens.
9. Clean the Tiles
Once the grout has had a chance to set slightly, go over the tiles again with a damp sponge to remove any remaining grout haze. Be gentle during this step to avoid pulling grout out of the seams. This cleaning step will leave the tiles looking polished and professional.
10. Allow Grout to Cure
Depending on the product used, the grout needs time to cure fully, typically 48 to 72 hours. During this time, avoid walking on the tiles or exposing them to moisture, as this could compromise the integrity of the grout and lead to future problems.
11. Seal the Grout (Optional)
Consider sealing the grout once it has fully cured for added protection and longevity. Grout sealers help prevent stains, mold, and mildew, making the grout easier to clean and maintain. Although this step is optional, it’s highly recommended, especially in areas exposed to moisture or heavy foot traffic.
Conclusion
Laying tile flooring in small spaces requires careful planning, precise measurements, and attention to detail, but the result can be a beautiful and durable finish that enhances the room’s aesthetics. You can achieve professional-quality results by following each step—from measuring and preparing the subfloor to choosing the right tile pattern layout and correctly applying grout.