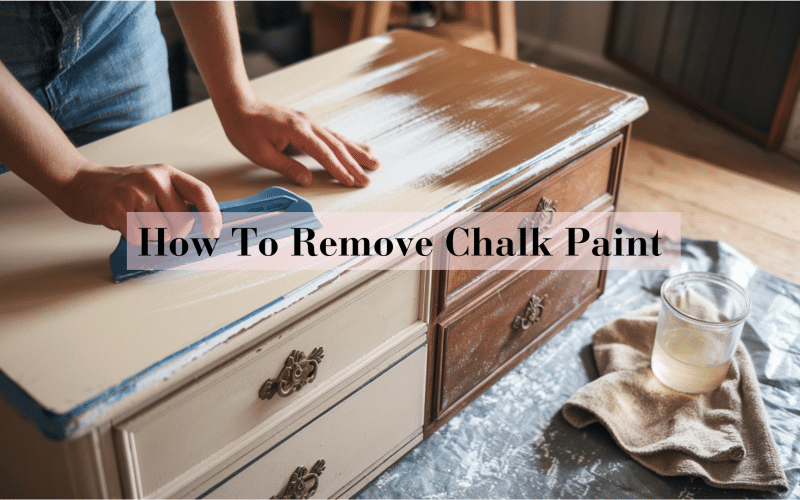
Chalk paint is a water-based decorative coating known for its matte, chalky finish, often used to give furniture a vintage look.
It’s popular for DIY projects because it requires minimal preparation before application. However, people may need to remove chalk paint for various reasons.
Some want to update their decor style, while others need to fix projects that didn’t turn out as expected.
Over time, chalk paint may chip or wear unevenly.
The goal of removal is to create a clean surface, either for refinishing to highlight the natural wood grain or to apply a fresh coat of paint in a new color or style.
With the right tools, this process is easy and effective.
Things You Should Know Before You Start
Before tackling chalk paint removal, determine if the surface has been sealed with wax, as this requires a different first step.
Many chalk-painted pieces are finished with wax for protection, which must be removed before addressing the paint itself.
Always test your chosen removal method on a small, inconspicuous area first.
This reveals how the surface underneath will react and helps you adjust your approach if needed.
Work in a well-ventilated area, preferably outdoors or near open windows.
Proper ventilation protects your health and ensures better results.
Paint removal creates dust during sanding and potentially strong fumes if using chemical removers.
Consider wearing a mask, especially when sanding, to avoid inhaling particles.
Step-by-Step Removal Process
Removing chalk paint requires patience and the right approach to achieve professional results.
Whether you’re restoring an antique piece or preparing for a new finish, following a systematic process will help you avoid common pitfalls and ensure a beautiful outcome.
Things You Need
Before you begin removing chalk paint, it’s important to gather the right tools to ensure the process goes smoothly. Here’s a list of the essential items you’ll need:
- Plastic putty scraper
- Sandpaper (coarse, medium, and fine grits)
- Clean cloths
- Protective gloves
- White vinegar (natural paint softener)
- Commercial paint remover (for stubborn layers)
- Wax remover (if the piece has a wax finish)
- Mineral spirits (for metal surfaces)
- Soft brush
- Drop cloths or plastic sheeting (to protect the workspace)
Steps for Removing
Taking off chalk paint doesn’t have to be complicated if you follow these simple steps.
The process might take some time and elbow grease, but breaking it down makes it manageable even for beginners.
1. Remove Any Wax First

2. Scrape Off Loose Paint

Grab a plastic scraper (not metal) and gently work on removing any flaking or loose paint.
Take your time and use light pressure to avoid gouging or scratching the surface underneath.
This step helps remove the bulk of the paint before you start sanding.
3. Sand the Surface

Start with coarse-grit sandpaper (around 80-100) to remove the remaining paint, then gradually work your way to medium (120-150) and fine (180-220) grits for a smoother finish.
Wipe away dust between each sanding stage with a slightly damp cloth to see your progress and prevent scratching from loose particles.
4. Use a Paint Remover (If Needed)

For stubborn or thick layers of chalk paint, apply a commercial paint remover according to the product instructions.
Spread it evenly, let it sit for the recommended time (usually 15-30 minutes), then scrape off the softened paint.
Some areas might need a second application.
5. Clean the Surface

Once all paint is removed, wipe down the surface with a damp cloth or soft brush to remove any remaining dust or residue.
Let it dry completely before moving on to refinishing, staining, or repainting.
This final cleaning ensures your new finish will adhere properly.
Eco-Friendly Solutions for a Cleaner Surface
If you prefer avoiding harsh chemicals, these natural methods can help remove chalk paint with items you might already have at home.
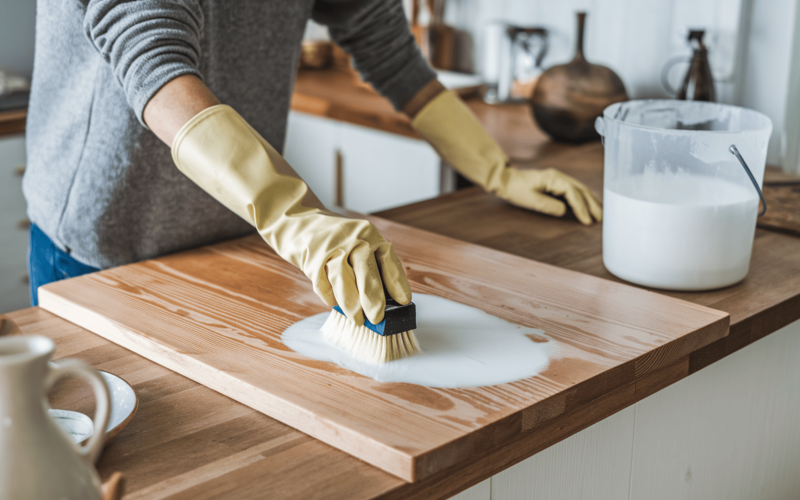
Vinegar Method
To use vinegar, simply soak a cloth in white vinegar and lay it over the painted surface for 15-20 minutes to soften the paint.
Then, scrape and wipe away the loosened paint. For stubborn areas, you may need to reapply and let it sit longer.
| Pros | Cons |
|---|---|
| Inexpensive and readily available | It takes longer than chemical removers |
| Non-toxic and environmentally friendly | It may require multiple applications |
| Gentle on most surfaces | Less effective on thick paint layers |
| No harsh fumes | It might not work well on waxed surfaces |
Soft Scrub or Baking Soda Paste
For walls or lightly painted surfaces, mix baking soda with enough water to form a paste.
Apply it to the surface and gently scrub in circular motions.
Commercial Soft Scrub works similarly on painted walls with chalk marks.
| Pros | Cons |
|---|---|
| Good for delicate surfaces | Works best only on thin layers |
| Non-abrasive when used gently | Requires more physical effort |
| Safe for indoor use | May not remove all paint completely |
| Works well for spot treatments | It can be messy to apply |
Surface-Specific Chalk Paint Removal
Different materials require specific approaches to safely remove chalk paint without causing damage.
1. Wood (Furniture, Cabinets)
- Sanding works best for solid wood pieces
- Start with coarse grit (80-100) and finish with fine grit (180-220)
- Test chemical strippers in hidden areas first
- Work with the grain, not against it
- Use extra caution on veneer to avoid sanding through thin layers
2. Metal
- Mineral spirits are effective and less harsh on metal surfaces
- Apply with a cloth and let sit for 5-10 minutes
- Use plastic scrapers to avoid scratching
- Metal-specific paint removers can be used for stubborn areas
- Wipe clean with a damp cloth after removal
3. Plastic
- Avoid sanding as it permanently scratches plastic
- Try vinegar solution (equal parts white vinegar and warm water)
- Citrus-based removers work well on most plastics
- Apply with a soft cloth and let sit for 10-15 minutes
- Gently wipe away loosened paint
4. Painted Walls
- Use a soft scrub cleaner with a damp sponge
- Try baking soda paste for stubborn areas
- Work in small sections from top to bottom
- Avoid oversaturating drywall with liquid
- Clean with clear water after removal
Aftercare: What to Do After Removal
Once you’ve removed the chalk paint, make sure the surface is completely clean and dry before moving forward.
For refinishing wood, apply a stain or clear sealer to protect the natural grain.
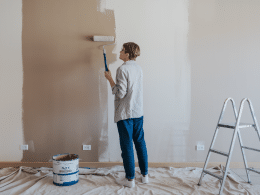
If you’re repainting, use a primer first for better adhesion.
To keep your newly finished piece looking great, dust regularly with a soft cloth and clean spills right away.
Avoid harsh cleaners that might damage the finish.
For painted surfaces, use only mild soap and water.
Add a protective layer like wax or polyurethane if the piece will get heavy use.
Common Mistakes to Avoid
When refinishing furniture, several pitfalls can ruin your project or lead to unsatisfactory results.
Being aware of these common errors will help you achieve a professional-looking finish.
- Sanding too hard
- Skipping the wax removal step
- Mixing products without testing
Conclusion
Removing chalk paint takes some work, but it’s doable with the right approach.
For most projects, start with the gentlest method and move to stronger options if needed.
Wood typically responds well to sanding, while delicate surfaces may need chemical help or natural alternatives like vinegar.
Always match your removal method to your specific surface to avoid damage.
Before diving in, test in a hidden spot and gear up with proper protection.
With patience and the right technique, you’ll have a clean surface ready for whatever new look you envision.
Frequently Asked Questions
Does Chalk Paint come off with Water?
No, chalk paint is water-resistant once dry. To remove it completely, you’ll need a specialized chalk paint remover or sanding.
Can I Repaint Directly Over Chalk Paint?
Yes, you can paint over chalk paint without sanding, but a light scuff and primer will improve adhesion for best results.
What if the Paint won’t come Off?
Try a stronger paint stripper, increase dwell time, or switch to careful sanding. For stubborn areas, a heat gun can help loosen adhesion.
Is Vinegar Safe for all Surfaces?
No, vinegar can damage natural stone, marble, granite, and some metals. Always test in an inconspicuous spot before widespread application.