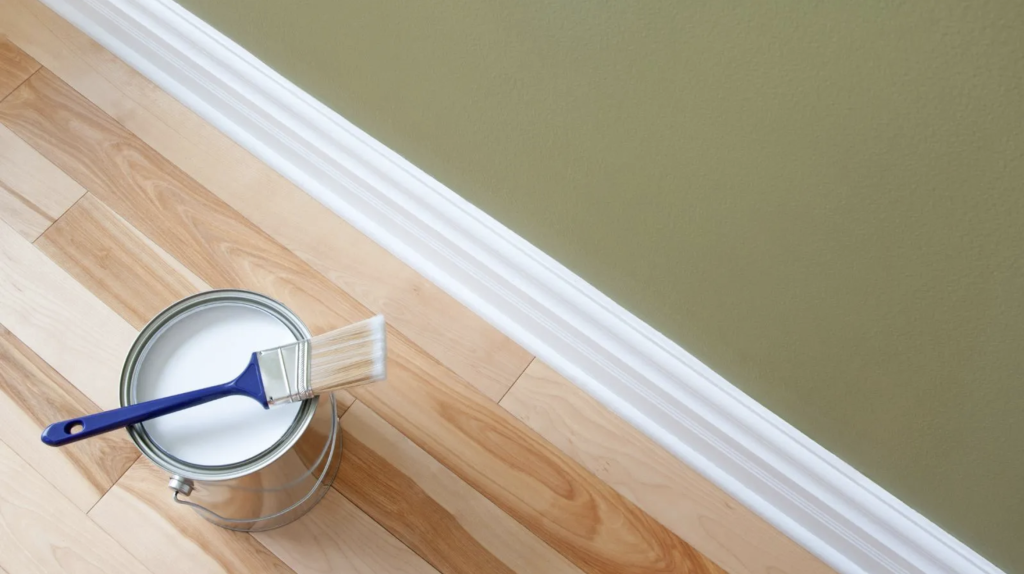
Painting baseboards can be tricky, often leading to messy results and frustration. Many homeowners struggle with drips, uneven coverage, and paint on their floors.
But don’t worry – with the right approach, you can achieve a professional-looking finish on your baseboards.
This post will share easy steps to paint baseboards like a pro. You’ll learn how to prepare your space, choose the right tools and paint, and apply smooth, even coats.
By the end, you’ll know how to transform your baseboards from drab to fab.
Let’s start giving your room that polished look you’ve been wanting.
Step-by-Step Guide to Painting Baseboards

Step 1: Prepare the Area Properly
Getting your baseboards ready is key to a great paint job. Here’s what to do:
- First, scrub the baseboards with warm, soapy water. This will remove all the dirt and grime built up over time.
- Next, sand them down with fine-grit sandpaper. This creates a smooth surface for the paint to stick to. If you spot any dents, fill them in with wood filler and sand those spots again once they’re dry.
- After sanding, vacuum up all the dust and wipe the baseboards down again. This ensures a clean surface for painting.
- Lastly, tape off the walls above the baseboards and the floor below. This will protect these areas from stray paint.
Step 2: Choose High-Quality, Durable Paint
Picking the right paint is crucial for long-lasting results. Here’s what works best:
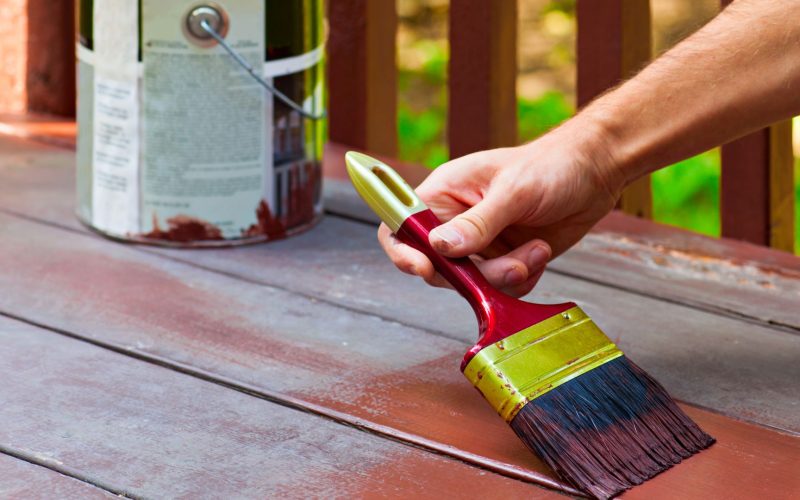
- Semi-gloss or high-gloss paint is ideal for baseboards. These finishes are tough and easy to clean. They stand up well to scuffs and scratches, perfect for baseboards with a lot of action.
- Before starting to paint, apply a good-quality primer. This extra step might seem like a hassle, but it’s worth it. The primer helps the paint stick better and last longer. It also helps cover up any old stains or marks on the baseboards.
- Remember, spending a bit more on quality paint and primer now can save you from having to repaint sooner. It’s an investment in your home that pays off in the long run.
Step 3: Use the Right Tools
Having the right tools makes a big difference in painting baseboards. Here’s what to use:
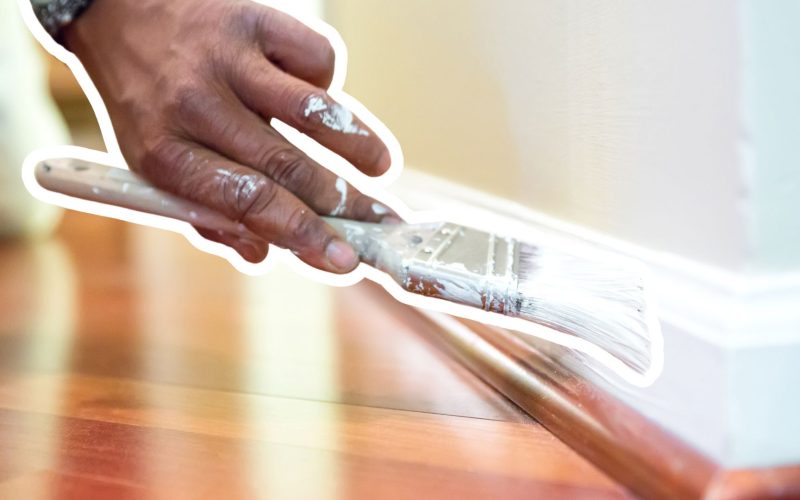
- For the edges, reach for an angled brush. It’s perfect for “cutting in” – painter-speak for getting a clean line where the baseboard meets the wall or floor. The angled tip gives more control, so you can get into those tight spots without making a mess.
- When it comes to the flat parts of the baseboard, switch to a small foam roller. This little tool is a game-changer. It helps apply the paint evenly and quickly without leaving any brush marks. The result? A smooth, professional-looking finish that you’ll be proud of.
- Remember, good tools don’t have to cost a fortune. They can make your painting job much easier and give you better results.
Step 4: Apply Several Thin Coats
When it comes to painting baseboards, patience pays off. Here’s the best approach:
- Start with a thin layer of paint. Using long, even strokes, work your way along the baseboard. It might not look perfect after the first coat, but that’s okay. The key is to resist the urge to glob on thick layers of paint.
- After finishing the first coat, let it dry completely. This is where patience comes in handy. Always check the paint can for drying times. Different paints dry at different rates, so following the manufacturer’s instructions is important.
- Once the first coat is dry, add another thin layer. Repeat this process until you get the coverage you want. It usually takes 2-3 coats.
- By taking time and applying thin coats, you avoid drips and get a smooth, even finish. Plus, it helps prevent that sticky, tacky feel when paint doesn’t dry properly between coats.
Step 5: Check for Imperfections and Touch Up
Even with careful painting, sometimes, little issues pop up. Here’s how to handle them:
- Once the paint is fully dry, inspect the baseboards closely. Look for drips, brush marks, or missed spots. Good lighting helps a lot with this step.
- If you spot any problems, don’t panic. Grab some fine-grit sandpaper and gently sand the area until it’s smooth. Then, wipe away any dust with a clean cloth.
- Next, use a fine brush to repaint just that spot carefully. Make sure to blend it in with the surrounding area. It’s all about patience and a steady hand.
- This final check and touch-up step might seem small, but it makes a big difference. It’s what takes your baseboard painting from good to great. Plus, knowing the job has been done right gives peace of mind.
Conclusion
Painting baseboards might seem small, but it can make a big difference in your room’s appearance.
You can achieve a professional-looking finish by following these steps – preparing properly, choosing the right paint and tools, applying thin coats, and touching up as needed.
Remember, the key is patience. Take your time with each step, especially when drying times between coats. It might take a bit longer, but the results are worth it.
Now that you know how to paint baseboards like a pro, why not give it a try? Start with one room and see the difference it makes.
You might be surprised at how fresher and cleaner your space looks with newly painted baseboards.
Frequently Asked Questions
Do Baseboards Need to Be Sanded Before Painting?
Yes, sanding baseboards before painting is recommended. It smooths the surface, removes old paint, and helps the new paint stick better. Use fine-grit sandpaper and clean off dust before painting.
When Painting Do You Paint Baseboards First?
It’s often best to paint baseboards after walls. This helps avoid splatters on fresh baseboard paint. However, if you’re very careful, you can paint baseboards first to avoid drips on newly painted walls.
How Many Coats of Paint Do Baseboards Need?
Baseboards typically need two coats of paint for the best coverage and finish. Apply a primer first, then two thin coats of paint, allowing each coat to dry completely before applying the next.
Is It Better to Roll or Brush Paint on Baseboards?
Use both. An angled brush works best for cutting along edges and corners. A small foam roller is great for flat surfaces, giving a smooth finish without brush marks.
How Do You Paint Baseboards without Streaks?
To avoid streaks, use thin coats of paint, maintain a wet edge while painting, and don’t overwork the paint. Use high-quality brushes or foam rollers, and sand lightly between coats for a smooth finish.


