Finding extra sleeping space in a small room can be tricky. Many of us face this challenge, especially when hosting guests or planning sleepovers for kids. A trundle bed is a smart solution, but buying one can be costly.
Good news! You can make your DIY trundle bed at home. It’s easier than you might think and can save you money. Plus, you get to customize it to fit your space perfectly.
In this guide, I’ll provide step-by-step instructions for building a DIY trundle bed.
We’ll cover everything from gathering materials to adding the finishing touches. By the end, you’ll have a practical and space-saving bed perfect for guests or sleepovers.
Materials and Tools Needed for DIY Trundle Bed
Before building our DIY trundle bed, let’s gather everything we need.
Here’s a complete list of materials and tools:
1. Materials Required
Lumber
- 1×10 and 1×8 boards for the bed frame
- 2×2 boards for support rails
- Additional boards for slats (you can use leftover wood from other projects)
Screws
- 1 1/4″ pocket hole screws
- 2 1/2″ wood screws
- 2″ wood screws
- 1 1/4″ wood screws
- 2 1/2″ heavy-duty casters
Other Materials Needed
- Bolts, torq washers, and lock nuts (for attaching casters)
- Wood glue
- Sandpaper (various grits)
- Stain or paint of your choice
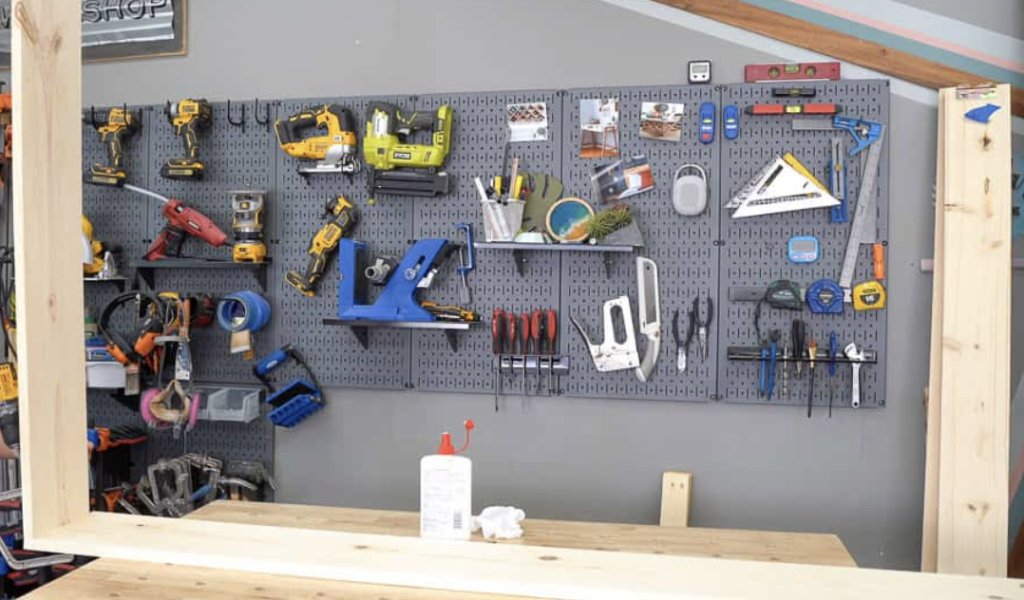
2. Tools Required
- Miter saw, or circular saw
- Drill/driver
- Pocket hole jig (I use the Kreg 720, but any pocket hole jig will work)
- Random orbital sander
- Handheld router with a 1/4″ round over bit (optional, but helps create smooth edges)
Having these materials and tools ready will make the building process smoother. Don’t worry if you don’t have a router – it’s not essential, but it can add a nice touch to the finished product.
Building the DIY Trundle Bed: A Beginner’s Guide
Step 1: Prepare the Lumber
Getting your lumber ready is key to making a sturdy and good-looking trundle bed. This step sets the foundation for the whole project.
Here’s how to do it:
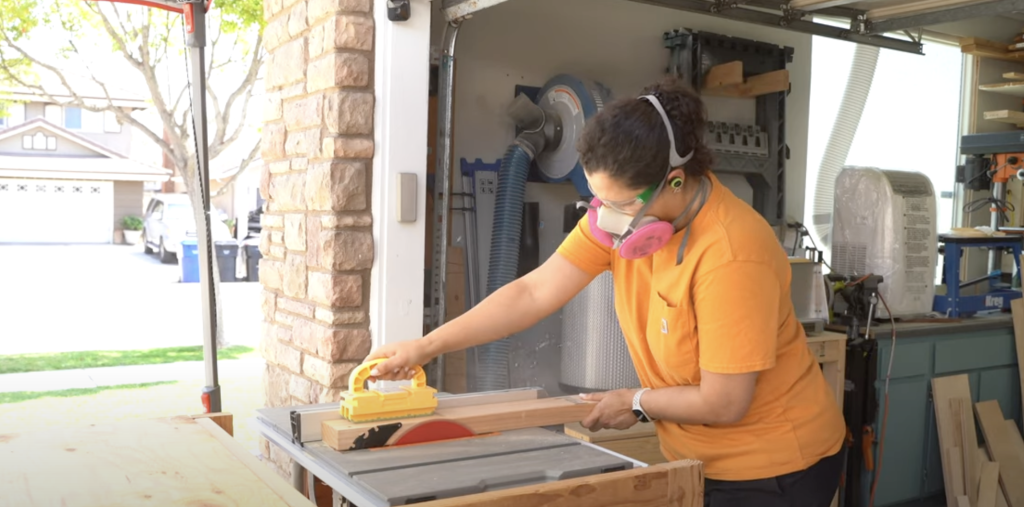
Cutting the Lumber
- Measure and mark your boards according to the preferred dimensions.
- I like using a miter saw for precise cuts, but a circular saw works, too.
- Always measure twice and cut once to avoid mistakes.
- Wear safety glasses and keep your hands away from the blade when cutting.
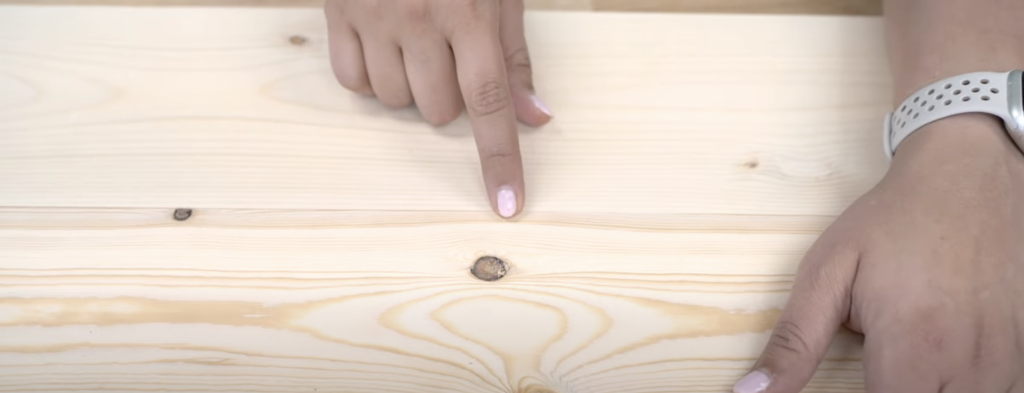
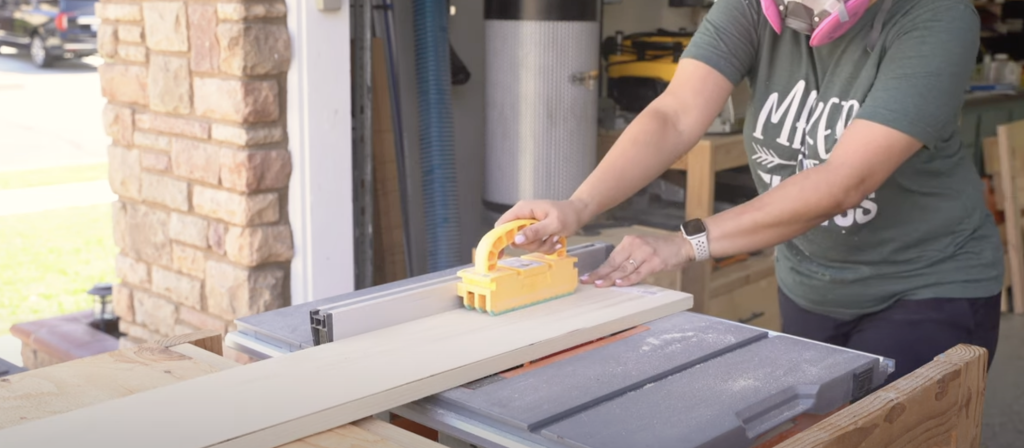
Sanding the Boards
- Sanding makes the wood smooth and helps paint or stain stick better.
- Start with coarse sandpaper (60-80 grit), then move to medium (120-150 grit), and finish with fine (220 grit).
- I use a random orbital sander to make the job easier and faster.
- Sand in the direction of the wood grain for the best finish.
Tips
- Try using tape on the cut line if you get splinters while cutting.
- Keep your saw blades sharp for clean cuts.
- Don’t rush the sanding – taking your time for a smooth finish is worth it.
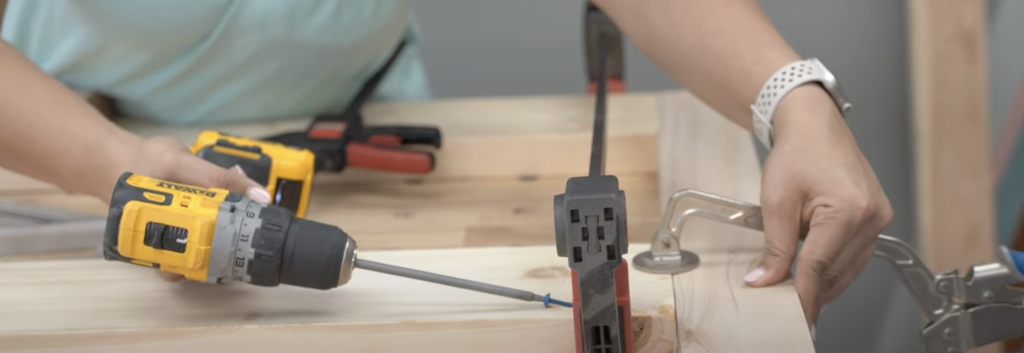
Step 2: Make Pocket Holes
Pocket holes help join the boards securely without visible screws on the outside. They’re great for making a strong frame.
Here’s what to do:
Setting Up the Pocket Hole Jig
- Set your pocket hole jig for 3/4″ thick wood.
- I use the Kreg 720 jig, but any pocket hole jig will work.
- Adjust the drill bit collar to match the jig setting.
- Always clamp the jig securely to your workpiece for safety.
Drilling the Pocket Holes
- Follow the plans to know where to place the pocket holes.
- Line up the jig carefully on each board before drilling.
- Drill slowly and steadily for clean holes.
- Brush out any sawdust from the holes when you’re done.
Tips
- If your holes aren’t lining up, double-check your jig settings.
- Use a piece of scrap wood to practice before drilling your project boards.
- Clean your jig regularly to keep it working well.
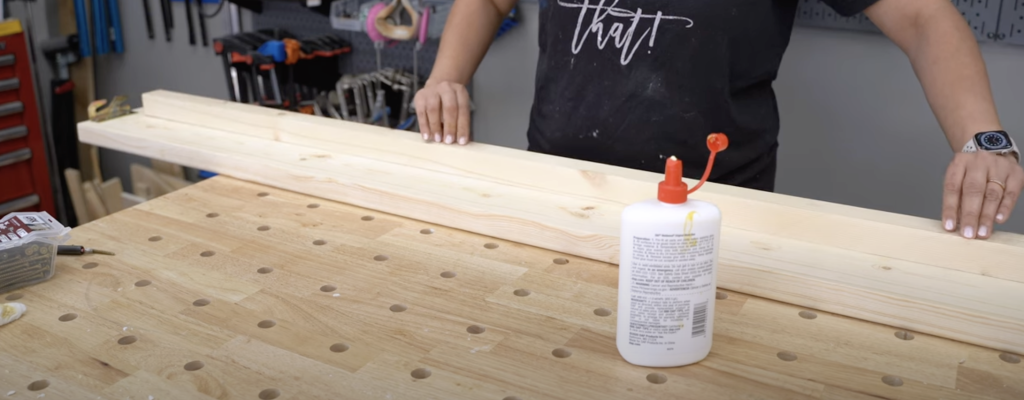
Step 3: Build the Frame
Now, we’re ready to put the frame together. This is where your trundle bed starts to take shape!
Here’s how to do it:
Start with The Box
- Take your two short sides and attach them to the long sides.
- Put some wood glue on the joints for extra strength.
- Use your pocket hole screws to secure everything in place.
Keep It Square
- Use clamps to hold the frame while the glue dries.
- Check each corner with a speed square to make sure it’s at 90 degrees.
- Measure diagonally from corner to corner – if both measurements are the same, your frame is square.
Add the Middle Supports
- Attach the support pieces in the middle of the box.
- These give extra strength and help hold the slats later.
Tips
- Wipe off any excess glue right away with a damp cloth.
- If your frame isn’t quite square, try loosening the screws and adjusting before the glue dries.
- Take your time – a well-built frame makes the rest of the project easier.
Step 4: Add Support Rails
The support rails are important – they hold up the slats and mattress. Let’s add them now:
Attach the Rails
- Grab your 2×2 support rails.
- Put them at both ends of the trundle frame.
- Use wood glue to hold them in place.
- Secure them with 2″ wood screws.
Check the Placement
- Make sure the rails are level and even on both sides.
- Double-check that they’re in the right spot for your slats to rest on.
Tips
- Use a level to make sure your rails are straight.
- If a rail feels loose, add an extra screw or two.
- Remember, these rails must be strong to support the mattress and sleeper.
Step 5: Finish the Frame
We’re almost done with the frame! Let’s add some finishing touches:
Round the Edges (if You Want)
- Use a 1/4″ round-over bit on all the edges if you have a router.
- This makes the trundle easier to pull out and push in.
- If you don’t have a router, don’t worry – you can sand the edges by hand to smooth them out.
Paint or Stain
- Decide if you want to paint or stain your trundle.
- If painting, start with a coat of primer.
- Apply your chosen paint or stain.
- Let each coat dry before adding another.
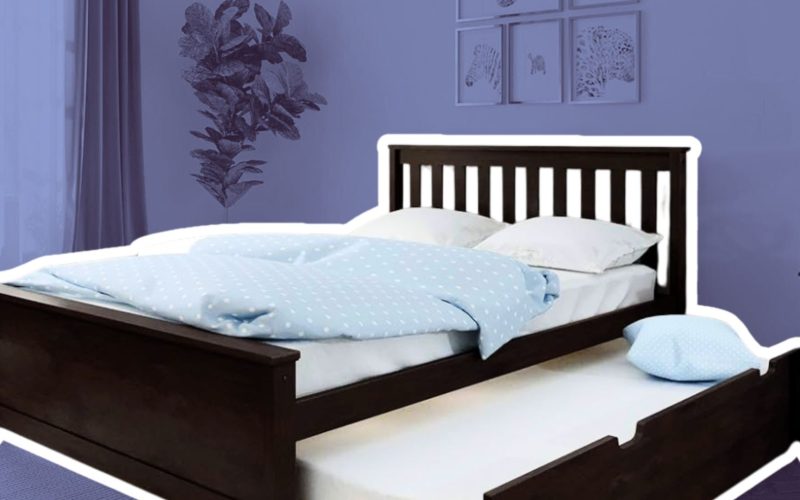
- I painted mine white to match the twin bed above it.
Tips
- Sand any rough spots before you start painting or staining.
- Use light coats of paint or stain to avoid drips.
- Let the frame dry completely before moving on to the next step.
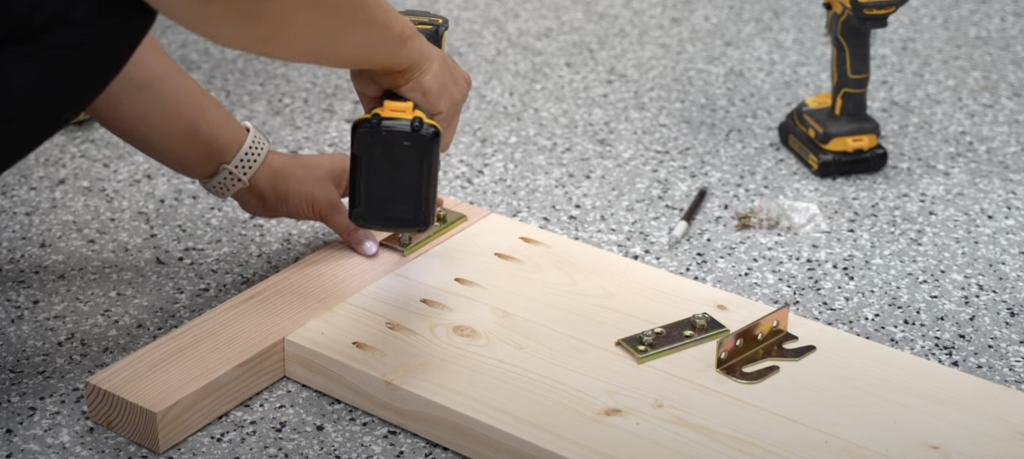
Step 6: Attach the Casters
Adding casters makes your trundle bed easy to roll in and out. Let’s get them on:
Choose the Right Casters
- We need 2 1/2″ heavy-duty casters.
- These should be strong enough to hold the bed and mattress.
- Ensure they’re not too tall – we want the trundle to fit under the main bed.
Attach the Casters
- Mark where each caster will go on the corners of the frame.
- Drill pilot holes to stop the wood from splitting.
- Use bolts, torq washers, and lock nuts to attach each caster securely.
- Check that all casters are level so the trundle rolls smoothly.
Tips
- If you need extra space for the casters, you can add small plywood pieces as I did.
- Spin each caster after attaching it to make sure it moves freely.
- If a caster seems wobbly, tighten the bolts a bit more.
Step 7: Install the Slats
The slats give your mattress support. Here’s how to put them in:
Prepare the Slats
- Measure the inside width of your trundle frame.
- Cut your slats to fit this width.
- I used leftover wood from other projects – it’s a great way to save money!
Put the Slats in Place
- Lay the slats across the frame, spacing them evenly.
- You want small gaps between slats for airflow, but not so big that the mattress sags.
Attach the Slats
- Use 1 1/4″ wood screws to fasten each slat.
- Make sure the slats are flush with the support rails.
- Check that all slats are secure and even.
Tips
- If a slat seems warped, flip it over – sometimes, the other side is straighter.
- Don’t overtighten the screws, or you might split the wood.
- Give each slat a firm push to check it’s properly attached.
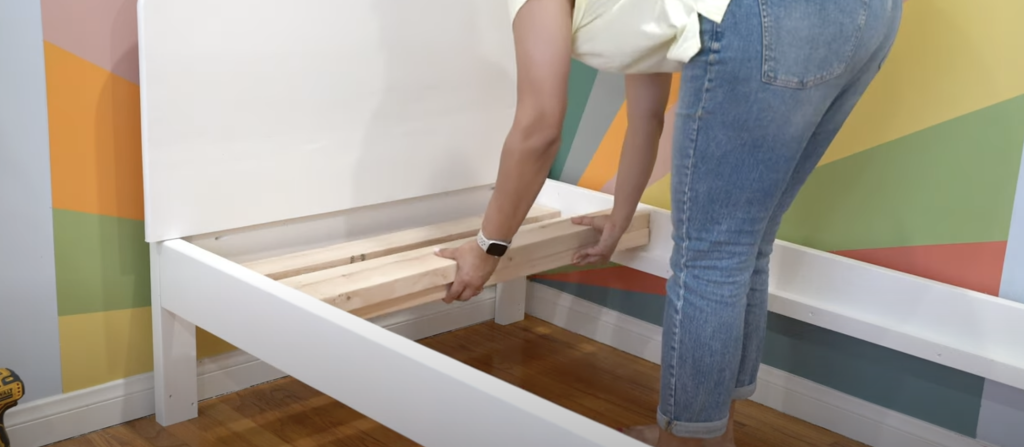
Step 8: Final Assembly of The DIY Trundle Bed
We’re in the home stretch! This final step ensures your trundle bed is stable, comfortable, and ready to use.
1. Double-Check Everything
- Go over all the screws, bolts, and joints. Make sure they’re tight.
- If anything feels loose, tighten it up or add a dab of wood glue.
- Check that the frame is sturdy, the casters roll smoothly, and all slats are secure.
2. Add the Mattress
- Choose a mattress that fits your trundle frame snugly.
- Place it on the slats, making sure it’s centered and even.
- If the mattress hangs over the edges, it might catch when you roll the trundle in and out.
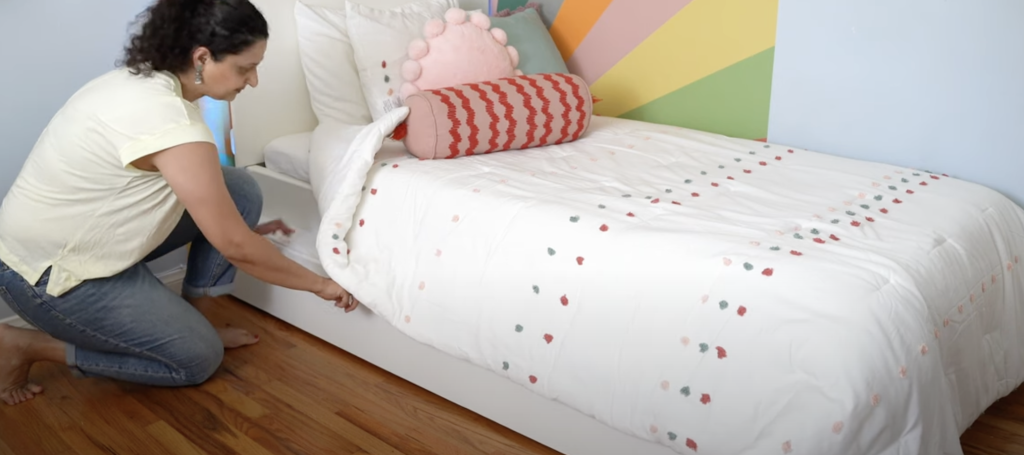
3. Make the Bed
- Add sheets, blankets, and pillows to make it cozy.
- Remember, you’ll be rolling this in and out, so don’t pile on too many layers.
4. Test It Out
- Try rolling the trundle in and out a few times.
- Pull from the middle to keep it straight – if you pull from one end, it might get stuck on the legs of the main bed.
- Ensure it slides easily under the main bed and comes out without catching.
5. Additional Tips
- If the trundle doesn’t roll smoothly, check if the casters are aligned correctly.
- A little lubricant on the caster wheels can help if you hear any squeaks.
- Measure the space under your main bed to ensure a perfect fit.
And there you have it! Your DIY trundle bed is complete and ready for guests or sleepovers. You’ve just created a smart, space-saving solution that adds extra sleeping space without taking up room during the day. Great job on your project!
For more detailed information on how to make a DIY trundle bed, refer to the video below.
The Final Word
Building your DIY trundle bed is a rewarding project that saves space and money.
By following these steps, you’ve created a practical sleeping solution that’s perfect for guests’ or kids’ sleepovers.
Remember, the key to a successful trundle bed is smooth rolling and a snug fit under the main bed. If you encounter any issues, double-check your measurements and caster alignment.
After completing this project, why not share your creation with friends and family? You might inspire others to try their hand at DIY furniture building.
For your next project, consider adding matching nightstands or a headboard to complete your bedroom set.
With the skills you’ve gained from this trundle bed build, you’re well-equipped to tackle more DIY furniture projects in the future.