Creating stylish and affordable home decor can be challenging, especially if you can’t sew. However, no-sew curtains offer a cost-effective solution.
Instead of buying expensive pre-made curtains, you can transform inexpensive fabrics into high-end window treatments.
This guide will teach you how to make beautiful no-sew curtains using common materials like tablecloths. It provides a simple, budget-friendly way to achieve a professional, custom look for your home.
We’ll cover everything from choosing the right materials to step-by-step instructions on making and hanging your no-sew curtains.
Understanding No Sew Curtains
No-sew curtains are a fantastic DIY option for anyone looking to update their window treatments without sewing.
These curtains are made by repurposing pre-existing fabrics, like tablecloths or sheets, into custom curtain panels. The best part? No sewing machine or advanced sewing skills are required.
No-sew curtains offer a cost-effective alternative to expensive pre-made options. By using affordable fabrics, you can create high-end, custom window treatments.
In addition to being wallet-friendly, no-sew curtains are incredibly easy to create. The step-by-step process involves simple techniques like measuring, folding, and clipping the fabric onto a curtain rod.
Even beginners with no sewing experience can successfully make beautiful no-sew curtains for their homes.
Choosing the Right Materials
When it comes to making no-sew curtains, you have several fabric options, each with its unique benefits.
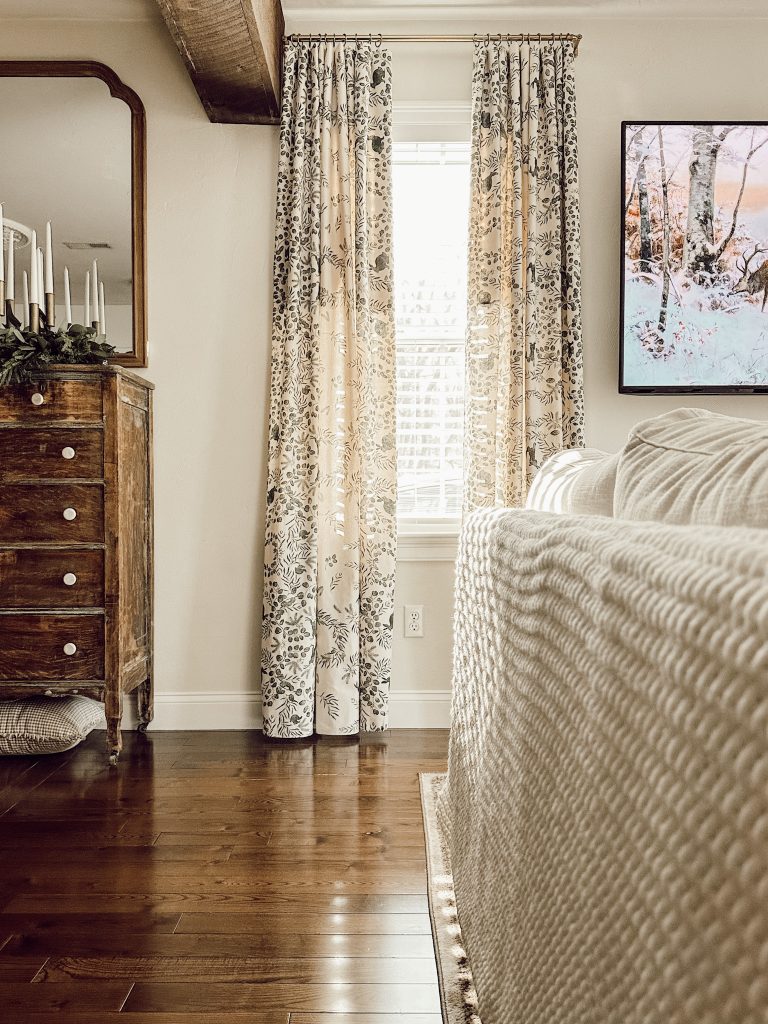
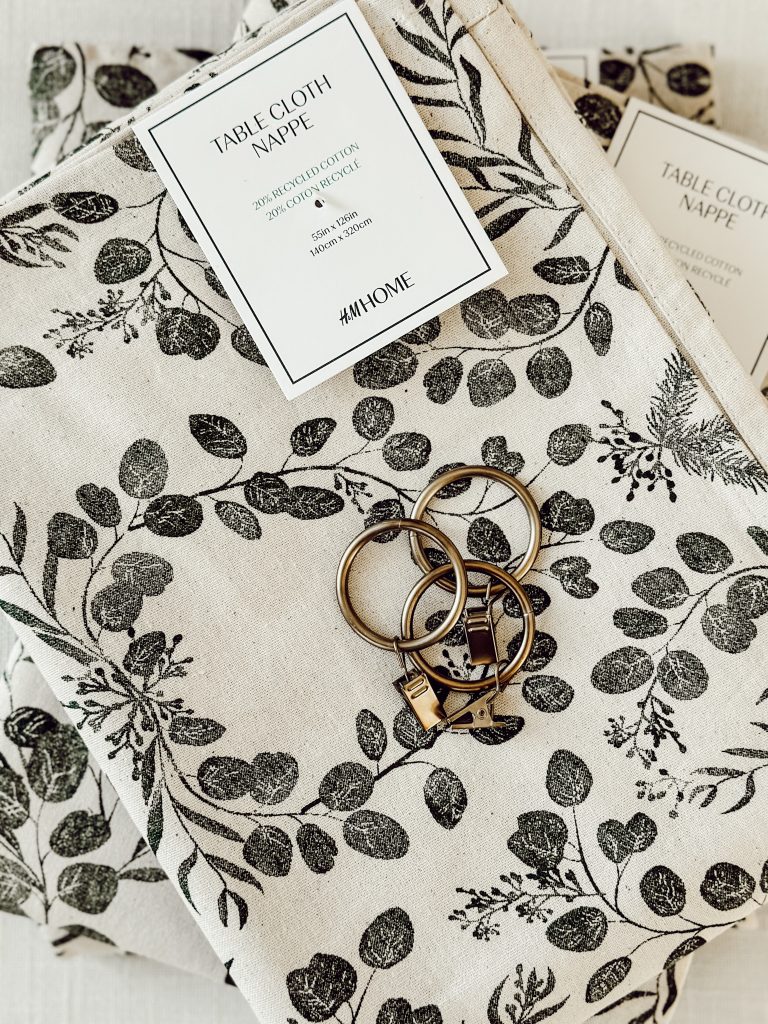
- Tablecloths: Tablecloths offer various patterns, textures, and colors to suit any decor style. From bold florals to subtle solids, tablecloths can instantly elevate the look of your windows with their sophisticated, tailored feel.
- Flat Sheets: Flat sheets are a versatile choice for no-sew curtains. They come in various materials like cotton and linen, allowing you to select a fabric that matches your desired level of light filtration and aesthetic. Sheets are readily available in multiple sizes to fit your window dimensions.
- Drop Cloths: For a more rustic or industrial look, canvas or cotton drop cloths make excellent no-sew curtain material. These durable fabrics are budget-friendly and can easily be transformed into custom window treatments.
Measuring and Preparing Your Materials
Before you can start creating your no-sew curtains, taking accurate window measurements is crucial.
- Height of the window: Measure the desired length from the curtain rod (or the point where you want the curtains to start). Consider whether you want the curtains to puddle on the floor or hit just above it.
- Width of the window: When measuring the width, include an extra 6-9 inches on each side, if possible, to create a fuller, more gathered look when the curtains are closed. If your window frame doesn’t allow that extra width, don’t worry – the curtains will still look beautiful.
- Tablecloth Size: Select a tablecloth that matches your window dimensions and exceeds them. Choosing a tablecloth that is at least twice the width of your window will result in curtains with a lush, high-end appearance.
Supplies Needed for No Sew Curtains
To create your DIY no-sew curtains, you’ll need a few basic supplies:
- Tablecloths: Choose colors, patterns, and textures that complement your room’s decor. The number of tablecloths you’ll need will depend on the size of your windows and how many panels you want to hang on each.
- Curtain Rod: Select a curtain rod that complements the style of your space. The rod will provide the necessary support to hang your homemade curtains.
- Clippable Curtain Hooks: These handy clips will give your no-sew curtains a polished, high-end look while allowing you to easily adjust the length without cutting the fabric.
- Iron: Having an iron on hand will help smooth out any wrinkles in the tablecloths before you hang them up.
- Measuring Tape: Accurate measurements are crucial when creating custom curtains. A measuring tape will ensure your window treatments fit your space perfectly.
Step-by-Step Instructions for DIY No Sew Curtains
Step 1: Iron Curtains
Before you start hanging your no-sew curtains, it’s important to ensure they look crisp and wrinkle-free.
- Lay the tablecloth curtains flat on an ironing board or other heat-resistant surface.
- Using a medium to high heat setting on your iron, gently run it over the fabric to smooth out any creases or wrinkles.
- Please pay close attention to the hems and edges, ensuring they are well-pressed for a professional finish.
Step 2: Fold Over Extra Fabric
With your freshly ironed curtains ready, it’s time to prepare them for easy hanging.
- Lay the backside of the curtain facing up on a flat surface.
- Based on the measurements of how long your curtains need to be, fold over the extra fabric at the top of the curtain.
- For example, if your curtains need to be 90″ long but your tablecloth is 120″ long, you’ll fold over the extra 30″ at the top.
- Using a tape measure, ensure the fold of excess fabric is even and straight across the top of the curtain.
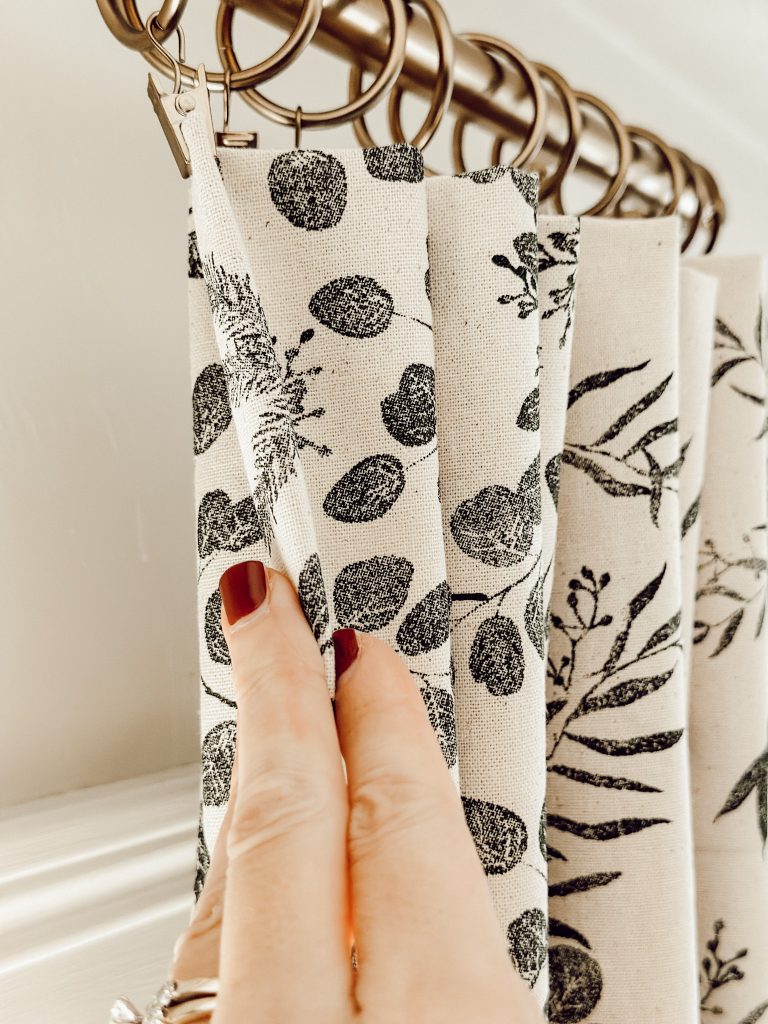
Step 3: Attach Curtain Rings
The next step is to evenly space the clip rings along the top edge of each curtain panel.
- As a general guideline, place a ring every 4-8 inches.
- Don’t simply clip the rings onto the flat fabric to achieve the appearance of pinch pleat curtains.
- Instead, gently pinch the tablecloth together on the folded edge before opening the clips and attaching them to the fabric.
- Securing the clip rings this way ensures they grip the fabric securely without damaging the material, giving your homemade window treatments a high-end, professional finish.
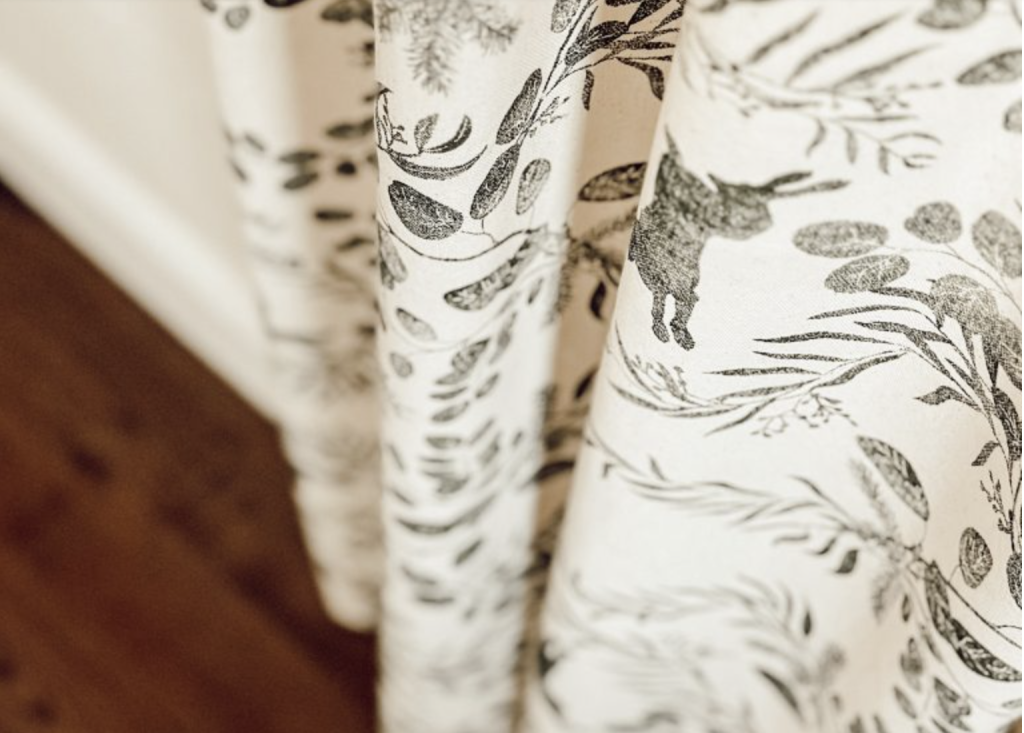
Step 4: Hang Your Curtains
The final step is to hang your no-sew curtains!
- Slide the curtain rings, with the attached tablecloth panels, directly onto the curtain rod.
- Adjust the panels evenly along the rod, ensuring the bottom of the curtains hangs at your desired length.
- Then, take a step back and admire how your space has been instantly transformed with your custom tablecloth curtains!
- The great thing about using clip rings is that you can easily adjust the length of your curtains without having to cut or alter the fabric.
- Slide the rings up or down the rod to achieve the perfect look.
Tips and Tricks for Best Results
Here are a few additional tips and tricks to help you achieve the best results:
- Choose Durable Fabric: Opt for tablecloths made of high-quality, durable materials like cotton, linen, or polyester blends. These fabrics will hold up well and maintain their shape over time.
- Accurate Measurements: It is crucial to take precise measurements of your windows and tablecloths for a perfect fit. Double-check your numbers to ensure the curtains will hang beautifully.
- Pattern Placement: If your tablecloth has a specific pattern, consider how it will align and flow when the curtains are hanging. Thoughtful pattern placement can enhance the overall aesthetic.
- Customizing Length: If the tablecloth you love is too long, you can easily adjust the length by folding over the extra fabric at the top. This allows you to get the perfect curtain length without cutting the material.
- Maintenance: Be sure to check the care instructions for your tablecloth fabric. Some materials may require special handling when it comes to washing and ironing to keep your no-sew curtains looking their best for years to come.
Conclusion
Ultimately, creating beautiful, custom, no-sew curtains for your home is a budget-friendly and easy DIY project that anyone can tackle.
By repurposing affordable tablecloths, you can transform your windows and elevate the entire look of a room.
The best part? No sewing skills are required! Follow the simple steps we covered, from measuring and prepping your materials to properly hanging the curtains.
With little time and effort, you can have stunning new window treatments that perfectly fit your space and style.
So why settle for expensive, generic curtains when you can make your own unique, high-end look for a fraction of the cost?
Get creative, have fun, and enjoy your gorgeous new DIY no-sew curtains!