

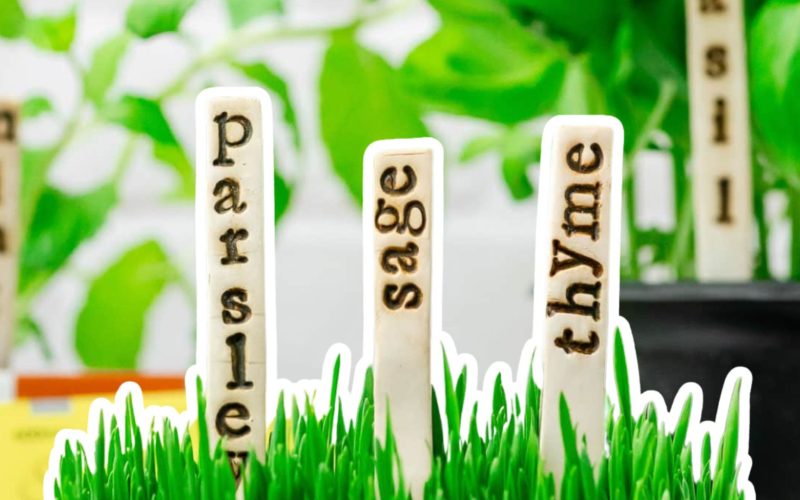
Ever mixed up your herbs while gardening? It’s frustrating when you can’t tell your basil from your oregano. But don’t worry – I’ve got a fun and practical solution.
Let’s make DIY plant markers!
These homemade markers are more than just labels. They allow you to add a personal touch to your garden while keeping everything organized.
No more guessing games or accidental cilantro in your pasta sauce!
The best part? You don’t need to be a crafting expert or spend a fortune. With some basic materials and creativity, you can create durable, attractive markers that’ll last for seasons to come.
Ready to get your hands dirty (in a good way)? Let’s dive in!
Materials Required for DIY Plant Markers
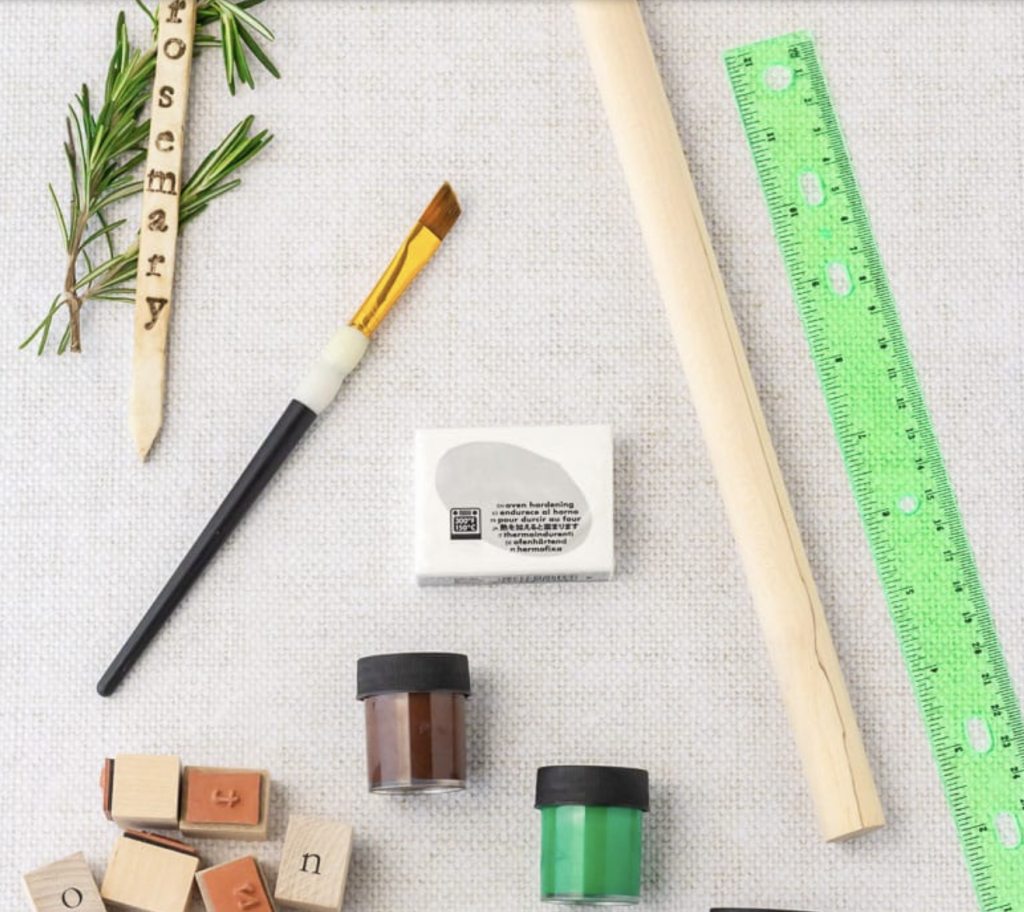
To start your DIY plant marker project, gather these items:
- Polymer Clay: Pick a few colors you like. White is great for a clean look, but feel free to get creative!
- Letter Stamps: You’ll need these to mark plant names. Look for a 1/4-inch size.
- Acrylic Paint: Brown and green work well. You can mix them for a natural, earthy tone.
- Small Art Paintbrush: This helps apply paint to your stamps.
- Roller or Rolling Pin: This is used to flatten the clay.
- Straight Edge: A ruler works perfectly for this.
- Knife or Pizza Cutter: To shape your markers.
- Silicone Mat or Parchment Paper: This protects your work surface.
With these simple materials, you can create your unique plant markers. Don’t worry if you don’t have everything – most of these items are easy to find at craft stores or even around your home.
A Beginner’s Guide to Making DIY Plant Markers
Step 1: Preheat the Oven
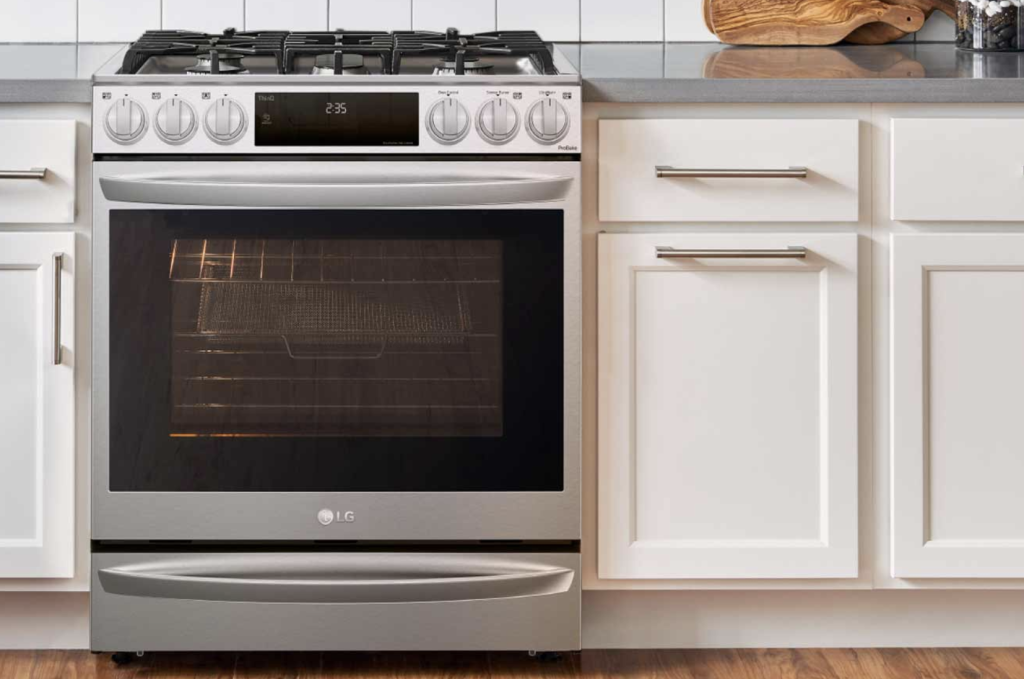
Let’s start by getting your oven ready.
Set it to 275°F, or check your polymer clay package for the recommended temperature. This step is key for your markers to turn out just right.
Getting the temperature spot-on helps your clay cure properly. It’s like baking cookies – too hot and they burn, too cool and they’re gooey. The same goes for your clay markers.
If you have an oven thermometer, use it to double-check the temperature. Different ovens can vary, so this extra step helps avoid any surprises.
Remember to preheat before you start working with the clay. This way, your oven will be ready when you are. Also, make sure your oven is clean to avoid any unwanted smells or residues on your markers.
Step 2: Prepare the Clay
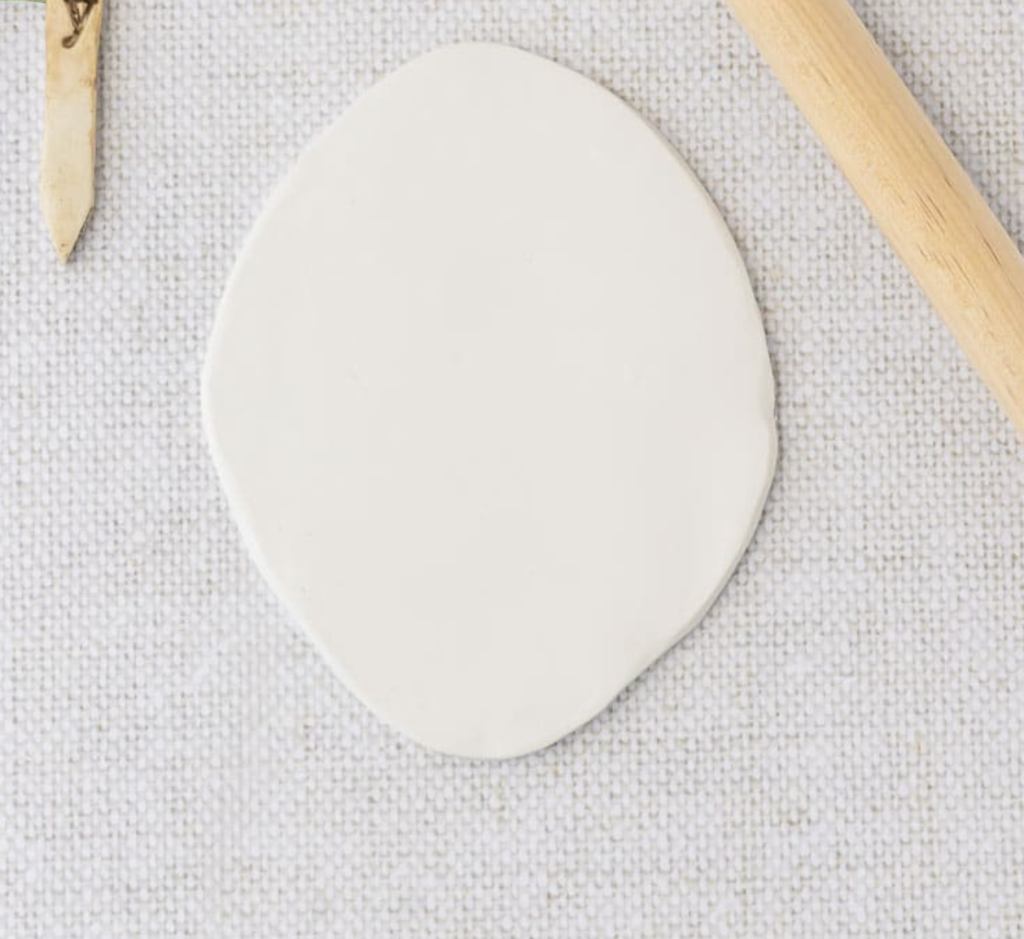
Now, let’s get that clay ready.
Start by kneading it in your hands. This makes it soft and easy to work with. Think of it like warming up before exercise – it gets everything flexible and ready to go.
Once it’s nice and pliable, roll it out to about ¼ inch thick. Use a rolling pin or a smooth bottle if you don’t have one. Place your clay on a silicone mat or parchment paper to keep it from sticking.
Suppose your clay feels too hard; warm it in your hands more. The heat from your hands will soften it right up. As you roll, try to keep the thickness even. This helps your markers bake evenly and prevents weak spots.
Use a ruler as a guide while rolling. It’ll help you keep that ¼ inch thickness consistent. Remember to rotate your clay as you roll, just like rolling out pie dough. This keeps the shape nice and even.
Step 3: Shape the Clay
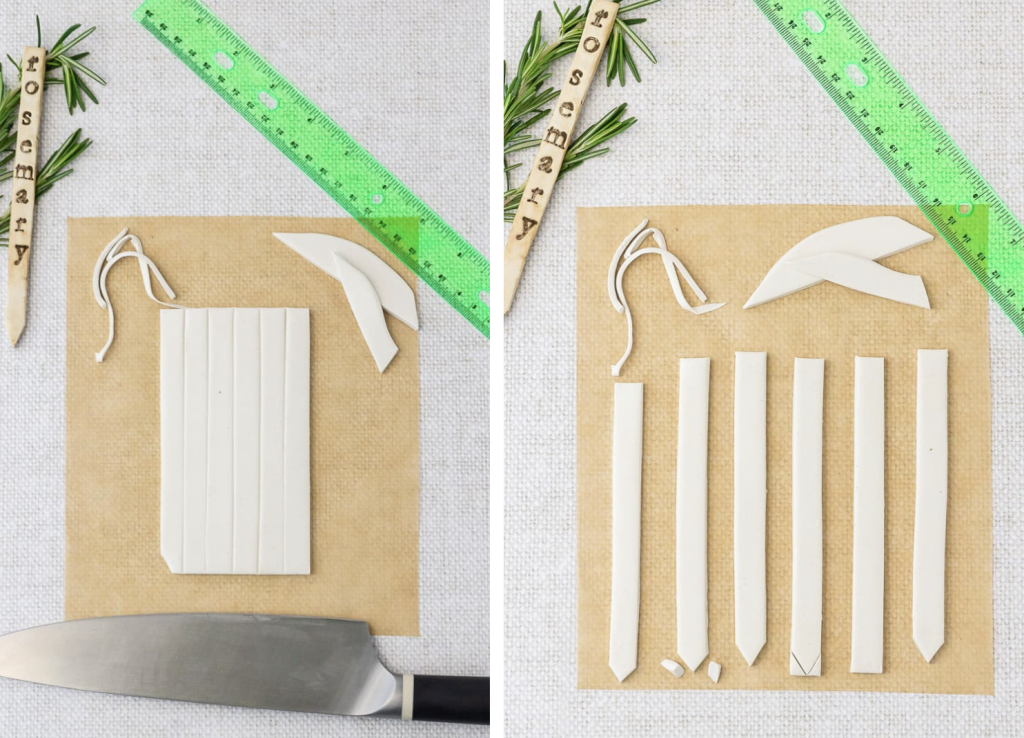
Now it’s time to give your markers their shape. Form your rolled-out clay into a long rectangle, about 6 inches long and 3 inches wide. Think of it as making a mini clay pizza!
Next, grab your ruler and cut this rectangle into six even strips. Each strip should be about ½ inches wide. Don’t worry if they’re not perfect—that’s part of the charm of handmade items.
Here’s a neat trick: We will shape the bottom of each strip to make it easier to stick in the soil. Find the center at the bottom of each strip.
From there, cut off the bottom corners on both sides, leaving a point in the middle. It’ll look a bit like an arrow.
Use a knife or pizza cutter for clean cuts. If the edges are rough, smooth them out with your fingers. This pointed end will help your markers slide into the soil without breaking.
Step 4: Stamp the Clay
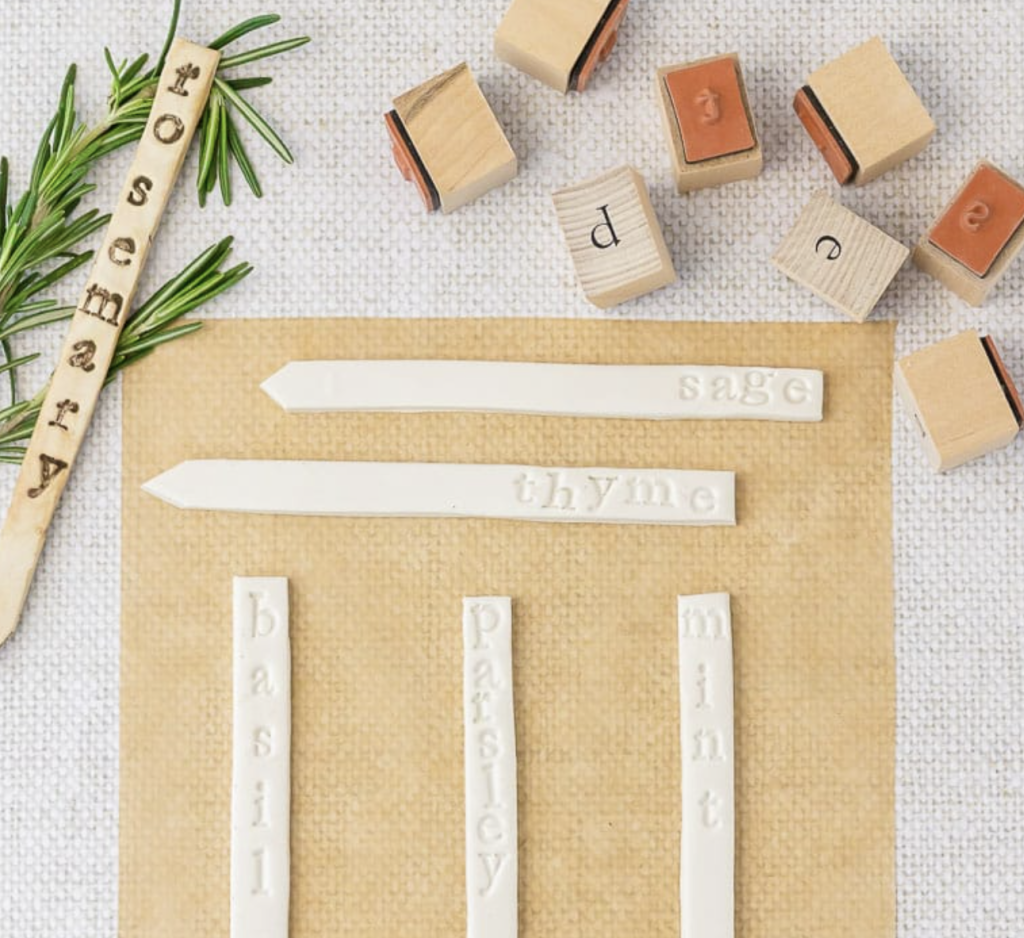
Now for the fun part – let’s add some names!
Press your letter stamps into the clay, starting from the top and working down each strip.
Before starting your DIY plant markers, stamp on a scrap piece of clay. This helps you get a feel for how much pressure to use. You want the letters to be clear but not so deep that they go through the clay.
Make sure your letters are straight and evenly spaced. It’s like writing on a tiny clay chalkboard. If you mess up, don’t worry! Just smooth out the clay and try again.
Clean your stamps between uses to keep the letters crisp and clear. If you don’t have stamps, you can use a toothpick to write the names instead. It’ll give your markers a cute, handwritten look.
Remember, these are your markers, so feel free to get creative! You could add little designs or symbols next to the plant names.
Step 5: Bake the Clay
Time to bake your creations! Place your clay strips on a baking sheet lined with parchment paper or a silicone mat. This prevents them from sticking and makes cleanup a breeze.
Arrange the strips evenly on the sheet, leaving a little space between each one. It’s like giving your DIY plant markers their own space in the oven.
Pop them in the oven at 275°F for about 15 minutes. Keep an eye on them to ensure they’re baking evenly and not getting too brown. If you have an oven thermometer, use it to double-check the temperature.
Remember, baking time might vary depending on how thick your clay is. It’s better to check a little early than to let them overbake.
Step 6: Cool and Paint
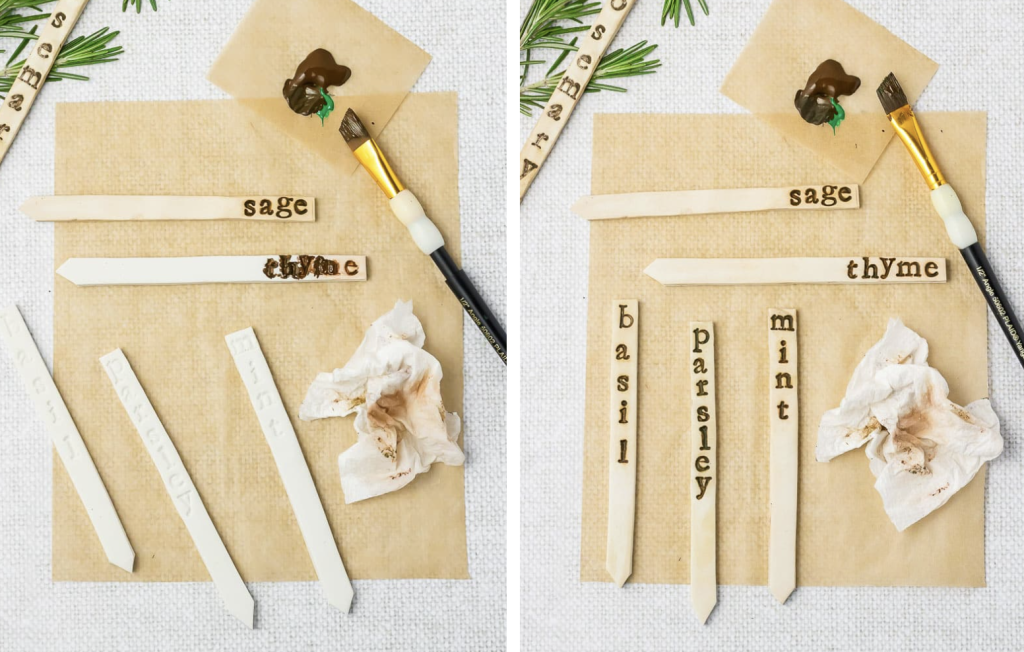
After baking, let your markers cool for about 10 minutes. They’ll be hot, so resist the urge to pick them up immediately!
Once they’re cool enough to handle, it’s painting time. Grab your small paintbrush and acrylic paint. Carefully dab the paint into the stamped letters. It’s like filling in a tiny coloring book.
Here’s a fun tip: mix your brown and green paint to create a nice, earthy color that’ll look great in your garden.
After painting, use a paper towel or soft cloth to wipe off any excess paint. This gives your markers a neat, uniform look.
If you accidentally use too much paint, slightly dampen your cloth to help remove the extra without smudging.
Step 7: Set the Paint
Last step! To ensure the longevity of your paint job, we’ll bake the markers one more time.
Place your painted markers on the baking sheet and pop them in the oven for 5 minutes at 275°F. This helps set the paint, making it more durable for outdoor use.
Ensure the paint is completely dry before this final bake to avoid smudging.
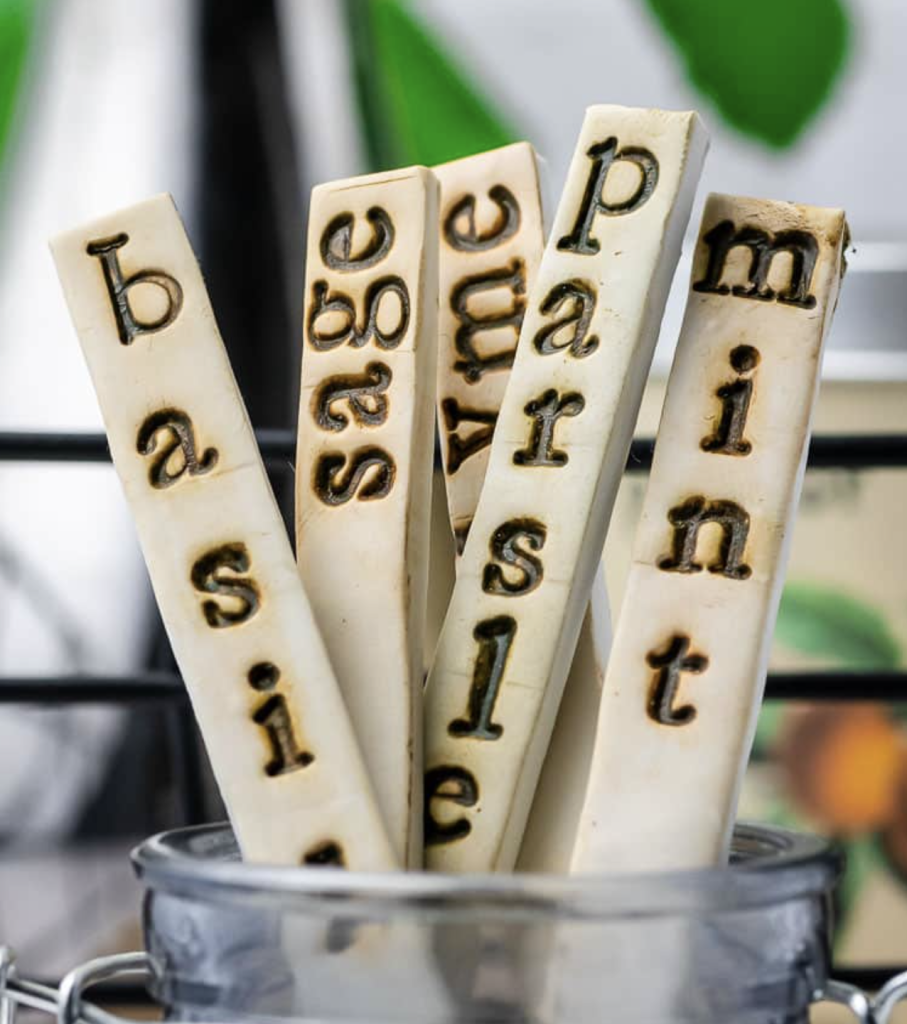
After this quick bake, let your markers cool completely before using them in your garden. And there you have it – your very own custom DIY plant markers!
Additional Tips and Notes for DIY Plant Markers
1. Best Use Cases for These Plant Markers
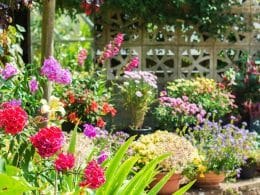
These DIY plant markers are perfect for pots, herb gardens, and small vegetable patches. Their size makes them ideal for identifying plants in compact spaces where you must keep track of different varieties.
They’re especially handy for indoor gardens or windowsill herb collections where traditional markers might look out of place. Plus, they add a personal touch that store-bought labels can’t match.
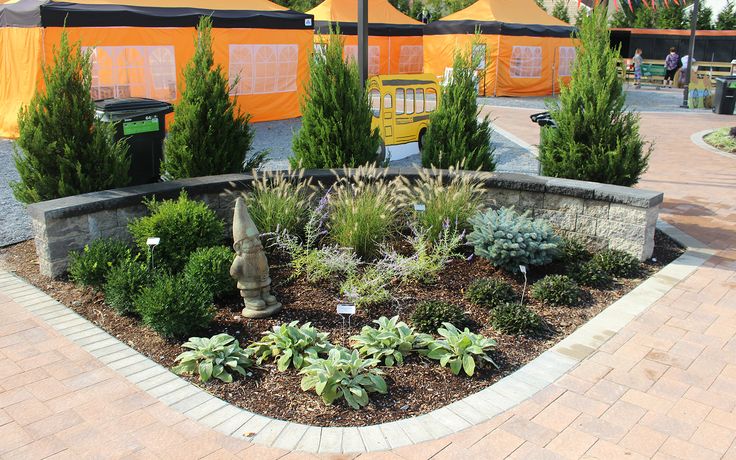
For a polished look, try matching your markers with other garden accessories. Place them at the front of pots or beds so you can easily spot what’s growing where.
2. Adjustments for Thicker or Taller Markers
Want to change things up? You can adjust the thickness and height of your markers to suit different needs. Roll your clay to more than ¼ inch for thicker markers, but stay under 1.25 inches to avoid cracking.
If you need taller markers for better visibility in larger gardens, extend the length of your clay strips beyond 6 inches.
Remember, thicker markers need more baking time – about 15-30 minutes extra for each ¼ inch thickness.
When making taller markers, consider adding a second pointed end for extra stability in the soil. It’s like giving your markers little roots!
3. Color Mixing Tips for the Perfect Paint Shade
Getting the right paint color can be fun! Mix primary colors—red, blue, and yellow—to create the perfect shade. Try mixing red and green paint or combining yellow, red, and blue for a natural brown.
Experiment with small amounts first. It’s easier to darken a color than to lighten it, so start light and gradually add darker shades. Use a palette or mixing tray to blend colors thoroughly.
Before painting your markers, remember to test your mixed color on a clay scrap. If you create a color you love, write down how you made it so you can recreate it later.
Remember, these markers are your creation – feel free to get creative with colors and designs that match your garden style!
Conclusion
Creating your DIY plant markers is a fun and practical way to organize your garden. These personalized labels help you keep track of your plants and add a charming touch to your green space.
Remember, the key to success is in the details.
Take time with each step, from kneading the clay to painting the letters. Don’t be afraid to experiment with colors and designs to match your garden’s style.
Whether you’re a seasoned gardener or just starting, these DIY plant markers are a great project. They’re durable and affordable and make thoughtful gifts for fellow plant lovers.
So, grab your materials and get crafting! Your garden will thank you for the added organization and flair.